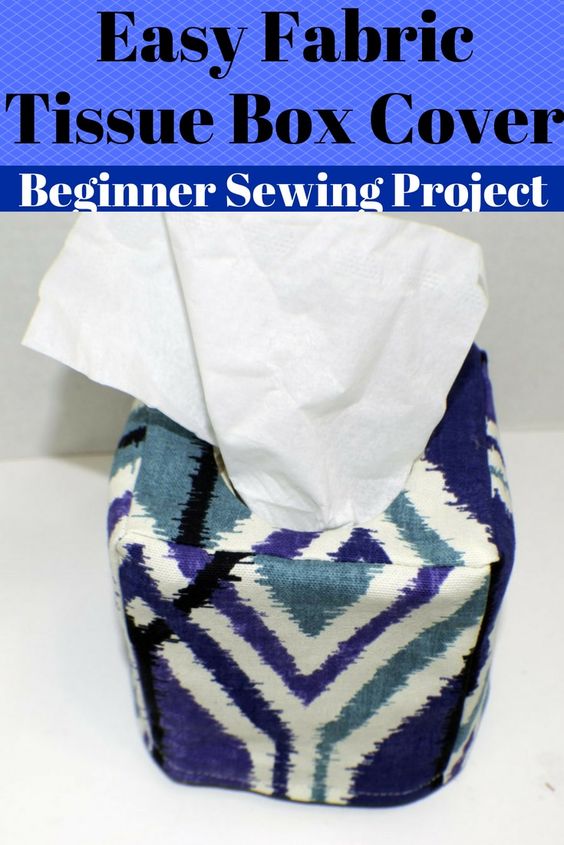
Make a Fabric Tissue Box Cover
Discover the perfect way to add a touch of elegance and style to your tissue boxes with this fabulous sewing pattern for a fabric tissue box cover. This pattern is a must-have for all sewing enthusiasts who want to create a beautiful and functional accessory for their home. With this pattern, you can easily transform an ordinary tissue box into a stunning decorative piece that complements your interior decor. Whether you are a beginner or an experienced sewer, this pattern will guide you through the process of creating a unique and personalized tissue box cover. Choose your favorite fabric, unleash your imagination, and let your sewing skills shine as you bring this pattern to life. Not only will you have a practical item to keep your tissues organized, but you will also have a stylish and eye-catching accessory that will impress your guests. So grab your sewing machine, gather your materials, and get ready to embark on a sewing adventure with this fantastic fabric tissue box cover pattern.
What you will Need:
- Remnant of outer Fabric
- Remnant of Lining Fabric
- New Unopened Tissue Box
- Standard Sewing Supplies
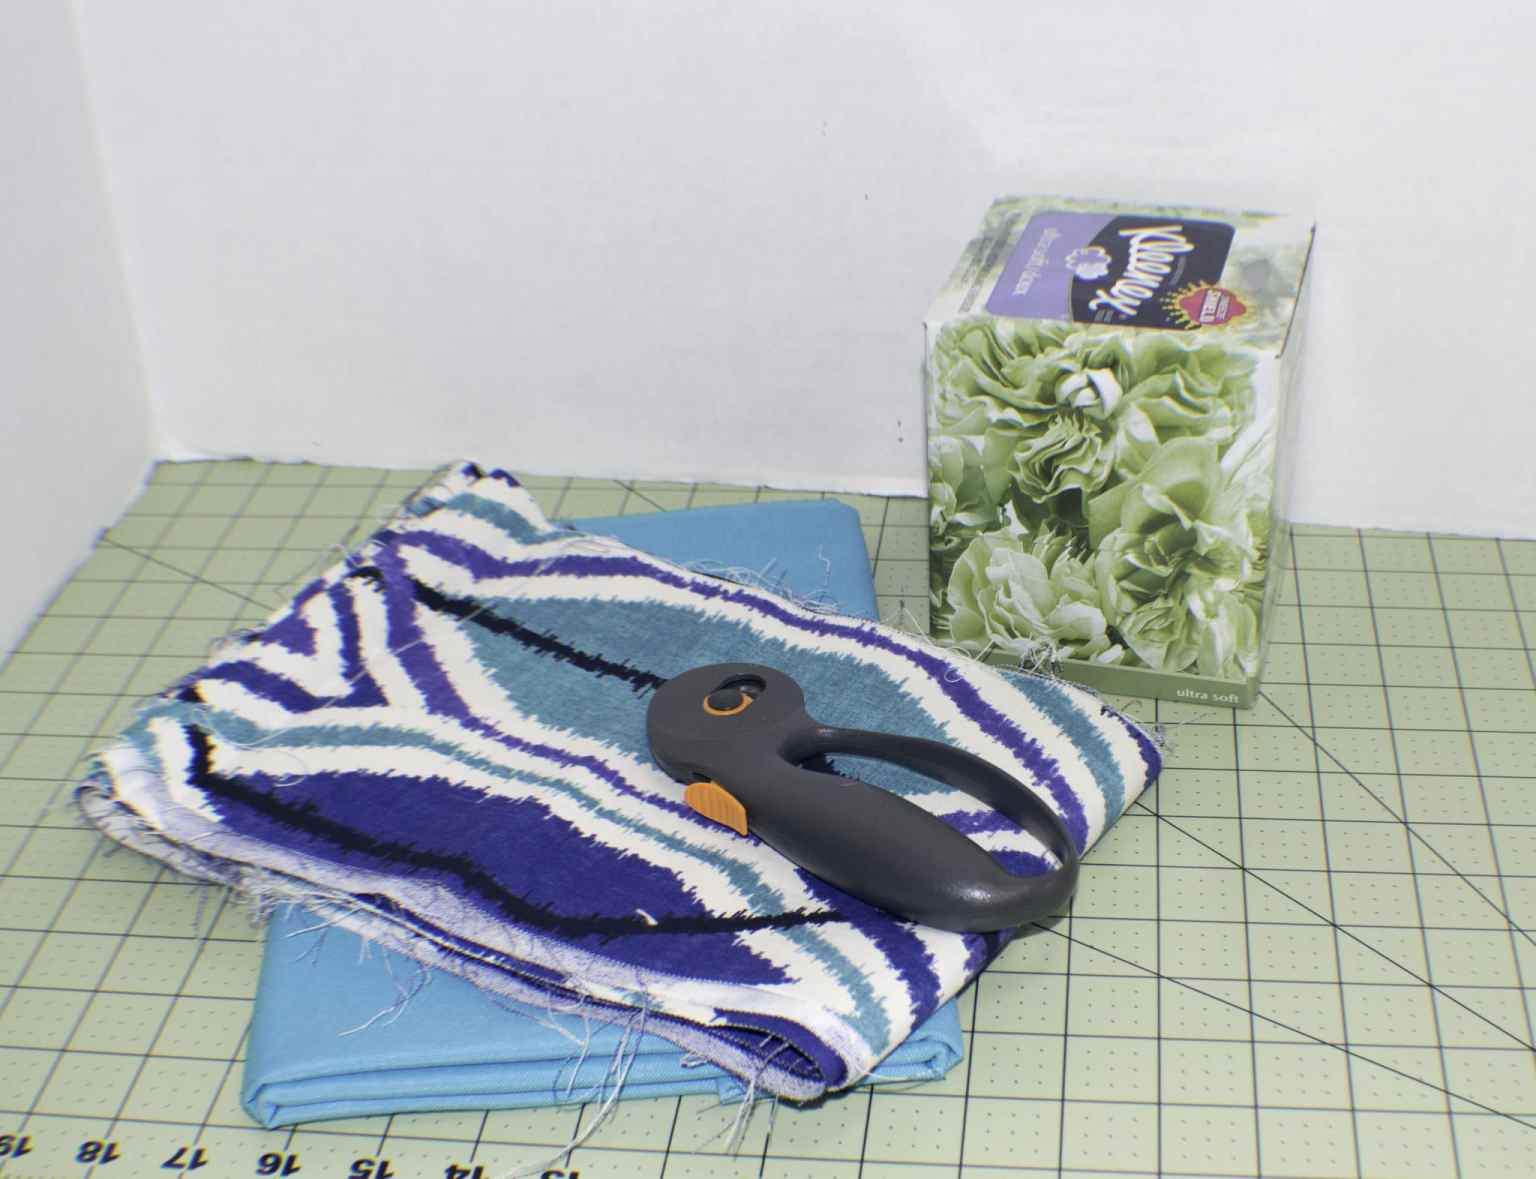
What you will Need: Tissue Box Cover
Step 1: Make a Fabric Tissue Box Cover
Measure the top of the box and add 1 1/4″ to width and the length. Measure Each side of the box and again add 1 1/4″ to the width and height. My measurements for the standard Kleenex box were 4 3/8″ square on the top and 4 3/8″ x 5″ on the sides. I added 1 1/4″ to each of these measurements to get the final numbers of 5 5/8 square on the top and 5 5/8″ X 6 1/4″ on the sides.
Step 2: Make a Fabric Tissue Box Cover
Cut the five pieces you just measured from both the outer and lining fabrics. If you are going to use interfacing fuse it to you outer fabric pieces now. If you are unfamiliar with interfacing it is a product that you can use to provide more structure to your fabric. One side of the interfacing has glue on it and the other side does not. Line up the glue side with the wrong side of your fabric and press with a hot iron until the glue fuses with the fabric and the two pieces can be treated as one. You can also follow the instructions on the interfacing itself. For this project I would recommend Pellon SF 101
Step 3: Make a Fabric Tissue Box Cover
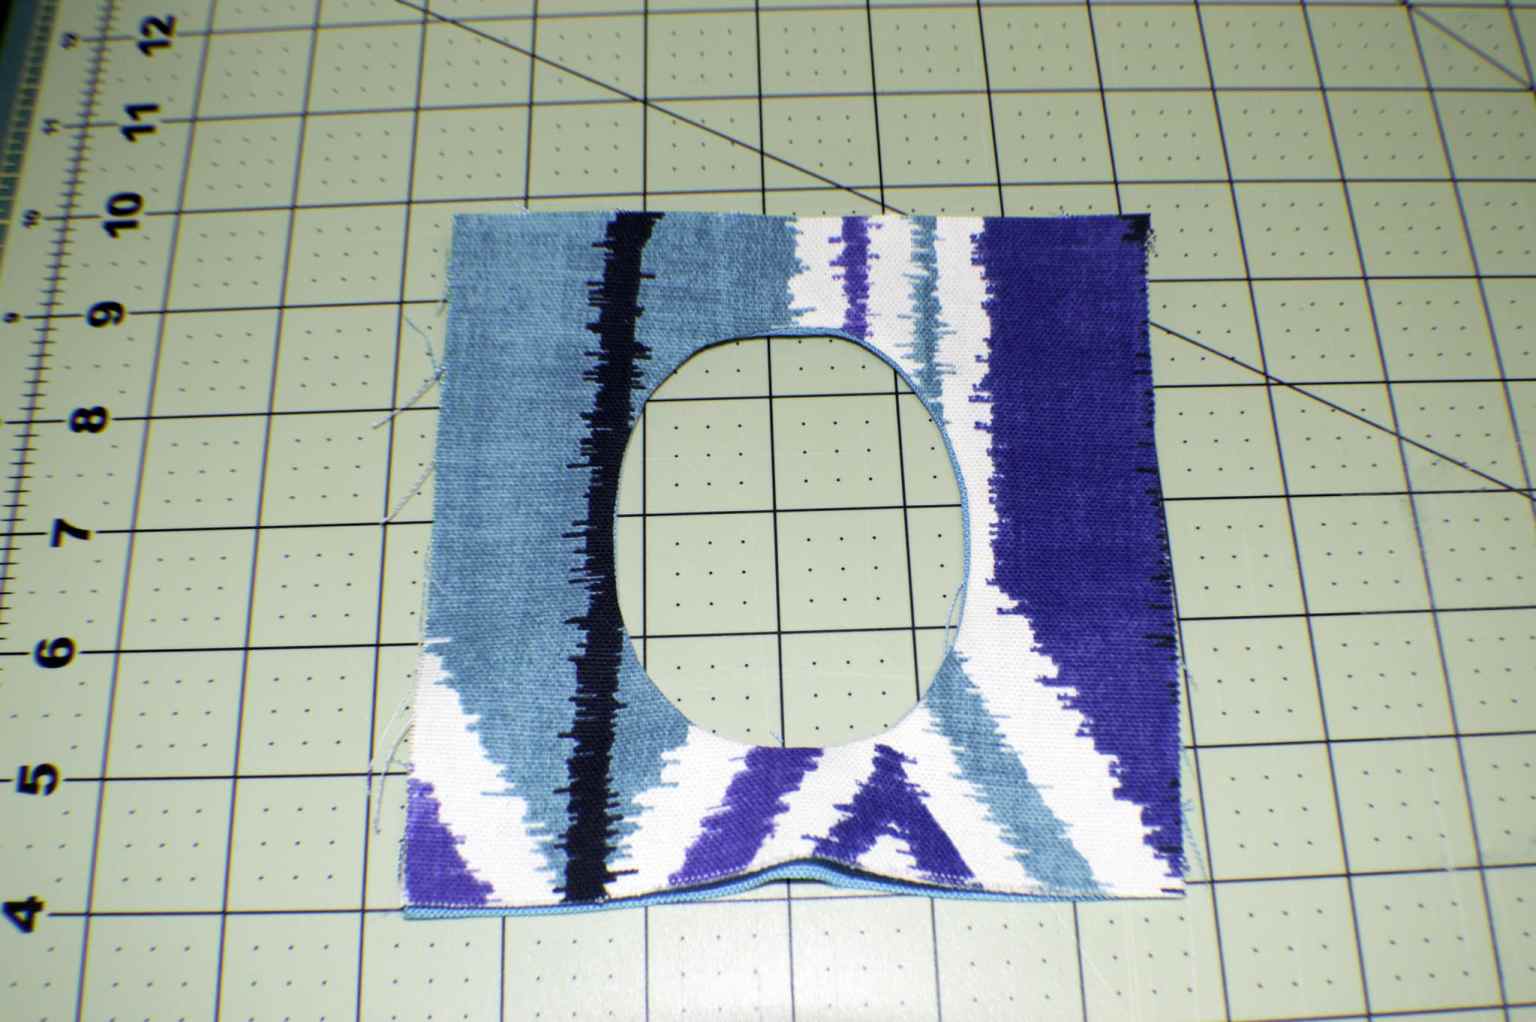
Lay the top of the box wrong side up. Take the cardboard oval from the tissue box and place it in the center and draw around it. My oval was not a complete oval but I filled in the empty space to make it an oval for ease in sewing.
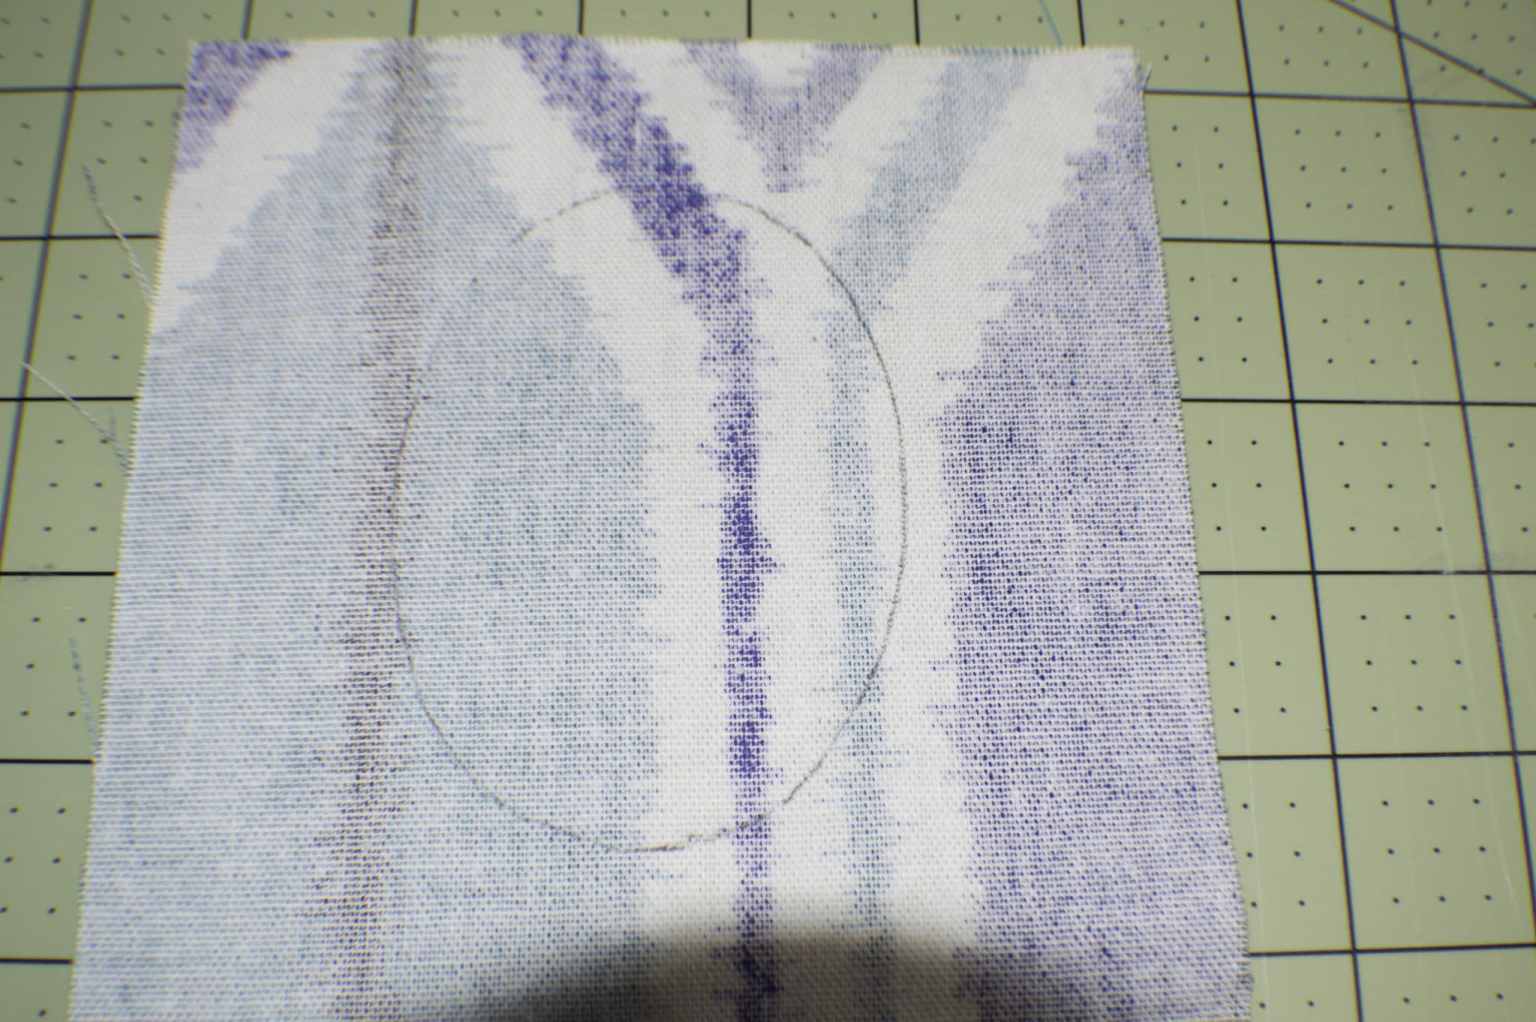
Draw the Oval
Step 4: Make a Fabric Tissue Box Cover
Place the two top pieces right sides together and sew around the oval you just drew. Cut around the inside of the oval leaving 1/4″ then clip the curves.
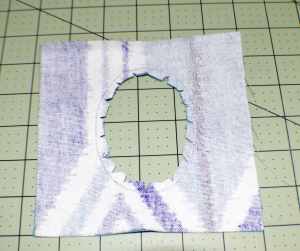
Cut the Oval and Clip the Curves
Step 5: Make a Fabric Tissue Box Cover
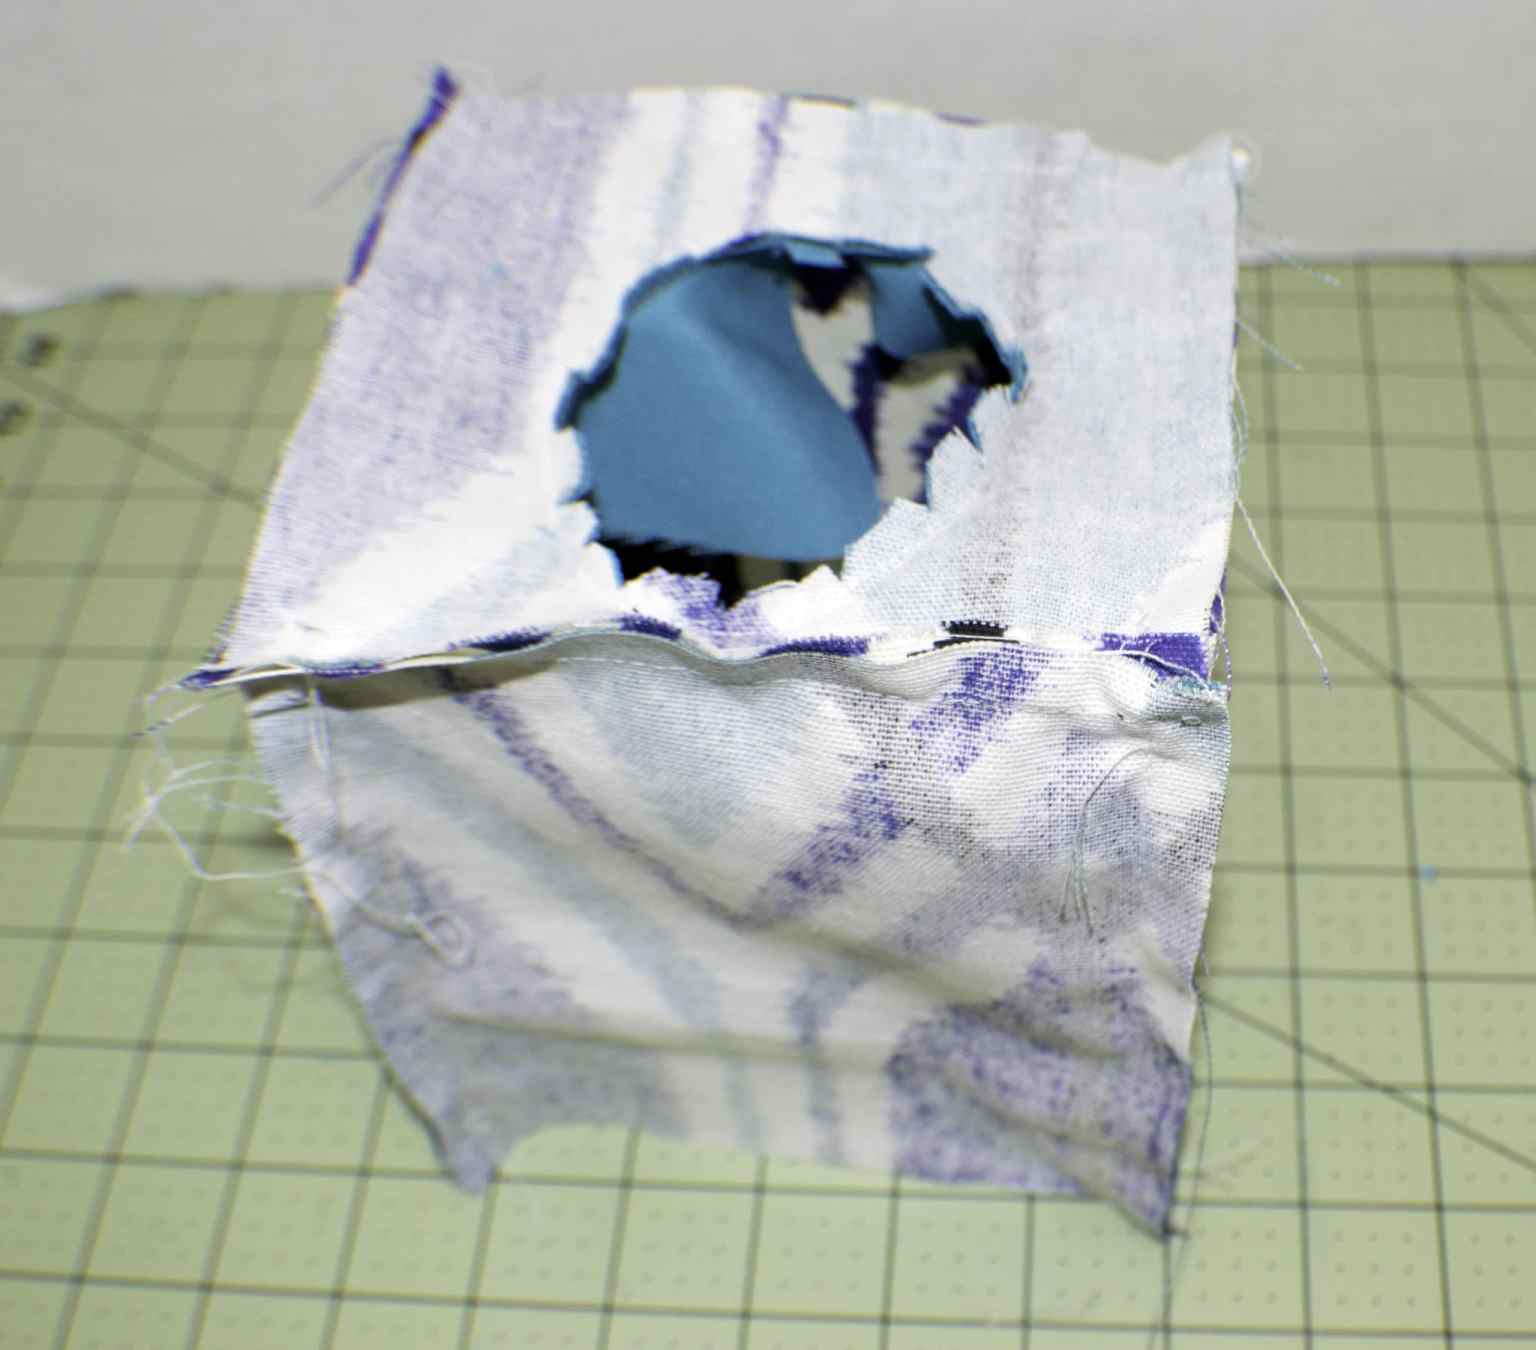
Turn the top right side out through the hole you just created and press.
Turn the Pieces Right Sides Out
Step 6: Make a Fabric Tissue Box Cover
Join the sides together by starting 5/8″ down from the height and stitching to the bottom using a 5/8″ seam allowance. Do this for the outer fabric and then for the lining fabric.
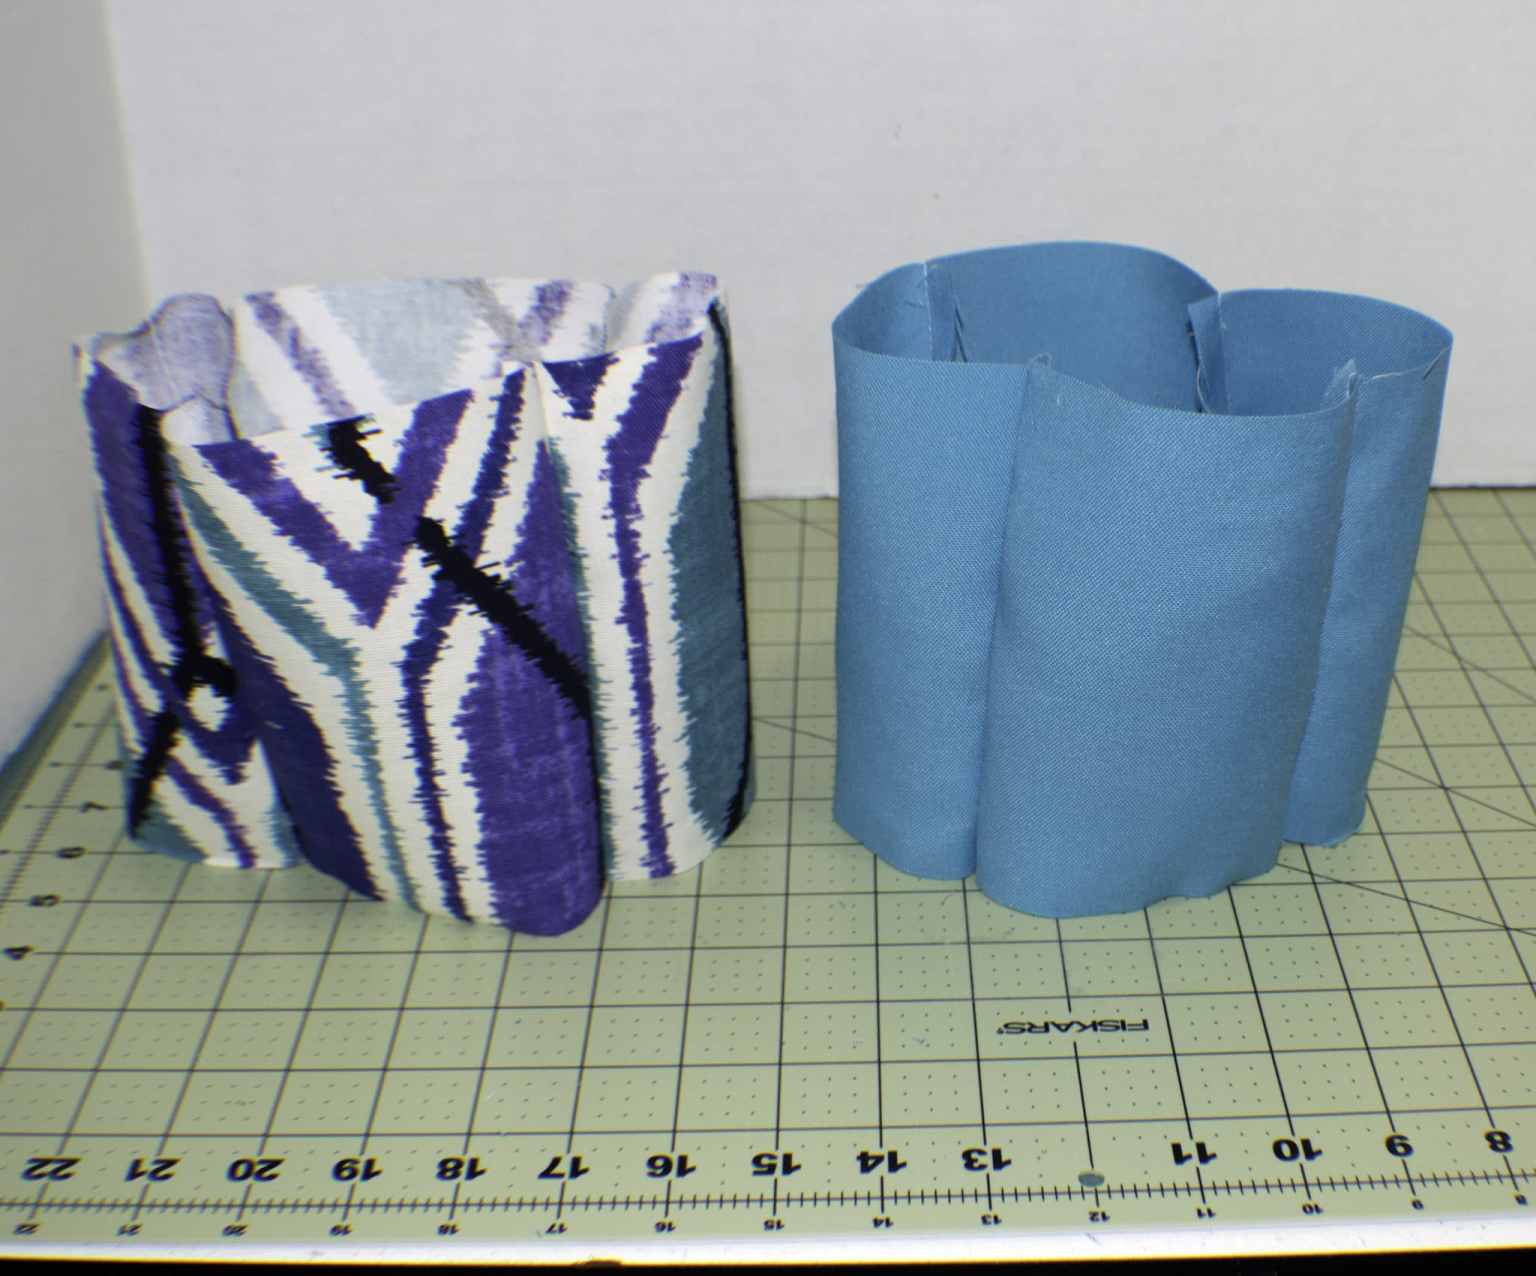
Sew the Sides Together
Step 7: Make a Fabric Tissue Box Cover
Sew the outer top fabric to the outer sides and the lining top to the lining sides with right sides together. Pin the lining out of the way to avoid getting it caught while you sew the outer fabric.
Sew the Sides to the Top
Step 8: Make a Fabric Tissue Box Cover
Turn the lining to the inside of the box cover. Turn the bottom edges of the outer fabric and the lining 5/8″ so they are facing. Press. Topstitch all around the hem and you have completed your fabric tissue box cover.

Finished Fabric Tissue Box Cover