How To Make A Toothbrush Travel Wrap
Summer is the perfect time for travelling! I hope you have already planned your vacation and we can prepare for it now. There`re a lot of different organizers for your bag and I suggest you to make one of them. It`ll be a toothbrush travel wrap! You just need some time and little sewing knowledge to follow this tutorial.
Let`s get started!
Things you need:
- terry cloth fabric ( I repurposed a baby bath towel)
- cotton fabric (18″x21″)
- sewing machine
- scissors
- needles and threads
Step 1.
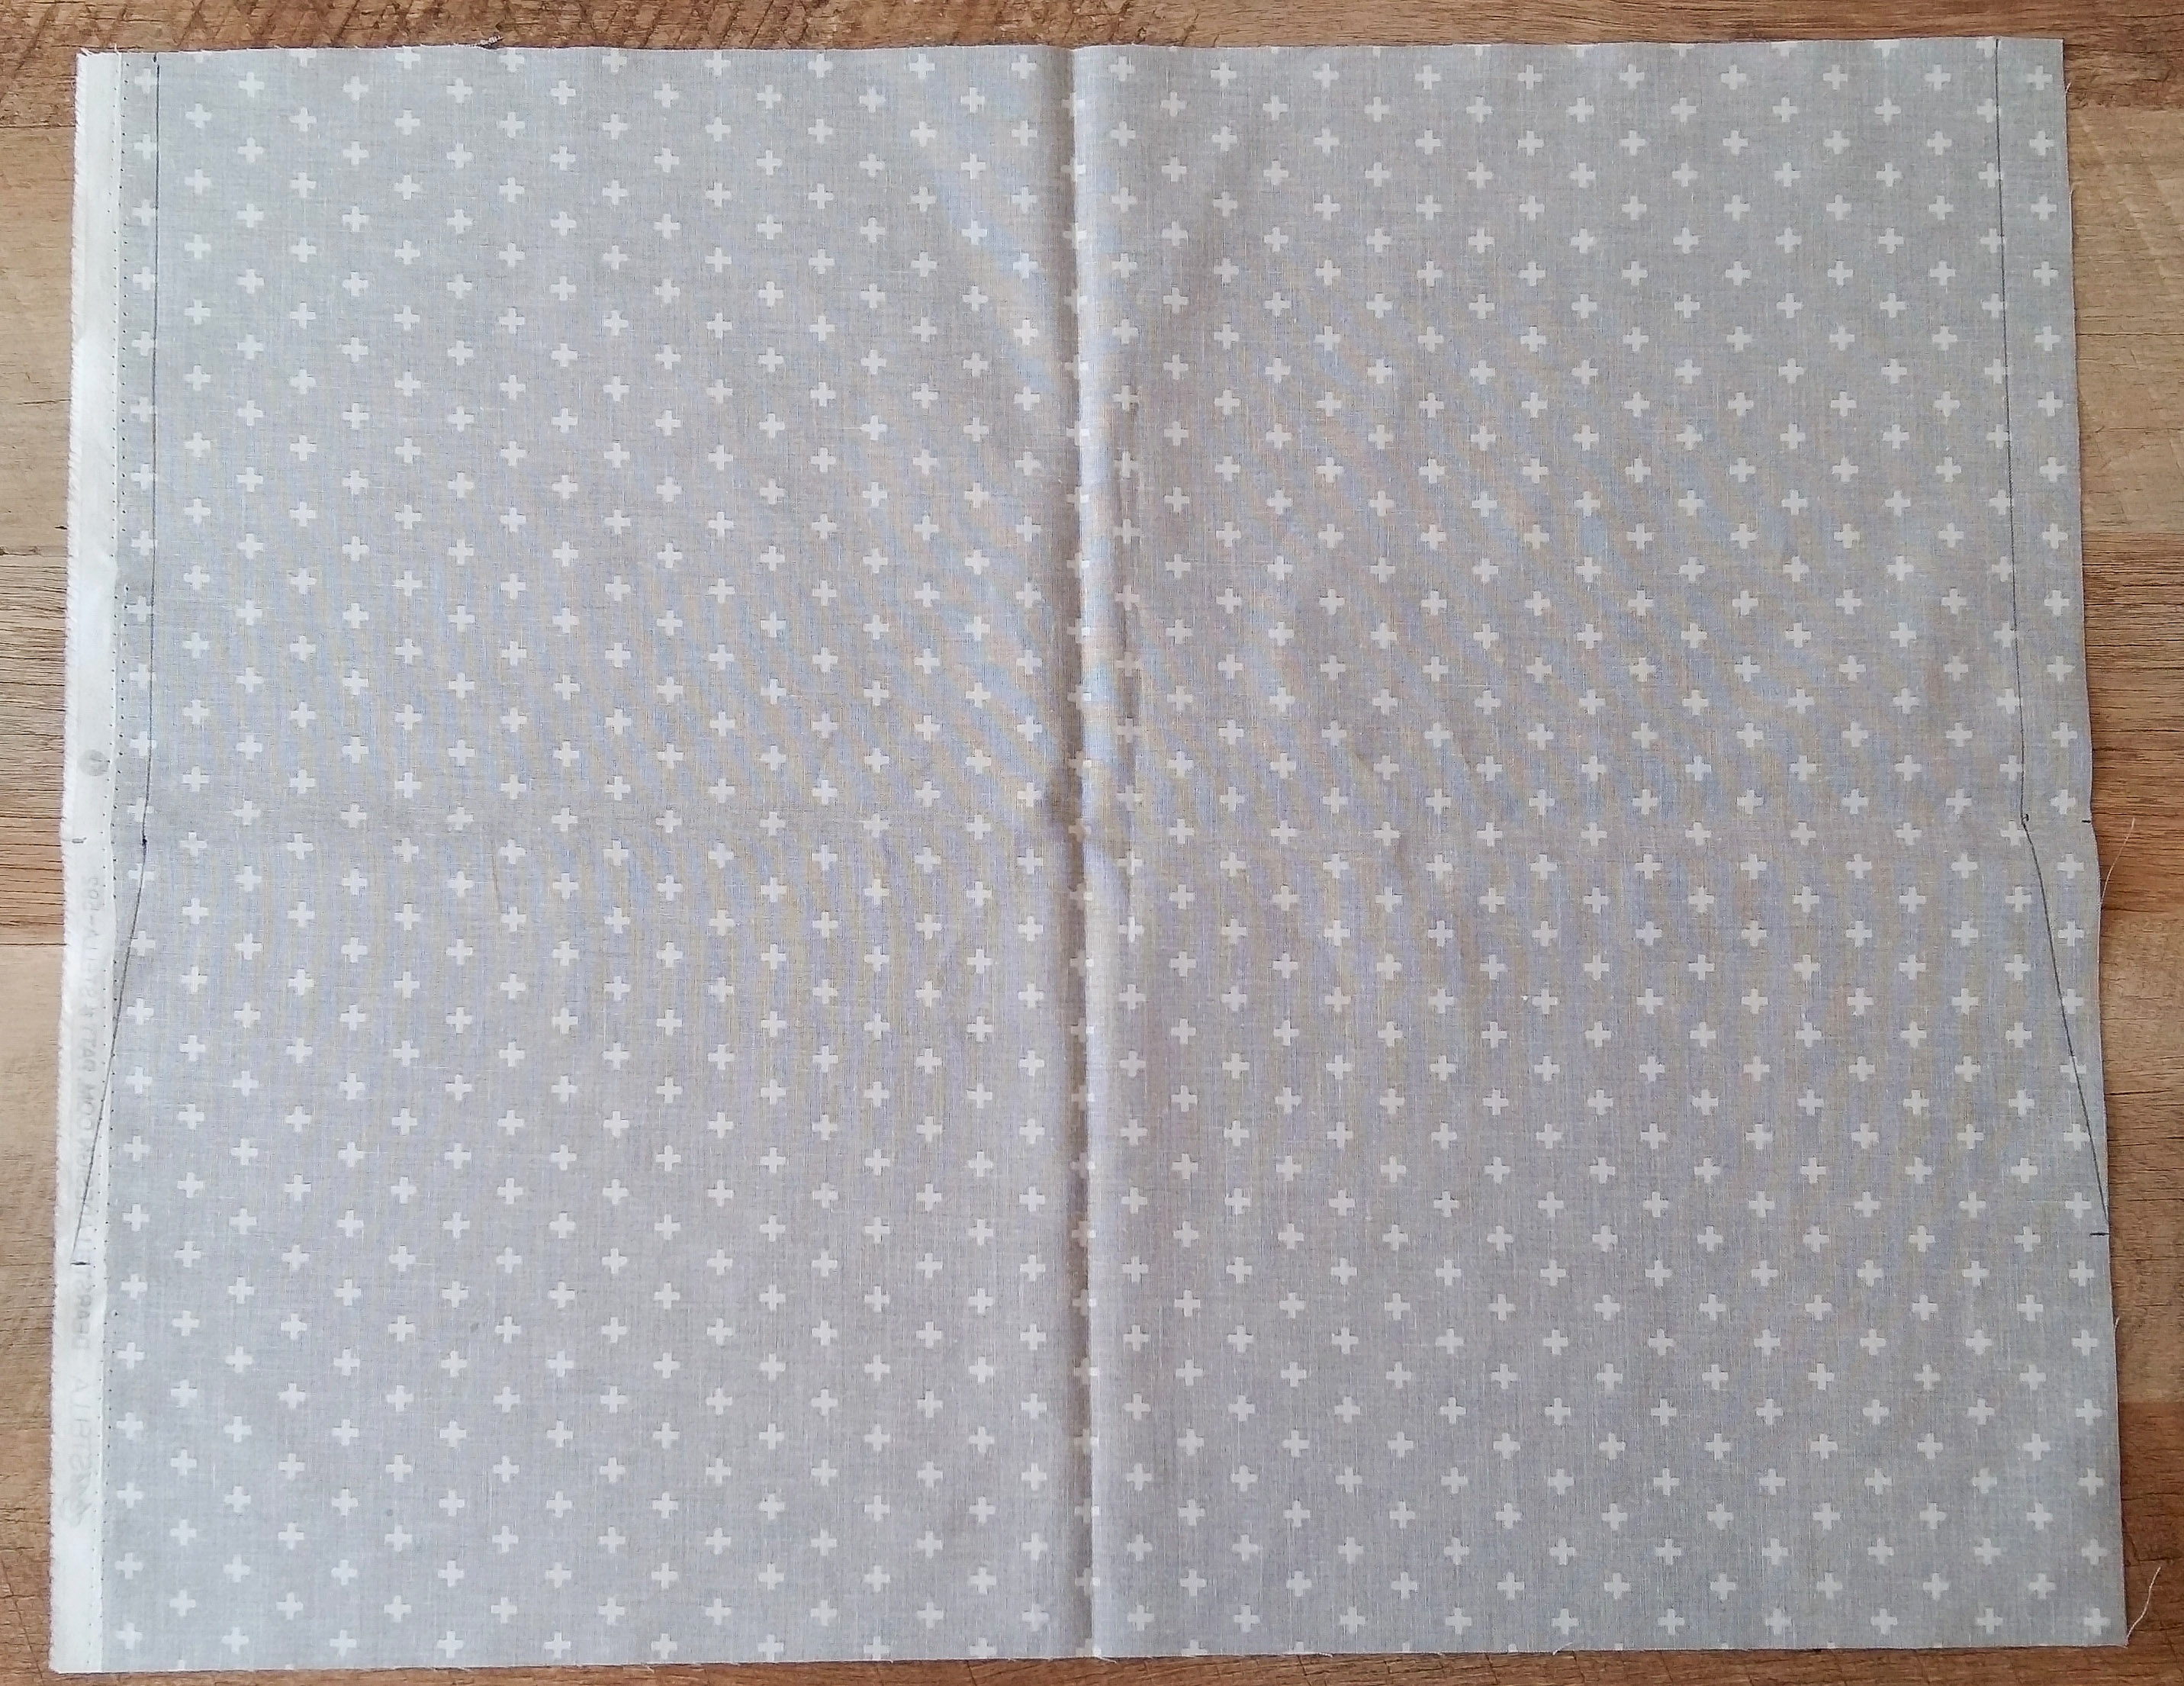
First I trimmed the fat quarter so it was totally squared up.
Then I placed a mark at the quarter and halfway points along the shorter sides of the fabric. I marked 3/4″ in along the halfway point and the top and connected them with a straight line. Then traced a line from the halfway point to the edge of the fabric at the quarterway point.
Step 2.
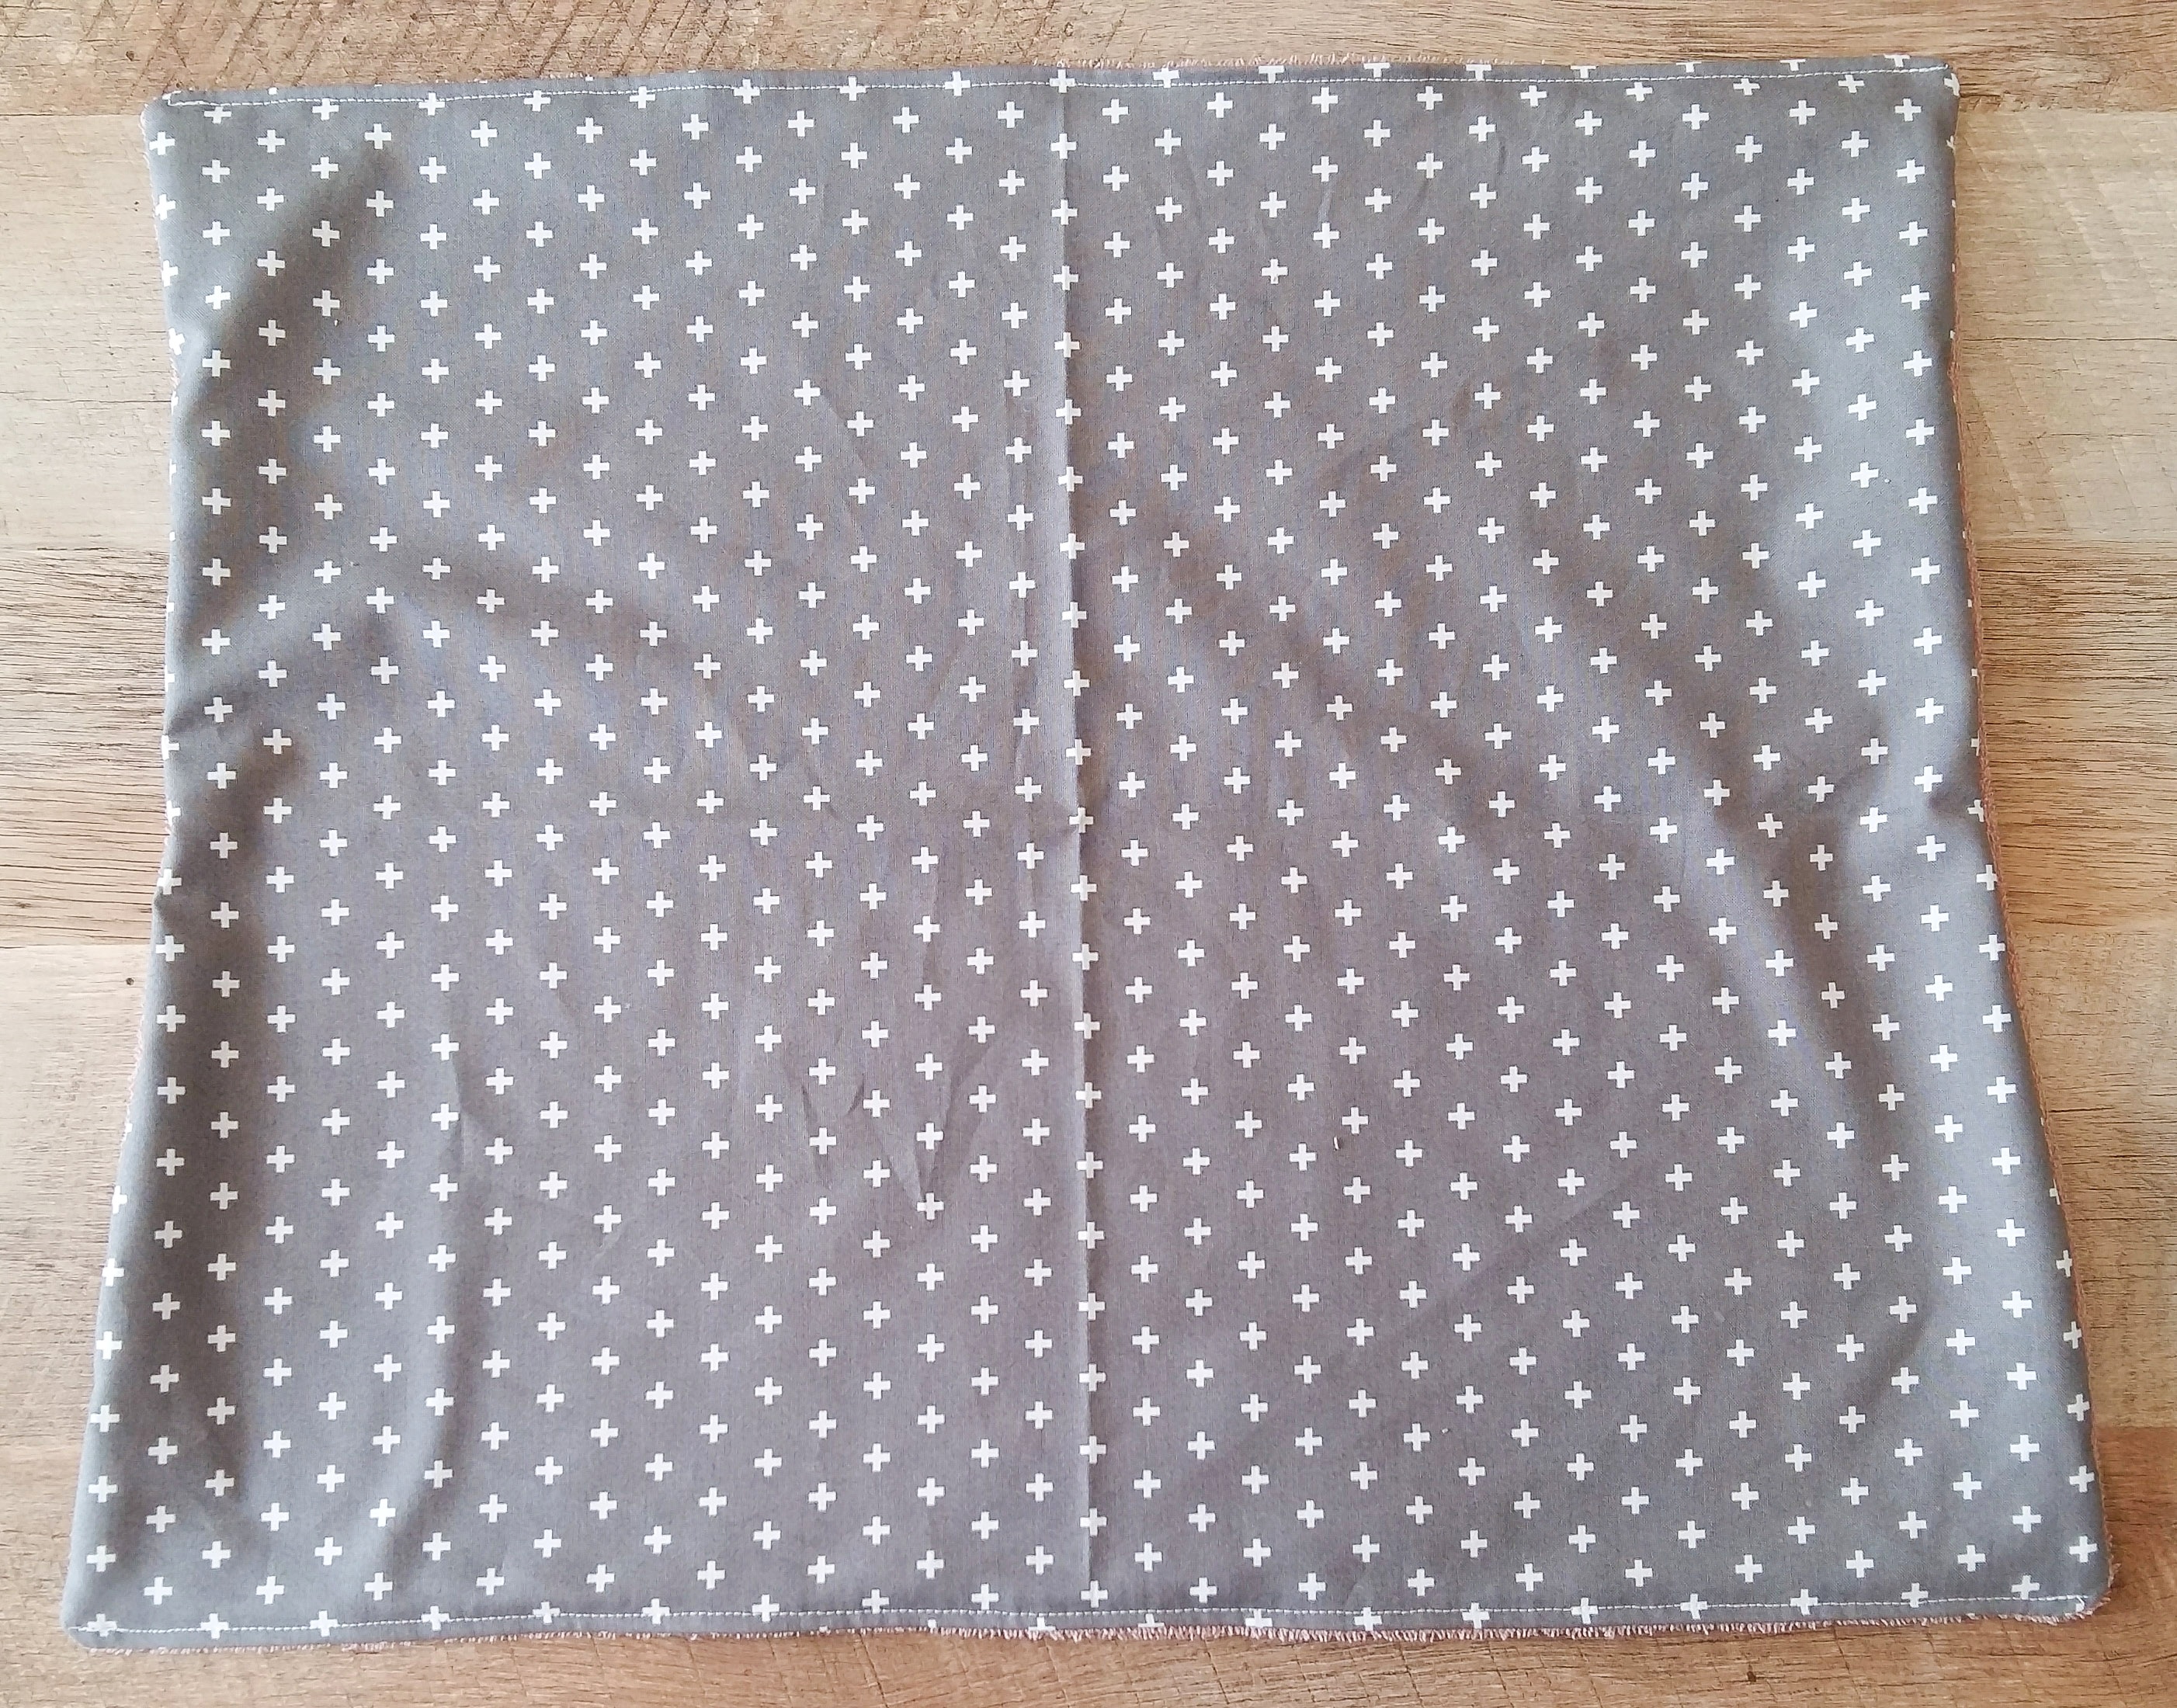
Trim away the fabric along these lines and cut out the terry cloth in the same way.
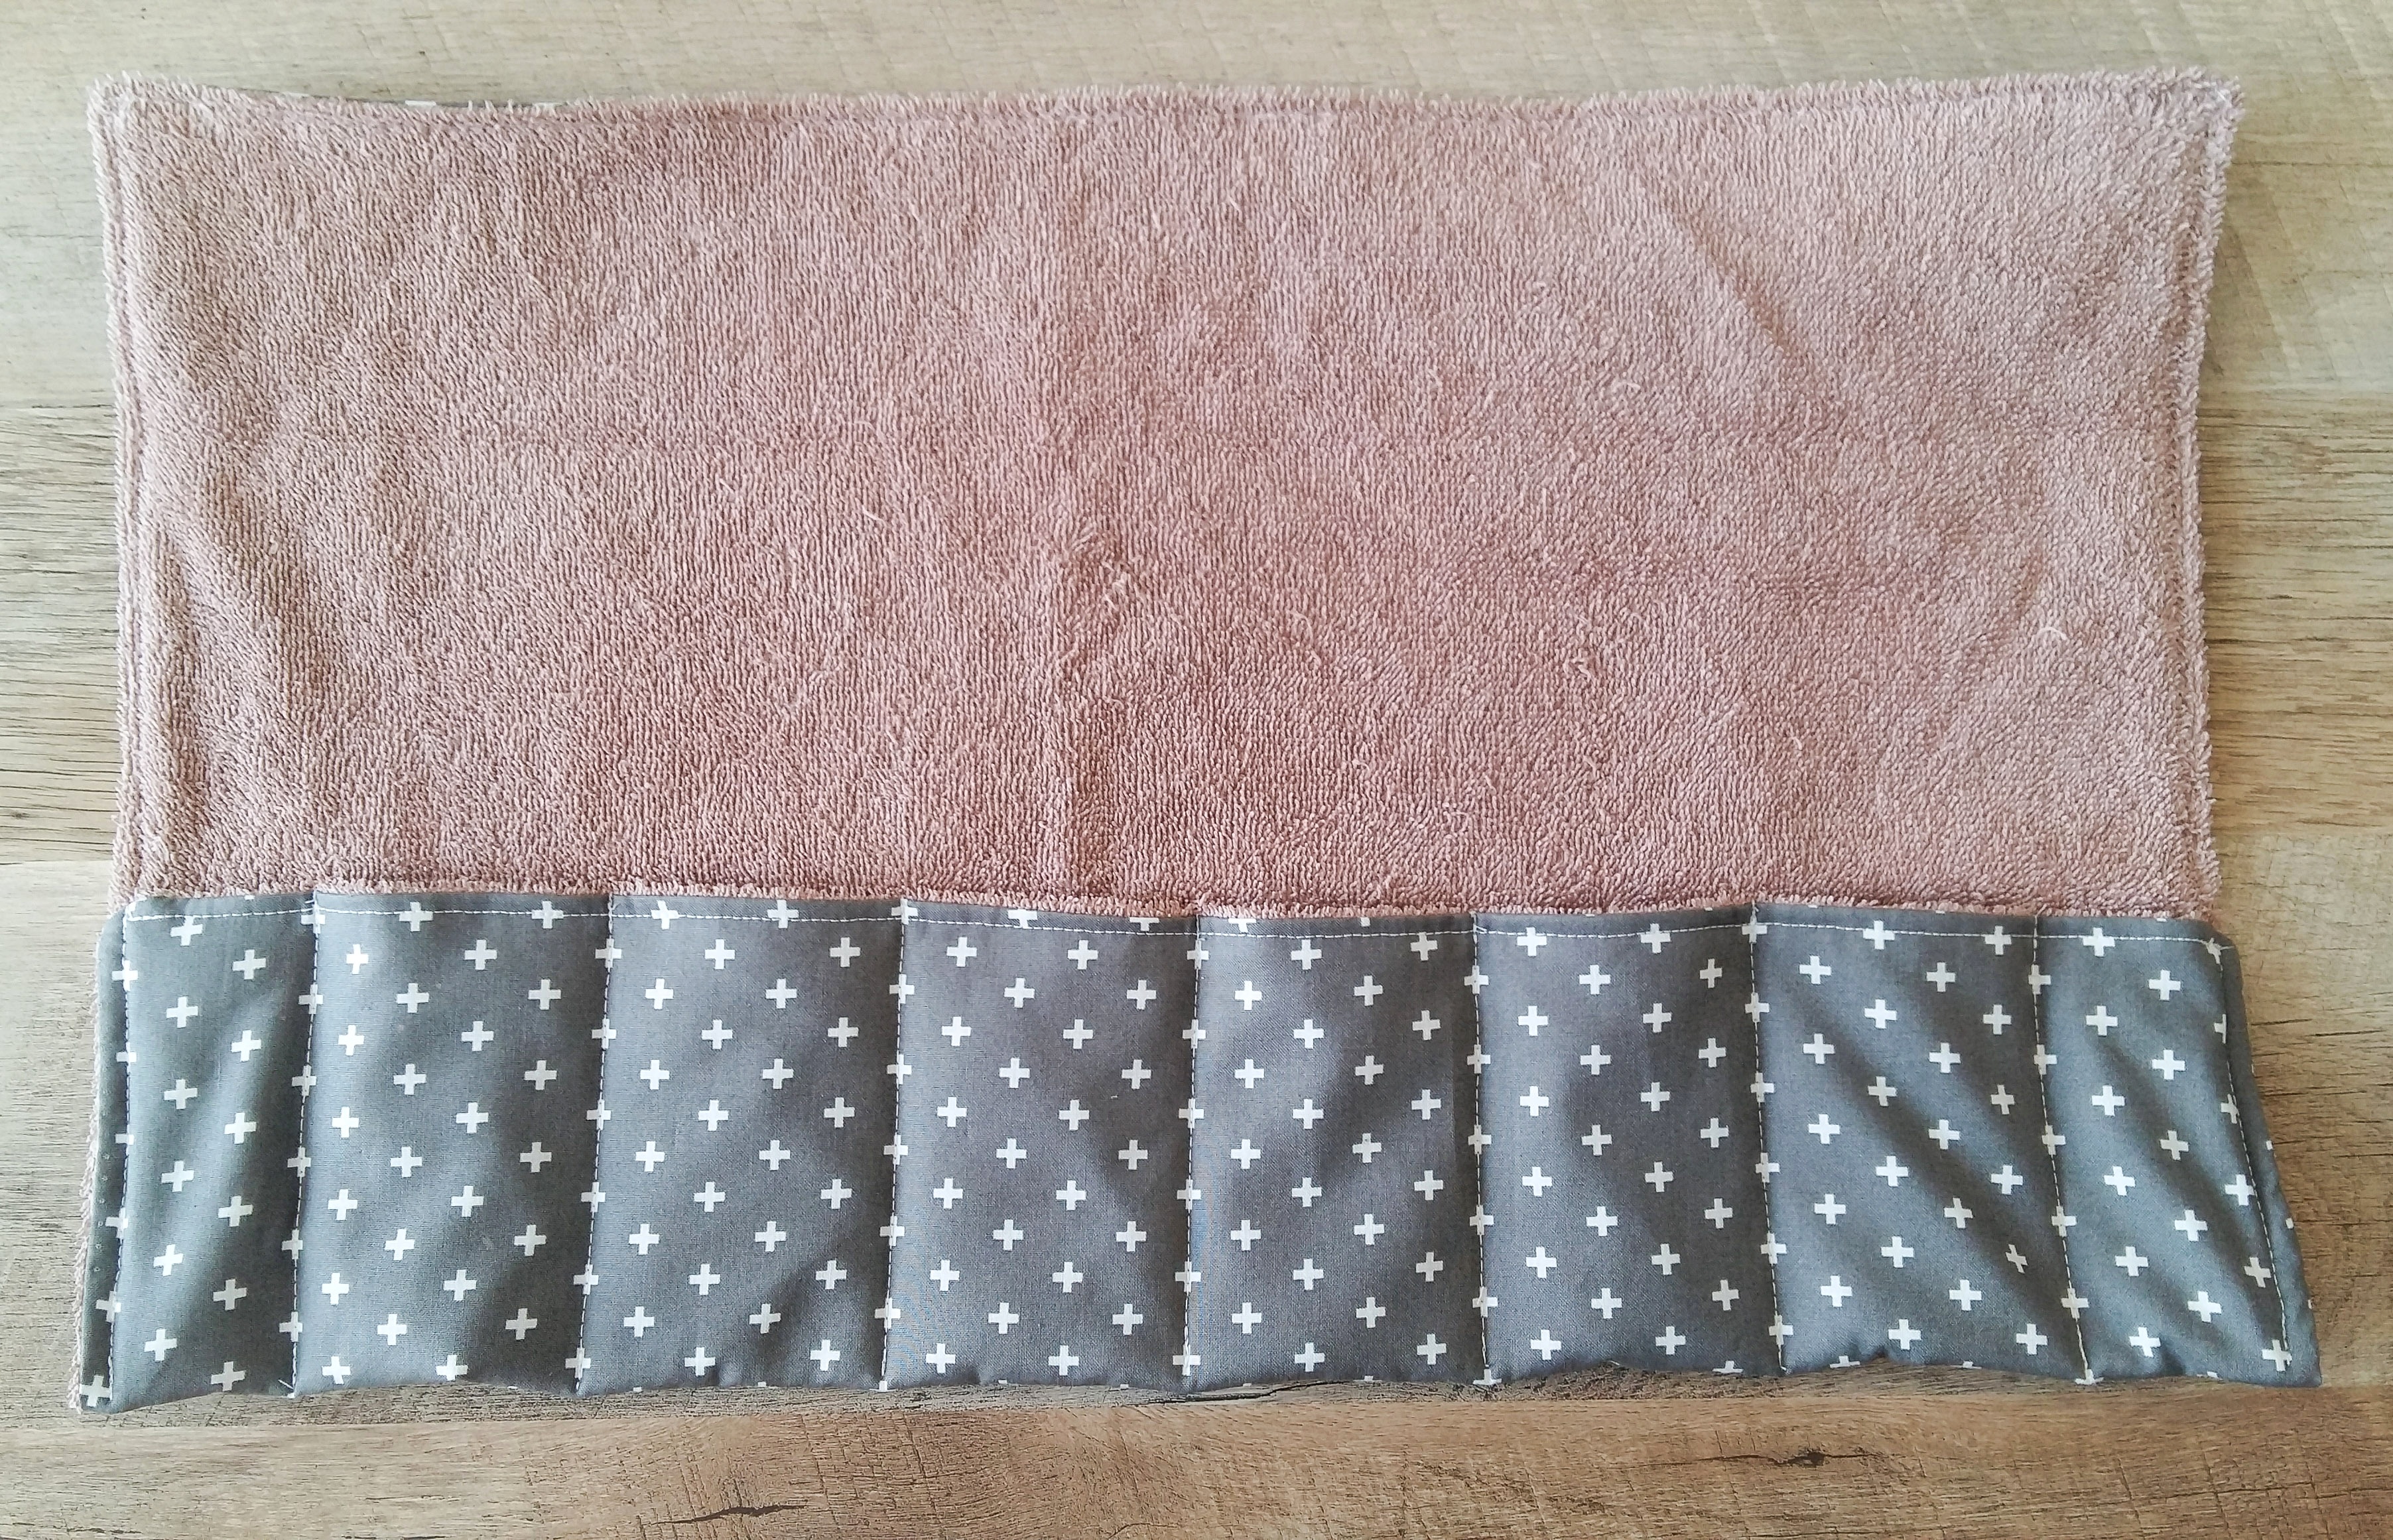
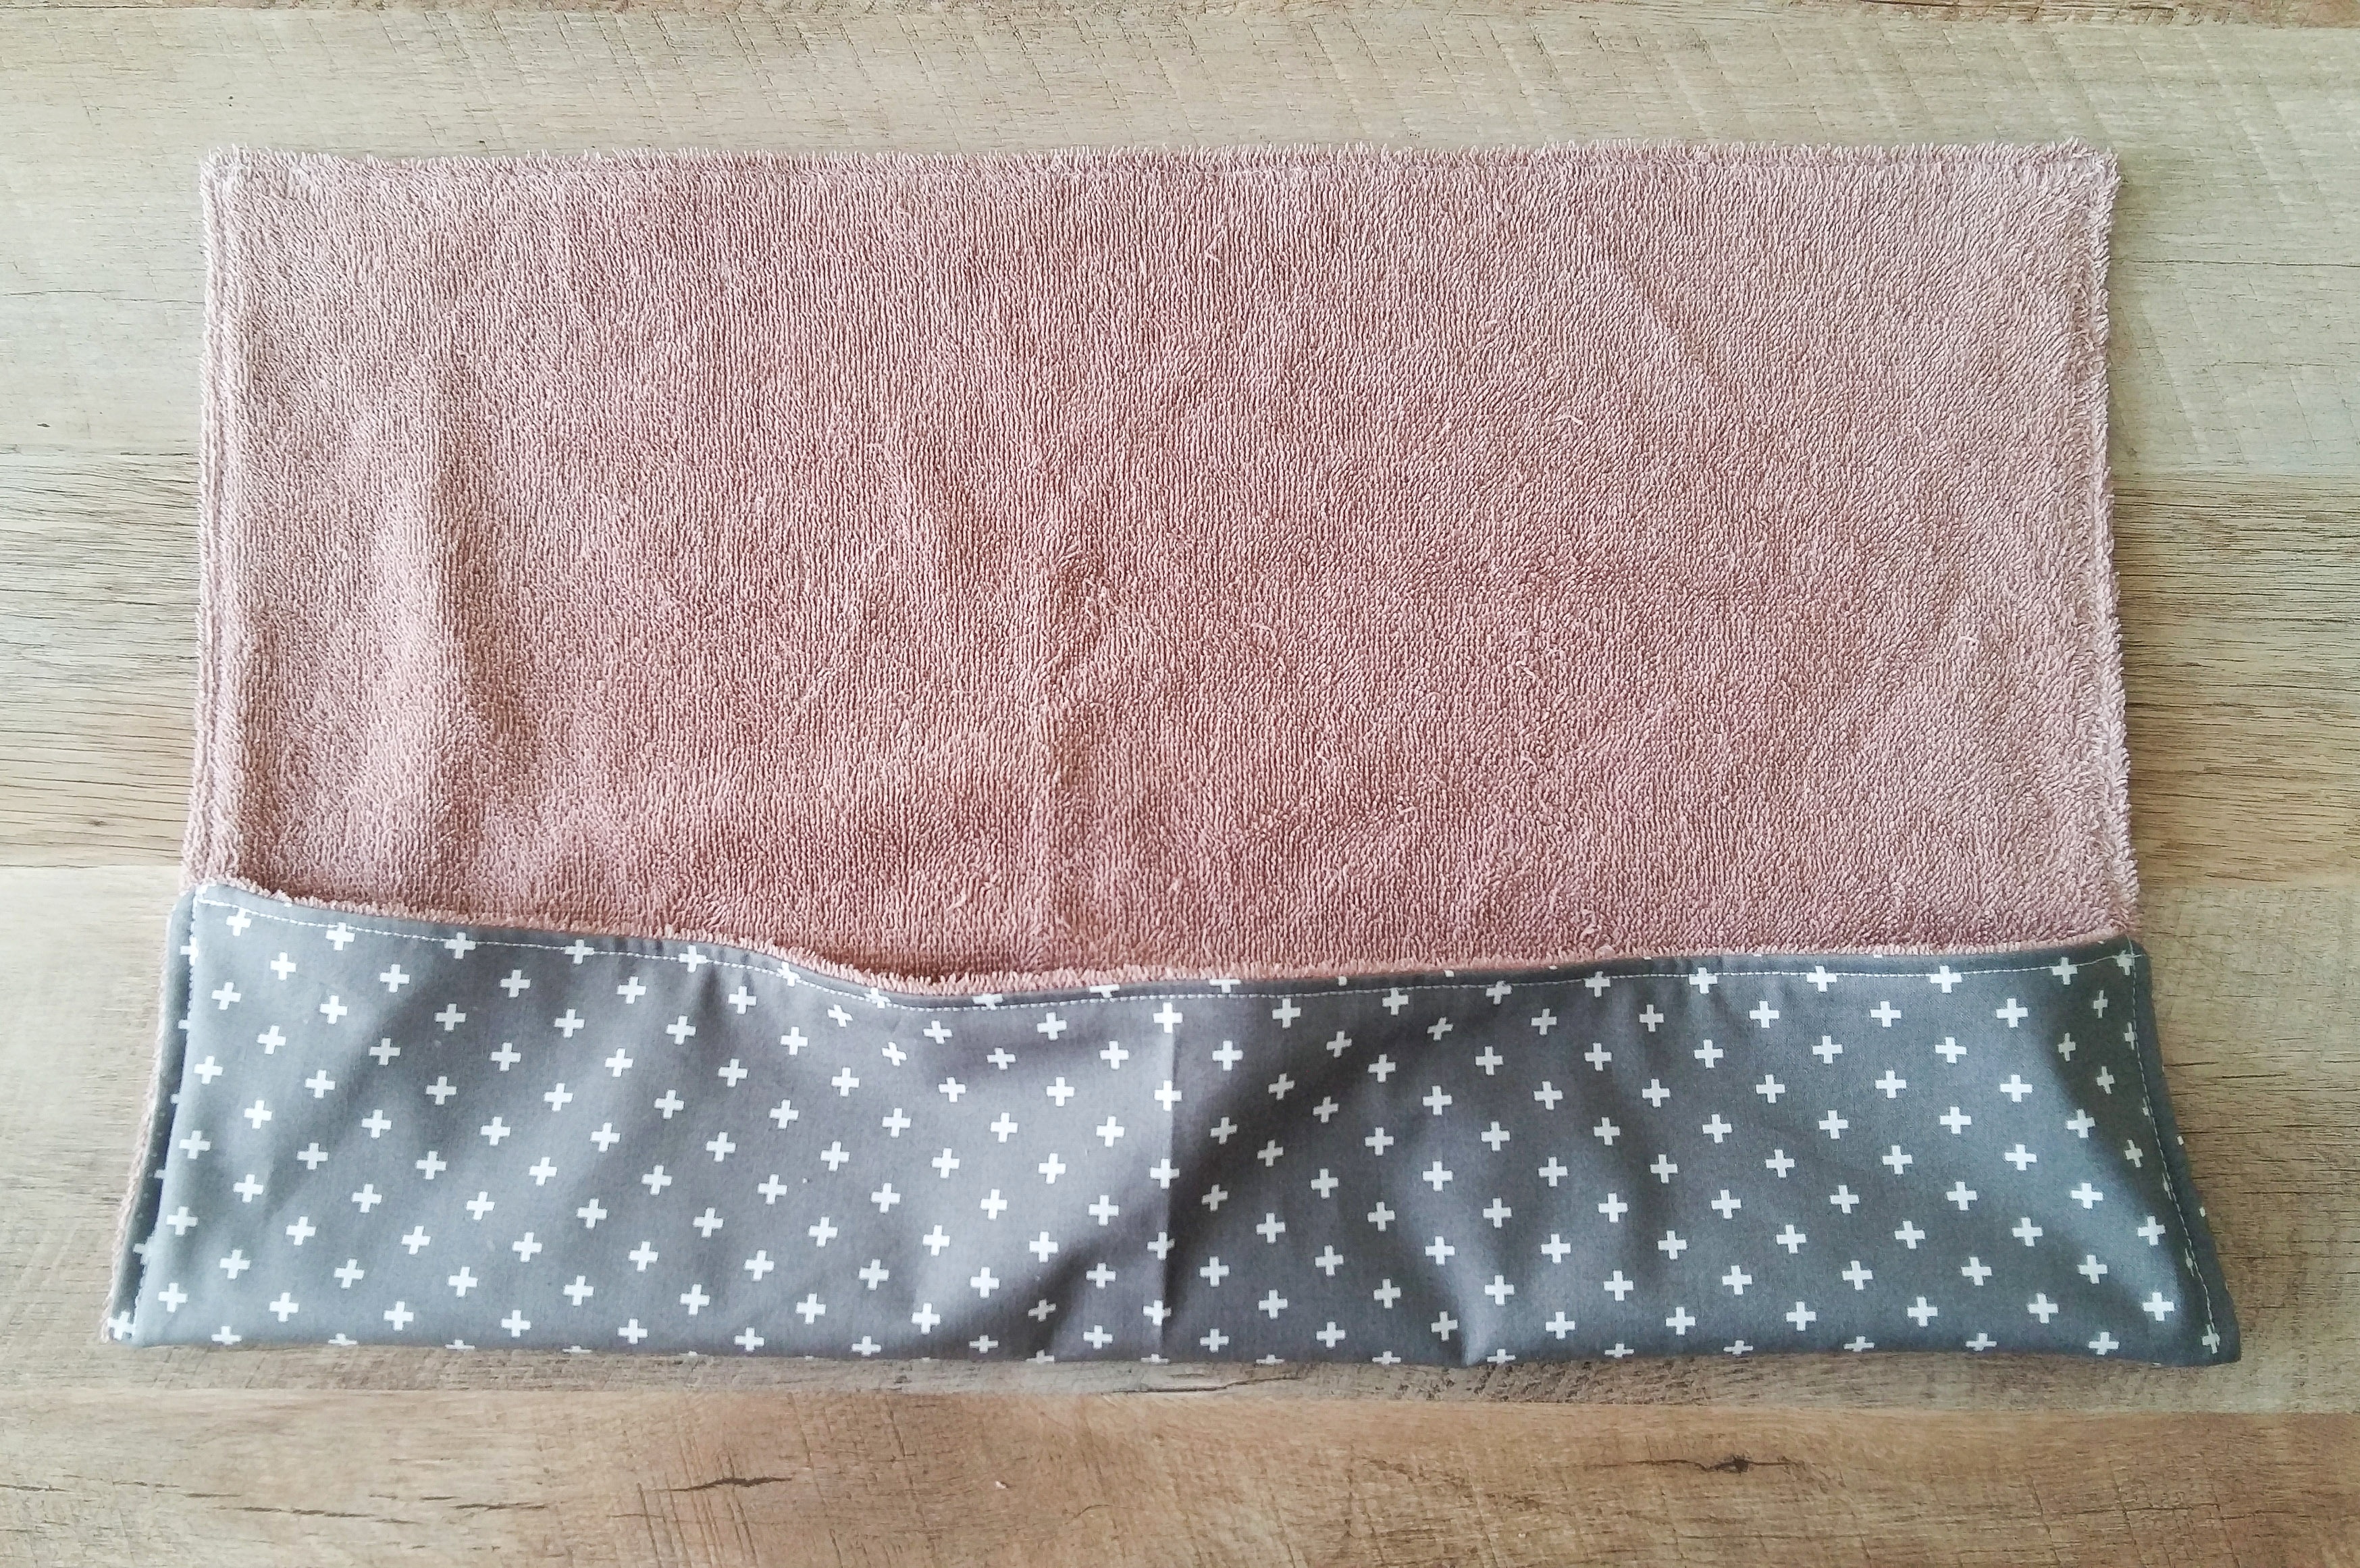
Sew the two fabrics together, right sides together, along all the edges with about 3/8″ – 1/2″ seam allowance. Leave a 3″ gap on either the top or bottom edge so you can turn the fabrics right sides out.
Trim the corners, turn the wrap then topstitch the top and bottom sides only.
Step 3.
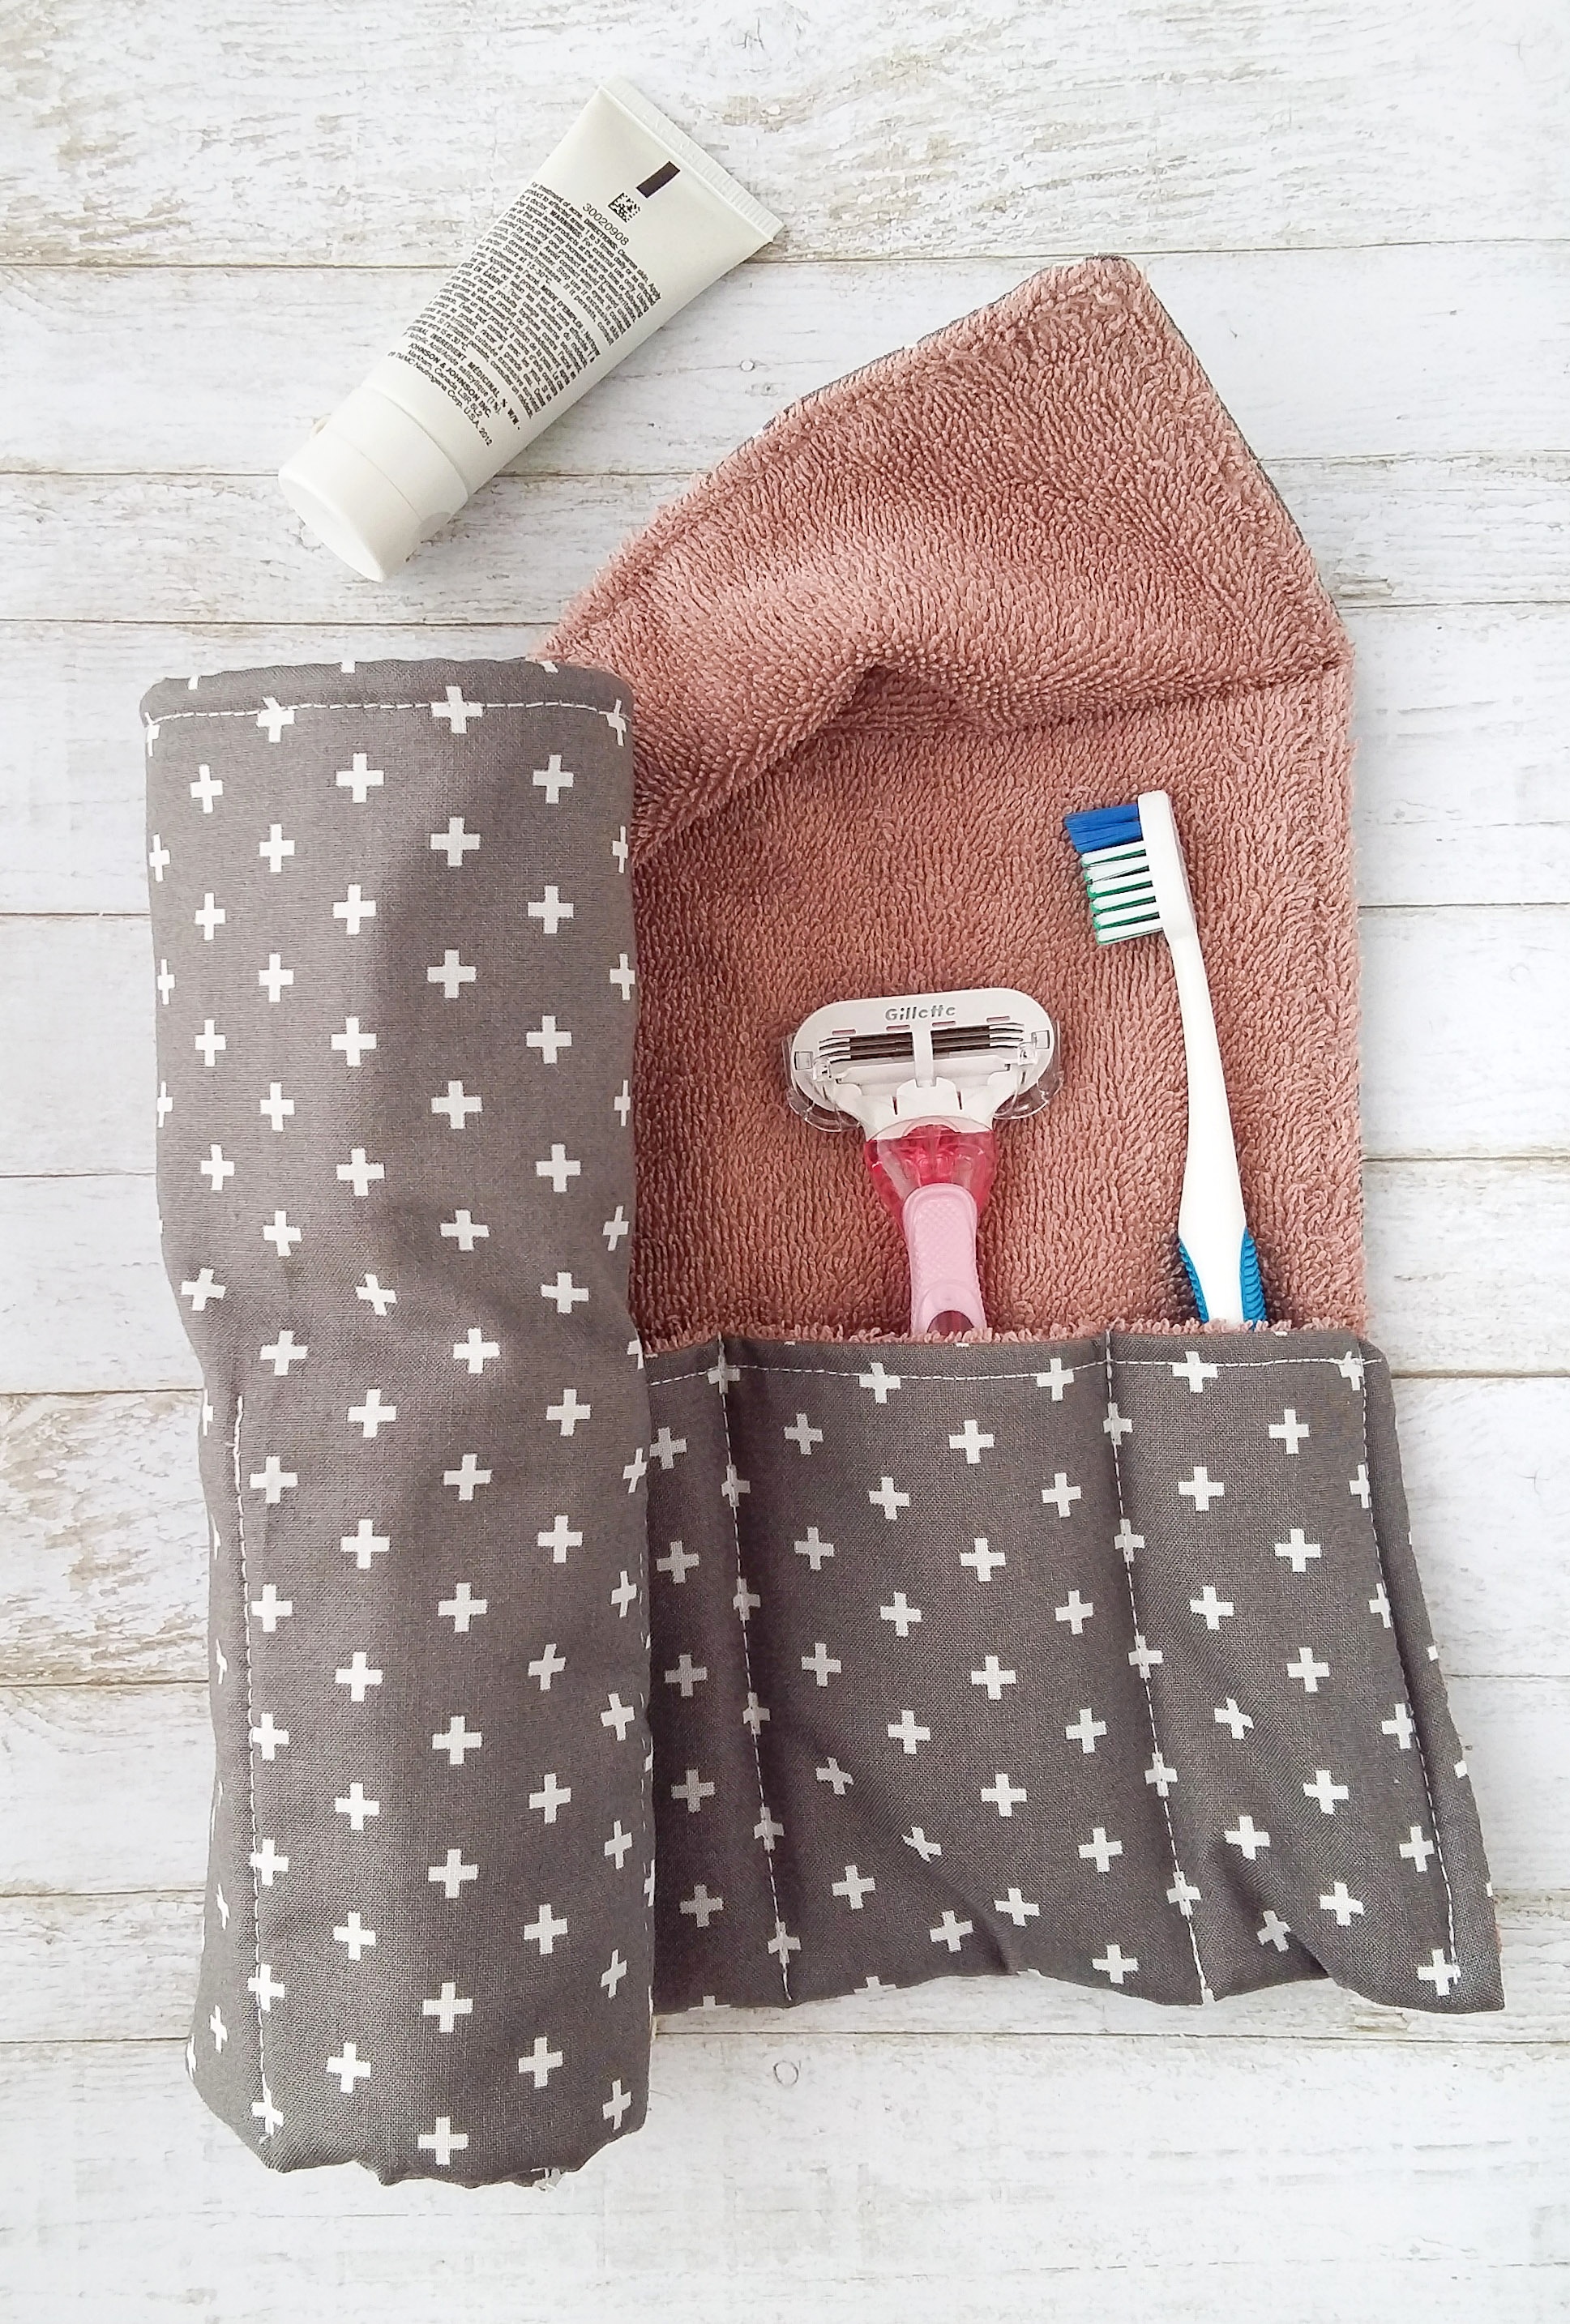
Fold up the wider bottom edge to meet (approximately) the halfway point and topstitch down each side to create a pouch. At this point I probably should have measured and lined things up properly, but I didn’t. The toothbrushes won’t know the difference.
Step 4.
Now you want to create the slots for your toiletries by stitching down the pouch at intervals. We’ve created excess fabric by tapering the edges of the wrap. That way you’ll be able to slide in your toothbrush easily without warping the shape of the wrap.
So first stitch down the very center line.
As you move along to the next lines, make sure you distribute the excess fabric evenly so each slot has a little give to it.