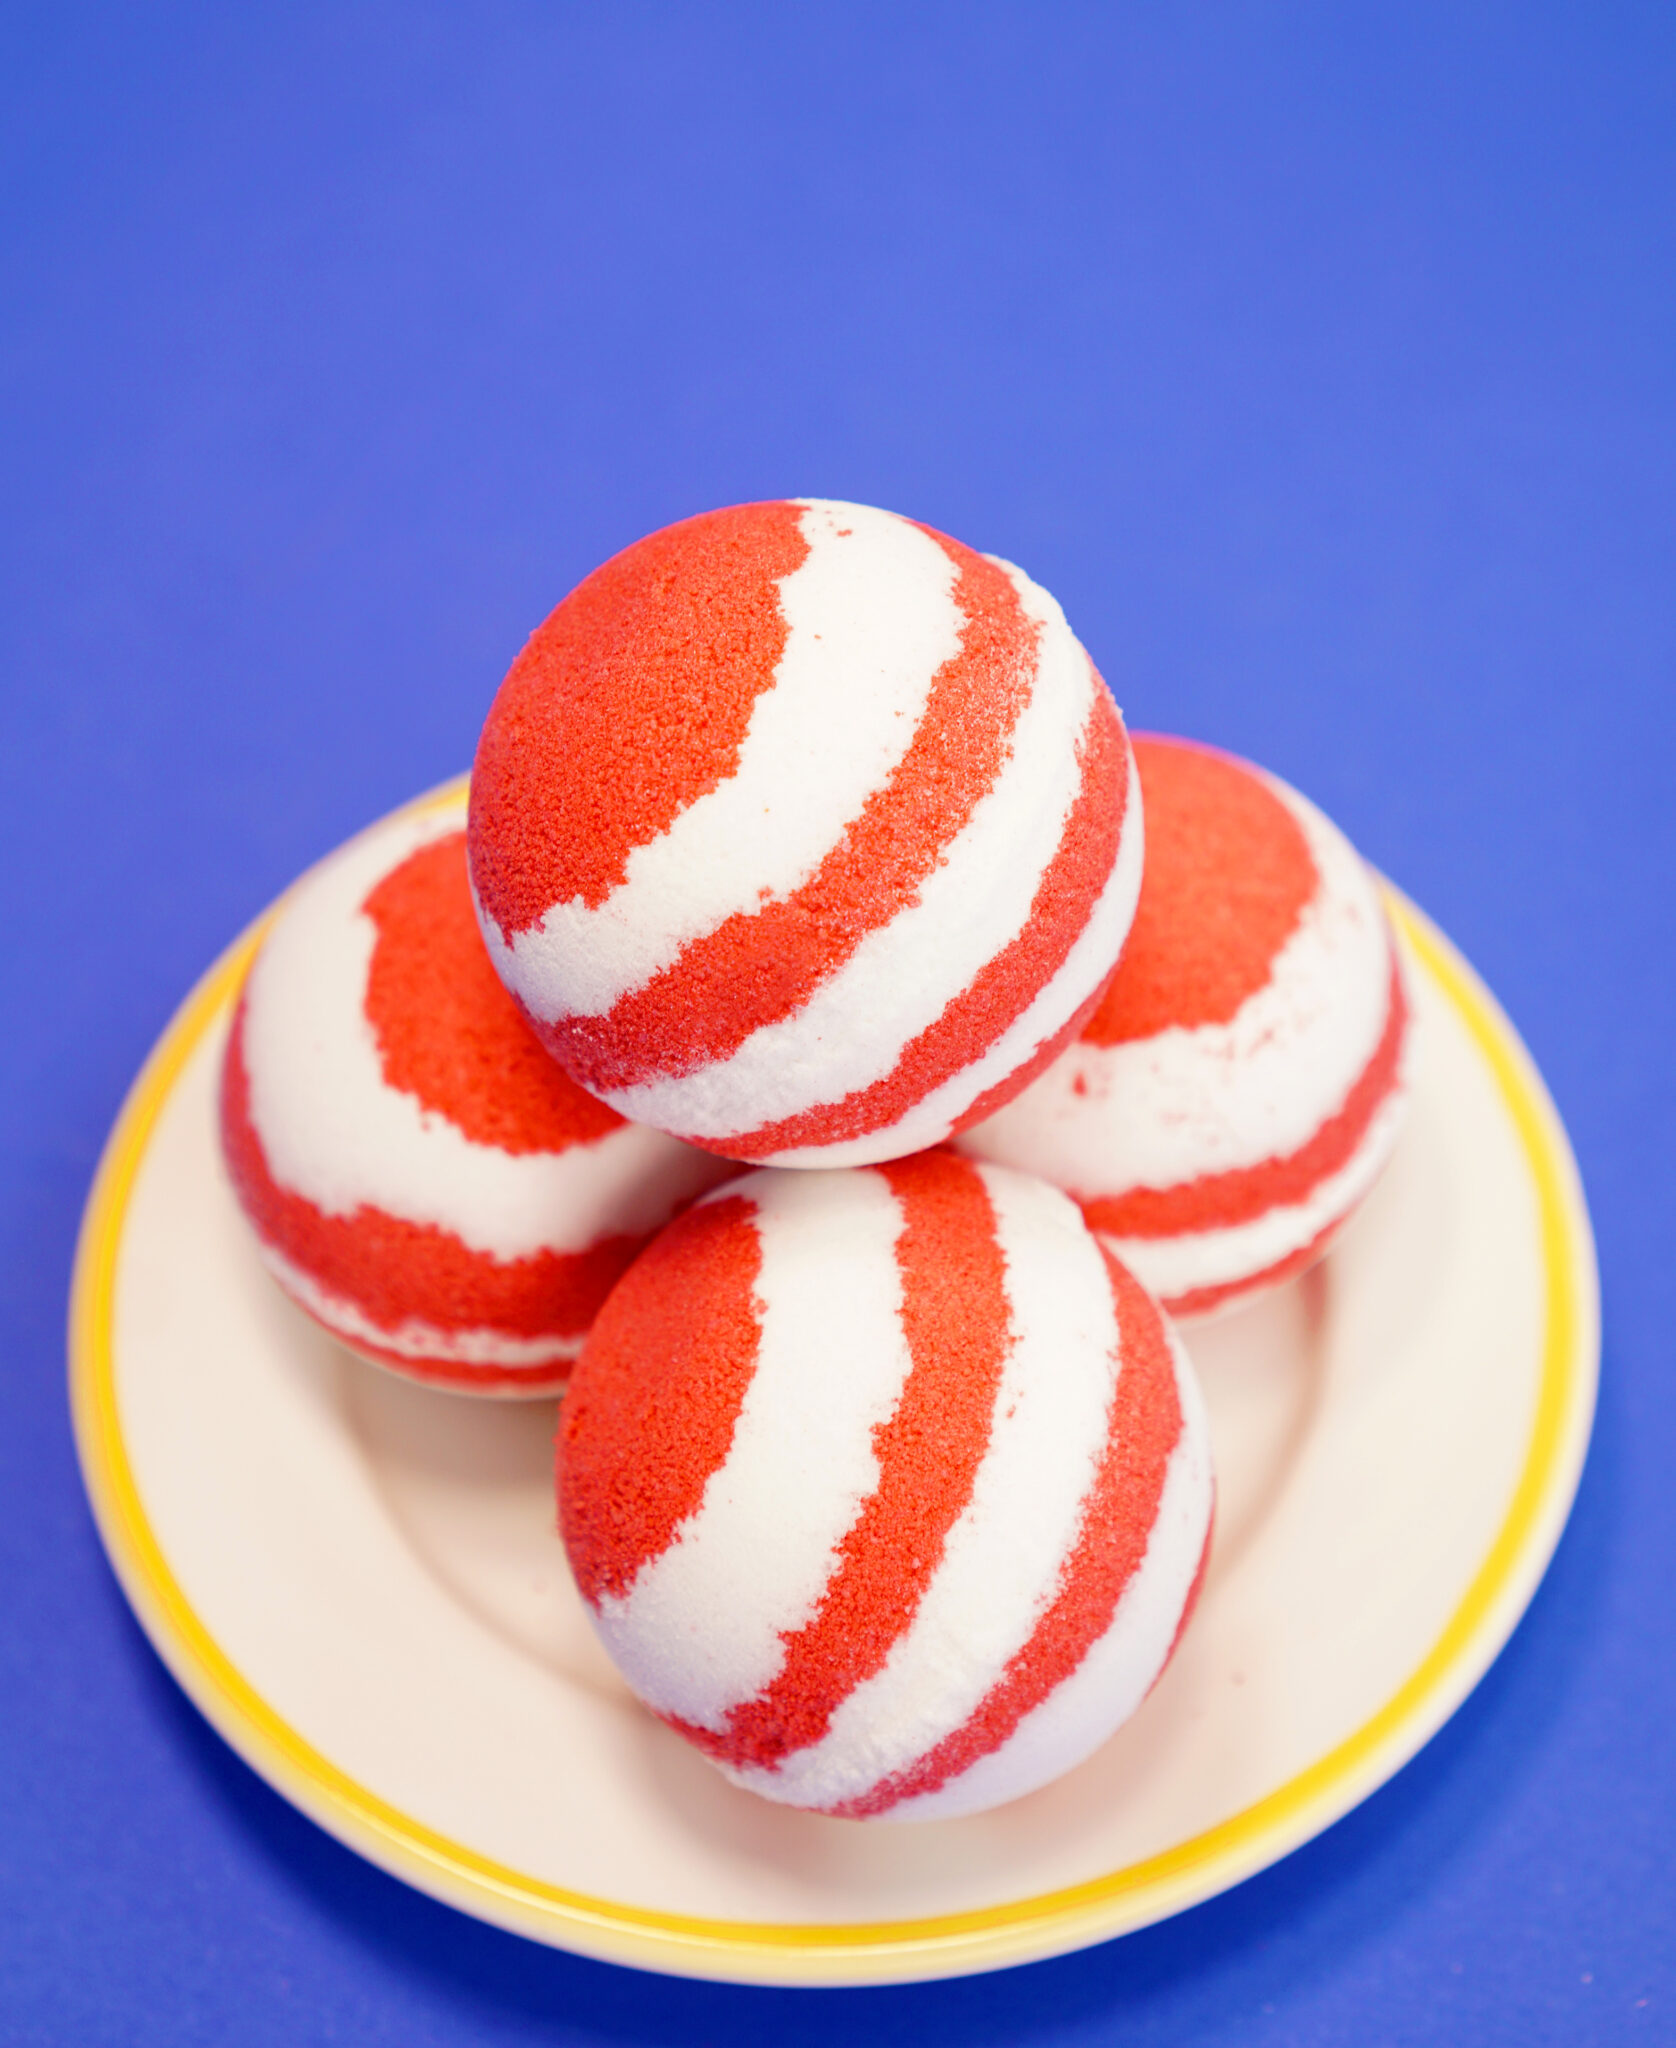
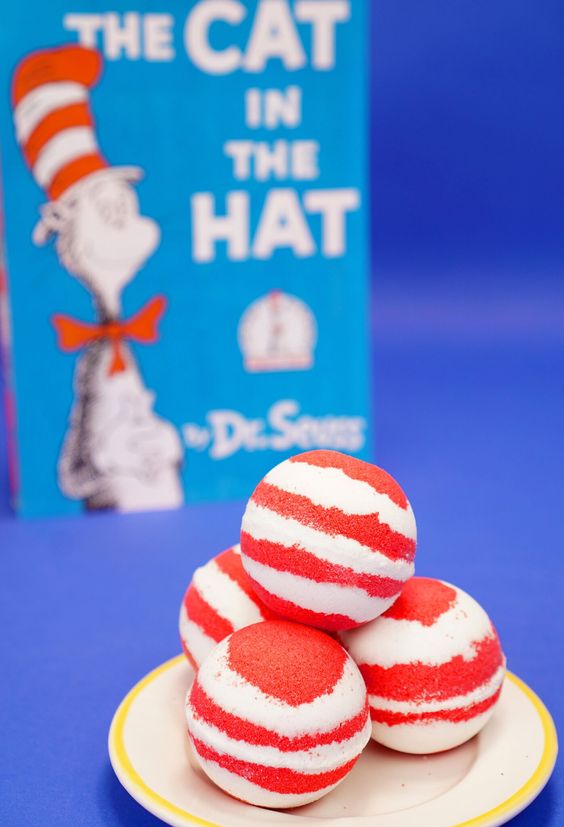
Dr. Seuss Cat in the Hat Bath Bombs
Imagine transforming your bath time into a whimsical and colorful experience with Dr. Seuss Cat in the Hat Bath Bombs. These bath bombs are not just your ordinary bath products - they are designed to add a touch of fun and magic to your daily routine. As soon as you drop one into your tub, watch as it fizzes and releases a burst of vibrant colors and delightful scents, turning your bathwater into a playful masterpiece. The Cat in the Hat theme adds a nostalgic and playful twist to your bathing experience, making it perfect for both children and adults who want to inject a bit of joy into their self-care routine. Whether you're a fan of Dr. Seuss or simply looking to add a touch of whimsy to your bath time, the Cat in the Hat Bath Bombs are sure to make a splash in your self-care routine. So why settle for a boring bath when you can turn it into a magical and enchanting experience with these delightful bath bombs?
SUPPLIES NEEDED FOR DIY BATH BOMBS:
- Baking Soda
- Citric Acid
- Cream of Tartar
- Sodium Lauryl Sulfoacetate (SLSA), optional (to add bubbles)
- Red Cosmetic Mica Colorant
- Fractionated Coconut Oil (or other oil of choice)
- Polysorbate 80
- Fragrance Oil or Essential Oil, optional (see notes)
- Witch Hazel, in a fine-mist spray bottle
- 2 1/2″ Round Metal Bath Bomb Molds
Important Notice:
The amount of fragrance oil and/or essential oil that will need to be added to your bath bomb mixture can vary widely depending on what you are using. Generally, fragrance oil can be added to the bath bomb mixture in 1/2 teaspoon increments until the desired amount of fragrance is reached. Essential oils are often far more potent than fragrance oil, so we recommend adding 15-20 drops of essential oil to each recipe to start and then adding more in 5-drop increments until the desired level of fragrance is achieved.
HOW TO MAKE RED AND WHITE STRIPED BATH BOMBS:
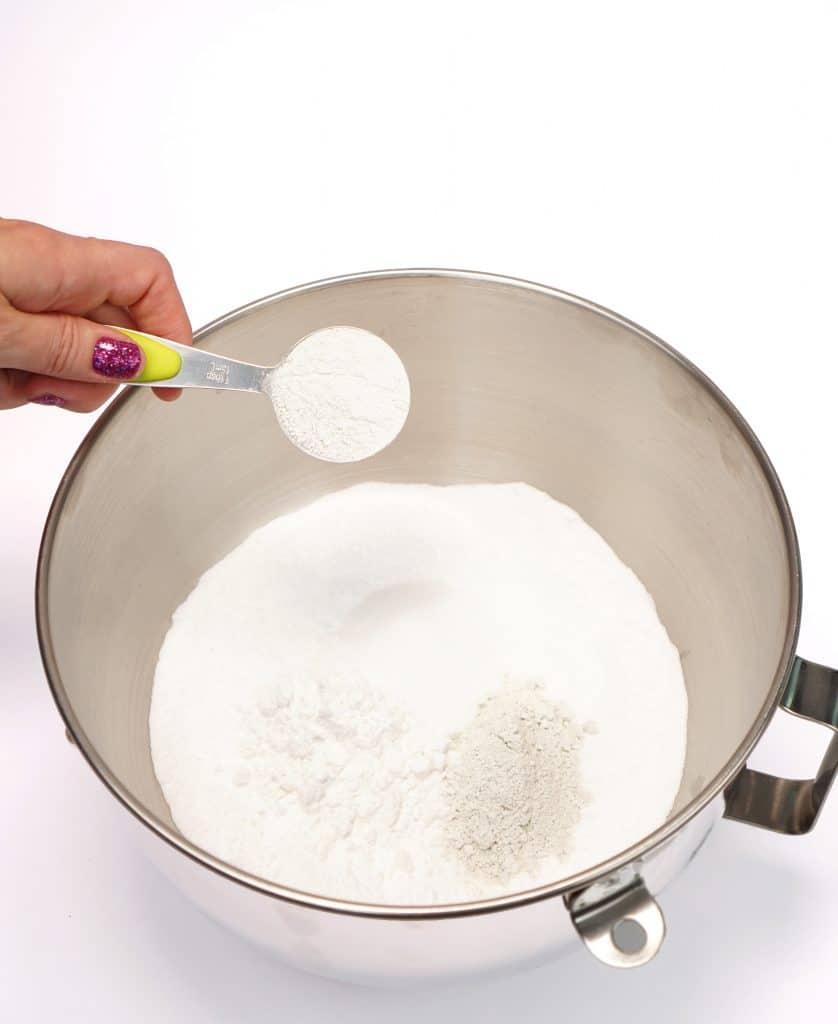
In a large mixing bowl, thoroughly combine the baking soda, cream of tartar, and SLSA powder.
Divide the dry mixture evenly into two medium bowls, and stir the red mica colorant into one of the bowls. Leave the second bowl uncolored.
In a small container (a 2-oz shot glass works great!), combine 1 tablespoon of fractionated coconut oil, 1/2 tablespoon of Polysorbate 80, and half of your fragrance or essential oil. Stirring constantly, slowly mix the liquids into the red dry ingredients until they are completely combined.
In a second small container, combine the remaining fractionated coconut oil, Polysorbate 80, and the remaining fragrance/essential oil. Stirring constantly, combine the liquid ingredients with the dry white ingredients.
Add 3/4 cup of citric acid to each of the bowls, and stir until it is fully incorporated into the mixture.
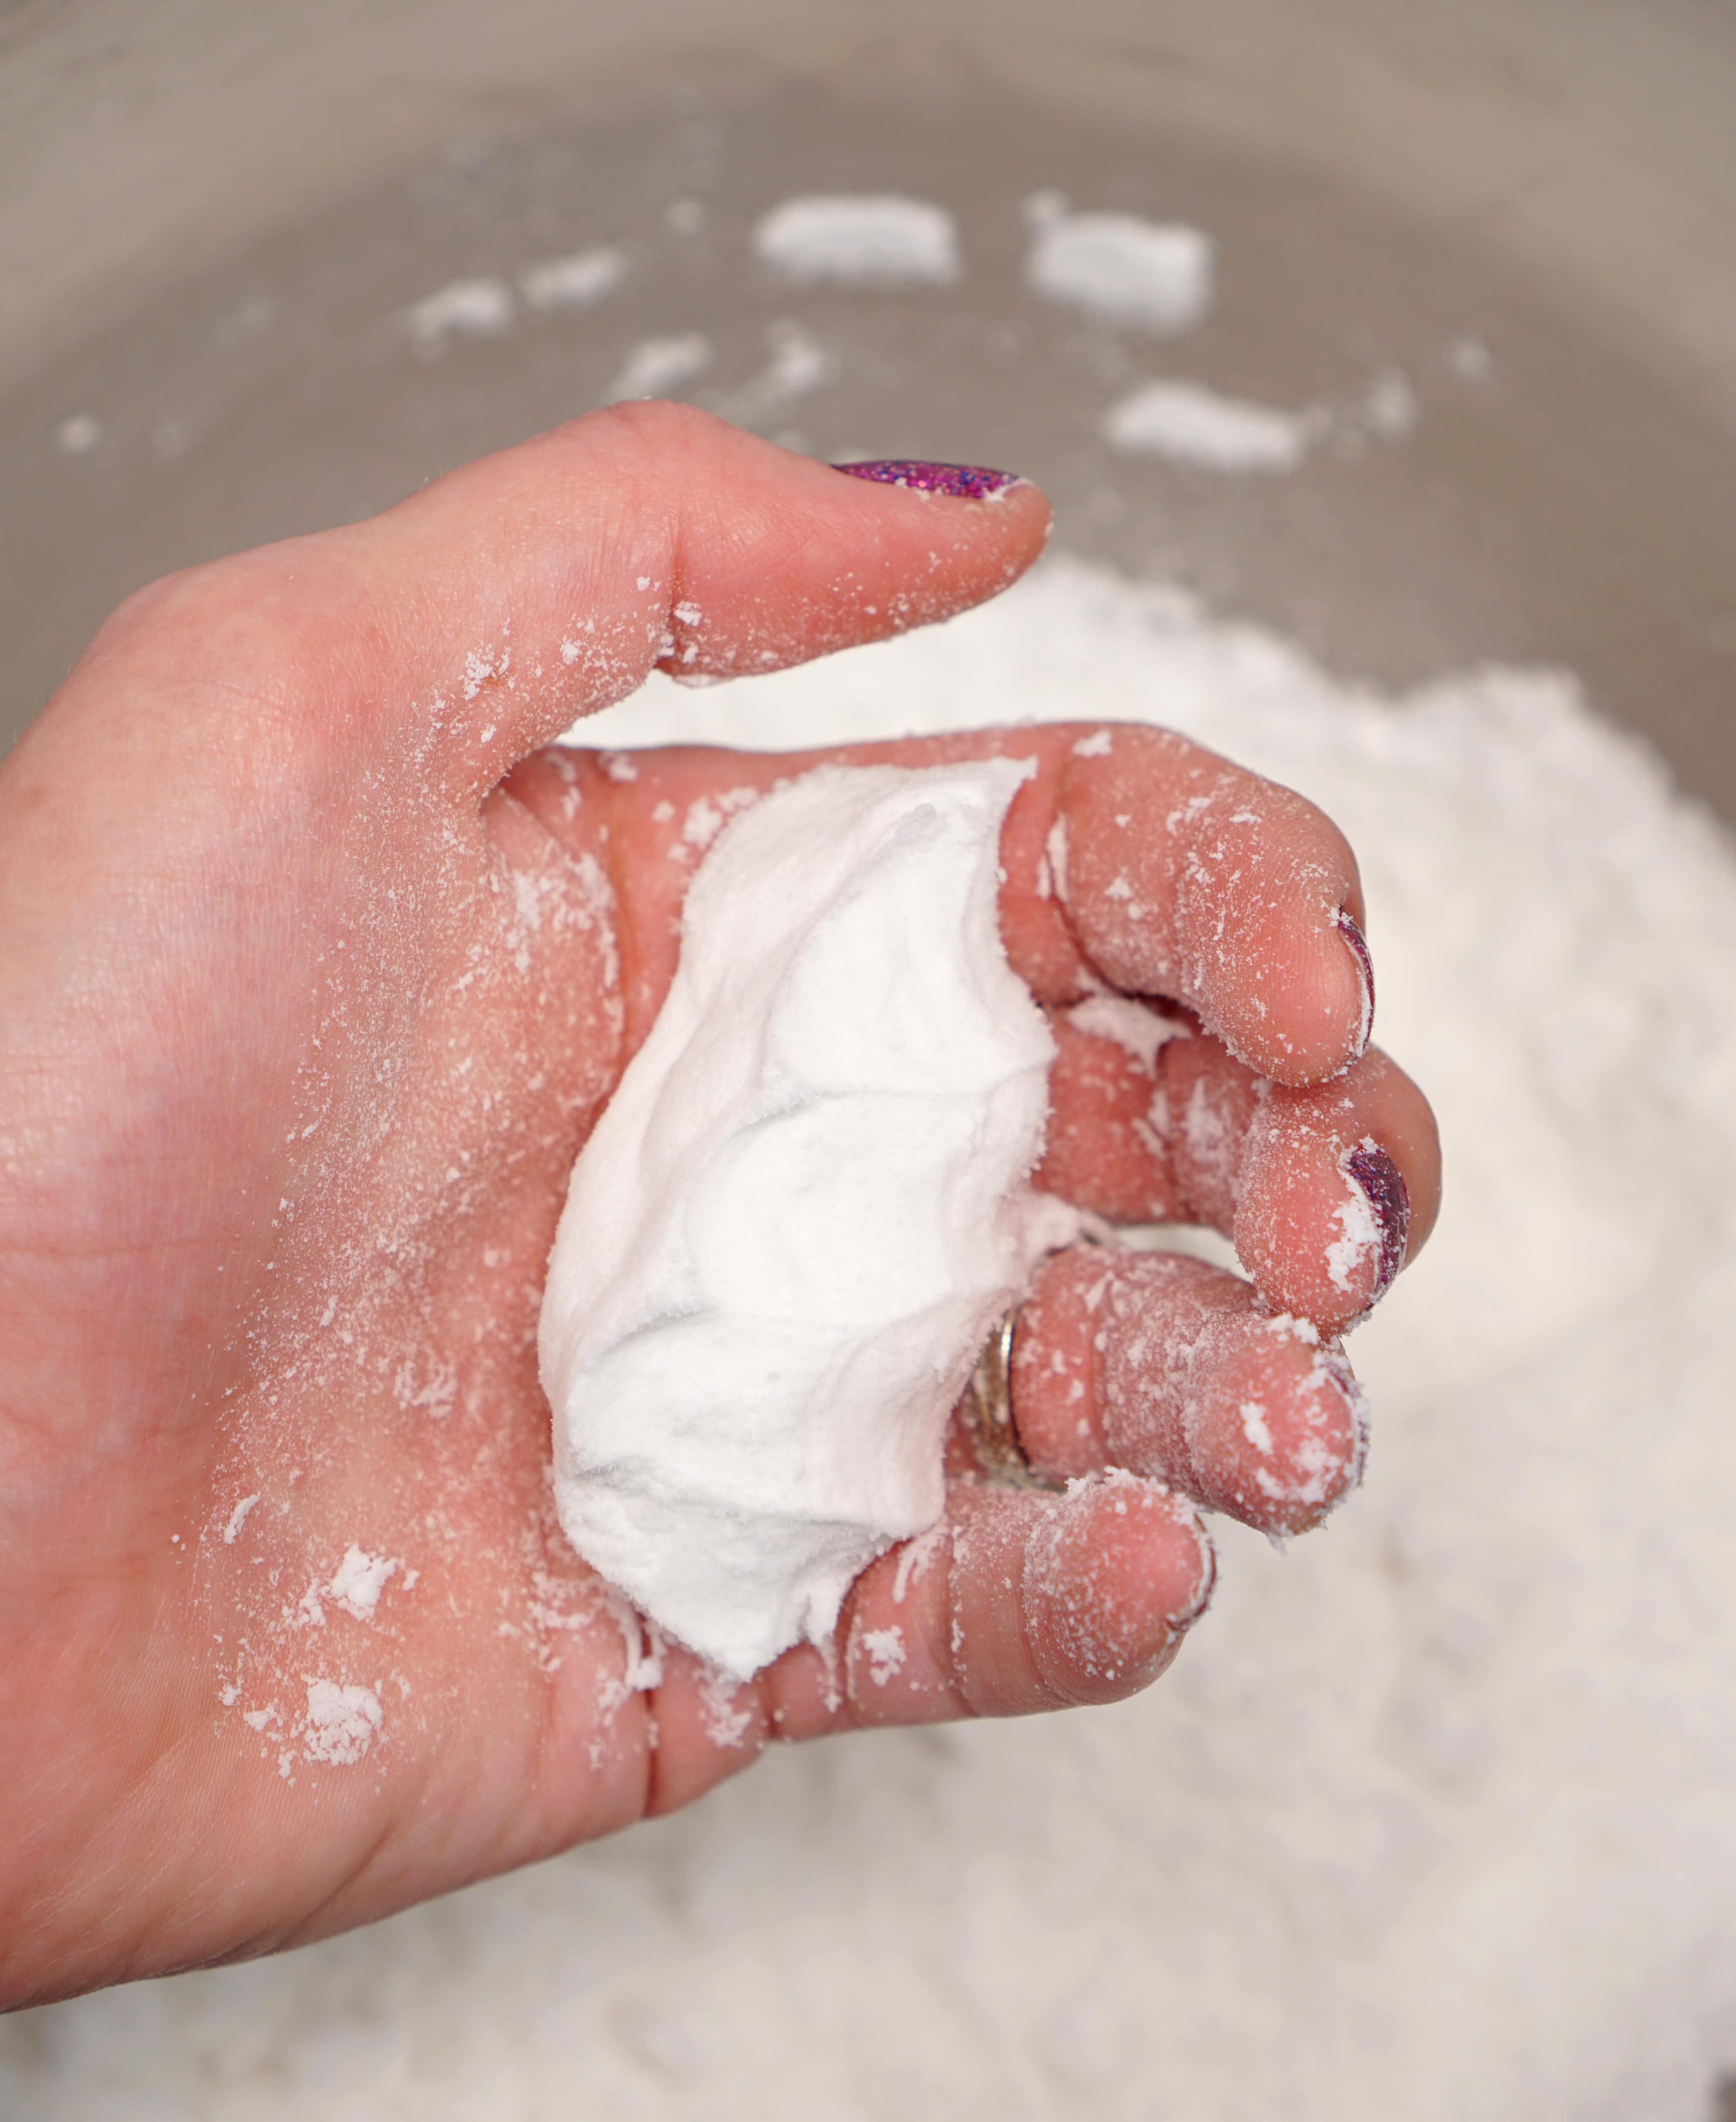
Test to see if the mixture is a moldable consistency – it should feel like slightly damp sand and hold together when squeezed in your hand.
If the mixture is not quite wet enough to mold, spritz it two to three times with a misting spray bottle of witch hazel and mix well. Repeat as necessary until the proper consistency is reached – it doesn’t need to be very wet, so don’t overdo it!
When both colors are ready to mold, fill both halves of the bath bomb mold with alternating stripes of the red and white mixtures. Make sure to overfill both sides of the mold a bit so that there is a slight mound to the top. Press both halves of the mold firmly together.
Carefully release the bath bomb from the mold (you can use a wooden spoon to lightly tap the exterior of the mold to help release the bath bomb, if necessary), place the bath bomb onto a cookie sheet or an egg-crate foam sheet and allow it to dry completely – this may take anywhere from 12-48 hours depending on the temperature and humidity of your location.
Expert Tip:
Do NOT allow the bath bomb to dry inside of the mold for longer than an hour! Exceeding this time may cause the bath bombs to expand and become stuck inside the mold!