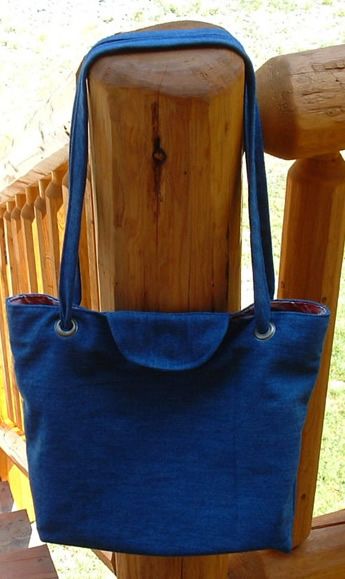
Denim Eyelet Tote Bag
Introducing the Denim Eyelet Tote Bag, a stylish and versatile accessory that is sure to turn heads wherever you go. Crafted from high-quality denim fabric, this tote bag combines the timeless appeal of denim with a modern twist. The eyelet detailing adds a touch of sophistication and uniqueness to the overall design, making it a must-have for fashion-forward individuals. Whether you're heading to the office, going for a casual outing with friends, or even running errands, the Denim Eyelet Tote Bag is the perfect companion. Its versatile design allows you to effortlessly pair it with any outfit, be it a chic dress or a casual jeans-and-tee ensemble. Upgrade your style game with this trendy and functional tote bag that effortlessly combines fashion and functionality.
Materials needed:
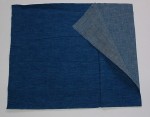
One piece of denim 28″ long by 16″ wide
Two denim strips 3″ wide by 38″ long for strap handles
One scrap piece of denim for flap
One piece of lining fabric 28″ long by 16″ wide and extra scrap pieces if pockets are added to lining
One magnetic closure
Thread for denim and lining
Four 7/16″ eyelets
One hammer
Finished Denim Eyelet Tote Bag Dimensions: 11″ wide by 10-1/2″ tall by 4″ deep with 30″ straps.
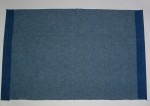
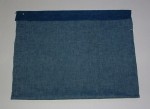
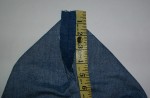
Cut one piece of denim 28″ long x 16″ wide. I cut my piece of denim on the fold so it was 14″ long x 16″ wide. With right sides together, I folded and pressed it in half with a hot iron and then turned down the top hem 1-1/2″ at the top as shown. Pin the sides and machine stitch 5/8″ seams down each side.

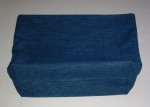
Clip open end seam and fold corner as shown. Mark each corner down 2″ inches to create a square bottom for the bag. Sew across on each corner as shown. Turn bag to the outside now with right sides facing out. You should have a nice square bottom now on your bag as shown.
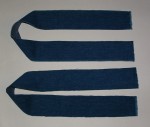
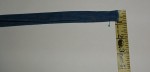
Cut two strips of denim for the straps 3″ wide by 38″ long. Fold over 5/8″ on each side and press with hot iron once to the center as shown and then fold over again. Your strap should be just under 1″ wide now.
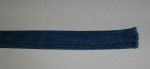
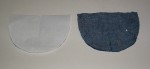
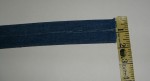
Machine sew each strap along the outside edge. I sewed very close to the edge as shown. Then I cut a flap template from a piece of paper 5-1/2″ wide by 3-1/2″ long. Using my template, I cut two pieces of denim to create my flap. With right sides together, I machine stitched around the outer edge of my flap and left the top open for turning. Turn and press flap to the outside. At this point, I added a magnetic closure to the flap and the front of bag before I lined it.
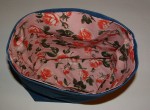
To line your bag, just repeat the same steps above as you did for the denim bag. But you do not turn your lining, leave the right sides on the inside so you can insert it into your denim bag. I also added a few pockets in my lining. I just cut a few pieces of fabric and made a couple of pockets and sewed them on before doing the side seams of the lining.

Once you have your lining completed, trim the seams and insert it into your denim bag. Pin the lining in place along the top edge. Slip your denim flap between the denim bag and the lining. Pin it in place to match your magnetic close on the front of the bag. Then machine stitch along the top edge all around your bag to secure the lining inside your denim bag.
I then put four 7/16″ eyelets in my bag. Two on the front and two on the back each about 3″ from the sides. Once you get the eyelets hammered in place, insert your denim strap handles and tie a knot on the inside of the bag as shown.
That’s it folks