DIY Concrete Planters from Cement or Concrete Mix
Using cement or concrete mix, you can transform ordinary planters into stylish and modern additions to your home or garden. Start by gathering all the necessary materials, including a mold or container of your choice, cement or concrete mix, water, and any additional decorative elements you desire. These DIY concrete planters are not only cost-effective but also provide a unique touch to your garden or indoor space. Experiment with different shapes, sizes, and finishes to create a stunning collection of planters that will surely impress your friends and family. So, roll up your sleeves and let your creativity flow as you embark on this fun and rewarding project!

Supplies
- Concrete mix / Cement
- Plastic bowl
- A stick
- Primary and secondary containers
- Rubber gloves
- Scissors
- Clear tape or bandage tape
- Golden acrylic paint and paintbrush
Instructions
Step 1: Making the Concrete Mixture
From Cement
In case you’re using cement, you’ll need sand as well. Measure 2 part cement and 3 parts sand, and mix them really well.
Pour a small amount of water into the sand and cement mixture and mix them well with the water, pour more water if the cement mixture is too thick. Make sure the mixture isn’t too thick nor too thin.
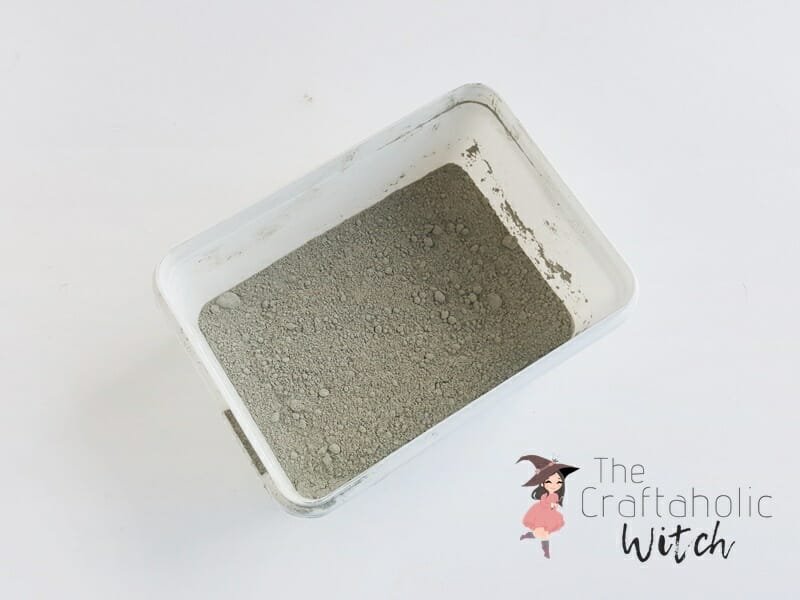
From Concrete Mix:
If you’re using the concrete mix, you can simply mix the concrete with water. Make sure not to add too much water and try keeping the mixture thick. Less water means more strength and less time to dry.

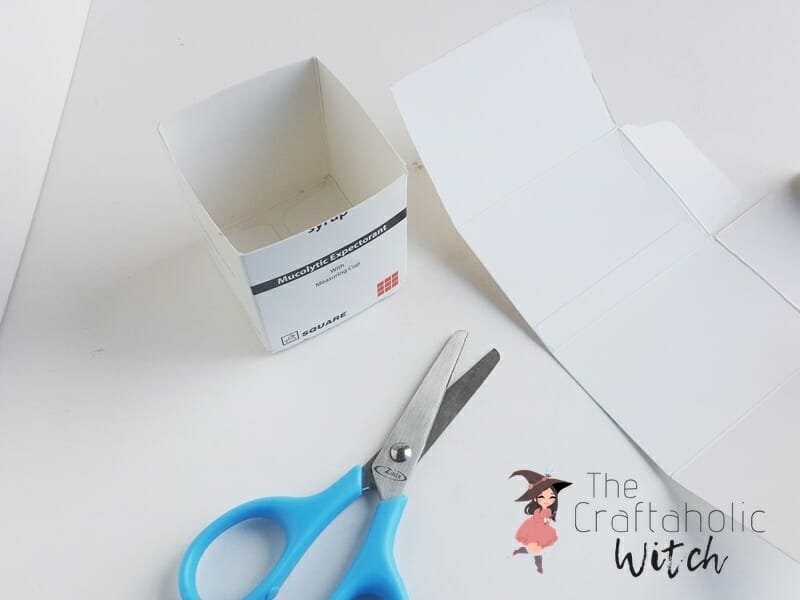
Step 2: Making Containers
For both primary and secondary containers, I used paperboard containers (such as, milk cartons, medicine syrup cartons, etc.).
Paperboard containers are easy to find and I’m quite sure all of us have 2 or 3 paperboard containers in stock. I used a regular-sized medicine syrup paperboard container for the primary container and eye drop container for the secondary container. Or more precisely, use a big carton for the primary container and a relatively smaller carton for the secondary container.
Cut off the top of the cartons using a scissor or x-acto knife. The secondary container should be longer than the primary container.
Step 3: Cover Outer Surface of Primary Container to Prevent Leakage
Use bandage tape or duct tape or brown tape to wrap and cover the entire outer surface of the primary container.

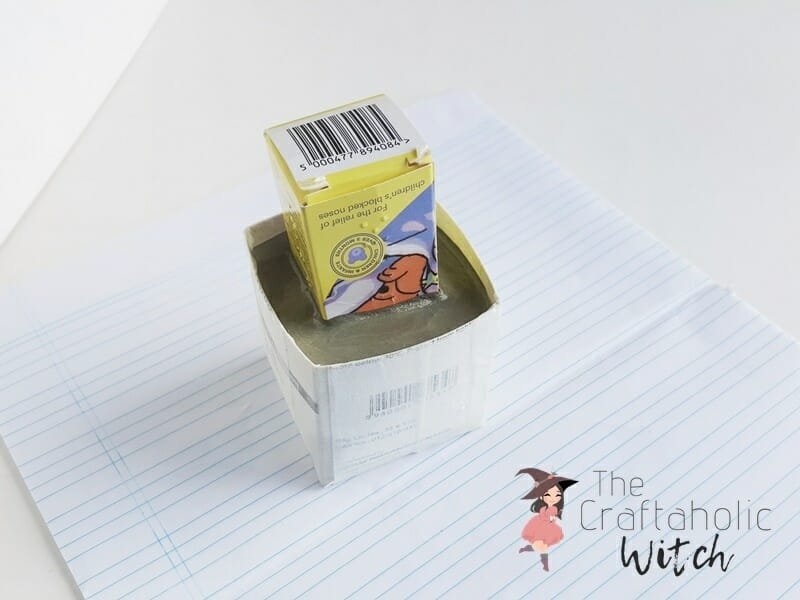
Step 4: Fill the Container with Mixture
Time to fill the primary container with mixture. Fill about 2/3 of the primary container with the cement mixture.
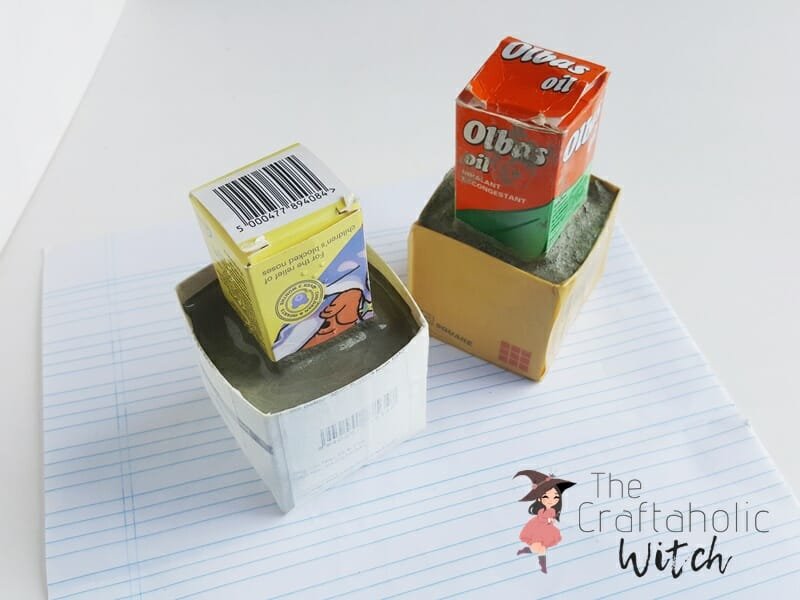
After filling the 2/3 of the primary container, put the secondary container right in the middle of it and push it in gently. Make sure that the secondary container doesn’t touch the bottom of the primary container. To be safe make sure to measure the height of both containers and push the secondary container in the mixture by keeping at least 2 cm above the primary container’s bottom.
Step 5: Allow the Mixture to Dry
Place something heavy on top of it or else the secondary container will be pressed up.
Now allow the cement/concrete to dry, it’s better to wait 24 hours for the cement/concrete to dry.
Step 6: Remove the Containers
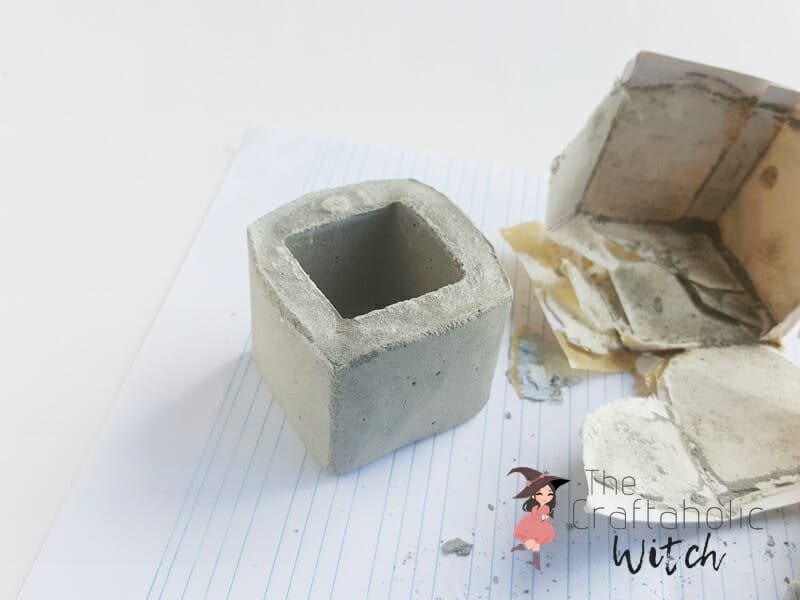
After the concrete dries carefully remove the containers. The secondary container can be removed easily.
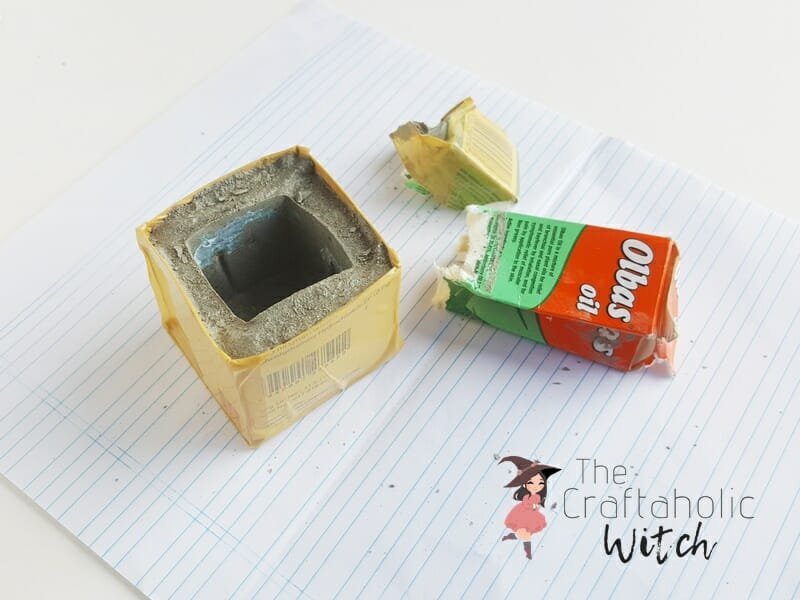
After removing the secondary container carefully remove the primary container too.
Step 8: Sanding and Painting the Concrete Planter
Use sandpaper to give the planter a finished look if you’re not a rustic look lover.
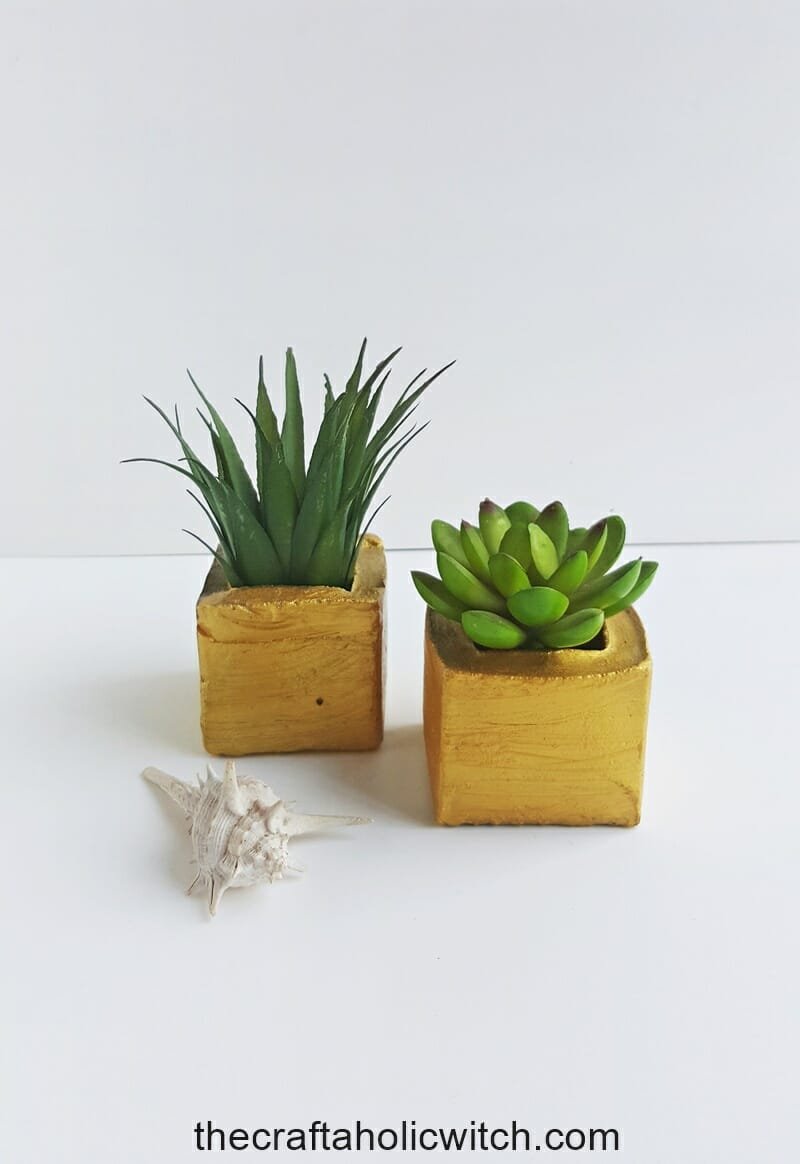
I applied 2 coats of gold acrylic paint as I already have a bunch of plain concrete planters.
Once the paint is completely dried, you can add soil and plants to them.
Safety Rules
- Don’t forget to wear rubber gloves before mixing the concrete.
- Do not touch your eyes or ears while mixing cement or working with a concrete mix.
- Consider wearing protective glasses.
- If you are allergic to dust then try to avoid the project or wear face masks.