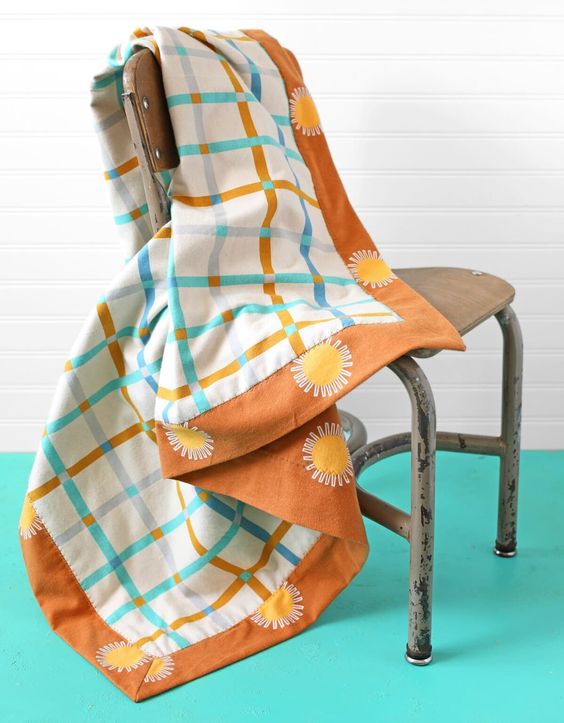
Self-Bound Flannel Baby Blanket
Introducing the Cozy Comfort Flannel Baby Blanket! This incredible self-bound blanket is designed to provide the utmost comfort and warmth for your little one. Made from premium quality flannel fabric, it is incredibly soft to the touch, ensuring a gentle and soothing experience for your baby. The flannel fabric used in this blanket is carefully selected to be hypoallergenic and gentle on your baby's delicate skin. It provides a cozy cocoon of warmth, perfect for snuggling up during naptime or bedtime. The generous size of the blanket allows for versatile use, whether it's for swaddling, tummy time, or simply providing a soft surface for your little one to play on.
Materials Needed
- 1 1/3 yard flannel fabric for border and backing (orange fabric in photos)
- 1 yard flannel fabric for center (plaid fabric in photos)
- Sewing Machine
- Quilting Ruler, Rotary Cutter and Quilting Mat OR Fabric Scissors
- Coordinating Thread
You’ll want to choose two fabrics that coordinate. If using a stripe or plaid, I suggest using that fabric for the smaller center section so it’s easier to keep the design lined up.
Instructions
Step 1- Cut two perfect squares of flannel: one 43×43 inch and one 36×36 inch. If your fabric is not quite wide enough for a 43 inch square, just go with a 42 inch square.
Note: The easiest way to get perfectly square pieces of fabric is to use a quilting ruler, cutting mat and rotary cutter. If you don’t have these, you can still make this blanket! Just use something like a piece of cardstock to help you get very square corners and cut with fabric scissors.
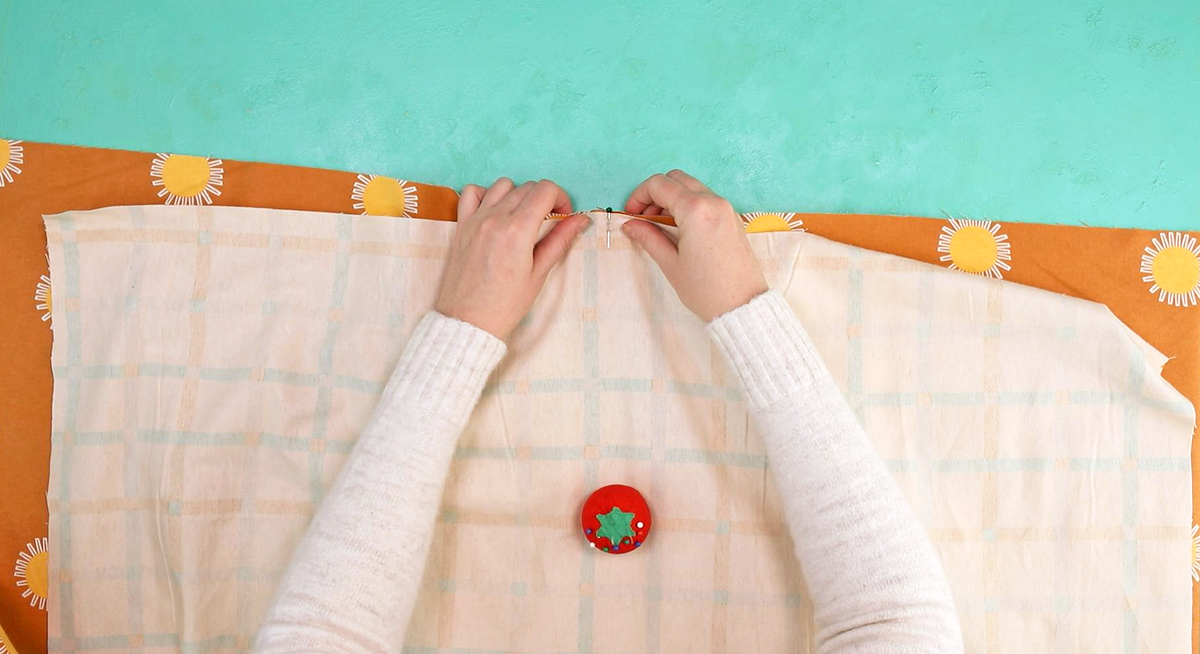
Step 2- Mark the center of each side of the largest square on the front side of the fabric and mark the center of each side of the smallest square on the back side of the fabric.
Step 3- Place the two pieces of fabric right sides together, then line up the center marks and pin them in place. This means that the large square will hang off the edges of the small square. You are lining them up in the middle of each edge, not the corners.
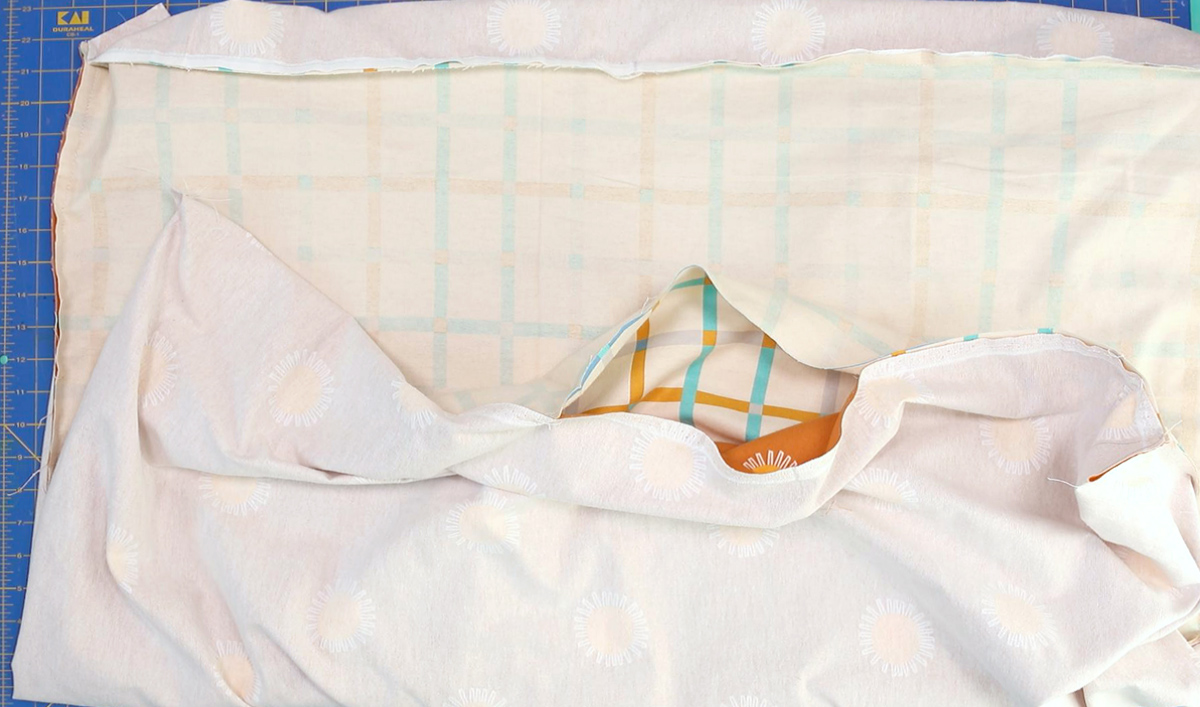
Step 4- Line up the outside edges of the fabric and sew them together as far as the smaller fabric overlaps. Make sure you’re keeping the fabric aligned based on the center pins. Skip over the bunchy corner and sew the next side. Repeat for the third side. On the fourth side, sew the two ends and leave a hole in the center area for turning. You don’t want the turning hole to be near the corner or it will mess up the miters.
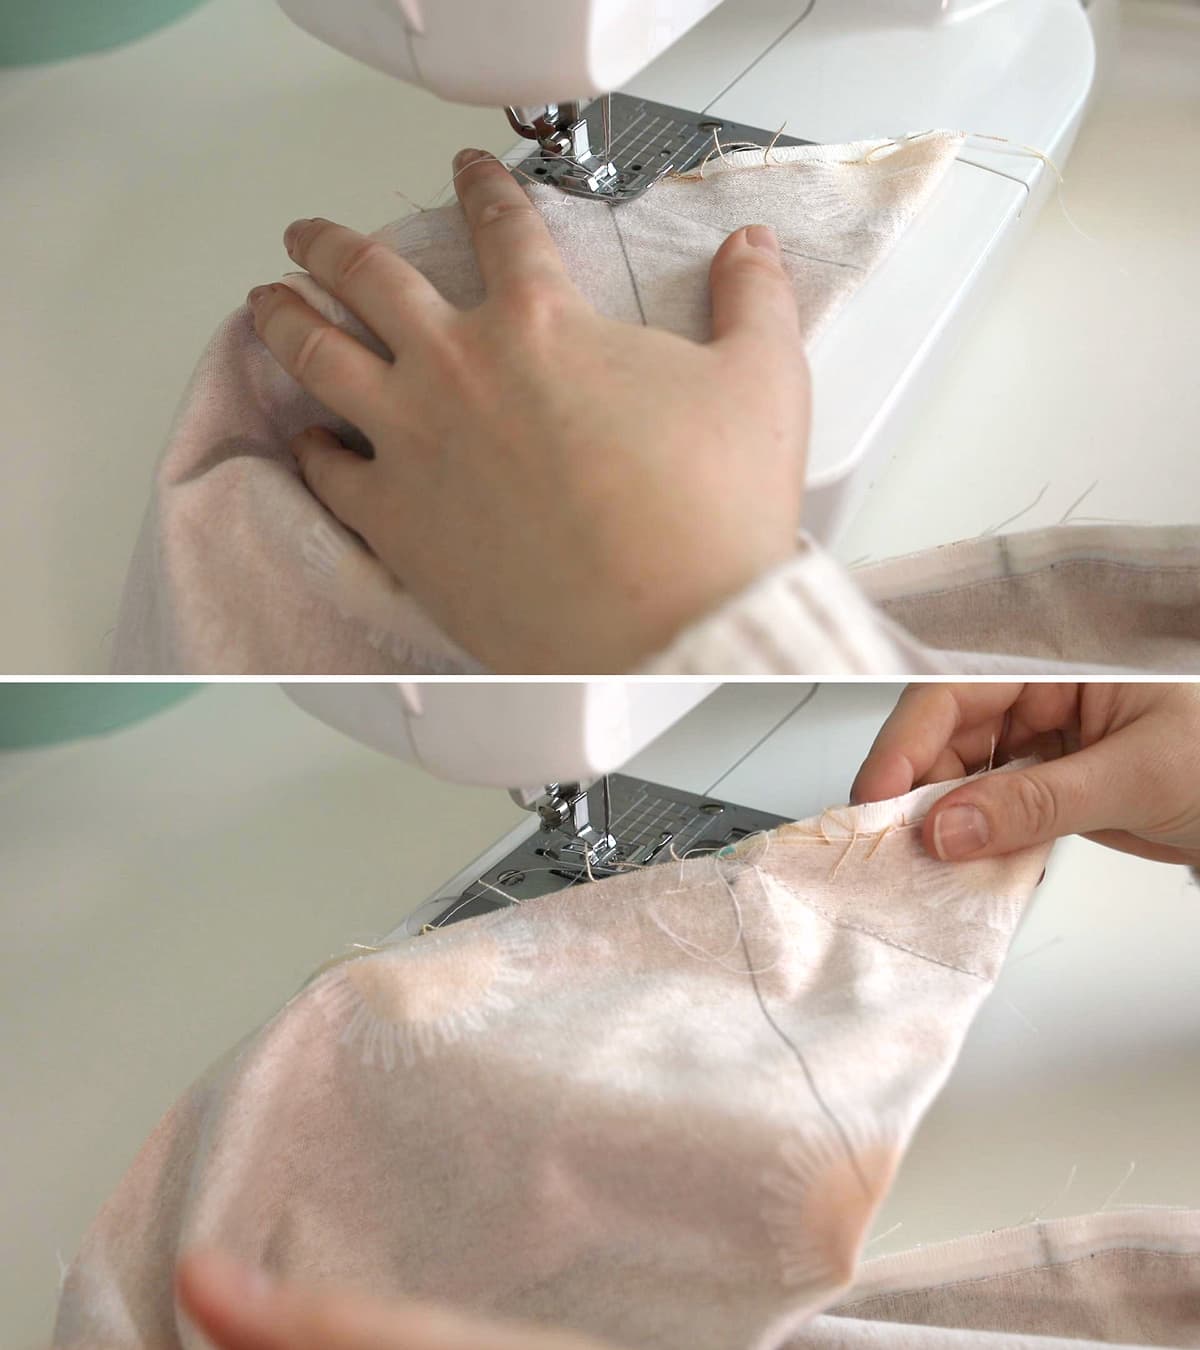
Step 5- Now it’s time to work on the corners. Fold one sewn edge over to an adjacent sewn edge to form a triangle with the blanket corners in the corner of the triangle. Line up the flat edge with the lines on your cutting mat. Draw a 90 degree line from the stitch stopping point. Fold the corner down and make a crease. Draw a line in the crease. This is the line you will sew. It’s a 45 degree angle from the stitch stopping point. Watching the video will really help this make sense.
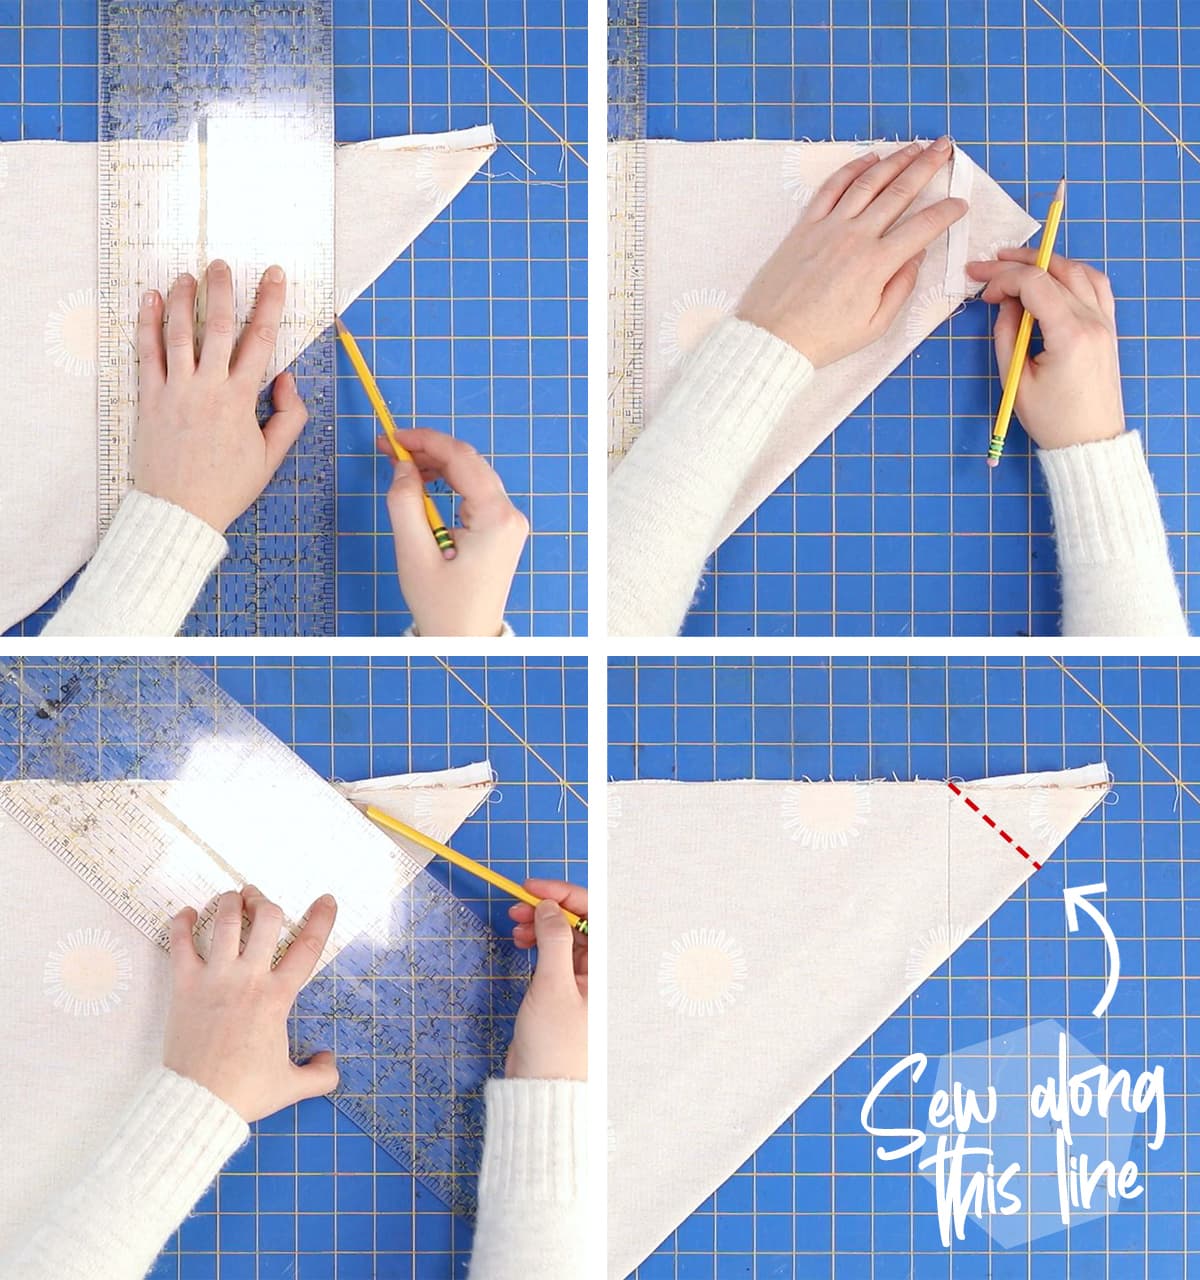
Alternately, if your quilting ruler has a 45 degree line, just line it up and draw the 45 degree line so that it goes through the stitch ending point. You can see how I did this in the video below.
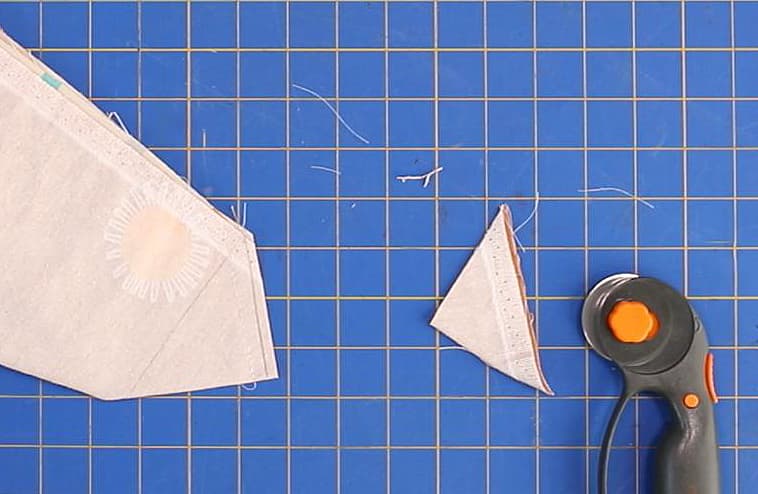
Step 6- Stitch along the lines you marked. Repeat on all four corners.
Step 7- Clip the excess fabric off each corner, leaving a standard 5/8 inch seam allowance.
Step 8- Turn blanket right side out through the turning hole you made earlier. Press your fingers into each corner to make sure they’re turned out all the way.
Step 9- Even if you are anti-ironing, you HAVE to iron this baby down before sewing if you want it to look nice. Iron until the entire blanket lays flat and the mitered corners are smooth and nice. Pay special attention to the hole used for turning and make sure to iron down those edges so they are ready to be sewn down.
Step 10- Sew around the entire blanket with a zig zag stitch, centering it right over the seam between the two fabrics. This keeps the blanket in place and also closes the hole you used to turn the blanket.
And that’s it. Your blanket is done!