Create your own stylish and practical nursing cover with this easy-to-follow sewing pattern. Whether you're a beginner or an experienced seamstress, this pattern will guide you through the process of making a functional and fashionable cover for breastfeeding on the go. With detailed instructions and clear diagrams, you'll be able to customize your cover to suit your personal style and preferences. Say goodbye to boring and uncomfortable nursing covers - with this pattern, you can make one that is both comfortable for you and your baby, as well as trendy and chic. The adjustable straps and neckline ensure a perfect fit every time, making it easy to nurse discreetly and comfortably in any setting. Whether you're looking to make a thoughtful gift for a new mom or simply want to treat yourself to a stylish accessory, this pattern is the perfect solution for creating a nursing cover that is as unique as you are.

I started with one yard of super soft, lightweight knit fabric
Choose something that will be breathable and preferably non-wrinkley.
So I drew up some instructions for you to follow instead of taking pictures:
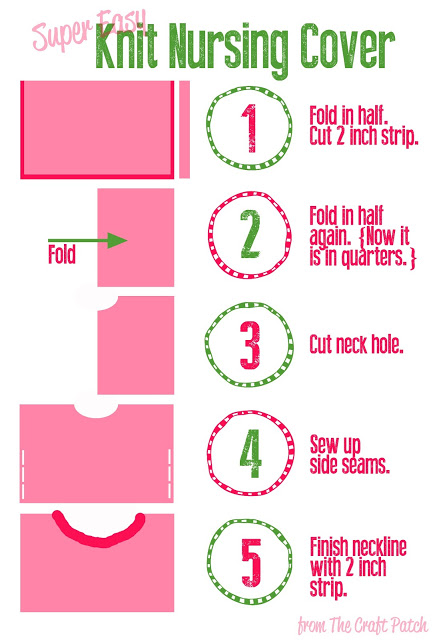
Step 1. Fold your fabric in half and square up all the sides. Then cut a 2 inch strip from one end of the fabric and save this piece for later.
Step 2. Fold the fabric in half again, so that it’s in fourths.
Step 3: Cut a neck hole from the corner of the fabric that would be in the center if you opened the fabric up all the way. My hole measured about 3 1/2 inches from the corner to where I cut on each edge. You want a big enough hole that you can peak in on baby, but small enough that it stays on your shoulders and doesn’t gap or hang open.
Step 4: With right sides together (meaning the cover is inside out), sew up the side seams, leaving holes at the top for your arms to go through. I sewed it up about 3/4 of the way, then tried it on and adjusted from there. I left the bottom and side edges raw, but you could easily finish them by folding the edges under or doing a narrow hem on your serger. I just figured that was an extra step that I didn’t need to do since knit fabric doesn’t fray.
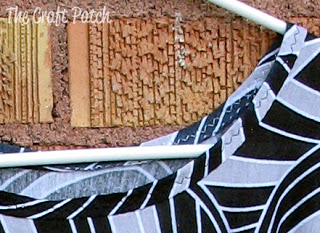
Step 5: Finish off the neckline using the 2 inch strip of fabric you cut in the beginning. Basically, you are going to use the strip of fabric like it’s binding tape. Starting in the back center of the neck hole, line up the edge of the neck with one edge of the strip, right sides together. Sew around the entire circle. Then fold the fabric around to the back and sew it down again. Here’s a close up of mine:
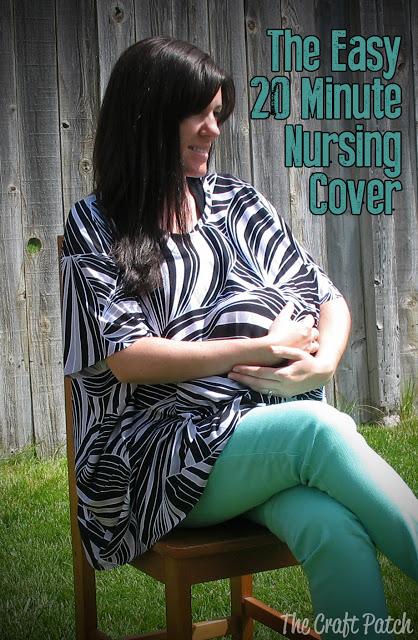
Then you are all done! I love how the cover looks like a shirt but has plenty of room for baby: