Half-Square Triangle Patchwork Pincushion
Create a charming pincushion using a patchwork design made up of half-square triangles. This unique pincushion will not only be a practical sewing accessory but also a beautiful addition to your crafting space. By carefully arranging the half-square triangles, you can achieve different patterns and color combinations to suit your personal style. The patchwork technique adds a touch of creativity and flair to an otherwise ordinary pincushion, making it a fun and rewarding project for any sewing enthusiast. Experiment with different fabrics and colors to customize your half-square triangle patchwork pincushion to match your sewing room decor or to give as a thoughtful handmade gift to a fellow crafter. The process of creating the patchwork design can be a relaxing and enjoyable way to spend an afternoon, allowing you to express your creativity through fabric selection and arrangement. Whether you are a beginner or an experienced quilter, this project offers a great opportunity to hone your skills and create a practical yet beautiful item that will be used and appreciated for years to come.
Materials:
- cotton fabric in two different patterns (measurement depend on how large you want to make the pincushion).
- pins
- cutting board
- rotary cutter
- quilting ruler
- matching thread
- sewing machine
- pressing iron
- blunt tool for pushing corners
- small pom pom
- hand stitch needle
- poly-fill
- elastic
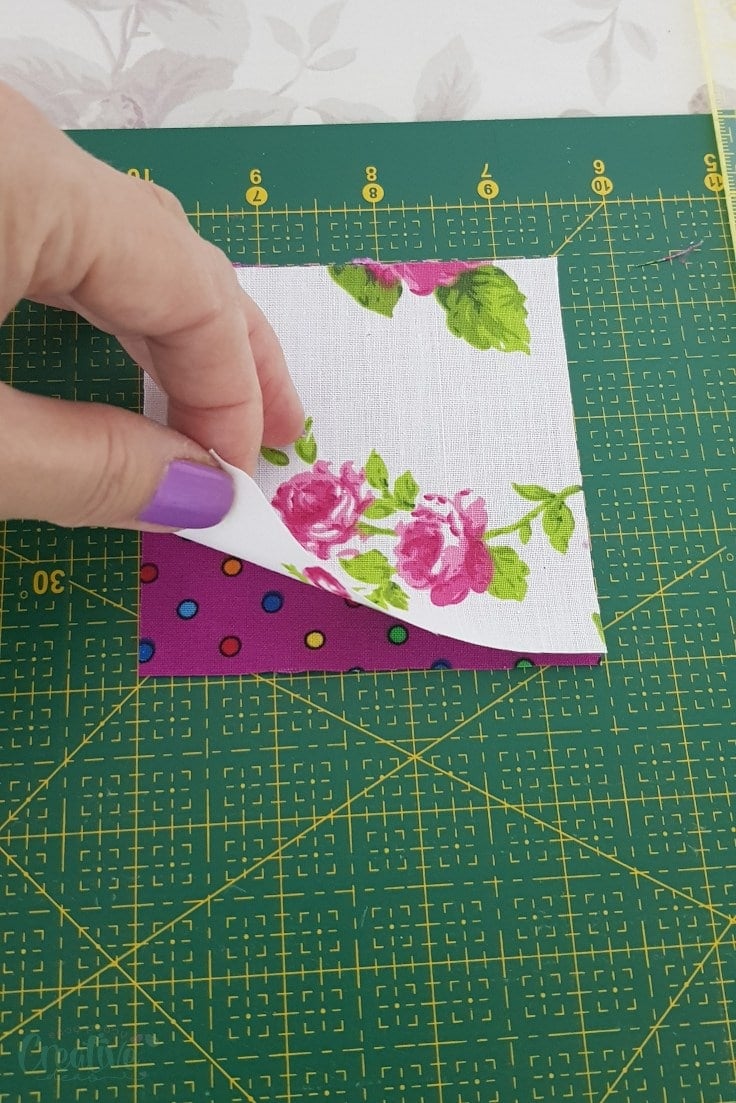
- Use your quilting ruler, cutting board and rotary cutter to square up the fabrics to the desired size. For my small pincushion I cut my squares 3 1/2″ x 3 1/2″.
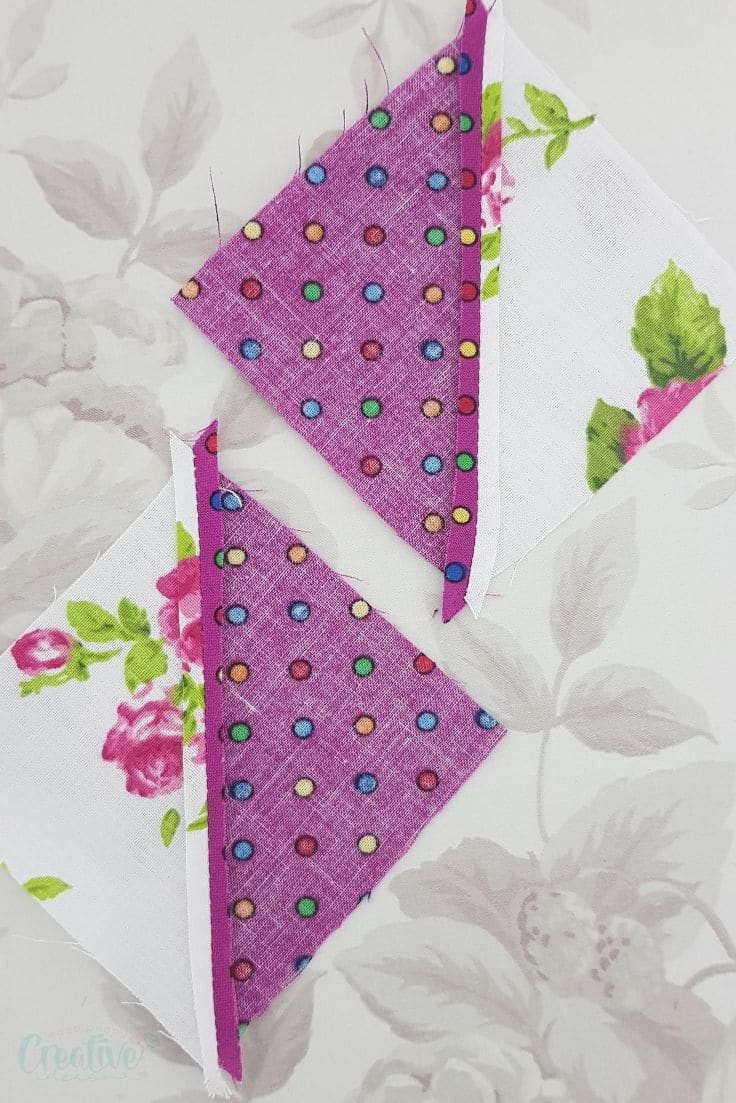
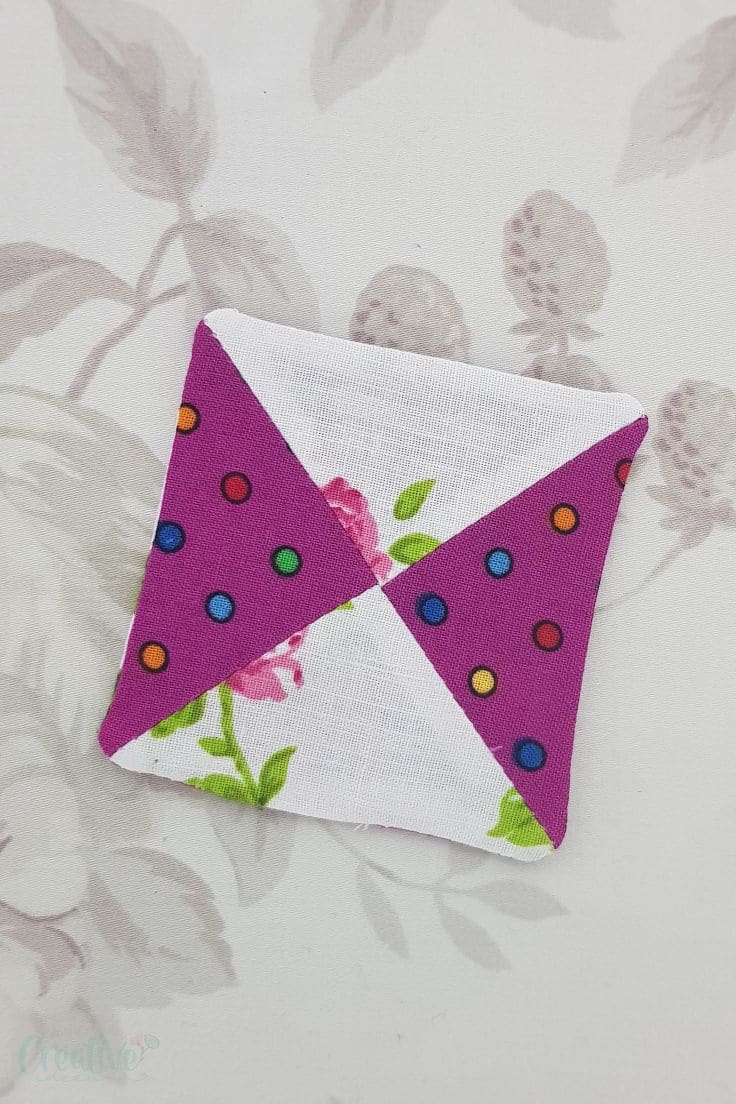
- Place the squares right sides together.
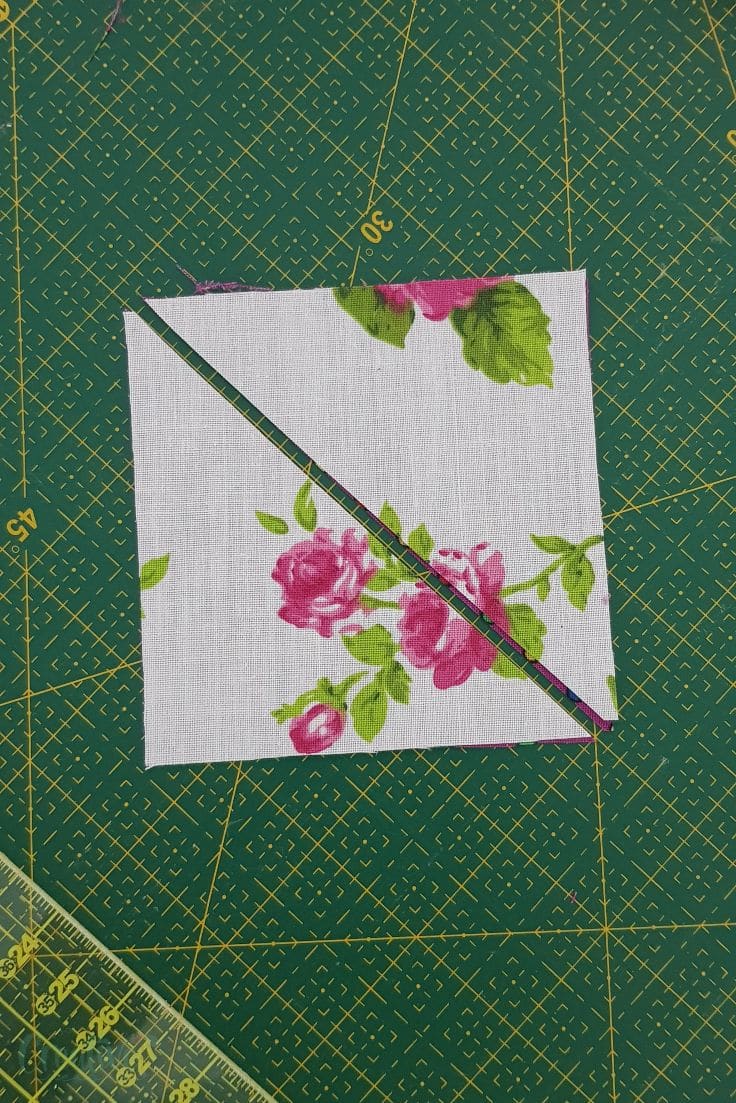
- Cut on the diagonal to split the squares into 2 separate sets of triangles.
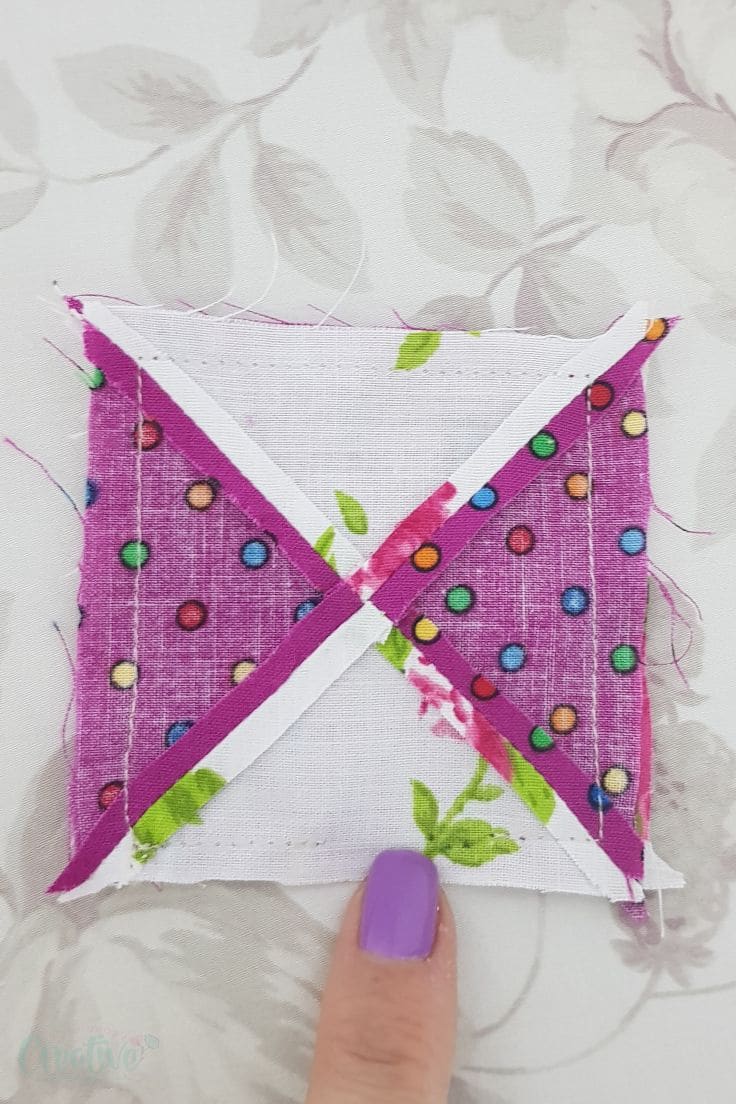
- Sew each set along the diagonal, with 1/8″ allowance.
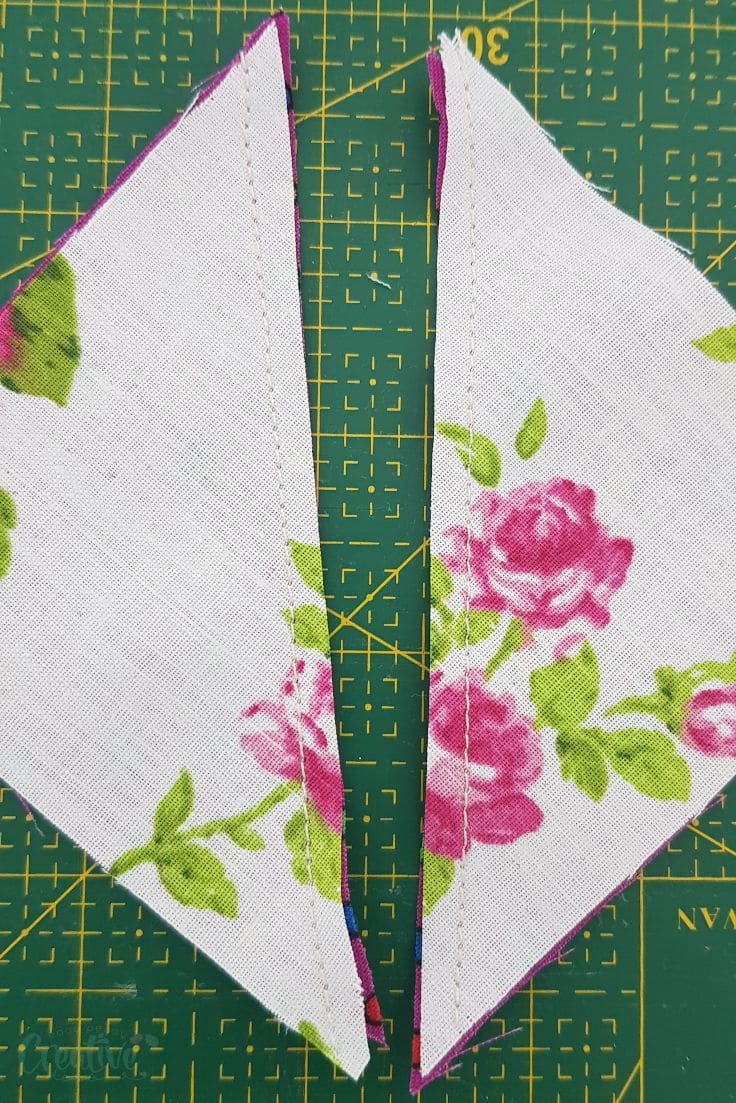
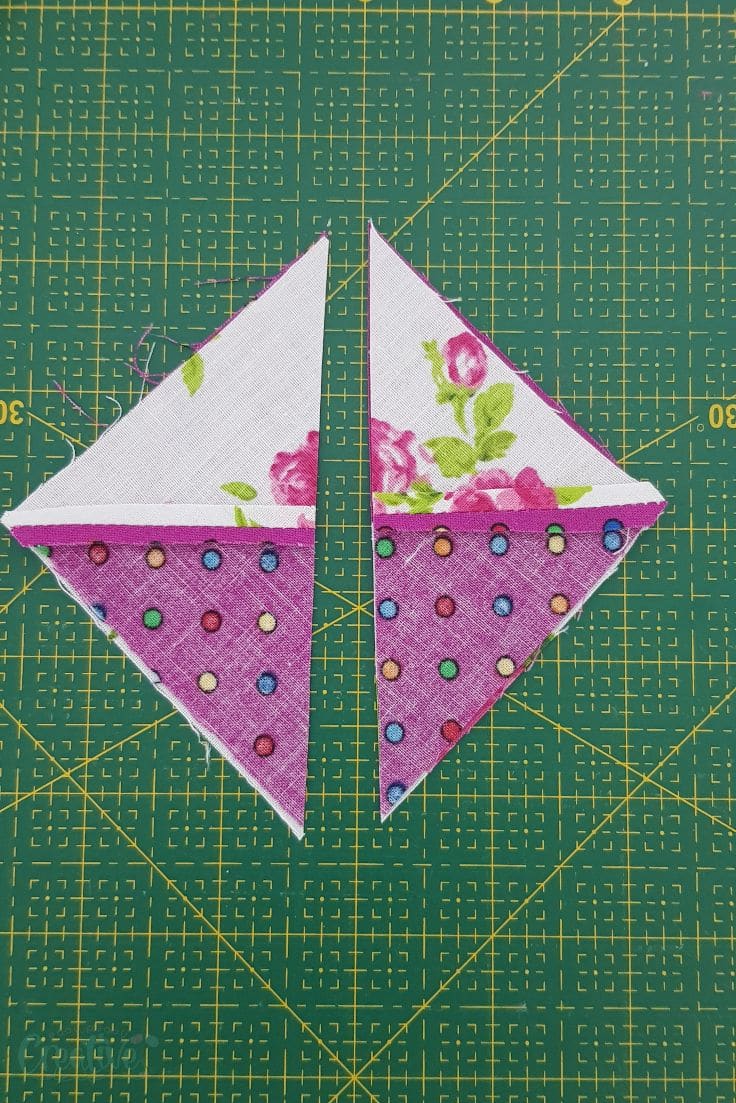
- Press the seams up and trim the little triangles at each end of the seams.
- You now have two new squares.
- Place these squares right sides together, with the same color triangles on opposite directions.
- Cut again on the opposite diagonal.
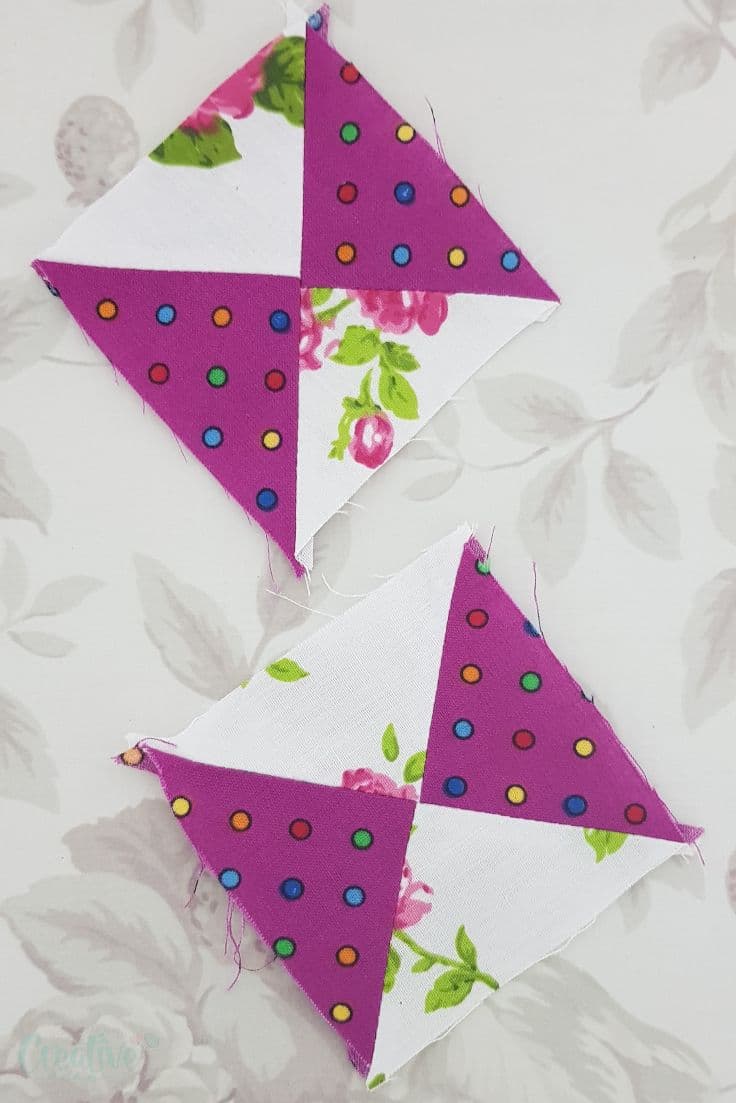
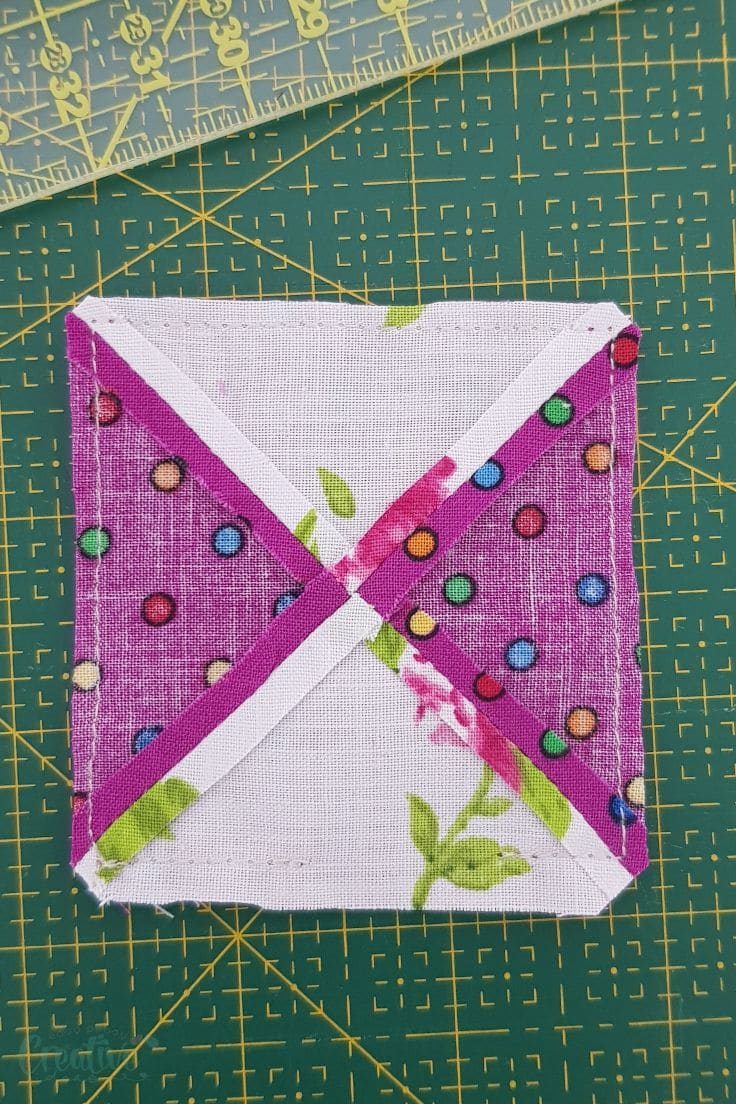
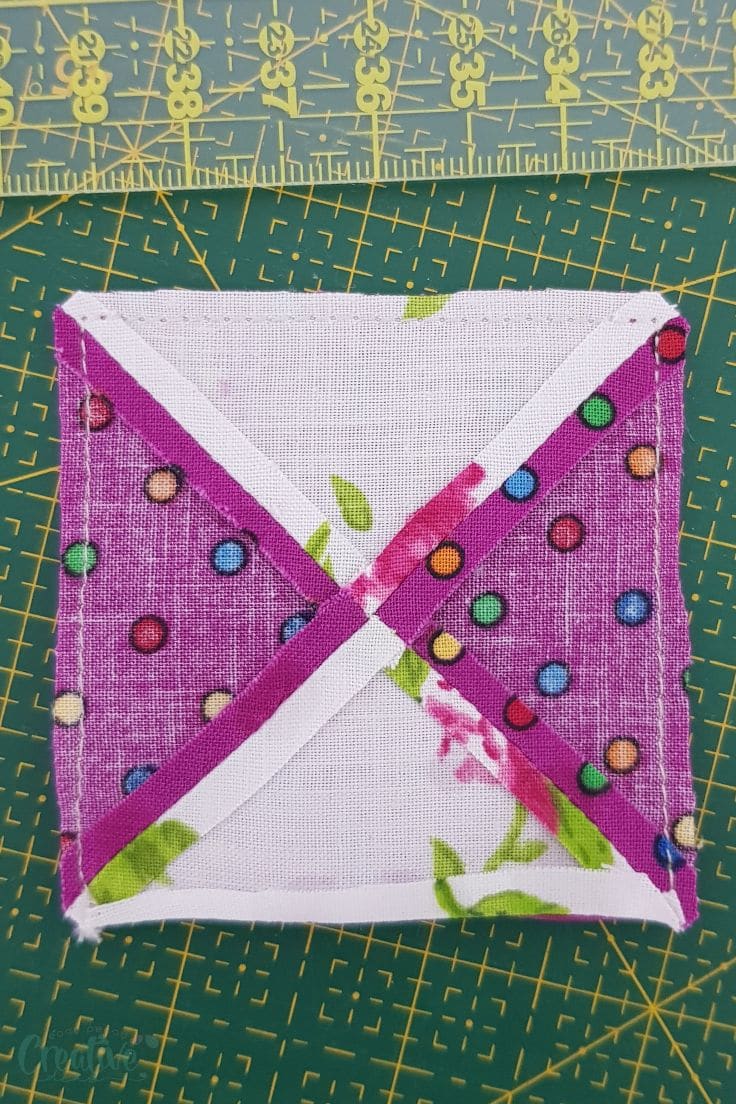
- Sew the diagonal with 1/8″ allowance.
- Press the seam up and trim the little triangles at the end of the seams.
- You now have the final squares you’re gonna use to make the pincushion.
- Place these squares right sides together.
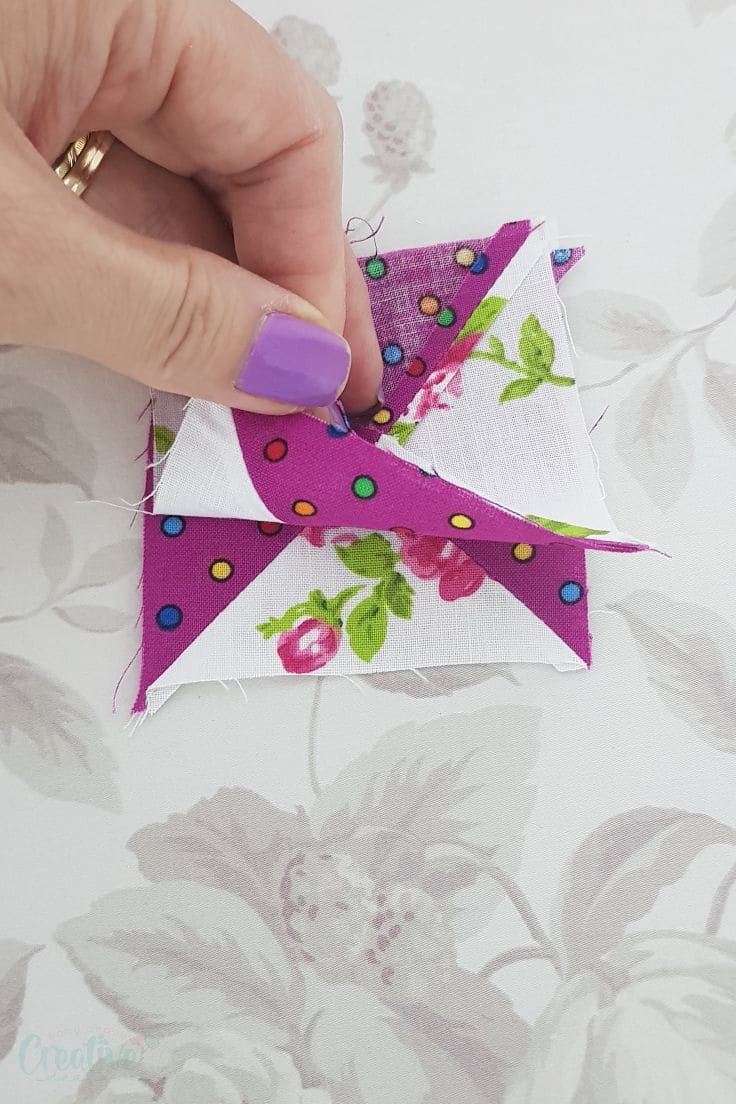
- Pin and sew all sides with 1/4″ allowance, leaving a small gap in one side.
- Clip the corners.
- Trim the sides and upper seams to 1/8″. Do not trim the bottom seam.
- Open the bottom seam and press it up.
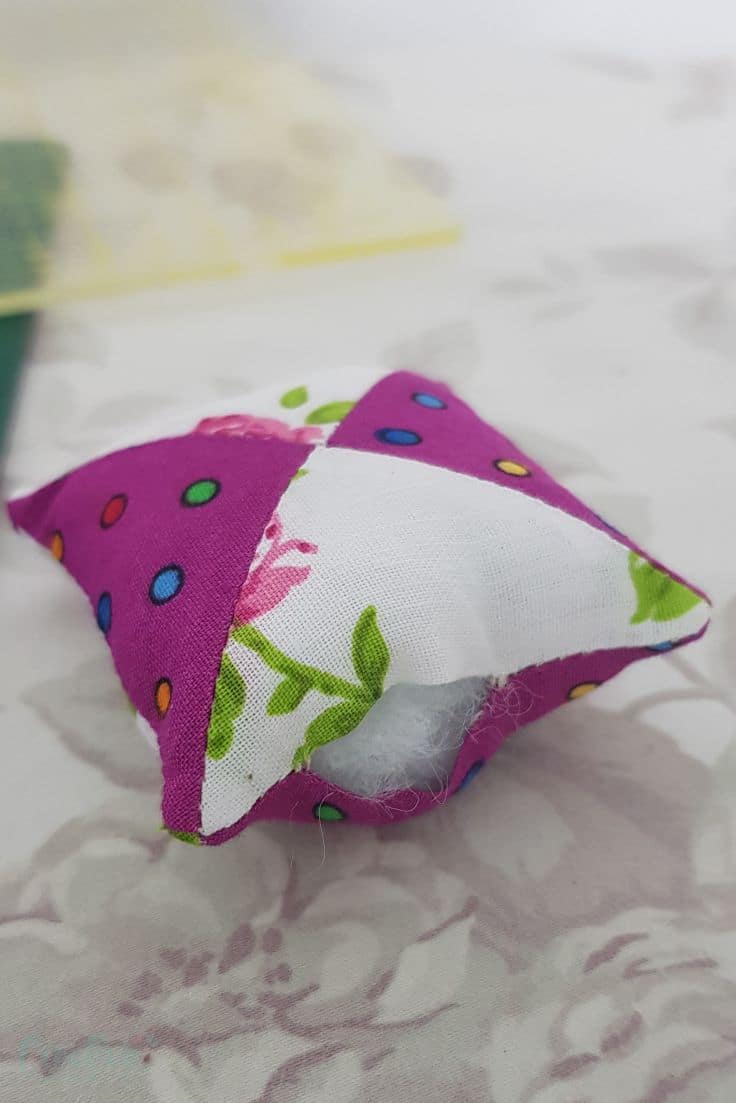
- Turn the pincushion right side out and push the corners out with the blunt tool.
Fill the pincushion with poly-fill through the gap
- Sew the gap closed using a ladder stitch.
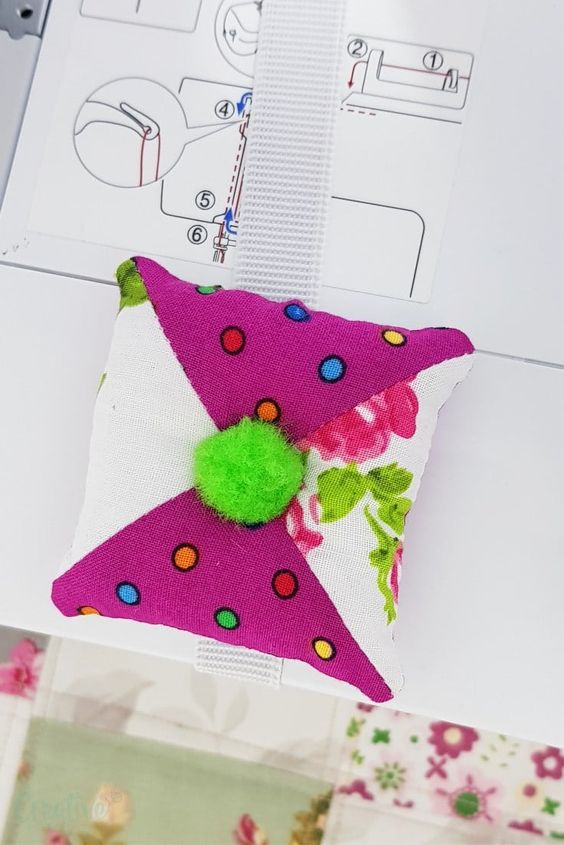
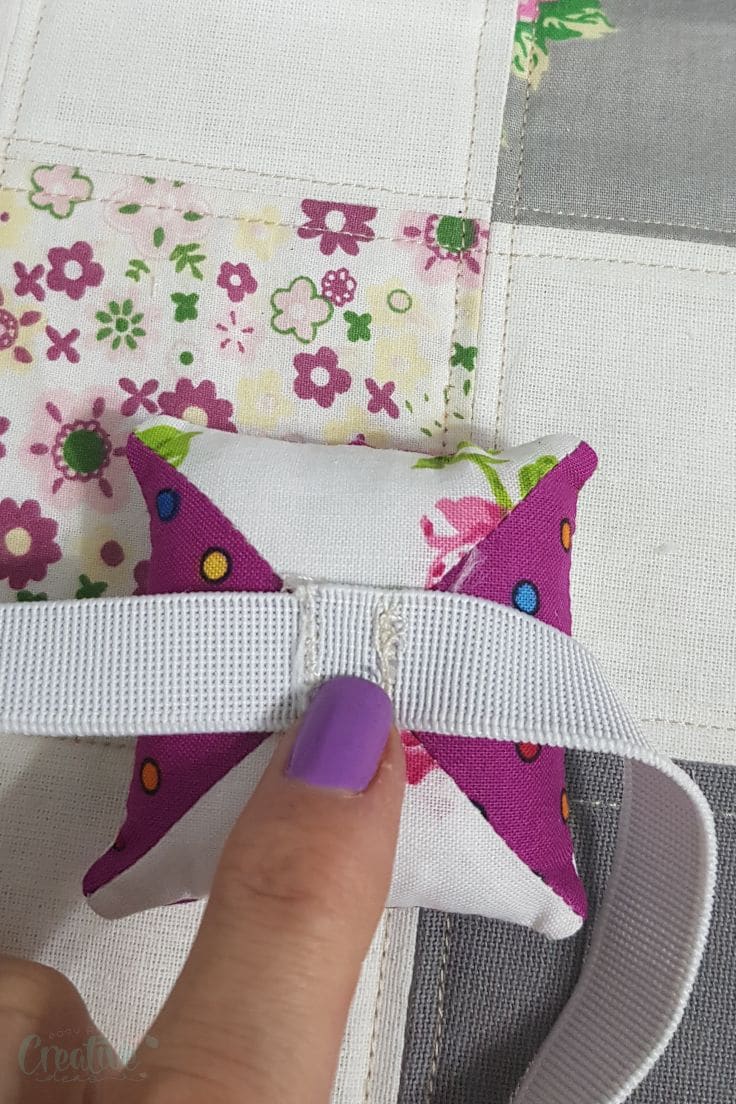
- Get the elastic and sew the ends together to make a circle.
- Sew the elastic to the back of the pincushion.
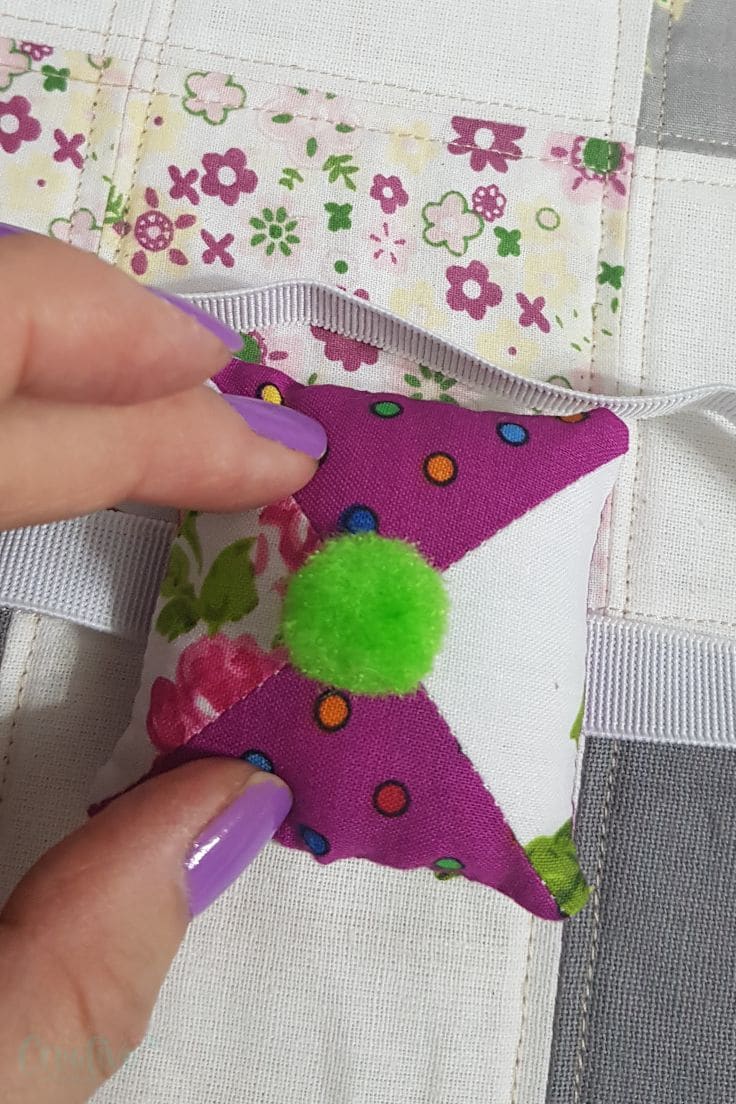
- Sew a pom pom in the middle of the pincushion.
Your lovely patchwork pincushion is now ready to use! Place the pincushion on your sewing machine in a handy place so you can easily discard the pins without making a mess on your table and surroundings