DIY Whimsical Floral Night Light
Create your own charming floral night light with this easy do-it-yourself project. Instead of purchasing a generic night light from the store, personalize your space with a whimsical touch by incorporating colorful artificial flowers. Start by gathering materials such as a plain night light, artificial flowers, glue, and scissors. This unique piece will add a touch of nature and beauty to your bedroom or any other space in your home. This project can be made and completed within a short time. It is a great addition to your handmade items.
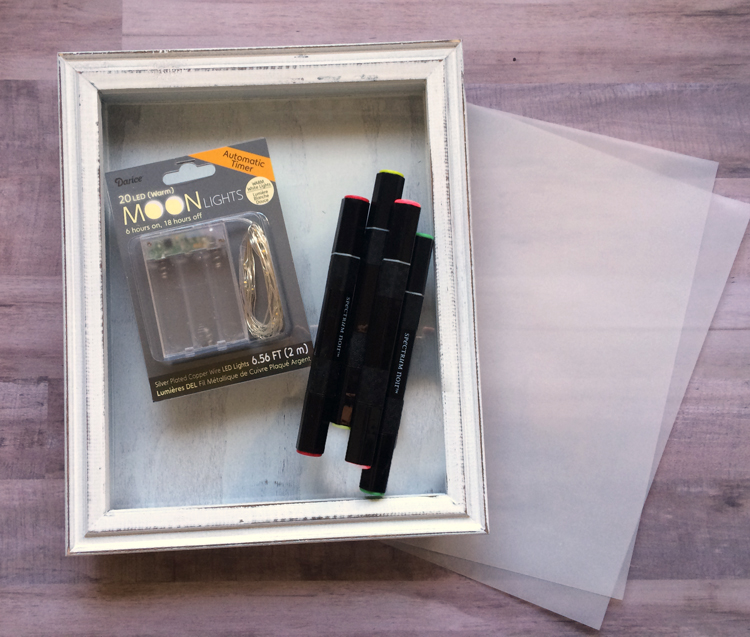
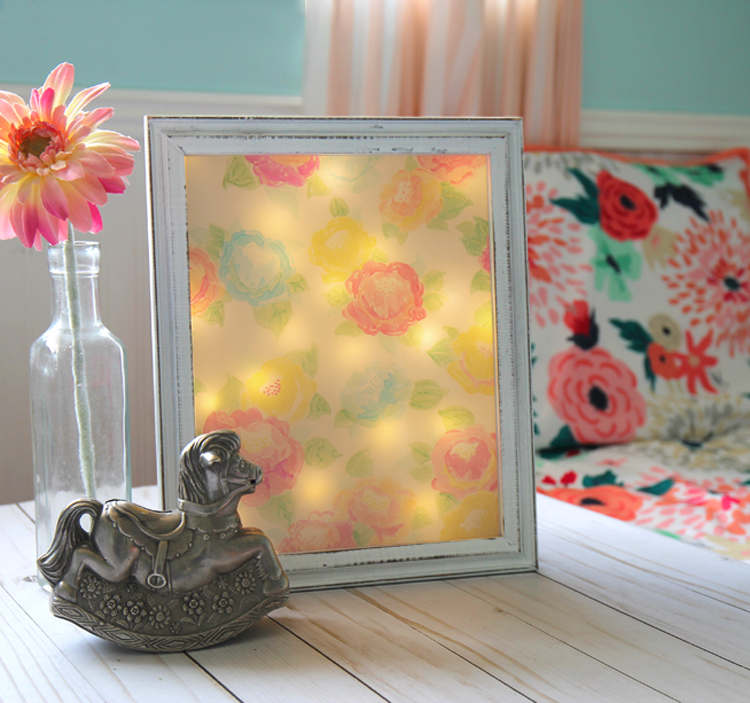
To make your fairy light shadow box floral night light, you will need:
- Clear Tape
- Vellum
- Floral Scrapbook Paper
- Spectrum Noir Makers
- Fairy Lights
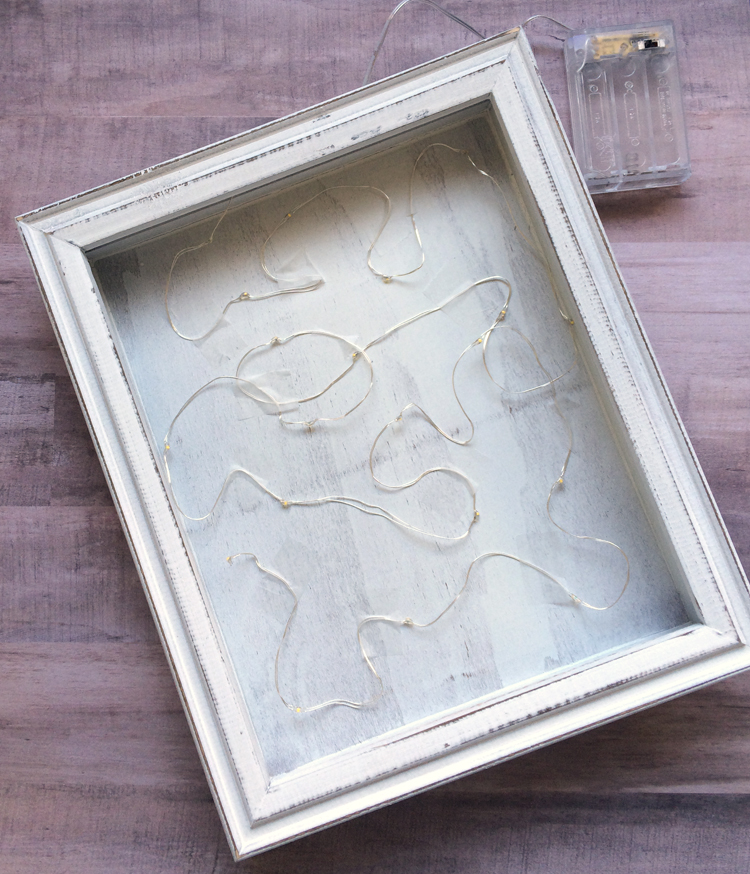
- Shadow Box
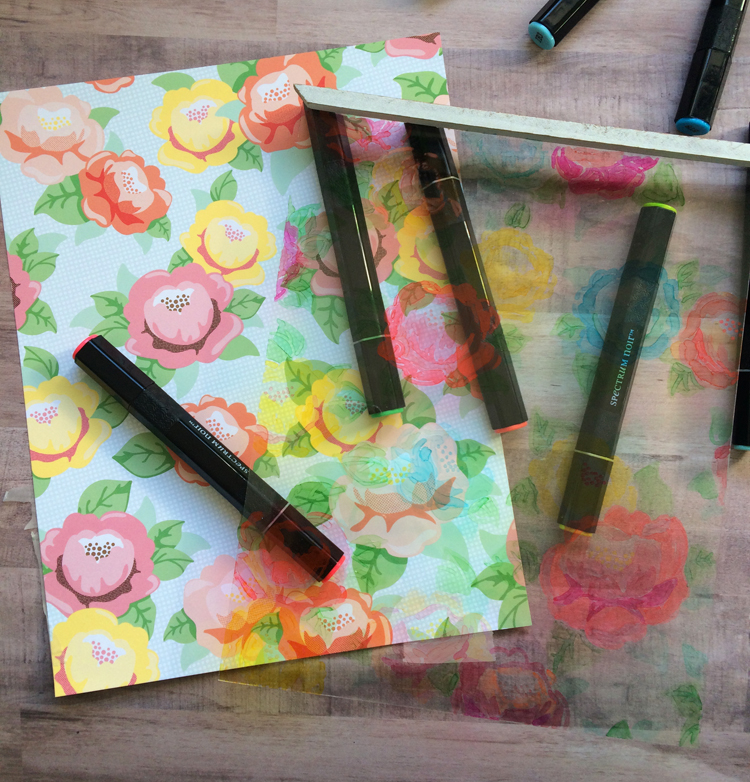
Step 1 Remove the glass from the shadow box. Place it on top of a piece of floral scrapbook paper. You may want to tape the paper in place so it doesn’t shift as you work.
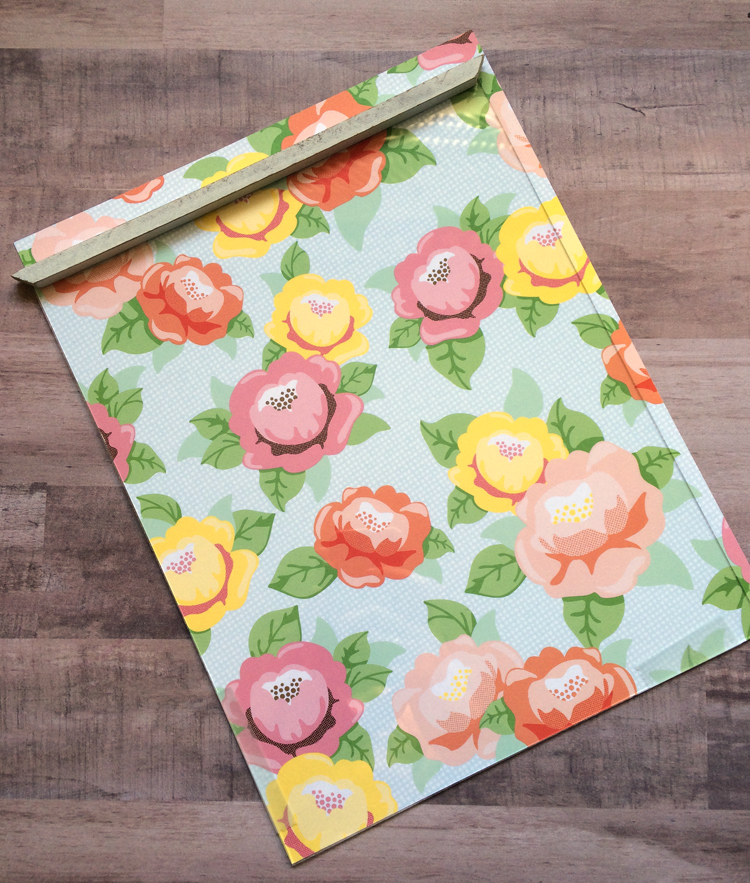
Step 2 Trace the floral designs onto the glass with the alcohol markers. They will give you a soft watercolor-like effect that’s really unique and pretty.
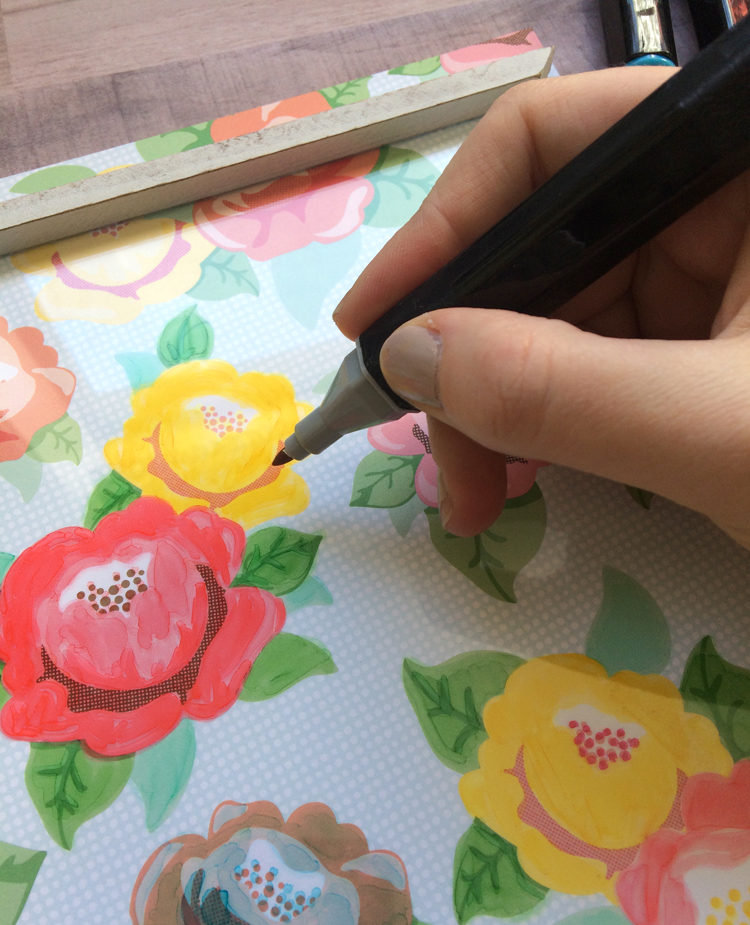
When you move the glass, you’ll be able to see your pretty flowers and shhh….. no one will know you didn’t freehand them!
Step 3 String the lights through the opening at the top of the shadow box and tape them into place so the lights are evenly spaced.
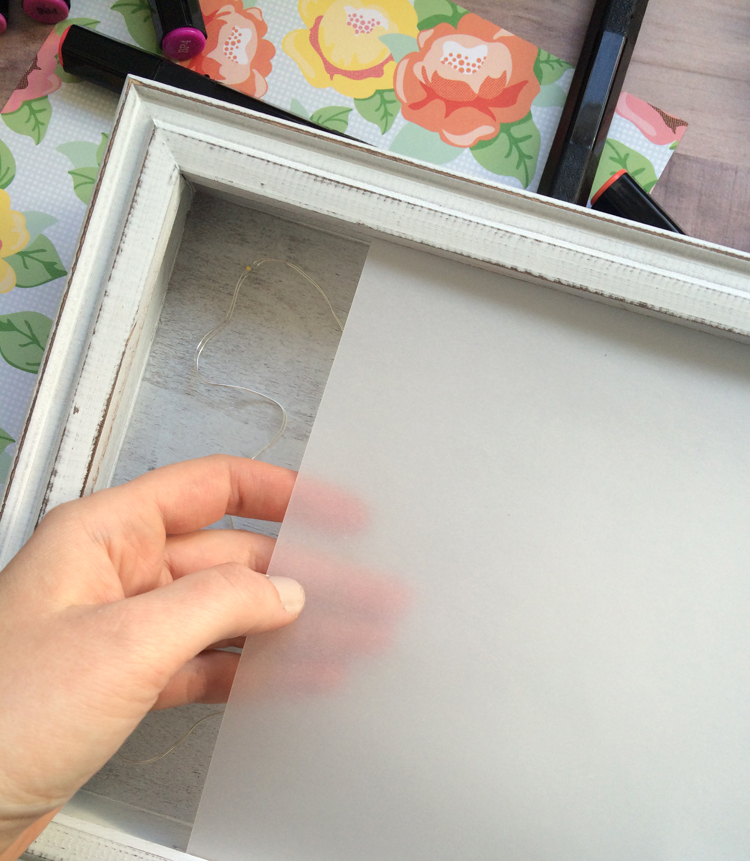
Step 4 Cut the vellum paper to size and slide it into the frame. If one sheet of vellum is too see-through, just add a second or third piece until you’re happy with the opacity.
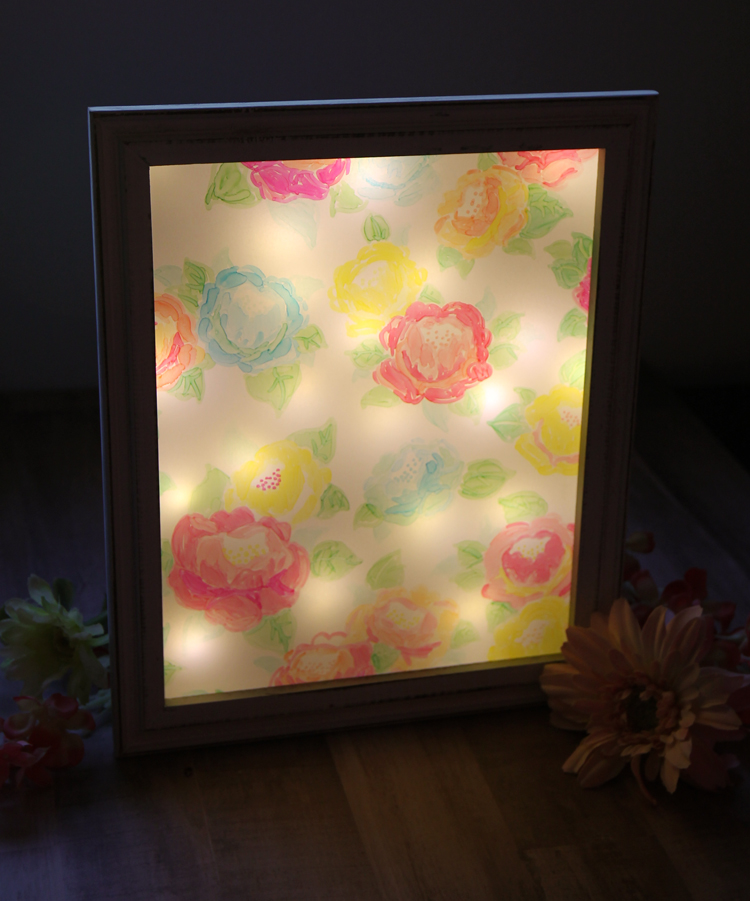
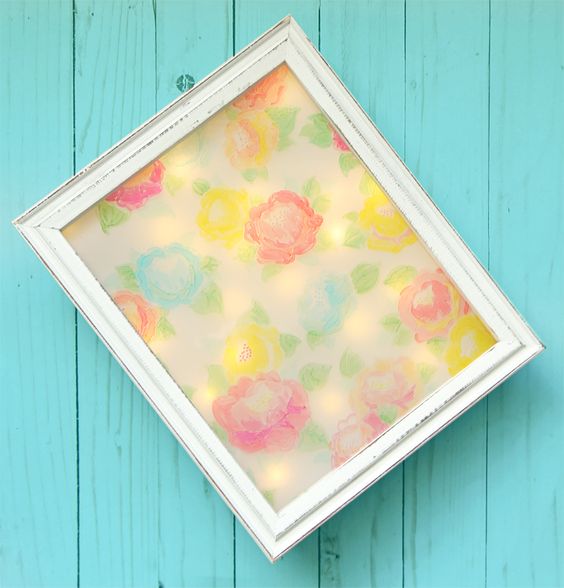
Step 5 Slide the glass back into place, making sure that the marker design is on the inside so it can’t get rubbed off by little fingers. Then just add batteries and flip the switch to reveal a glowing floral work of art!
Because I used LED lights, they won’t get hot, so it’s perfect for a child’s room. I can turn the light on so my girls can fall asleep without being scared of the dark. And the best part is that it looks great day and night.