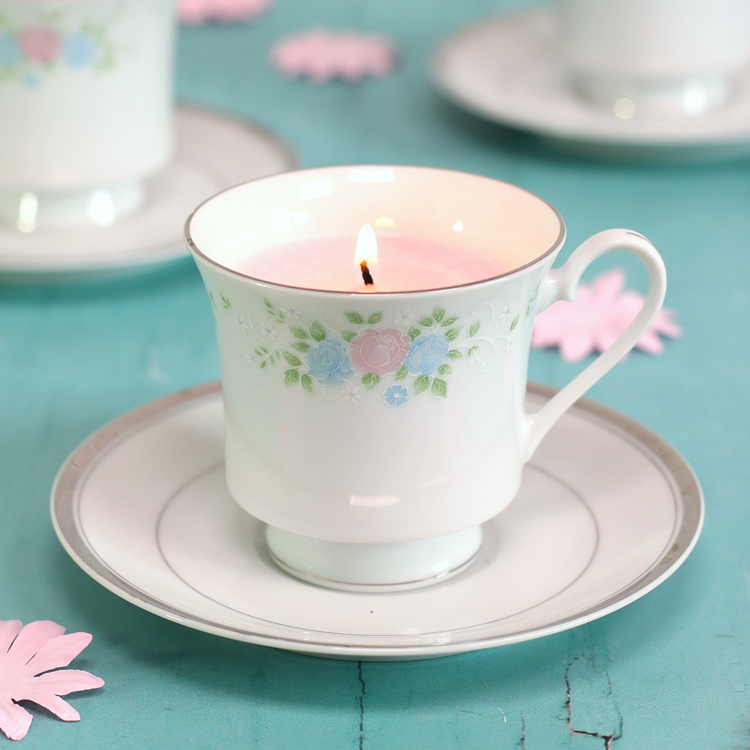
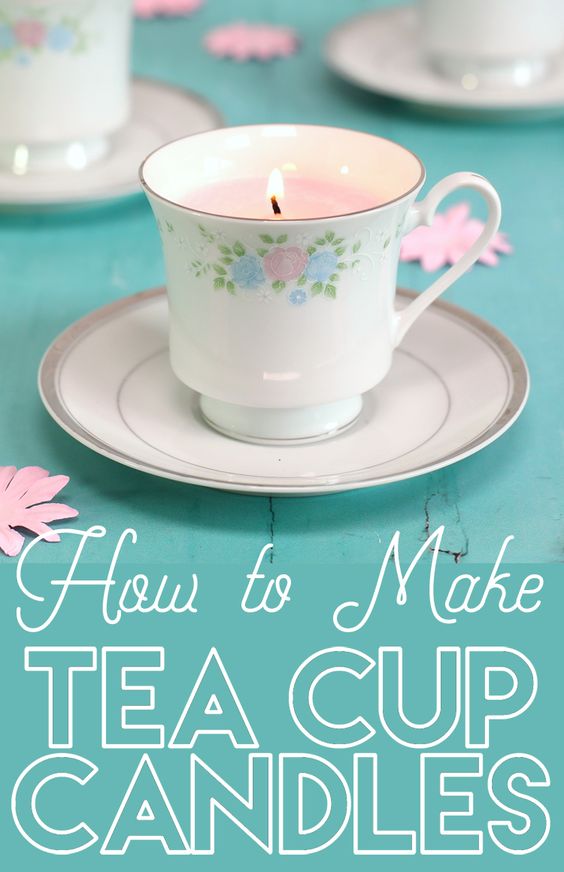
DIY Tea Cup Candles
Create your own unique tea cup candles with this simple do-it-yourself project. Start by gathering all the necessary materials, including wax, wicks, tea cups, and fragrance oils. Melt the wax in a double boiler, then add in your chosen fragrance oil for a personalized touch. Carefully pour the melted wax into the tea cups, making sure to secure the wick in the center. Allow the candles to cool and harden before trimming the wick to the desired length. These homemade tea cup candles make for great gifts or a lovely addition to your home decor. Whether you're a seasoned crafter or new to candle making, this project is a fun and rewarding way to express your creativity. Enjoy the soothing glow and delightful aroma of your handmade tea cup candles in any room of your home.
To make tea cup candles, you will need:
Materials Needed
- Tea Cups (I see cute ones at thrift stores all the time)
- Candle Wax
- Candle Wicks
- Scent (optional)
- Old Crayola Crayons (if you want to color the wax)
You can buy the supplies you’ll need at any craft store or on Amazon. They usually have a section where all of the candle making supplies will be next to each other. I bought my wax at Hobby Lobby for $5 after coupon and I used about half of the bag for these three teacup candles.
Instructions
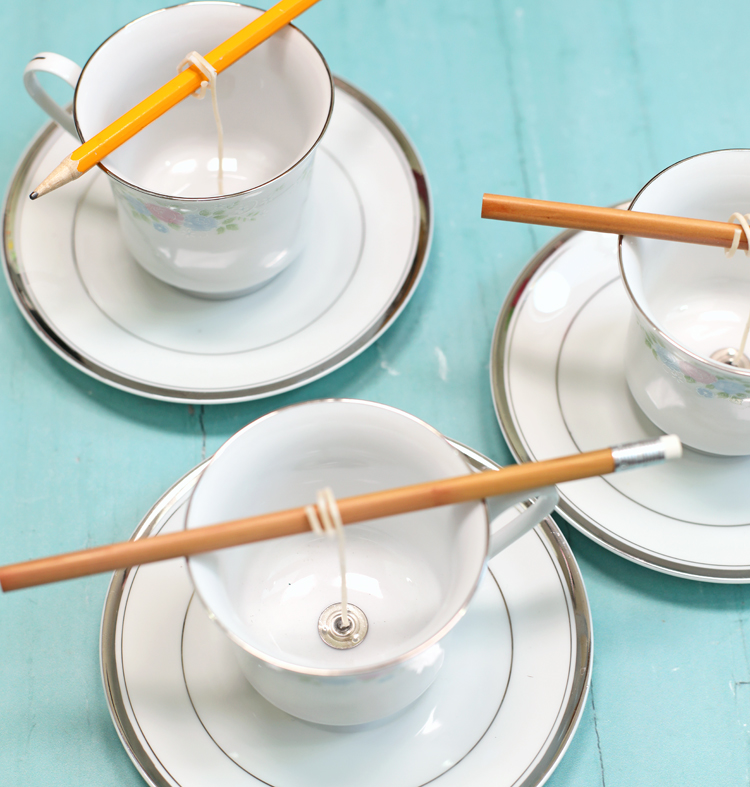
Step 1: Use a bit of hot glue to secure the metal circle on the wick to the bottom center of the tea cup. Wrap the top of the wick around a pencil to keep it centered.
Step 2: Melt wax in a cooking pan over medium heat, until the wax is no longer opaque. The bag of wax will have specific instructions depending on the type of wax.
Step 3: An easy and inexpensive way to color wax is to add an old chunk of colored crayon when melting. If you have kids at home, chances are you probably have some stubby old crayons around somewhere. You can also buy wax dyes, but why not use whatcha got?!
Step 4: Remove wax from heat, then add scent, if desired. This is also available in the candle-making section at the craft store.
Step 5: Let the wax cool just a bit, then carefully pour it into each tea cup. You want to let the wax cool a little so that it doesn’t “undo” the hot glue that’s holding your wick in place. I used a funnel to pour the wax in so that I didn’t splash it all over and make a mess.
Step 6: Let the wax harden completely, then trim the wick.