How To Sew Ruffle Envelope Pillow Covers
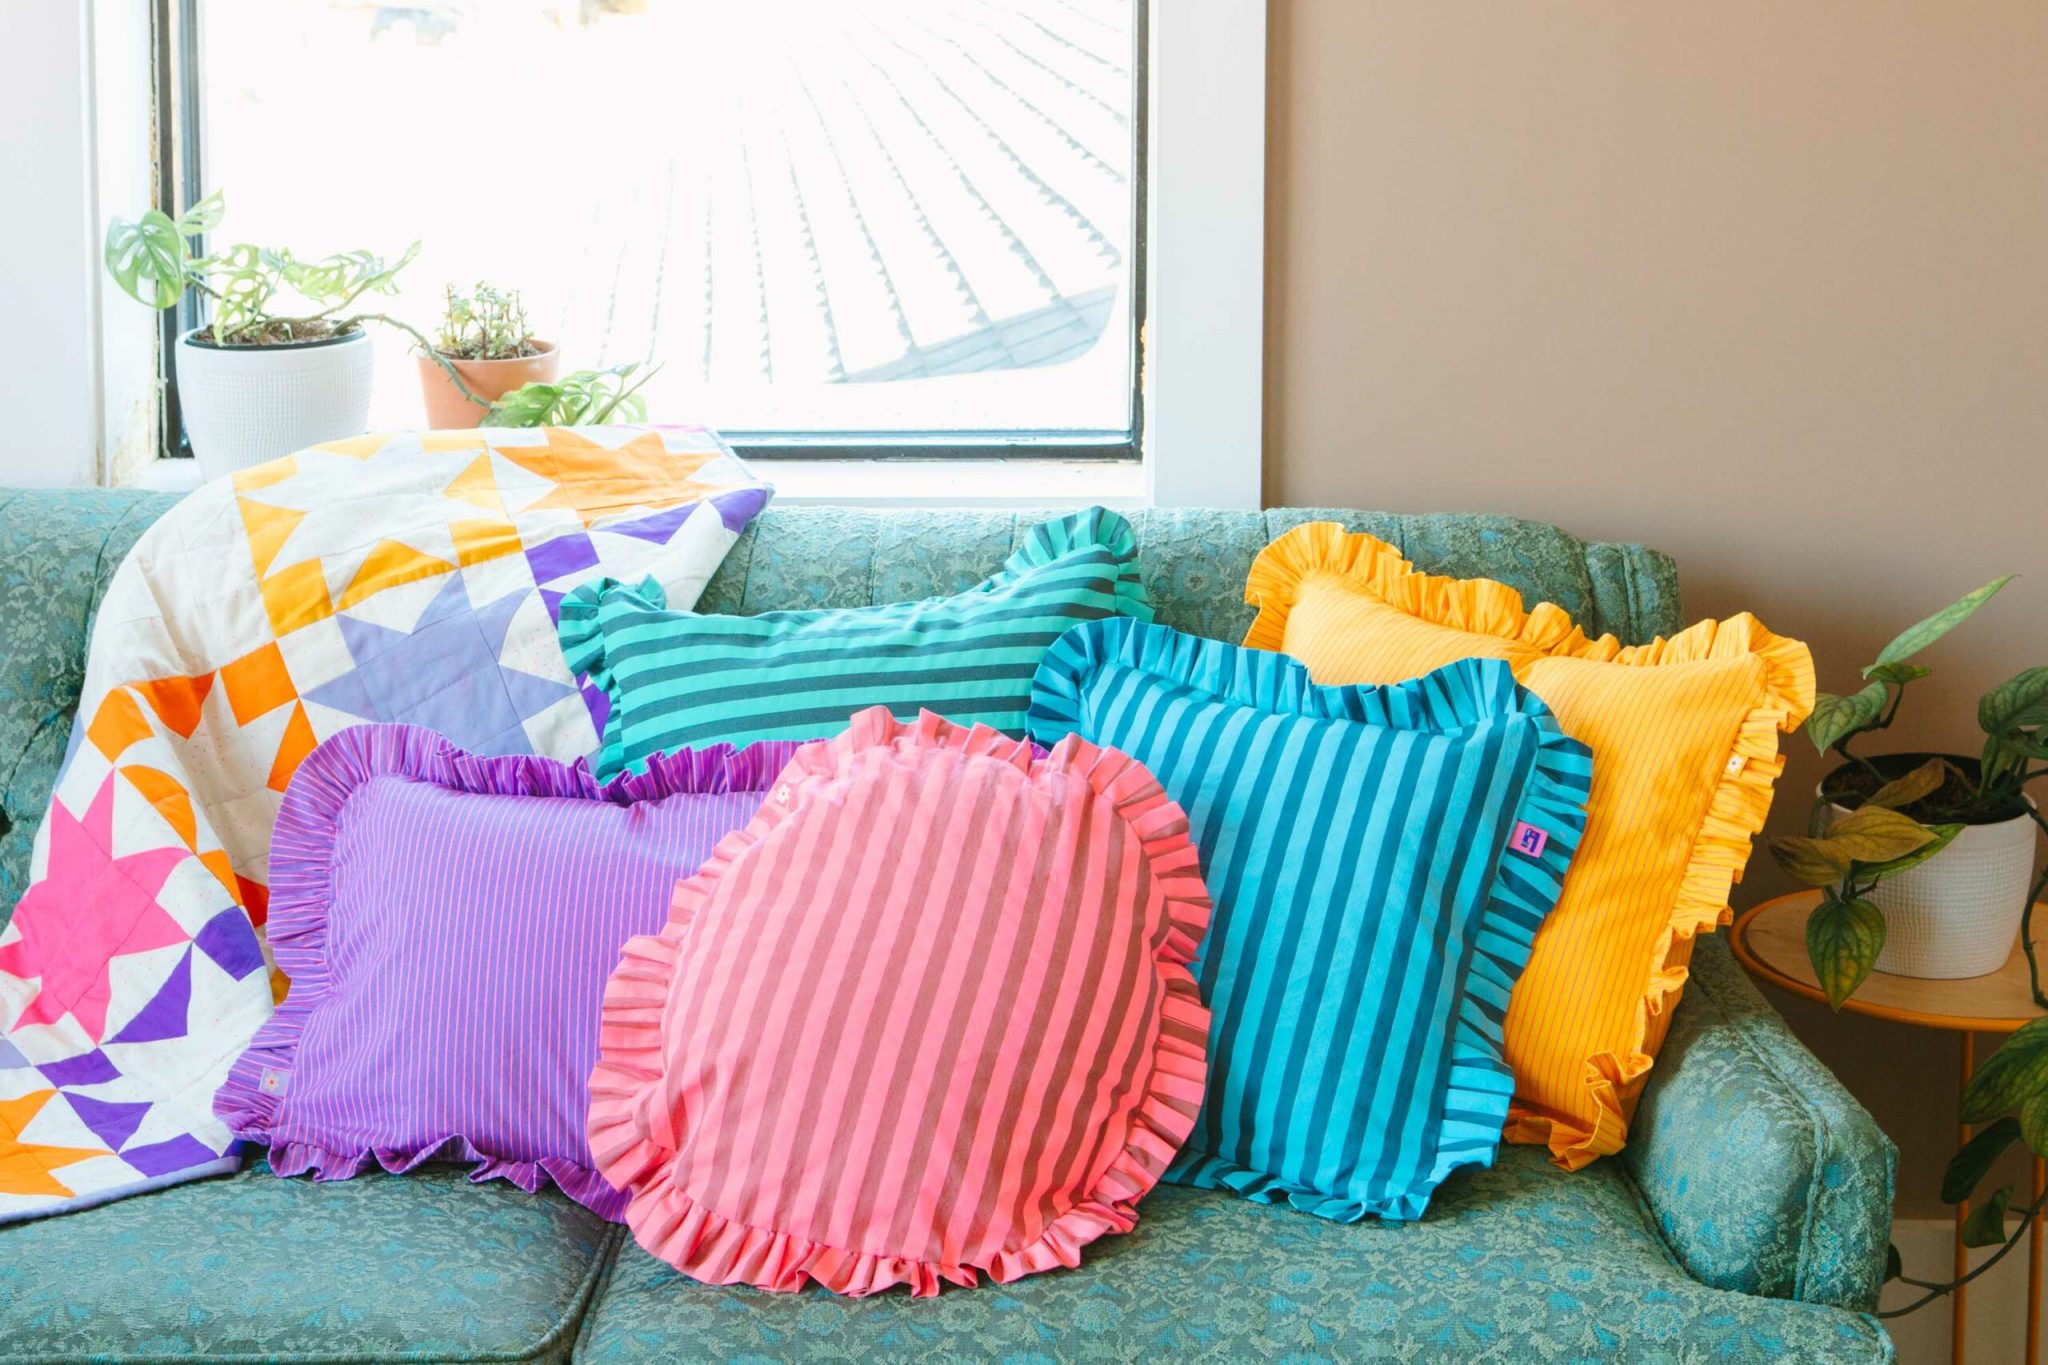
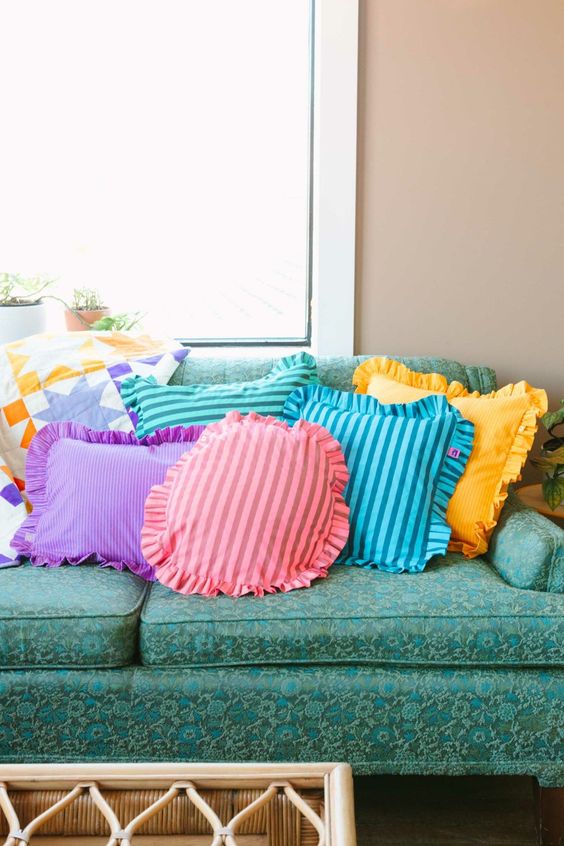
Discover the art of creating stunning Ruffle Envelope Pillow Covers with this exquisite Sewing Pattern. Unleash your creativity and transform your living space with these elegant and charming pillow covers. The pattern provides step-by-step instructions, making it easy for both beginners and experienced sewers to achieve professional-looking results. This pattern is a treasure trove of inspiration, guiding you through the process of crafting beautiful pillow covers that will instantly elevate the ambiance of any room. With its detailed instructions and clear illustrations, you'll be able to create these stylish covers with ease, allowing you to showcase your sewing skills and create a cozy and inviting atmosphere in your home.
Supplies
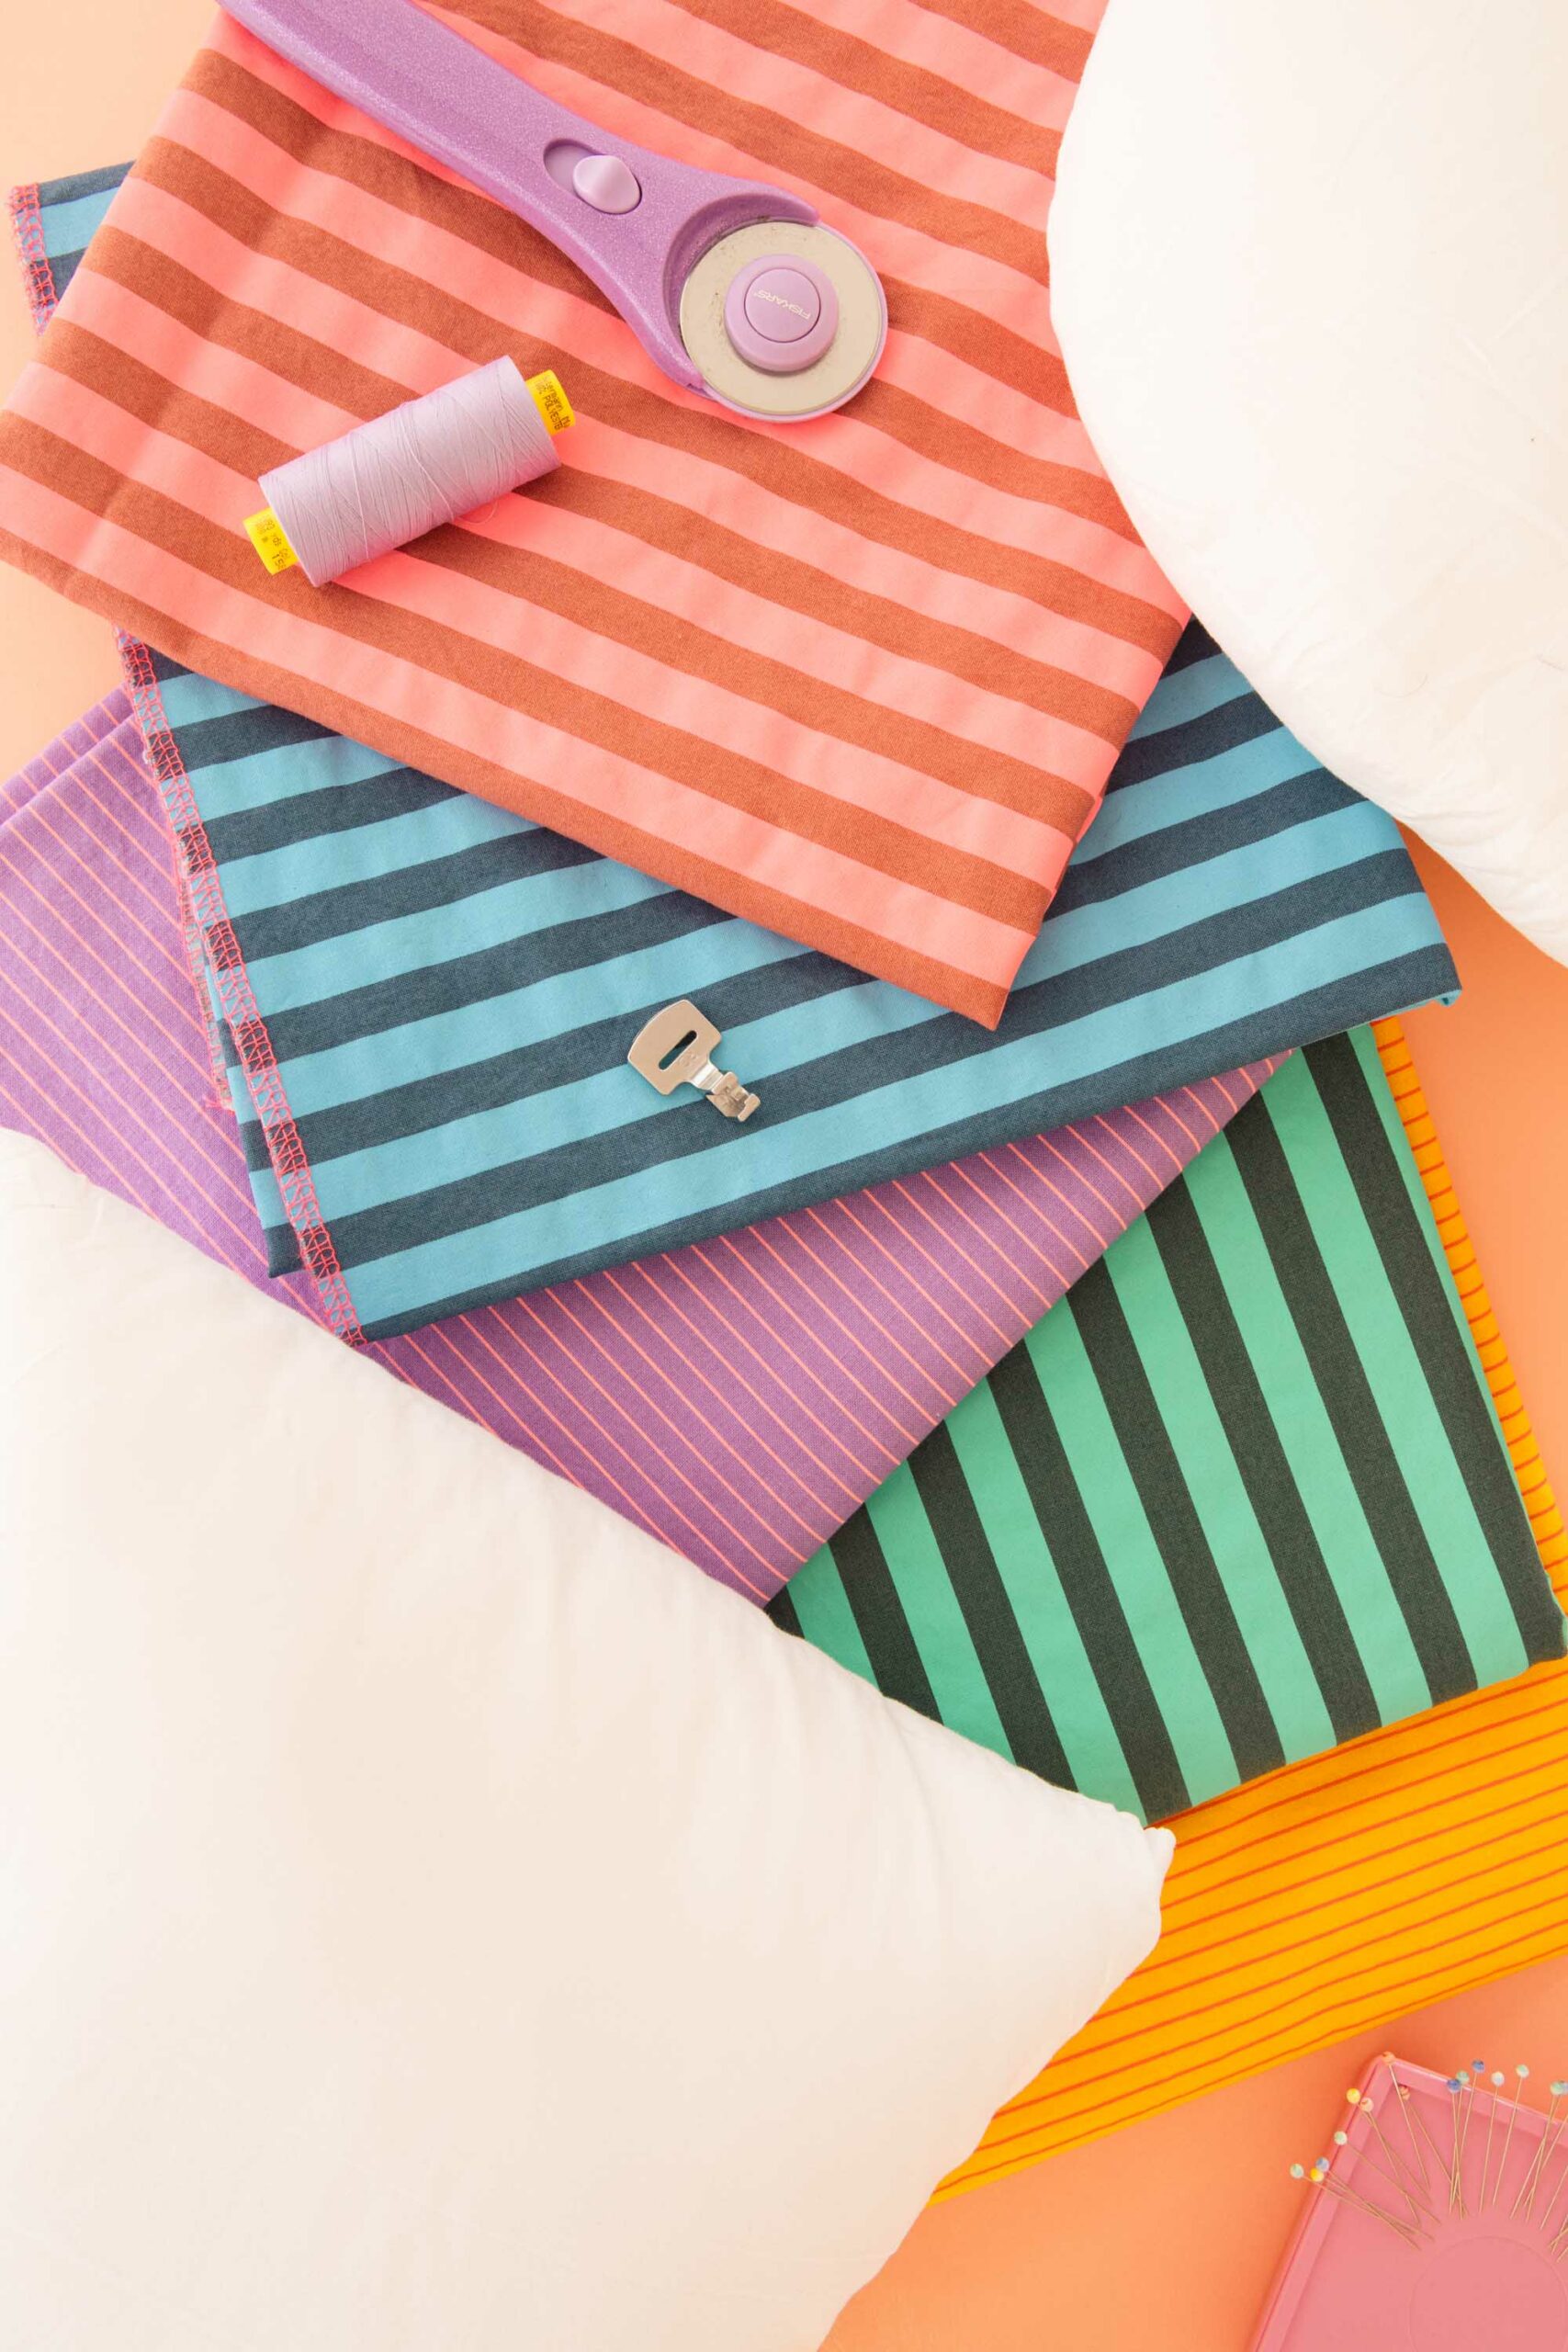
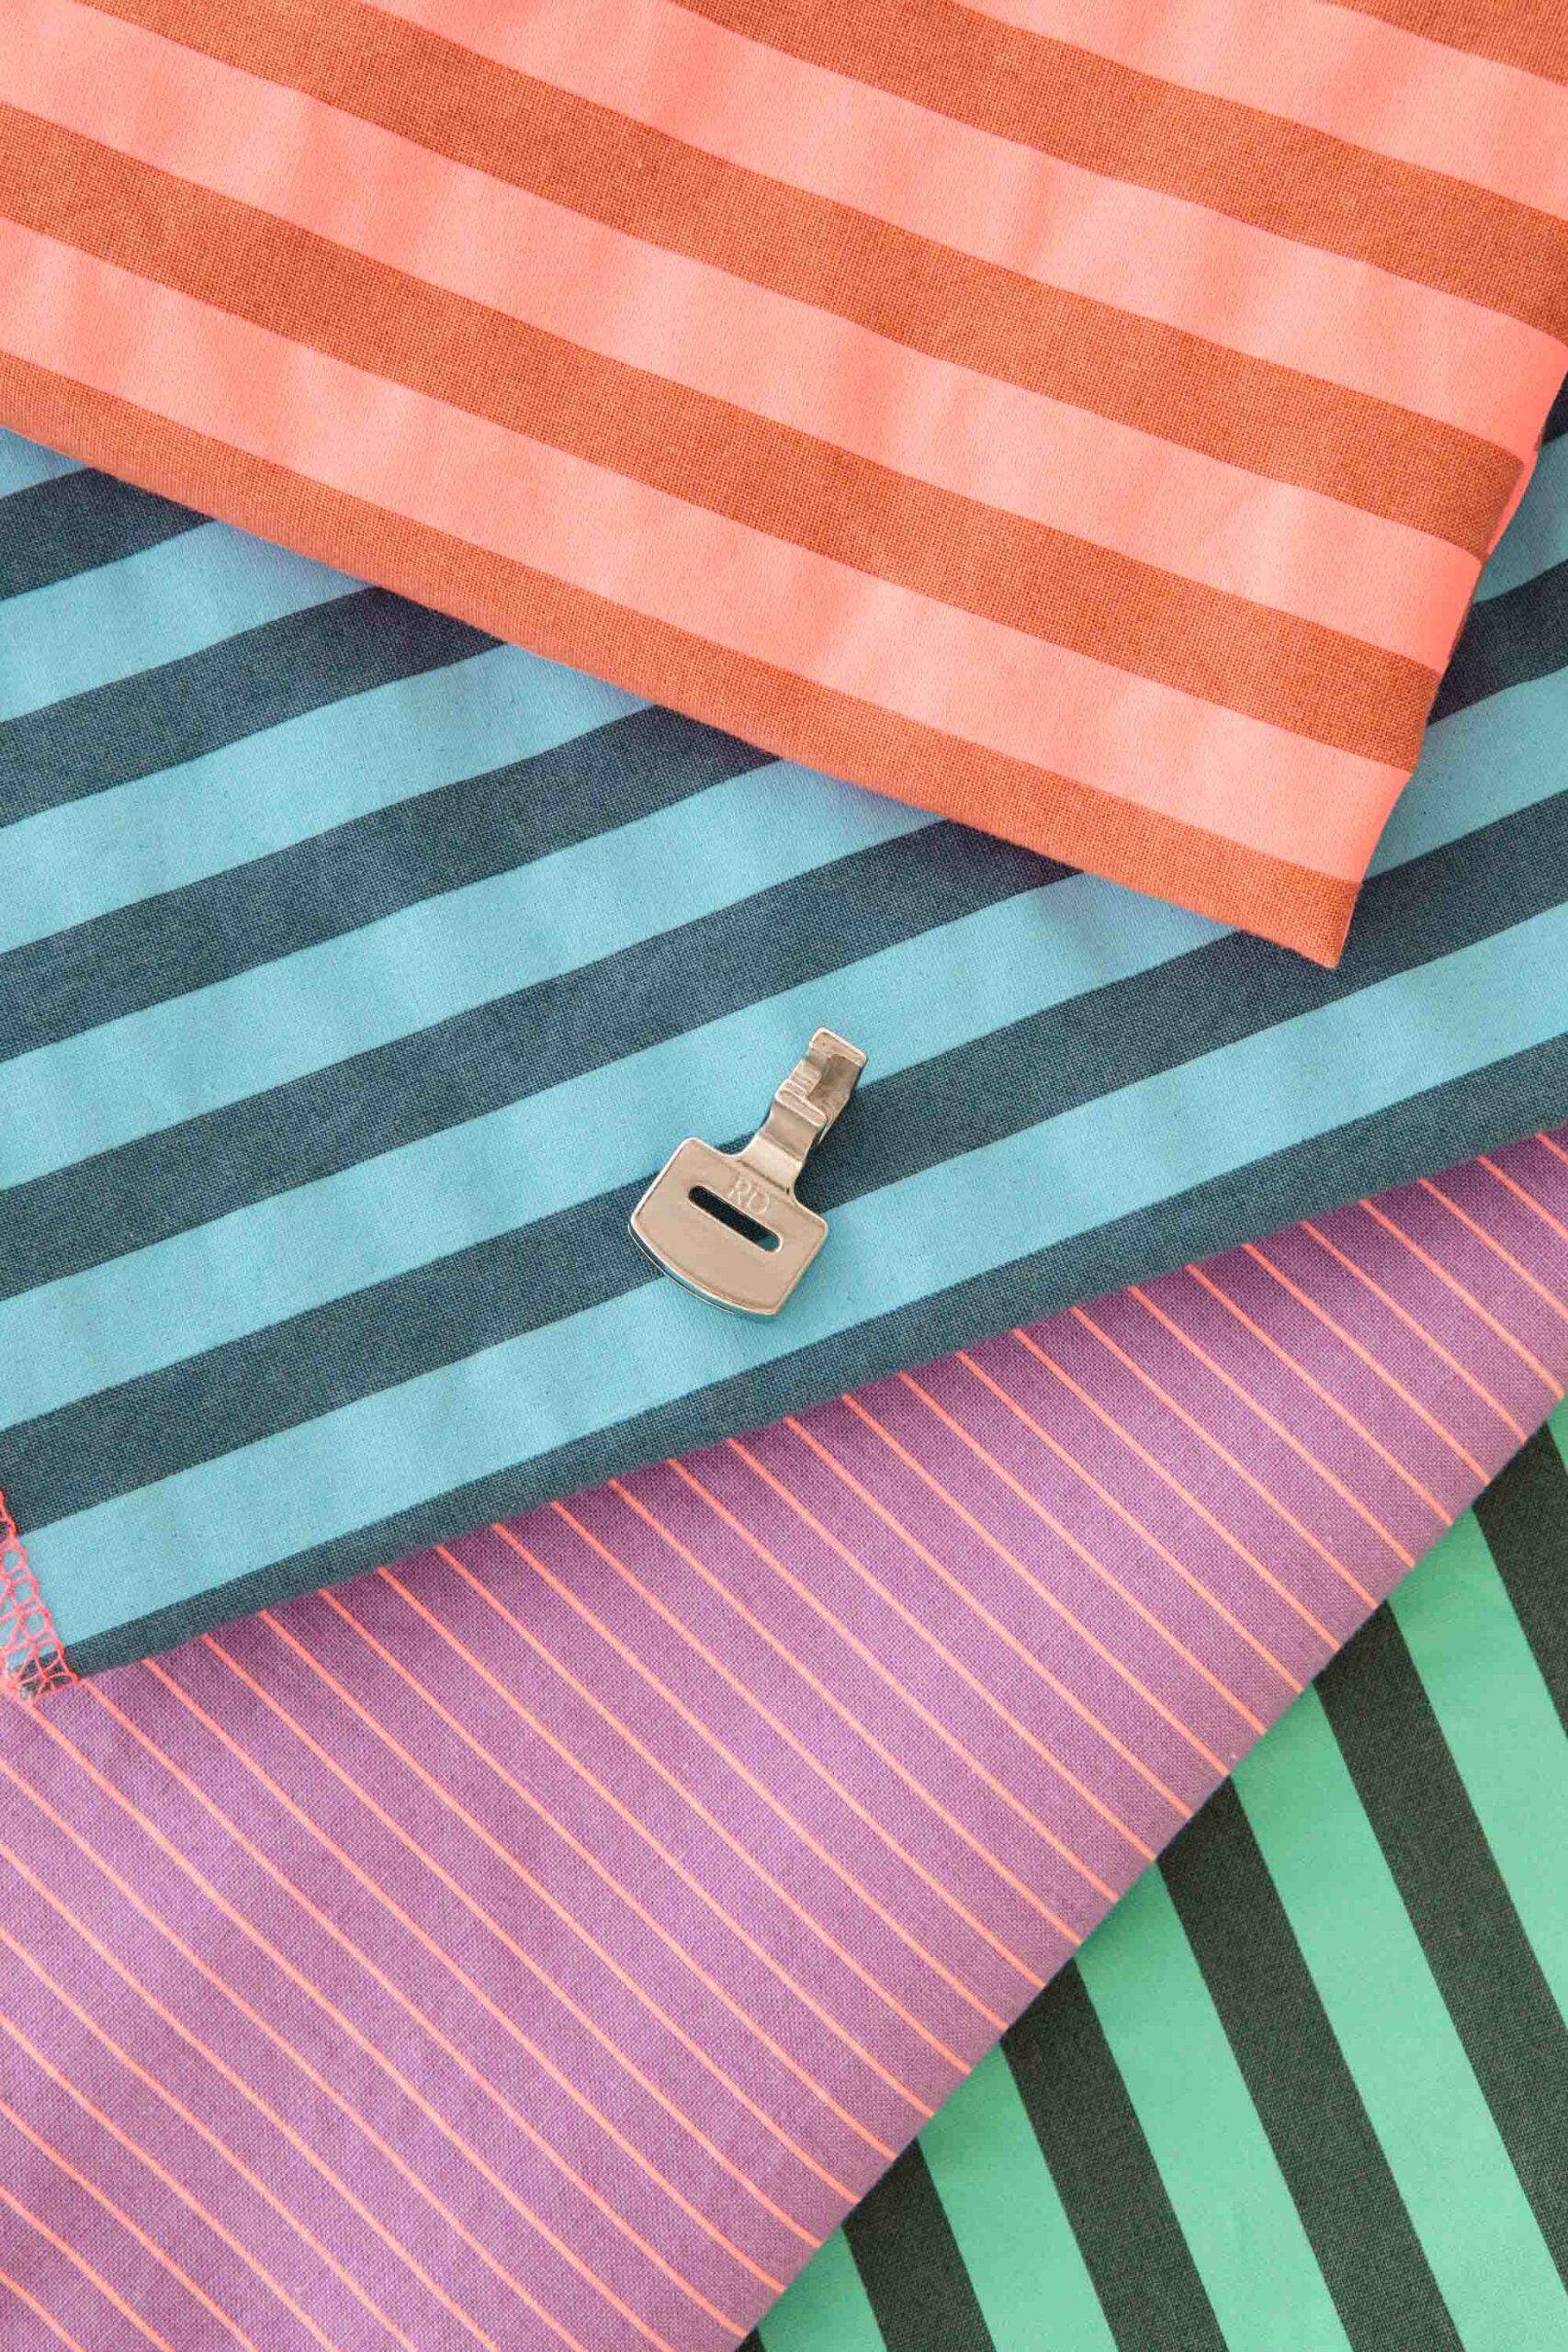
1 yard of fabric per throw pillow (I used Tula Pink’s Tiny Stripes in Sunrise and Honesty and the Tent Stripe in Nova, Aura, Mystic)
Throw pillow forms
Coordinating thread
Optional: cute woven labels (I used the Daisy Multipack and the Notions Multipack)
Tools
Baby Lock Gathering Foot
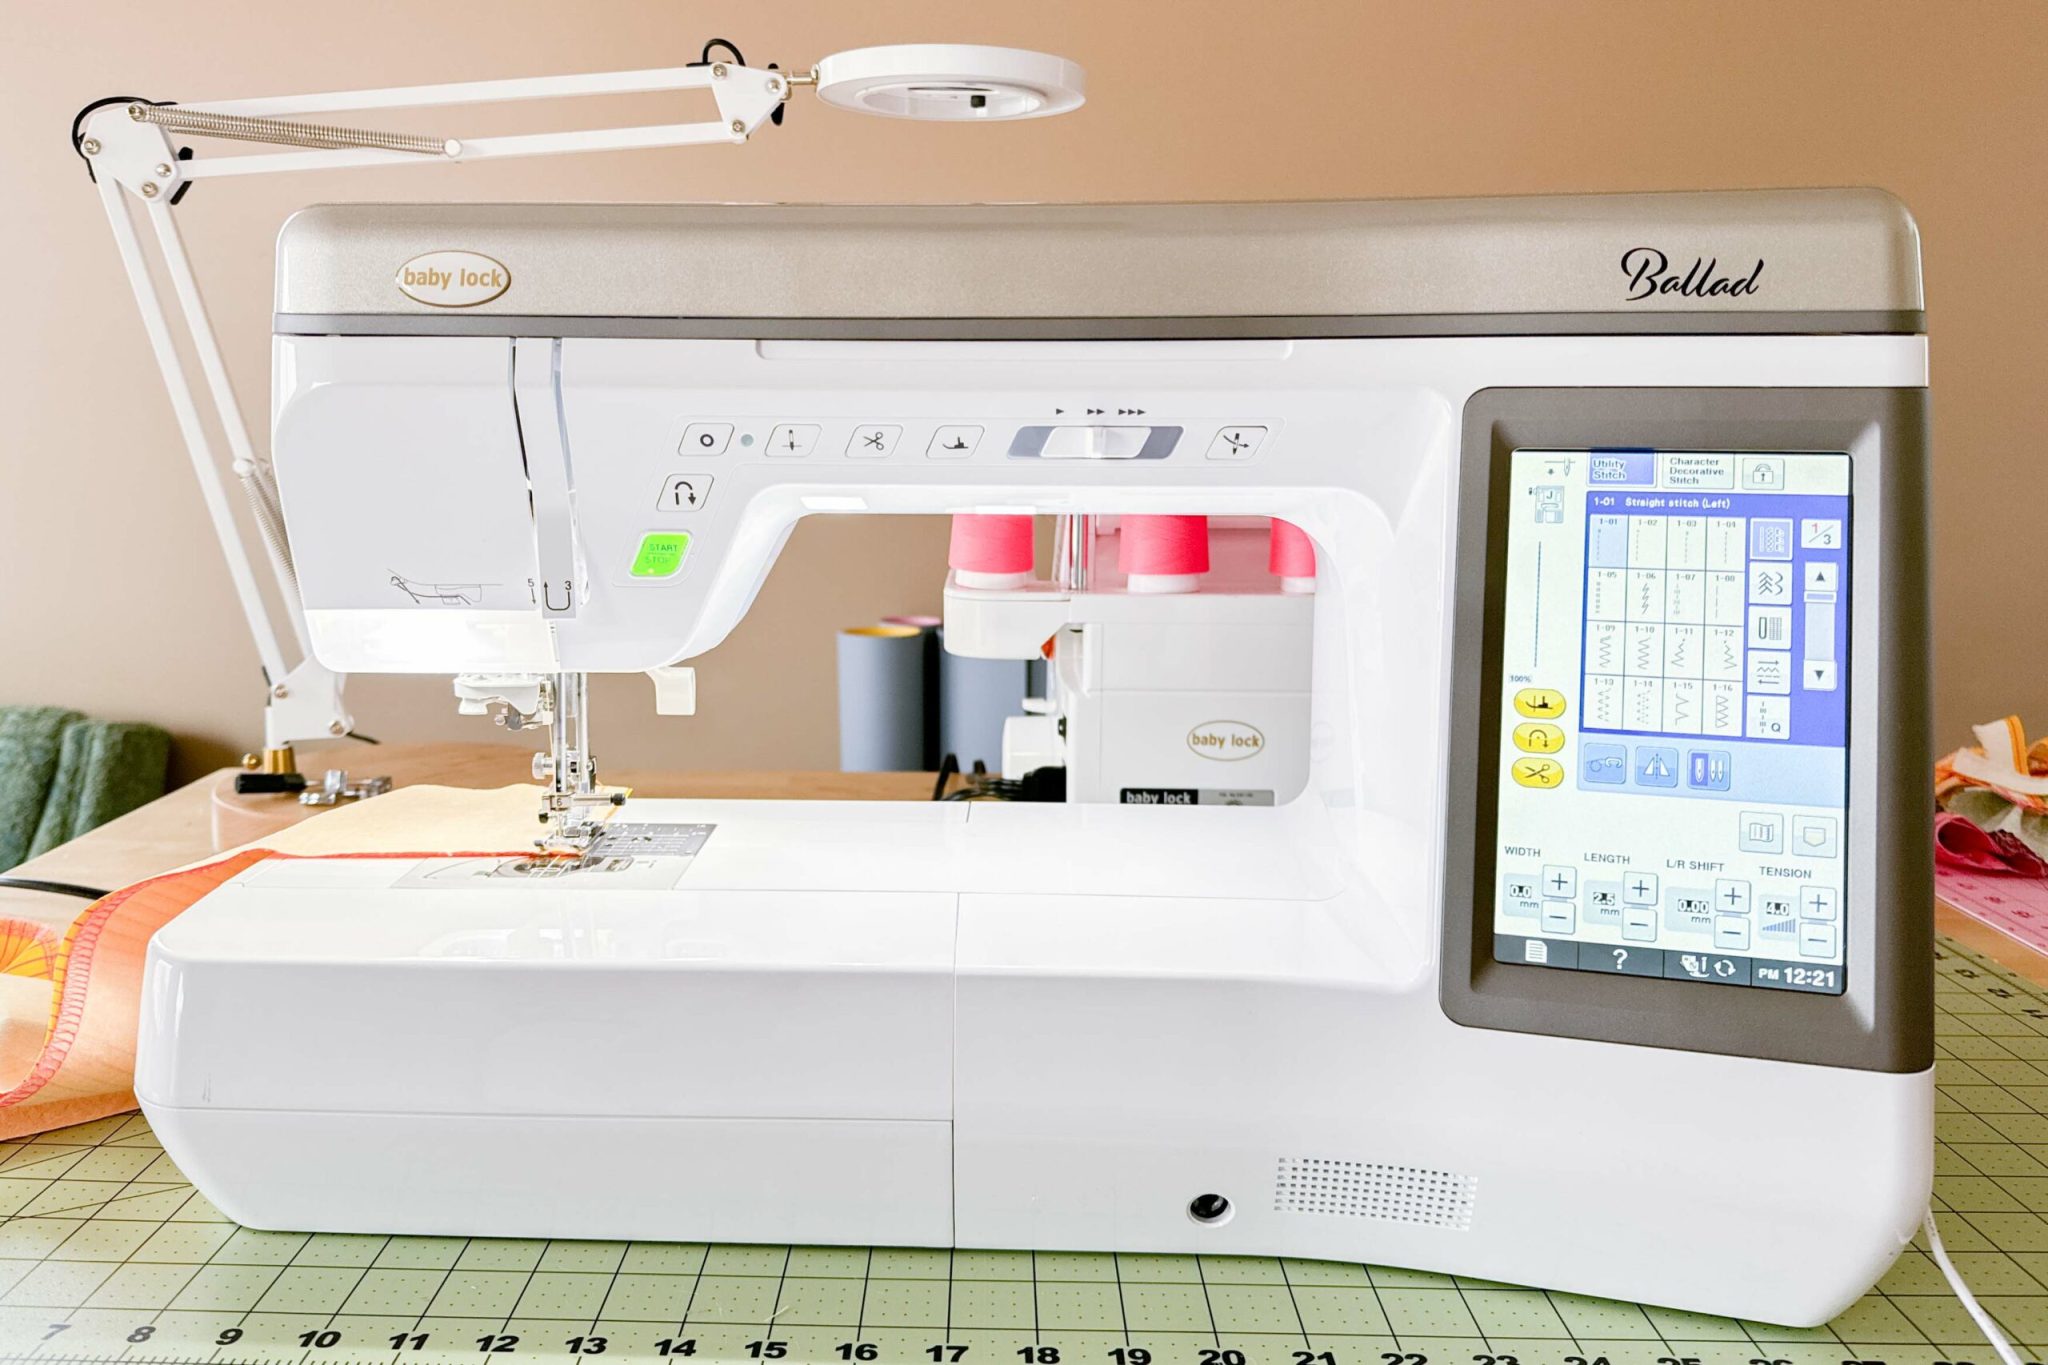
Sewing machine (I’m using my Baby Lock Ballad)
Ruler
Fabric scissors or a rotary mat and rotary cutter
Pins or clips
Optional: serger (I’m using my Baby Lock Victory)
Use A 1/2″ Seam Allowance For This Project Unless Otherwise Noted.
Step 1 – Cut The Fabric
Prewash and dry your fabric. This step is a must if you ever plan on washing your pillows. If you have kids or pets, don’t skip this one because you’ll be washing them way sooner than you think!
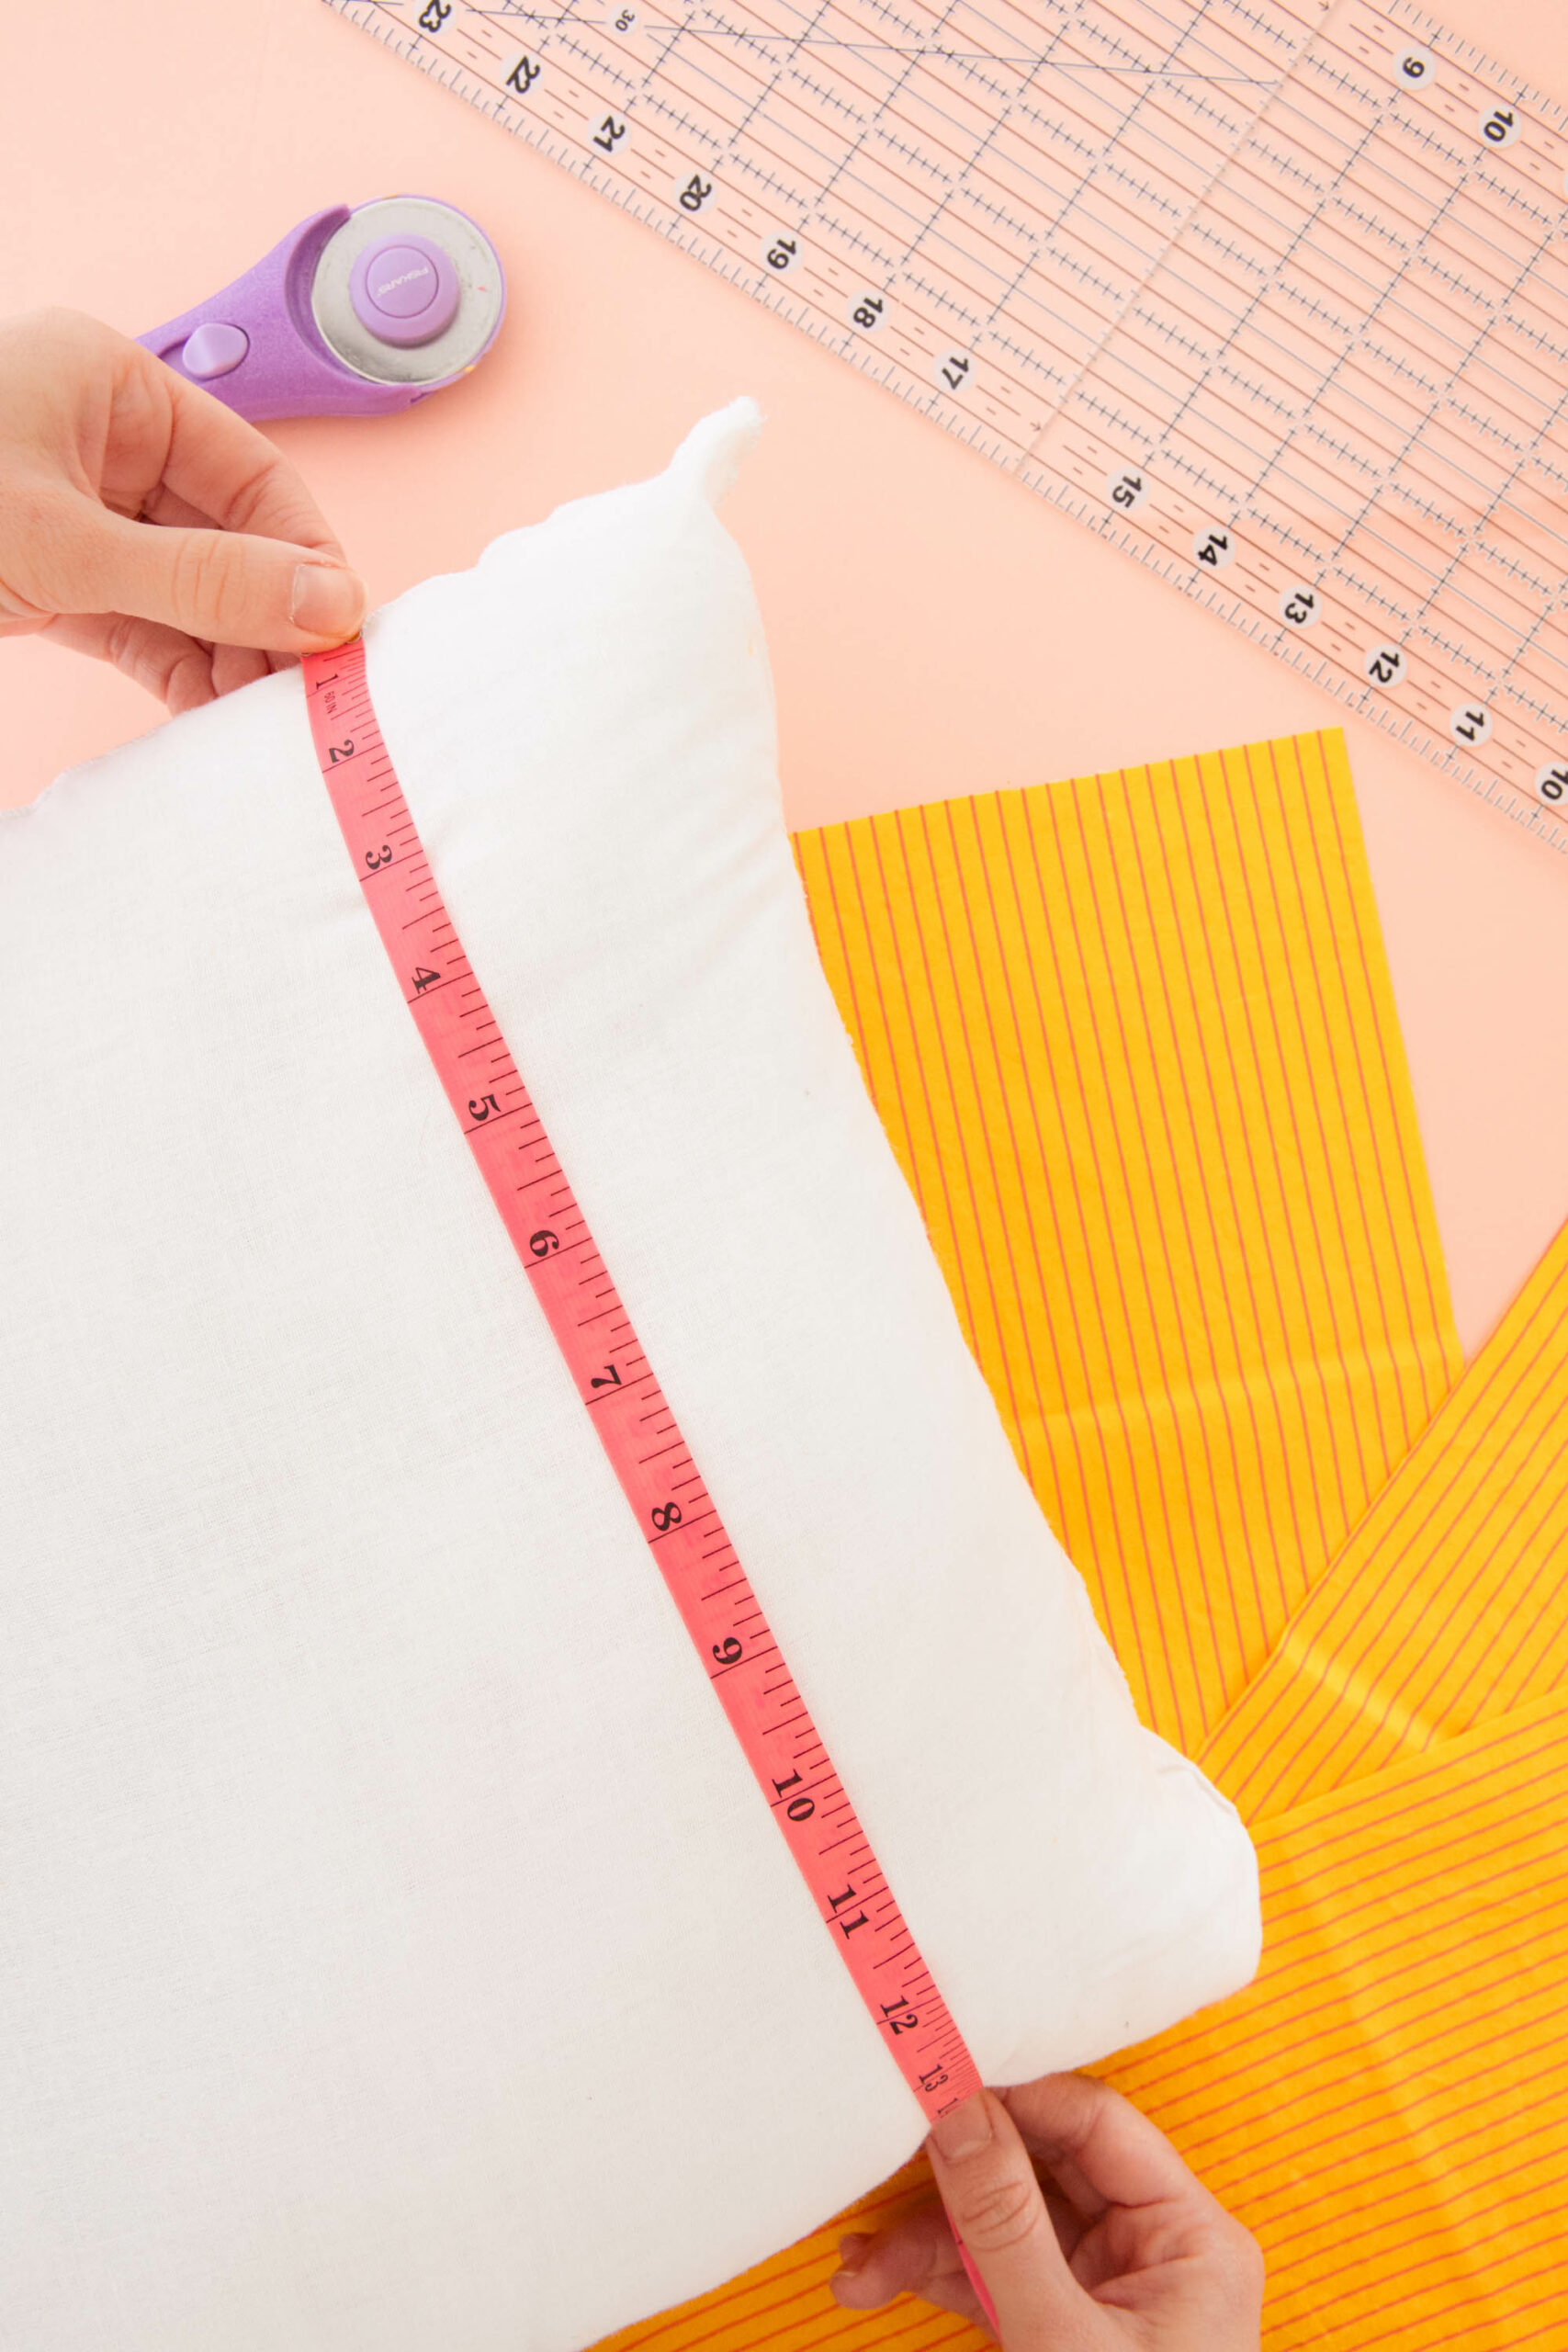
Give your fabric a good press after washing to smooth it out. Use the following formula to determine your fabric size and cut out the fabric using your preferred cutting method.
(1) Front fabric panel: pillow size + 1″ added on all sides
For example, for a 16″ x 16″ pillow, you will cut your front fabric to be 17″ x 17″
(2) Back fabric panels: pillow height x 1/2 pillow width + 4″
For example, for a 16″ x 16″ pillow, you will cut your 2 back fabric pieces to be 16″tall x 12″ wide.
Ruffle: 4″ tall x (circumference of pillow x 1.75) If using one yard of fabric, the ruffle will need to be pieced.
For example, for a 16″ x 16″ pillow, you will cut you need fabric pieces that are 4″ tall x 112″, that’s (16 x 4)*1.75
Step 2 – Piece Together The Ruffle
Sew the ruffle pieces together along the short sides using a 1/2″ seam allowance. Press the seams open. Once you have your required length, sew the short ends together to create a long tube.
Step 3 – Press The Ruffle
Fond the ruffle piece in half, wrong sides together. Press.
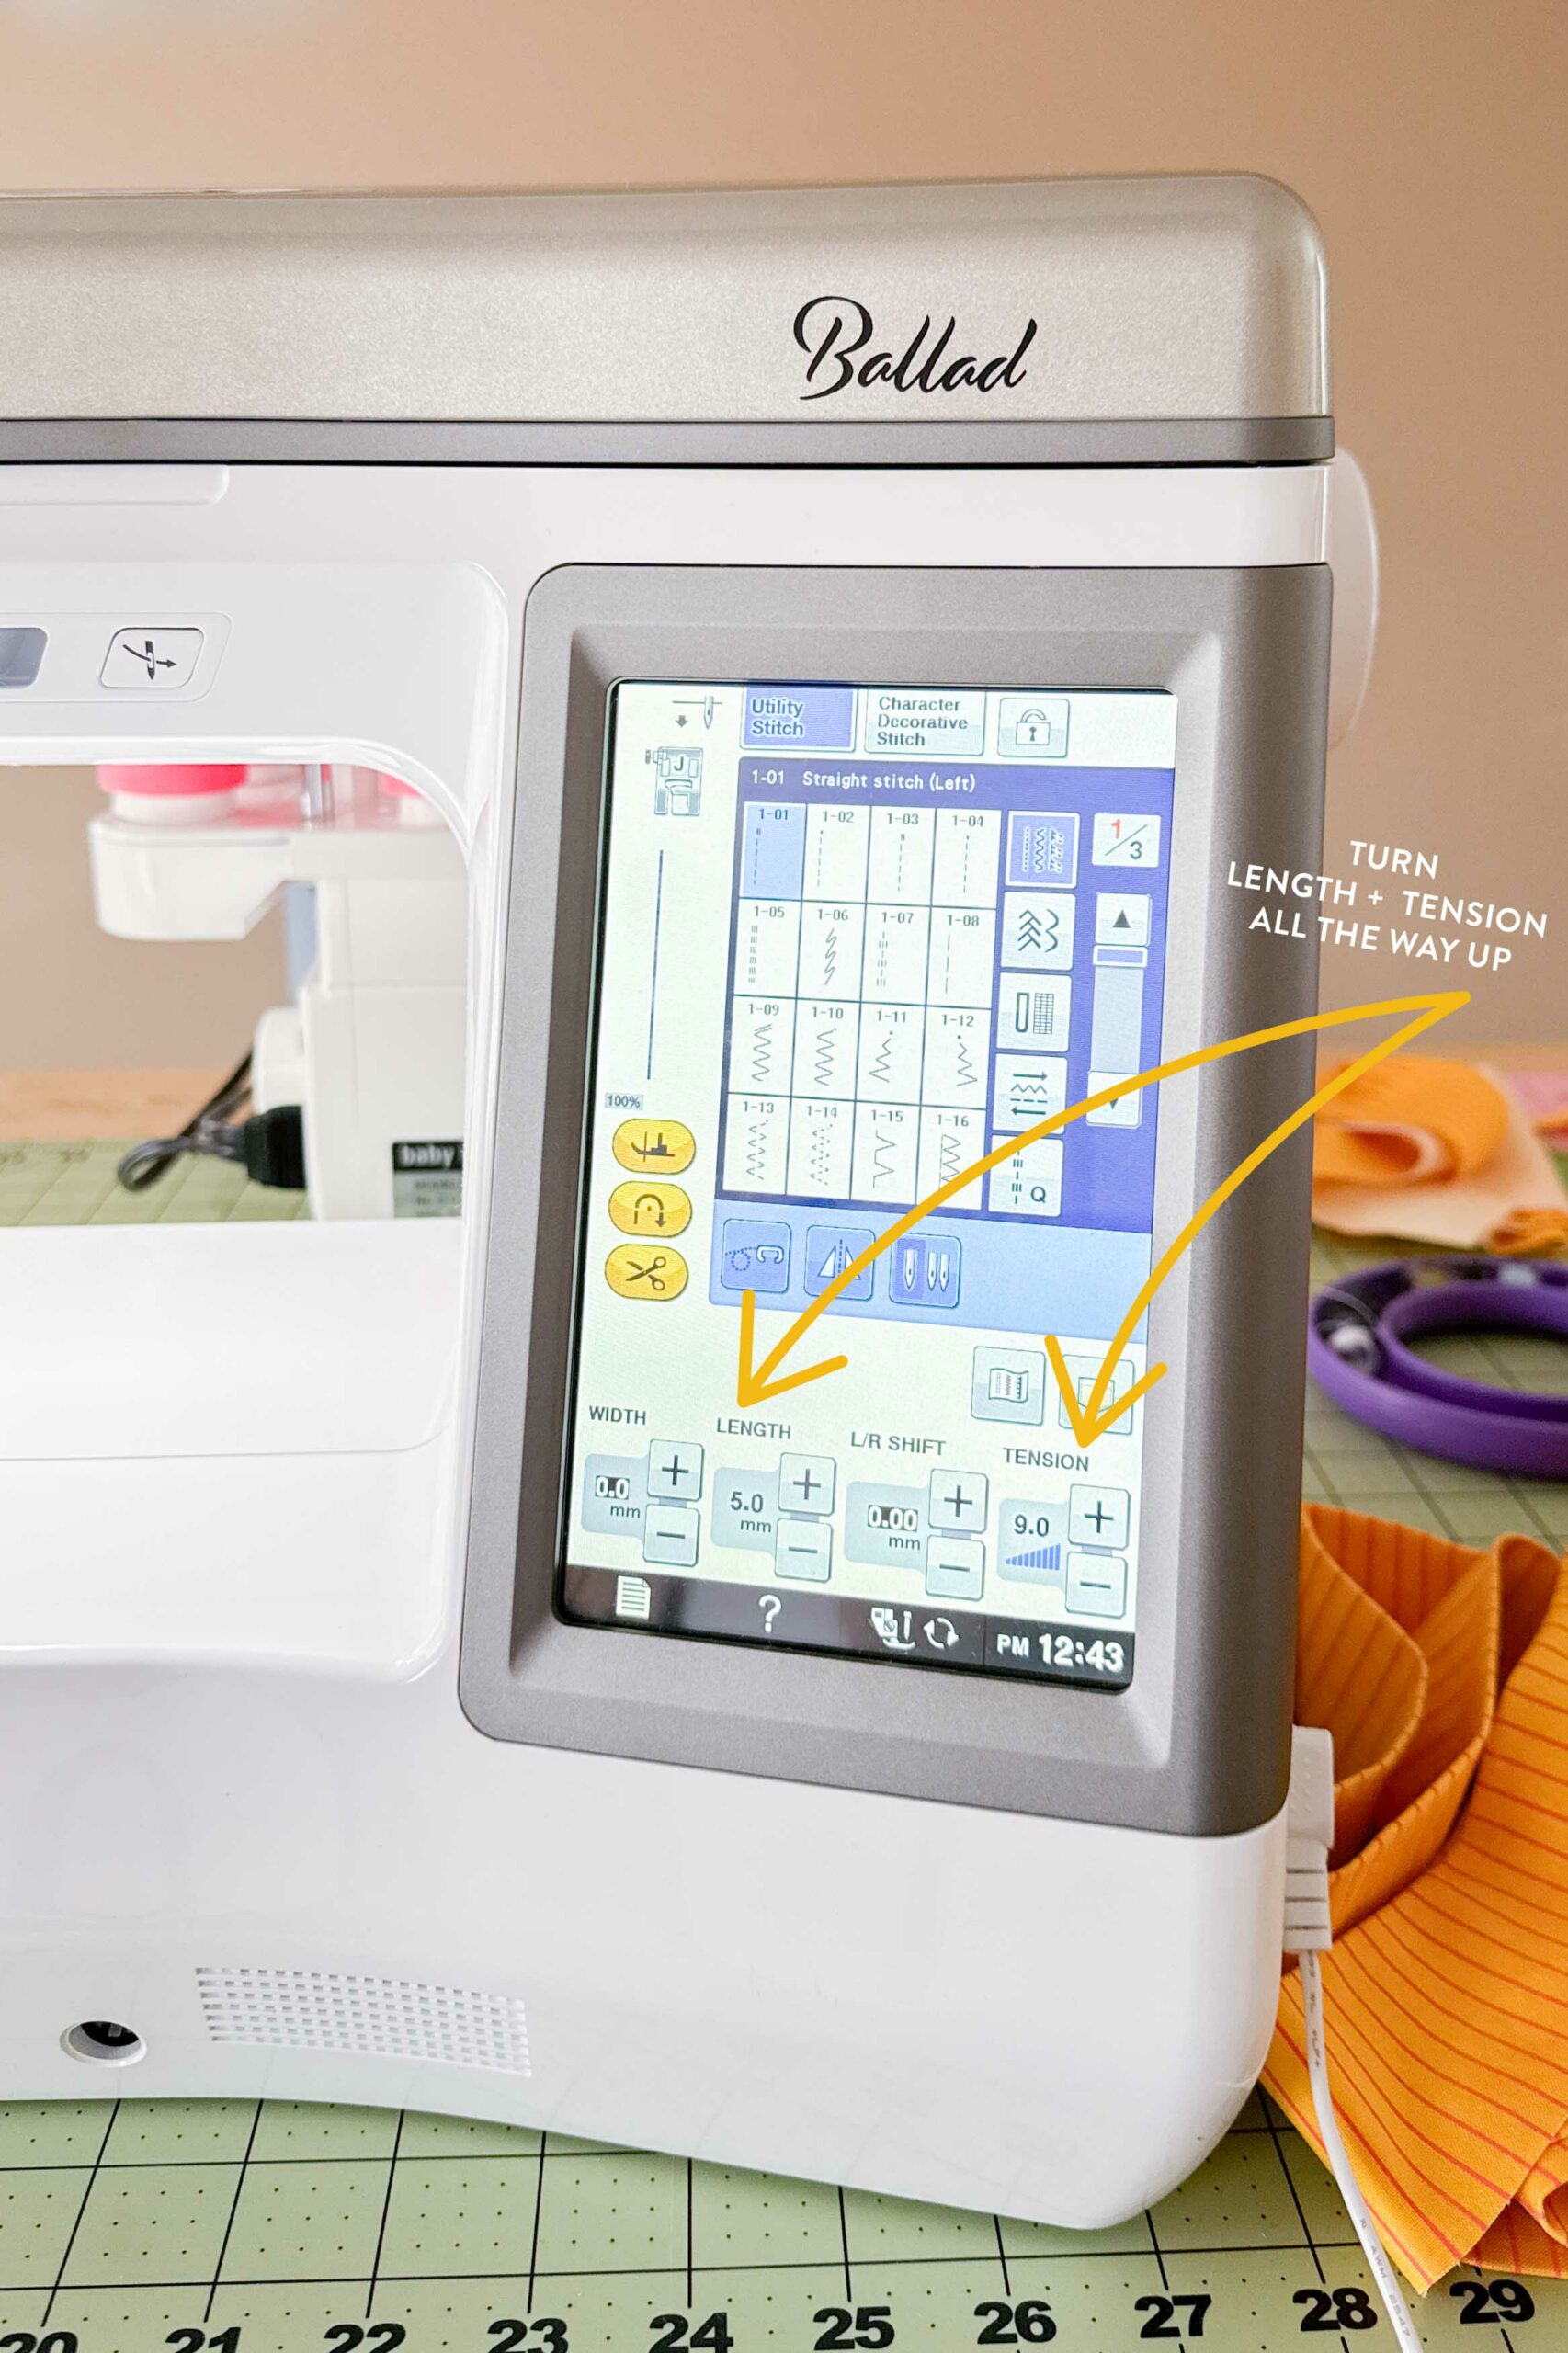
Step 4 – Gather The Ruffle
Attach the gathering foot onto your sewing machine. Set your stitch length to the longest setting available. Set your tension to the highest setting available. Now it’s ready!
Sew along the raw edge of the ruffle fabric at a 3/8″ seam allowance. As you sew, the fabric will automatically gather, just like magic. Continue sewing the entire length of the ruffle. Leave long thread tails in case you need to adjust your gathers slightly.

Step 5 – Hem The Back Panels
Fold in the long side of one back panel 1/2″ and press. Fold again and press. Edge stitch along the fold to hem.
Repeat with the second back fabric panel.
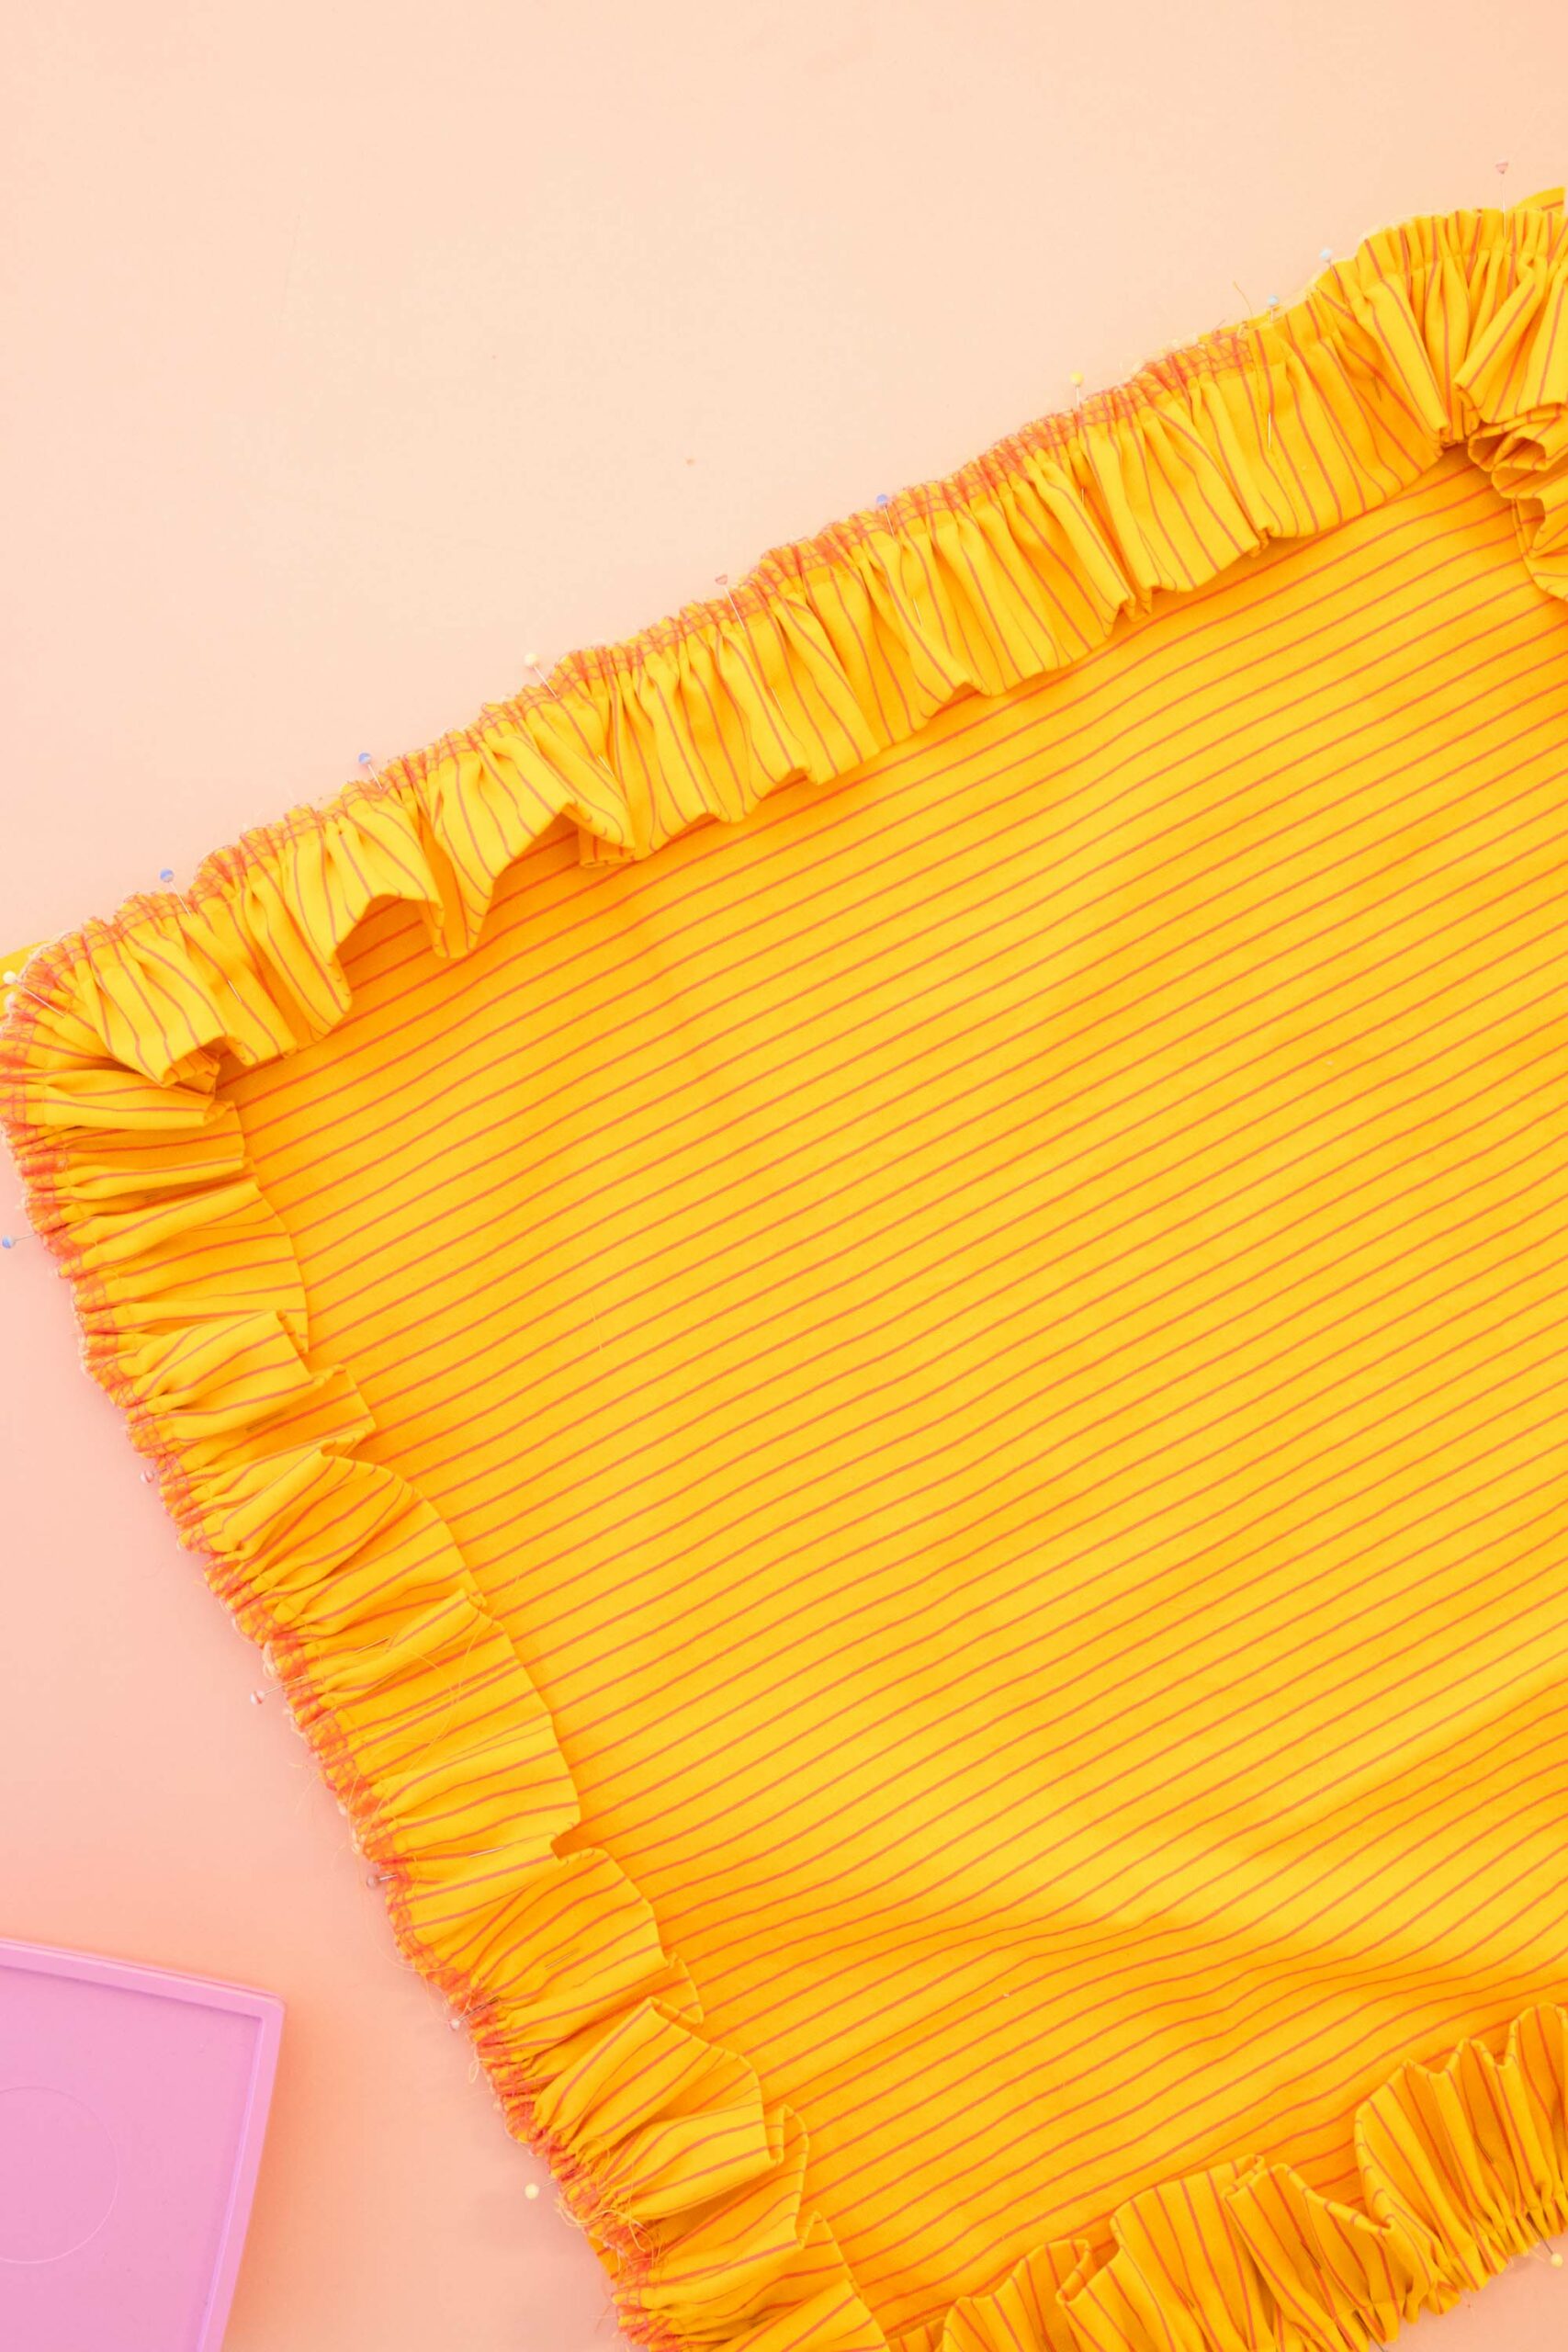
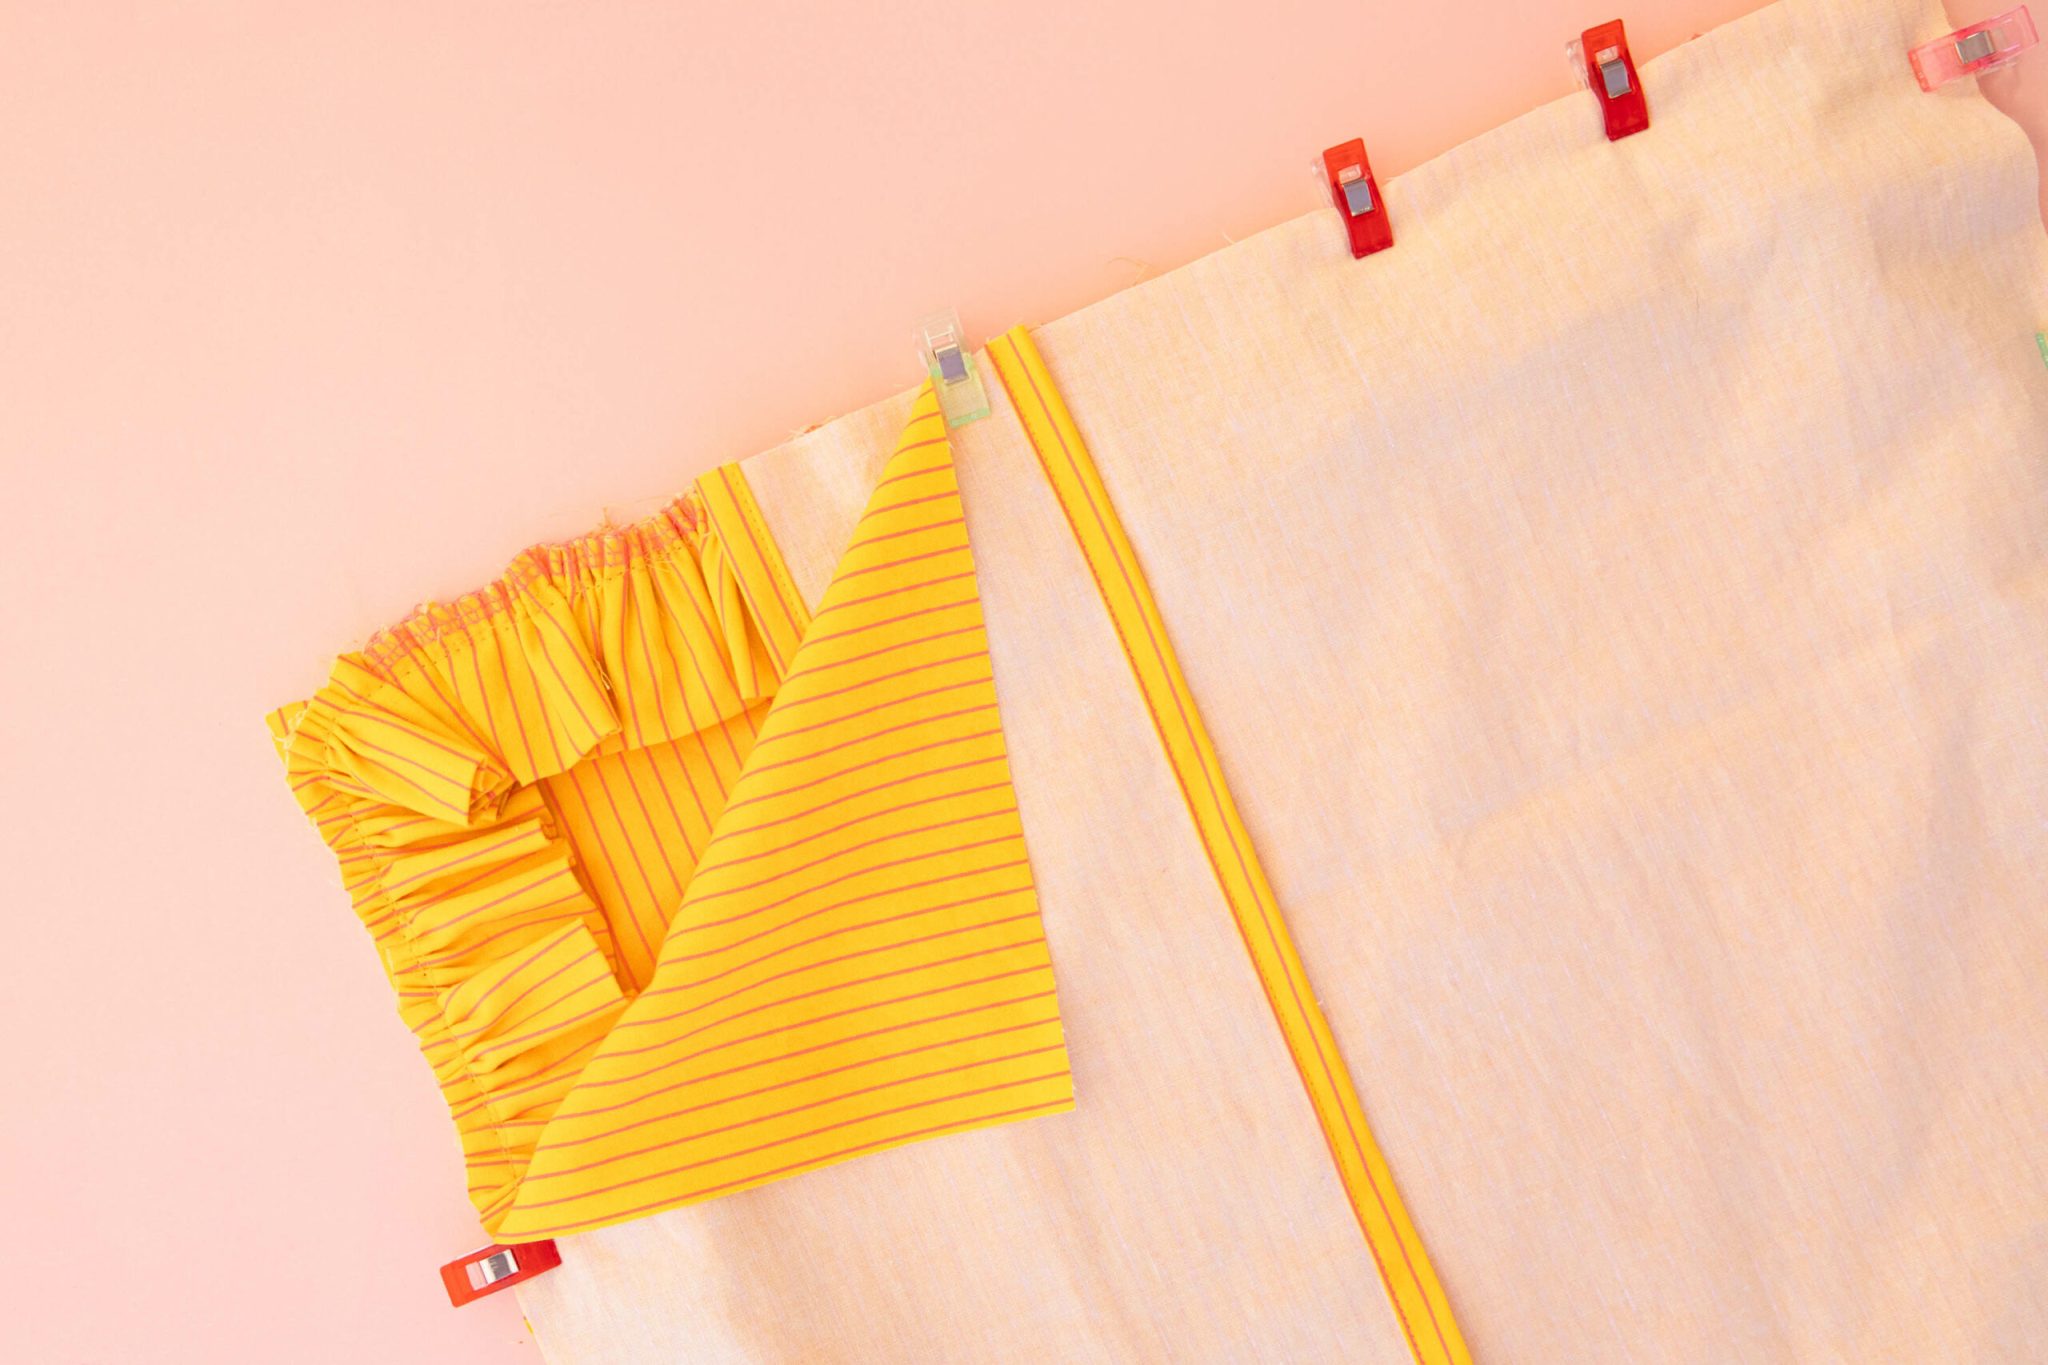
Step 6 – Pin The Ruffle In Place
Pin or clip the ruffle along the raw edge of the front pillow piece. Distribute the gathers as needed. Baste the ruffle onto the pillow front using a 3/8″ seam allowance. If sewing a square or rectangle pillow, the corners will be sewn with a slight curve.
Want to add a label on the outside seam? This is when you do it! I like to use a washable Elmer’s glue stick to stick my label where I want it and then baste it in place. The glue dries clear and washes out when you wash your pillow cover.
Step 7 – Sew The Pillow Together
Place the pillow back pieces on top and pin or clip. Sew all the way around using a 1/2″ seam allowance.
I find it easiest to sew with the basting stitches up so you can easily follow the corner curves.
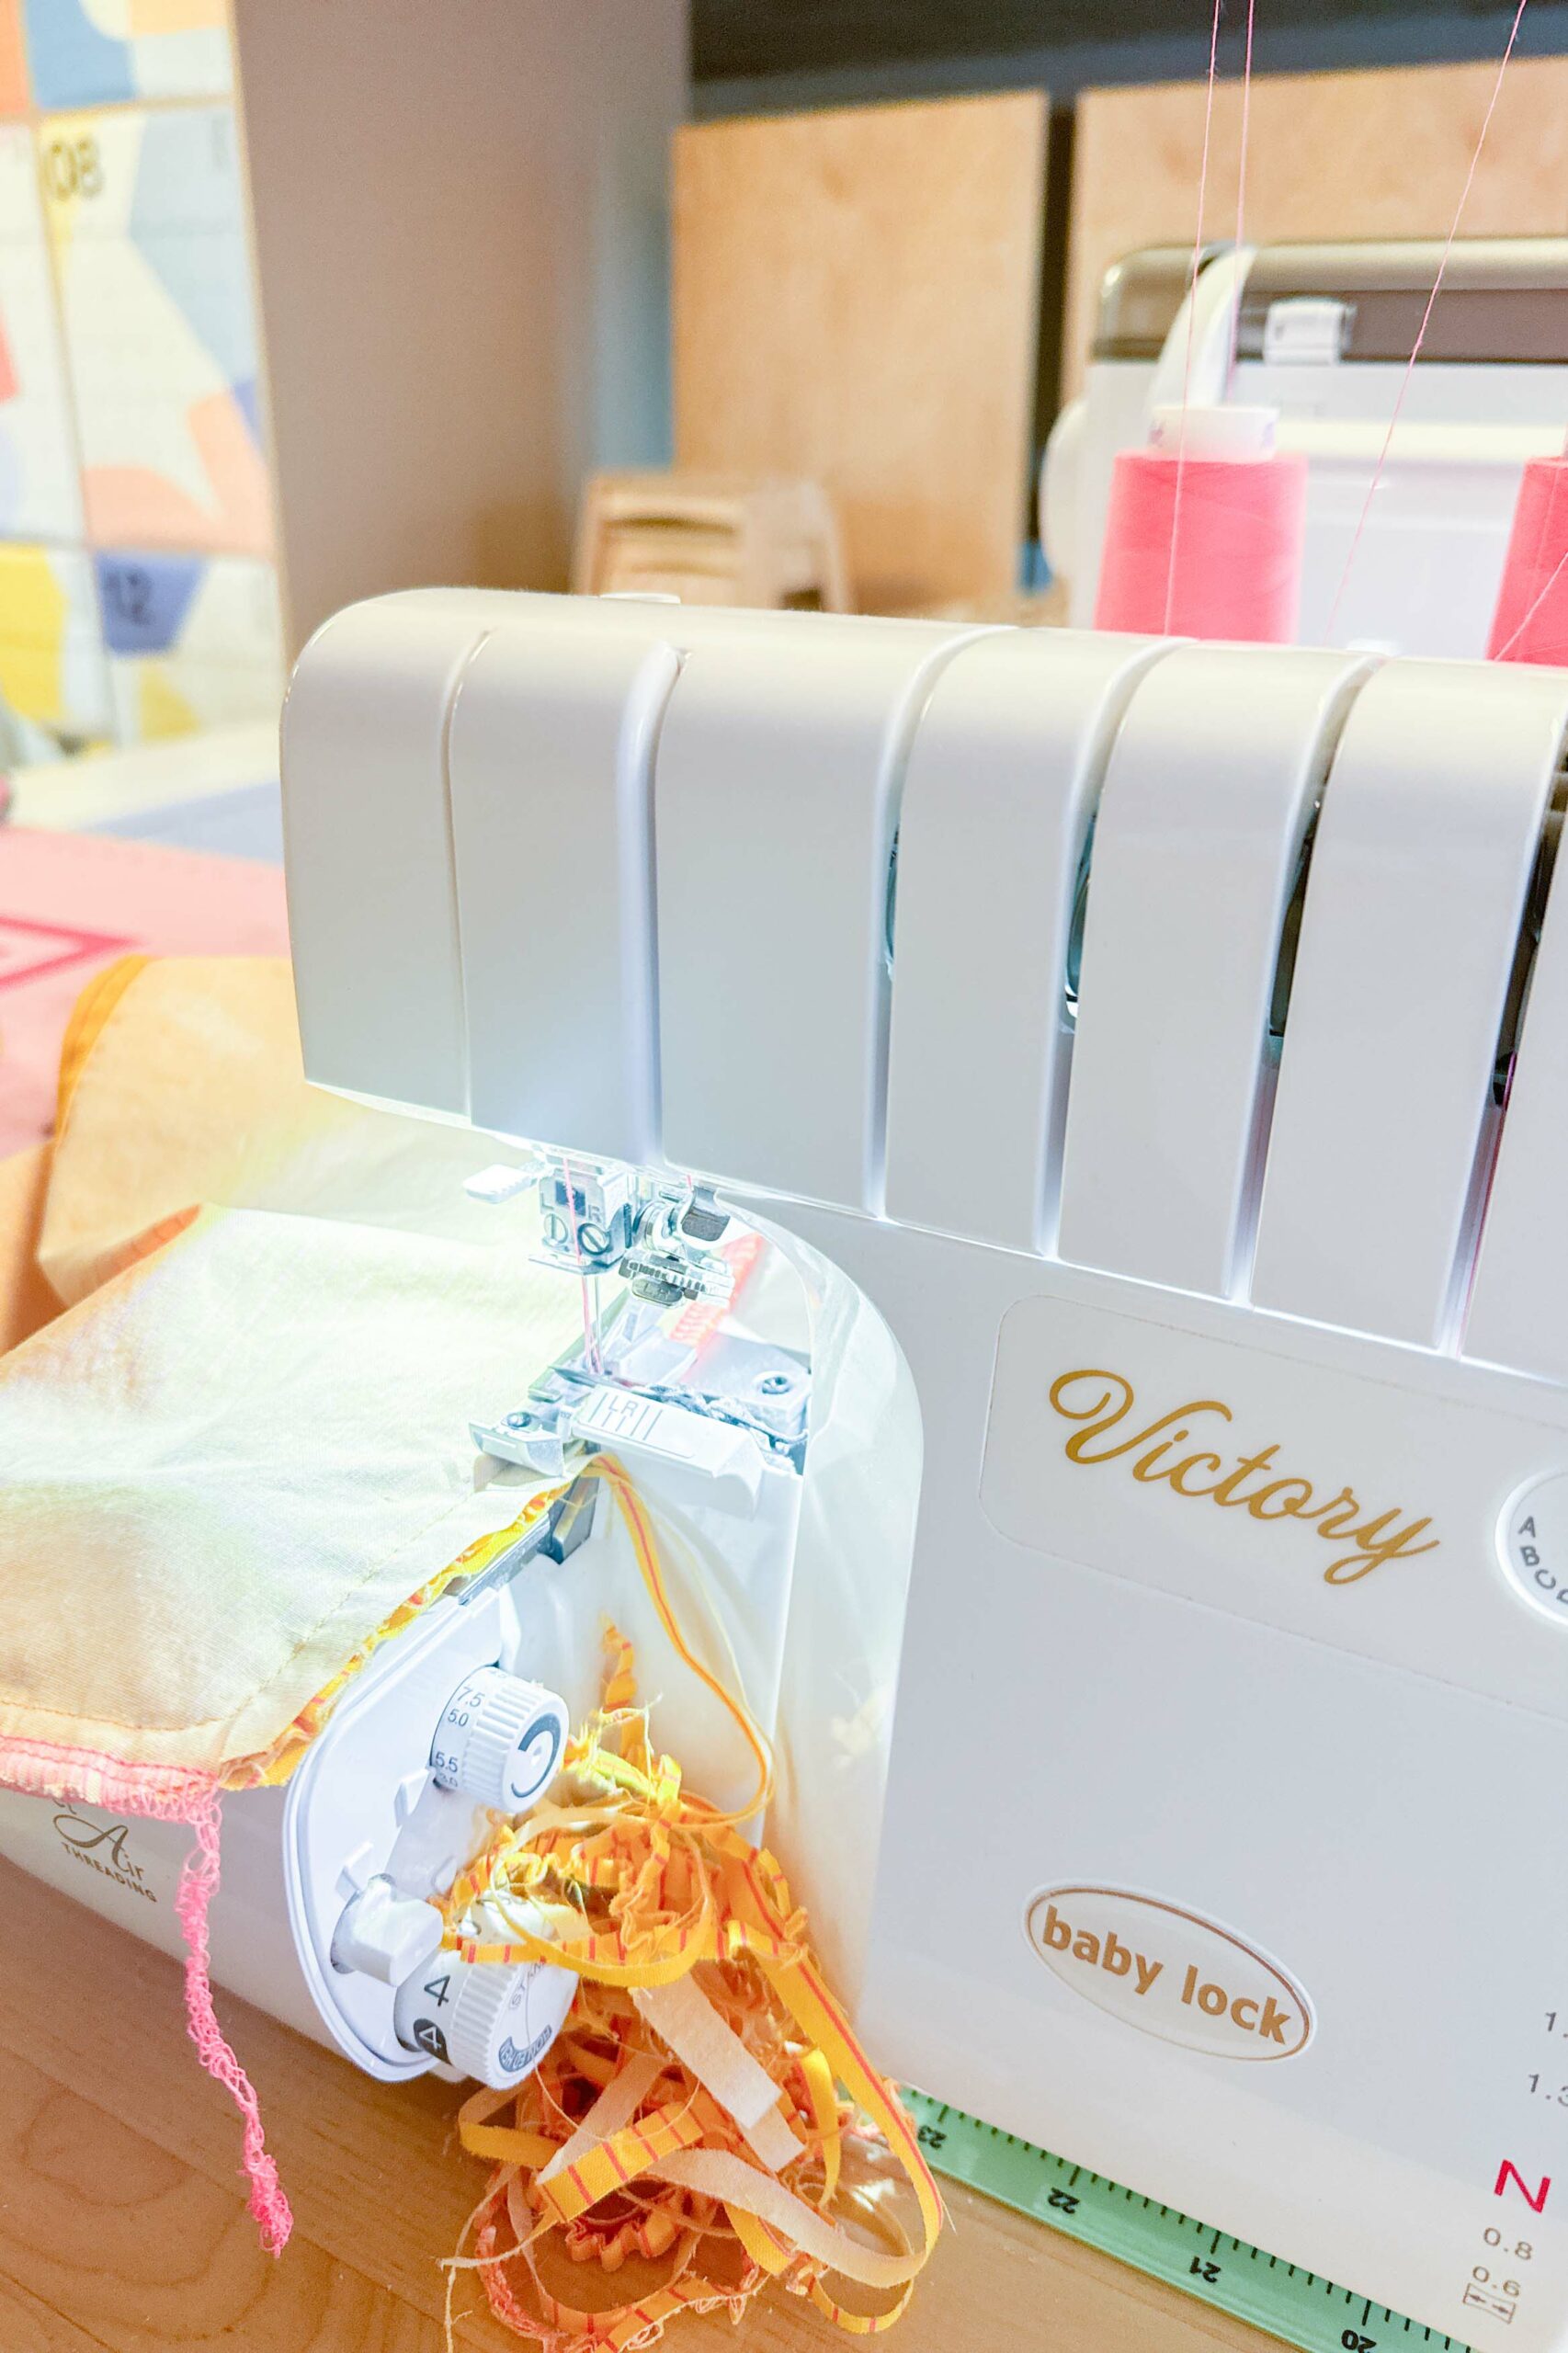
Step 8 – Finish The Edges
Use your serger, or an overlock stitch on your sewing machine to finish the raw edges of the fabric. Don’t have either? Simply use a pair of pinking shears.
Turn your pillow cover right side out and give it a good press. Insert your pillow form and you’re done!