Sewing Machine Mat with Pockets
Introducing the Sewing Machine Mat with Pockets, a versatile and practical accessory that will revolutionize your sewing experience! This innovative mat is designed to provide a convenient and organized workspace for all your sewing needs. Crafted with precision and attention to detail, it offers a stylish and functional solution to keep your sewing essentials within arm's reach. Whether you are a professional seamstress or a hobbyist, this mat will enhance your sewing experience and make your projects more enjoyable. So, say goodbye to the mess and hello to a tidy and efficient sewing space with the Sewing Machine Mat with Pockets!
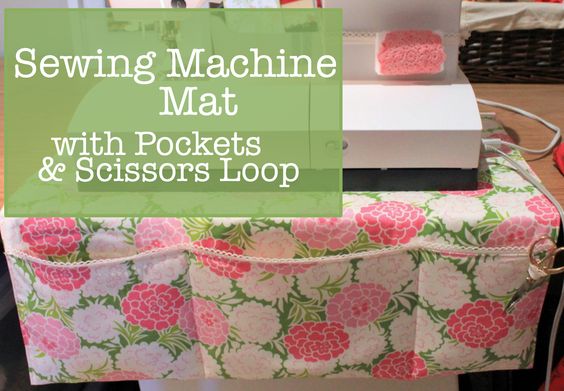
Sew a Sewing Machine Mat with Pockets
What You Need
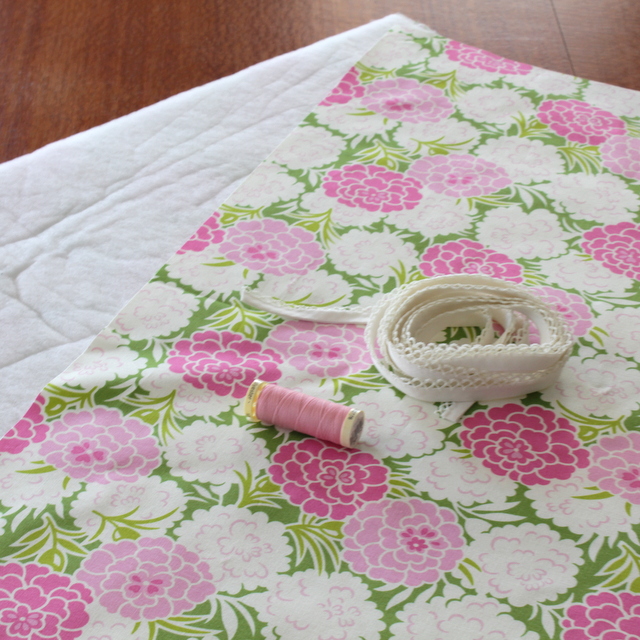
- 2 Rectangles of Fabric – 22″ x 26″ (If you want to adjust the size: 22″ is a little wider than the base of my sewing machine, 26″ is the depth of the mat plus the depth of the pocket x 2)
- 1 Rectangle of Iron-on Pellon – 21″ x 25″ (This is just slightly smaller than your fabric rectangles)
- Decorative Ribbon – 23″ long for pocket trim + 1.5″ for scissors loop (see note)
- Usual sewing supplies – thread, scissors, etc.
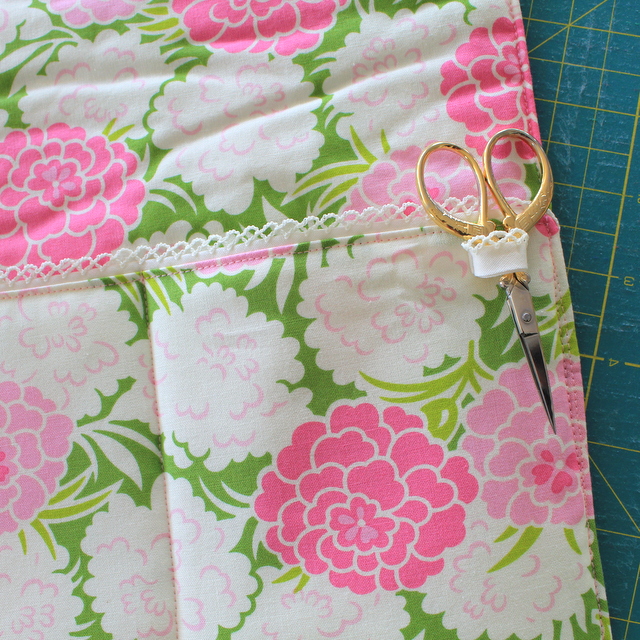
Note: The decorative ribbon I have used had a crochet loopy edge which made it perfect to use as a decoration of the edge of the pockets. You could get a similar look with lace or ric rac.
What To Do
1. Iron the pellon onto the back of one of the fabric rectangles.
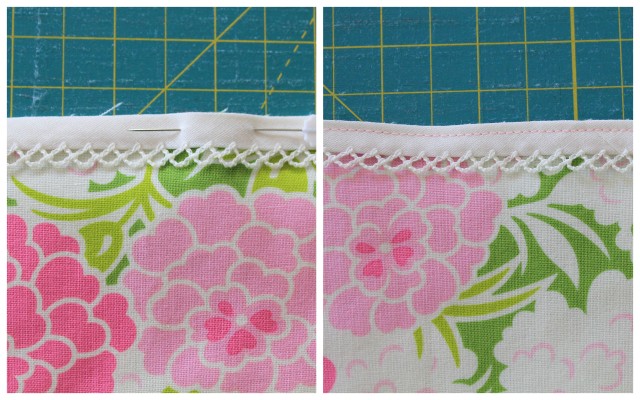
2. Lay the ribbon on the right side of the short edge of one of the rectangles. I used the one with pellon attached but either one will work. Lay it with the decorative edge away from the fabric edge and careful pin into place.
3. At the sewing machine, attach the ribbon to the fabric sewing just in from the edge – about 1/8″ or 2mm. This stitching won’t be seen on the finished edge – and that’s what we want – but it will hold the ribbon in place when we join the rectangles.
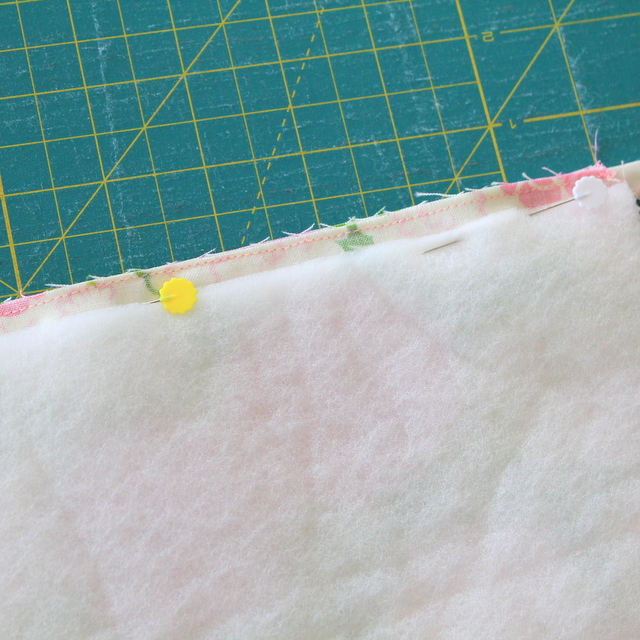
4. Lay one rectangle piece down right side up. Then lay the other rectangle on top right side down. Match the edges and pin in place. (Tip: I like the have the pellon on top so I can see it as I’m sewing and so it won’t get caught in the feed dogs of the sewing machine.)
5. Take to the sewing machine and stitch around the edge to join the two rectangles about 1/4″ or 5mm from the edge, leaving a gap of 6-8″ on one side for turning. (Tip: Don’t leave the gap on the edge with the ribbon trim – pick one of the other three sides. Oh, and having the gap in the middle of a side is easier than near a corner.)
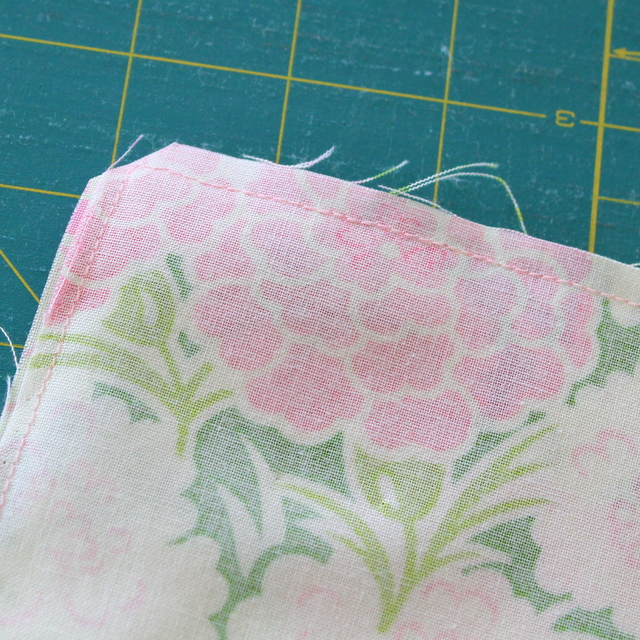
6. Clip the corners (to remove bulk) and turn it through. Use a knitting needle or similar to push the corners out to nice points.
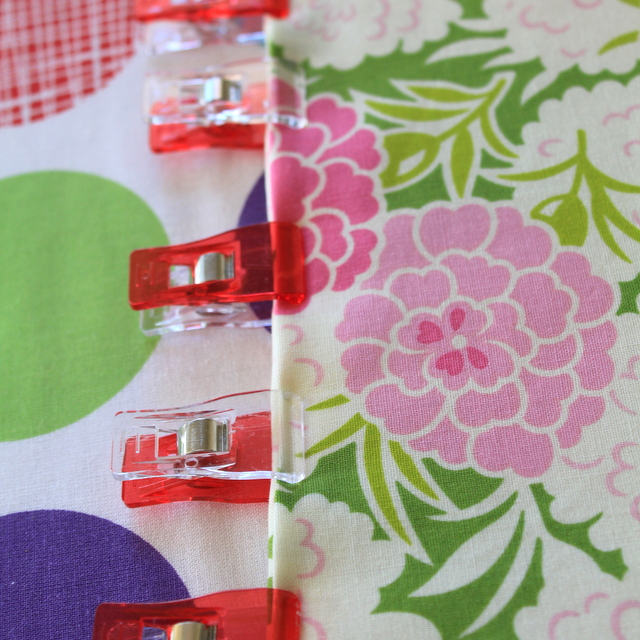
7. Carefully press the edges – be especially careful pressing the edge with the decorative ribbon – and tuck the edges of the gap into place. I clipped these with Wonder Clips that came in the Sew Box – much easier than pins!
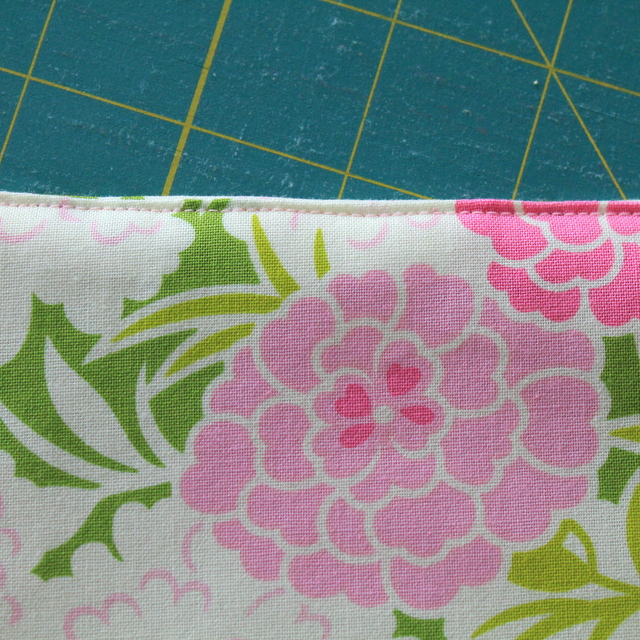
8. Sew around the whole rectangle 1/8″ from the edge – this “top stitching” will create a nice finish and close the gap as well. At the corners, stop with your needle down, lift the presser foot and pivot the fabric to go down the next side.
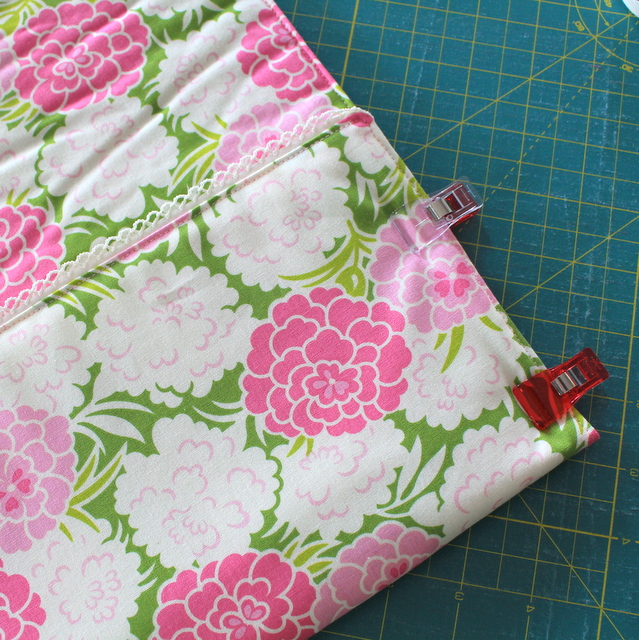
Fold up one short end to become the pocket. Mine is 6″ deep but you could adjust yours if you wish. Again I clipped mine with the Wonder Clips – I can see these are going to get lots of use!
10. Stitch up the two sides of the pocket – I tried to sew close to the top stitching but you could put your seam further in from the edge if you like.
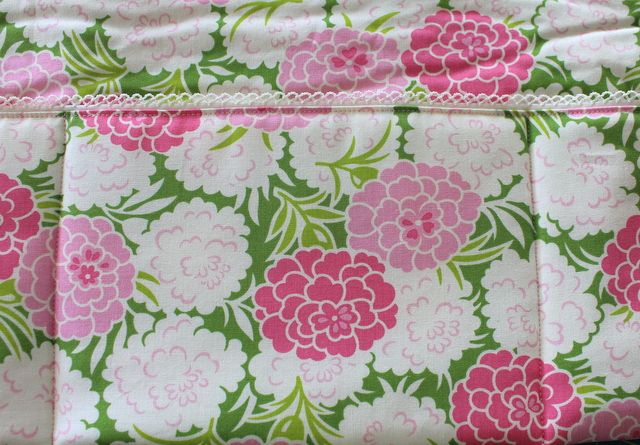
11. Divide the long pocket into sections. I chose three sections with the middle one wider than the other two, but think about what you will be putting in them and plan for the sizes you need. Just sew from the bottom of the pocket to the top to create the smaller pockets.