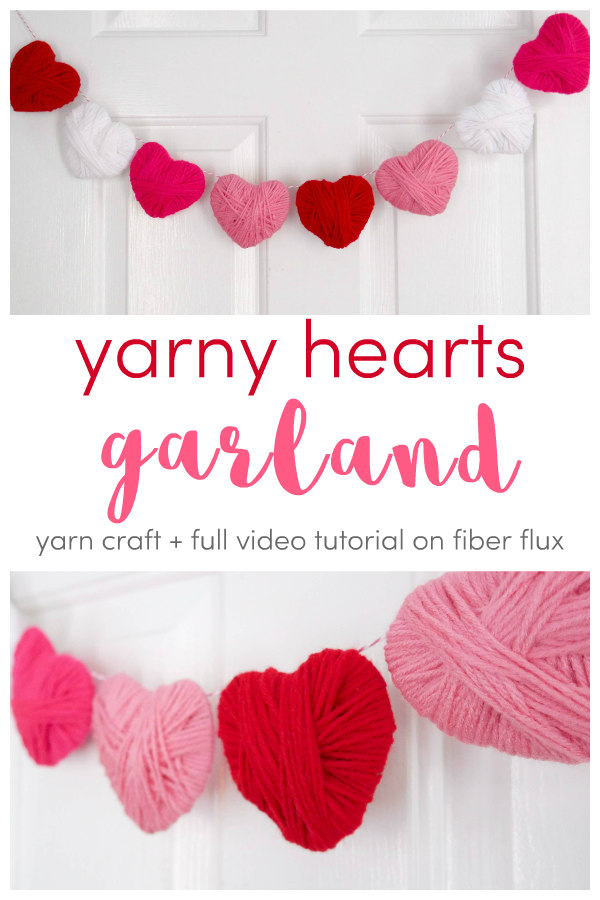
Yarny Hearts Garland
Craft enthusiasts will absolutely adore the charming and whimsical Yarny Hearts Garland. This delightful DIY project is perfect for adding a touch of warmth and love to any space. With just a few simple materials and a little bit of creativity, you can create a stunning garland that will bring joy to your heart. Whether you choose to use it as a decoration for a special occasion or as a permanent fixture in your living room, this garland is sure to be a conversation starter. So grab your yarn, scissors, and a hot glue gun, and let your imagination run wild as you create your very own Yarny Hearts Garland.

Here’s What You’ll Need:
- Hot glue gun + glue sticks
- Pen/marker
- Tapestry/yarn needle
- Scissors
- Heart stencil (I used a cookie cutter but you can print something or use something you may have on hand)
- Cardboard scraps (I used a box flap from the recycling bin)
- Tape
- Ribbon/yarn/twine
- Yarn (I used Red Heart Super Saver in “Cherry Red” “Grenadine” “Perfect Pink” and “White”
Here’s how to make the garland:
- Begin by tracing several hearts onto cardboard and cut them out.
- Tape a yarn end to the back of the heart.
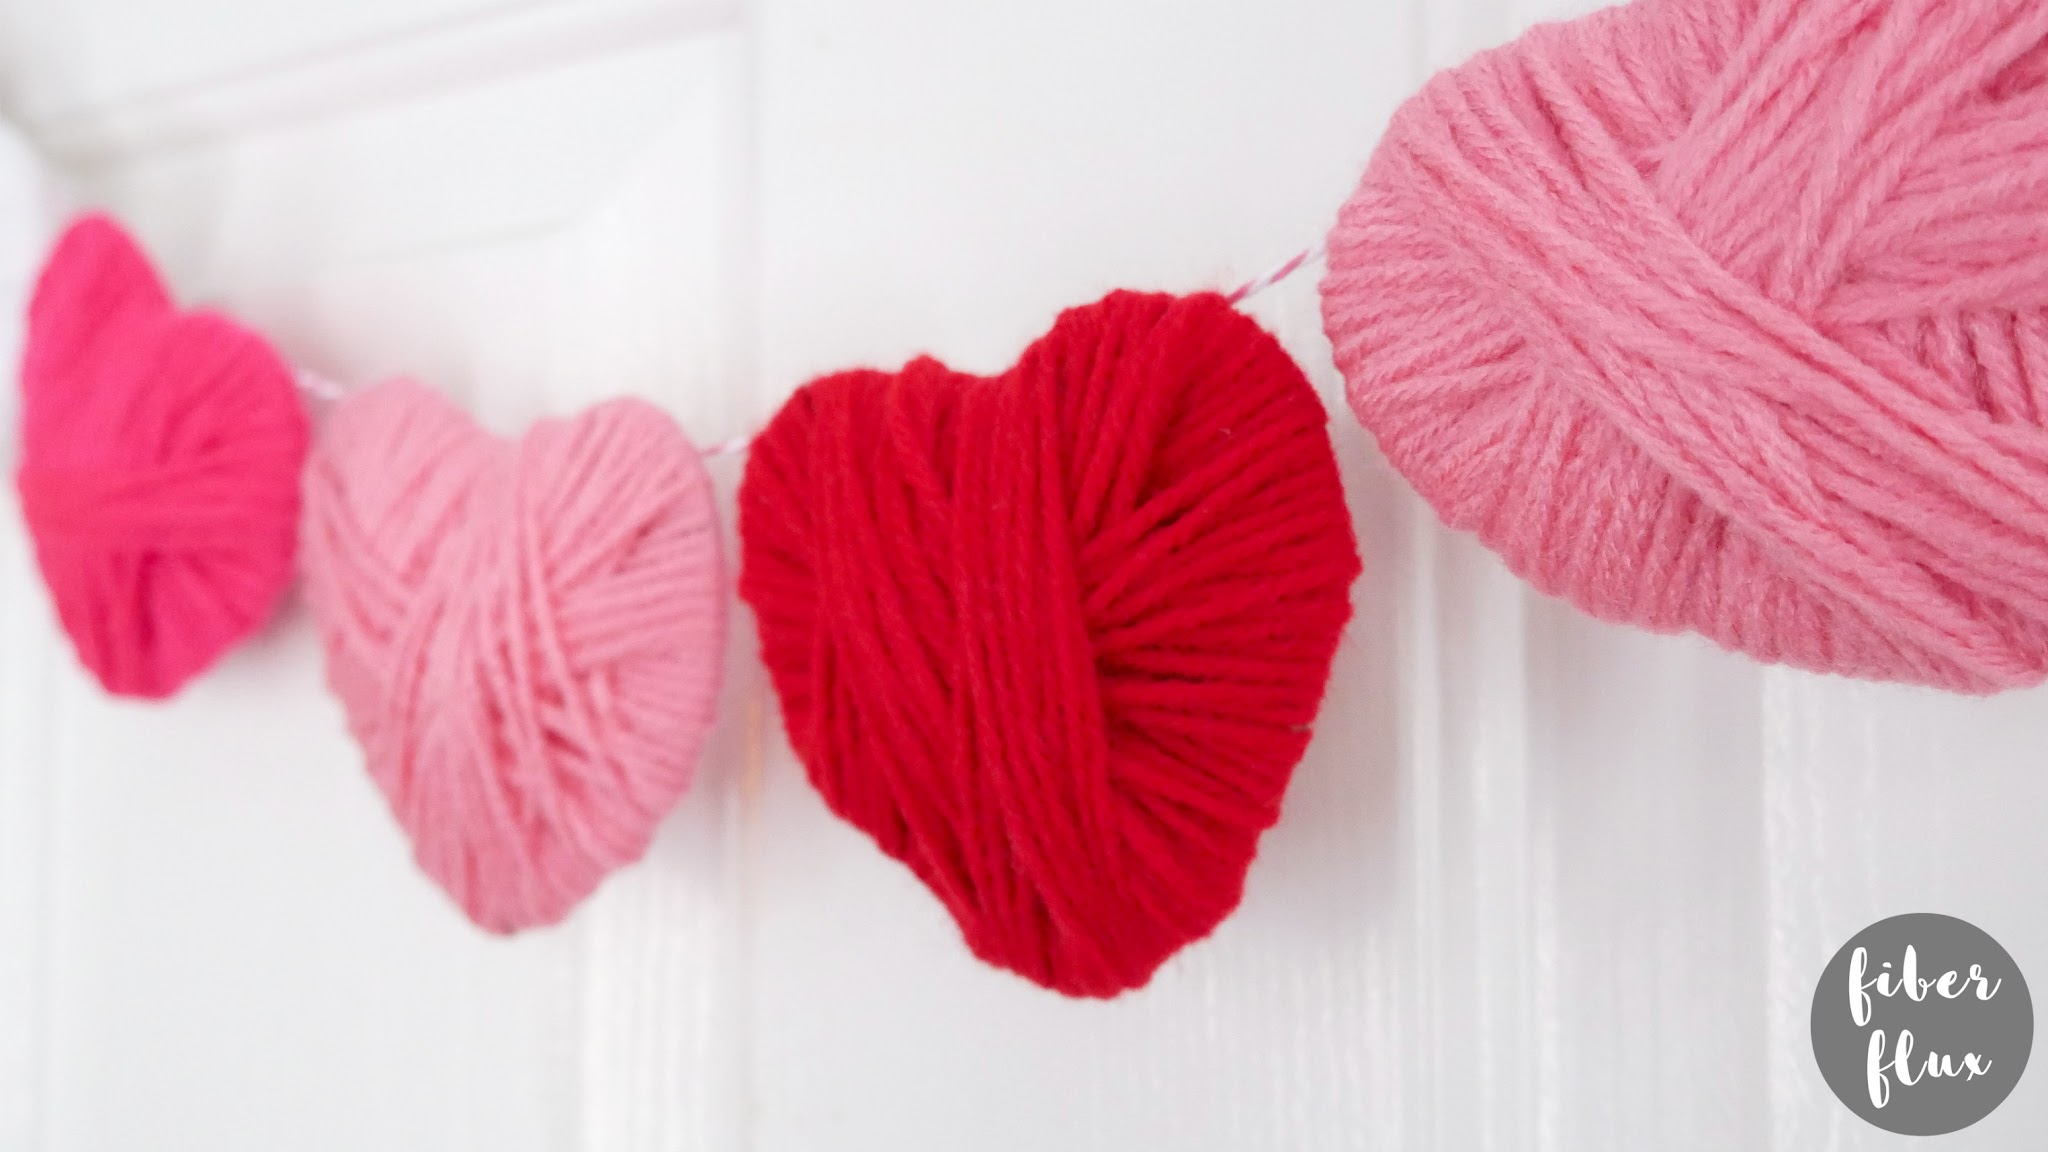
- Wrap yarn around heart, changing directions as needed until cardboard is completely covered.
- Cut the yarn, flip it over to the back and add a dot of how glue and glue yarn end down.
- Let heart cool and dry completely.
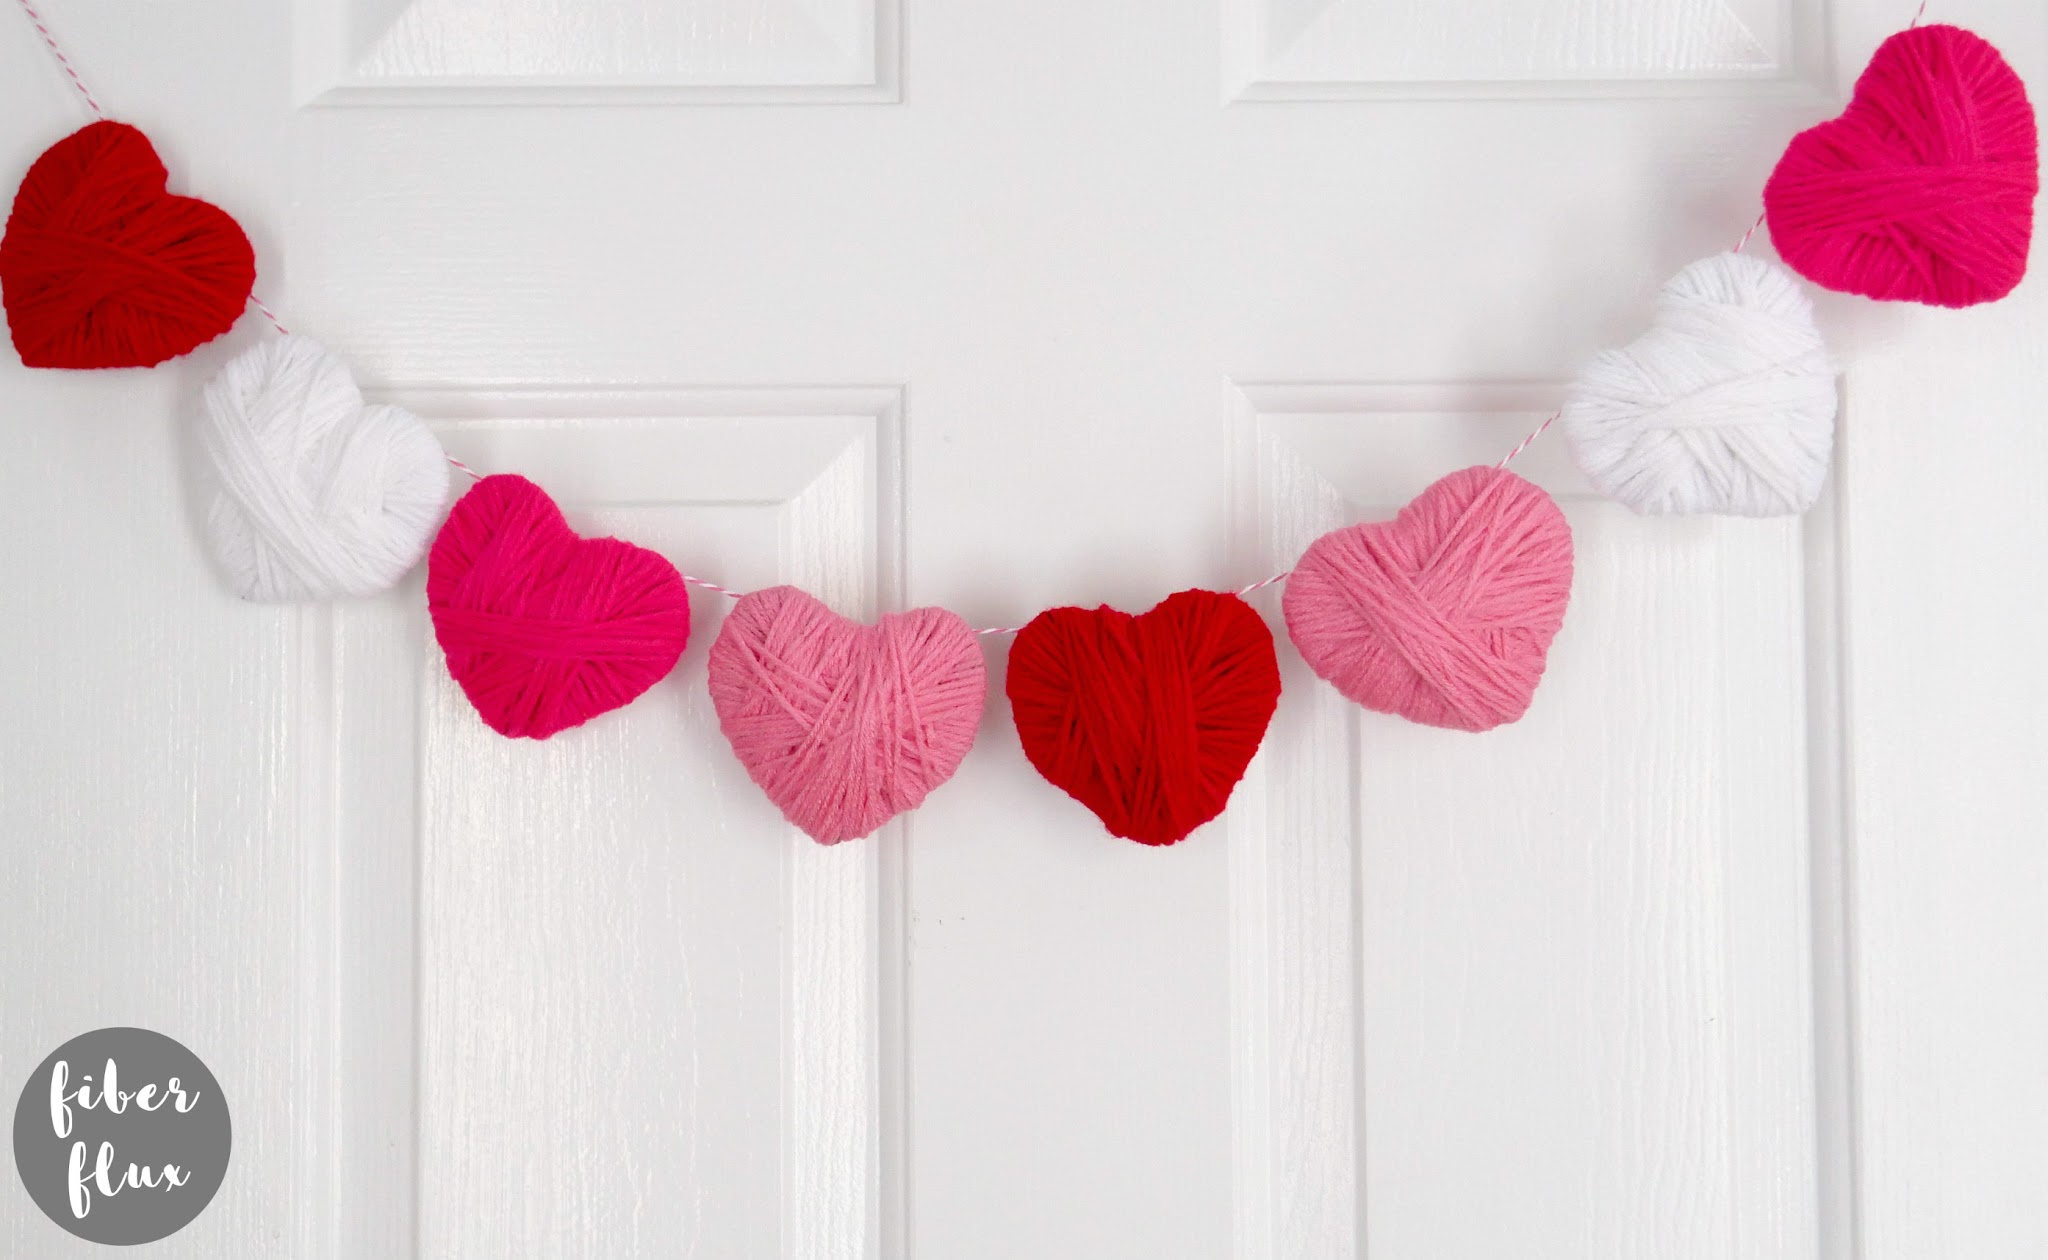
- Make as many hearts as needed (I made 8 of them, 2 in each color).
- Arrange hearts in the order you want them to be displayed on your garland.
- Thread your ribbon with a large tapestry needle.
- Run the tapestry needle along the backs of the hearts, all along the top of each one to string them up.
- Slide them in place as needed. You can spread them out or make the sides of them touch, it’s totally up to you how you want your garland to look. Cut the ribbon to desired length and you’re ready to hang!
No comments
Write a comment