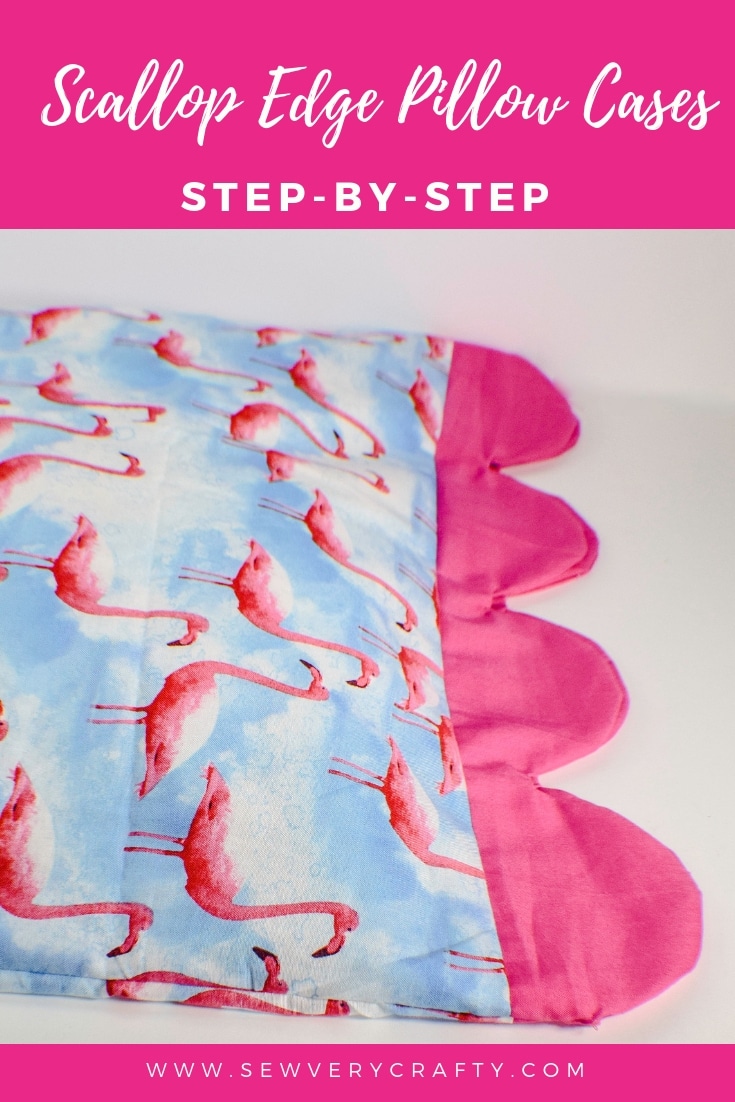
How to Make Scalloped Edged Pillow Cases
Discover the art of creating exquisite scalloped edged pillow cases with this fabulous sewing pattern. Unleash your creativity and add a touch of elegance to your home decor with these stunning pillow cases. The pattern provides step-by-step instructions, guiding you through the process of sewing these beautiful scalloped edges with precision and finesse. Transform ordinary pillow cases into extraordinary pieces of art that will instantly elevate the ambiance of any room. With this pattern, you'll learn the secrets of creating flawless scalloped edges, allowing you to showcase your sewing skills and impress your friends and family with your handmade masterpieces. Let your imagination run wild as you choose from a variety of fabrics and colors to personalize your pillow cases and make them truly unique.
What you will Need:
- Arc Template
- 1 yd main fabric
- 1/2 yd accent fabric
- Standard sewing supplies
Step 1: How to Make Scalloped Edged Pillow Cases
Cut fabrics that measure
- 2 x 27″ long x 21″ wide
- 4 x 4 1/2″ long x 21″ wide
Step 2: How to Make Scalloped Edged Pillow Cases
Make the scalloped edges on the wrong side of the fabric. You are going to draw your scallops onto the fabrics using a heat disappearing pen like Frixion. In order to draw your scallops you will need to download the arc template. Measure in 1/2″ from the side and 1/2″ down from the top and draw your first arc. Place the edge of the arc at the 1/2″ point. Continue making arcs across the fabrics with 1/2″ in between each arc. You should have 4 arcs when you are finished.
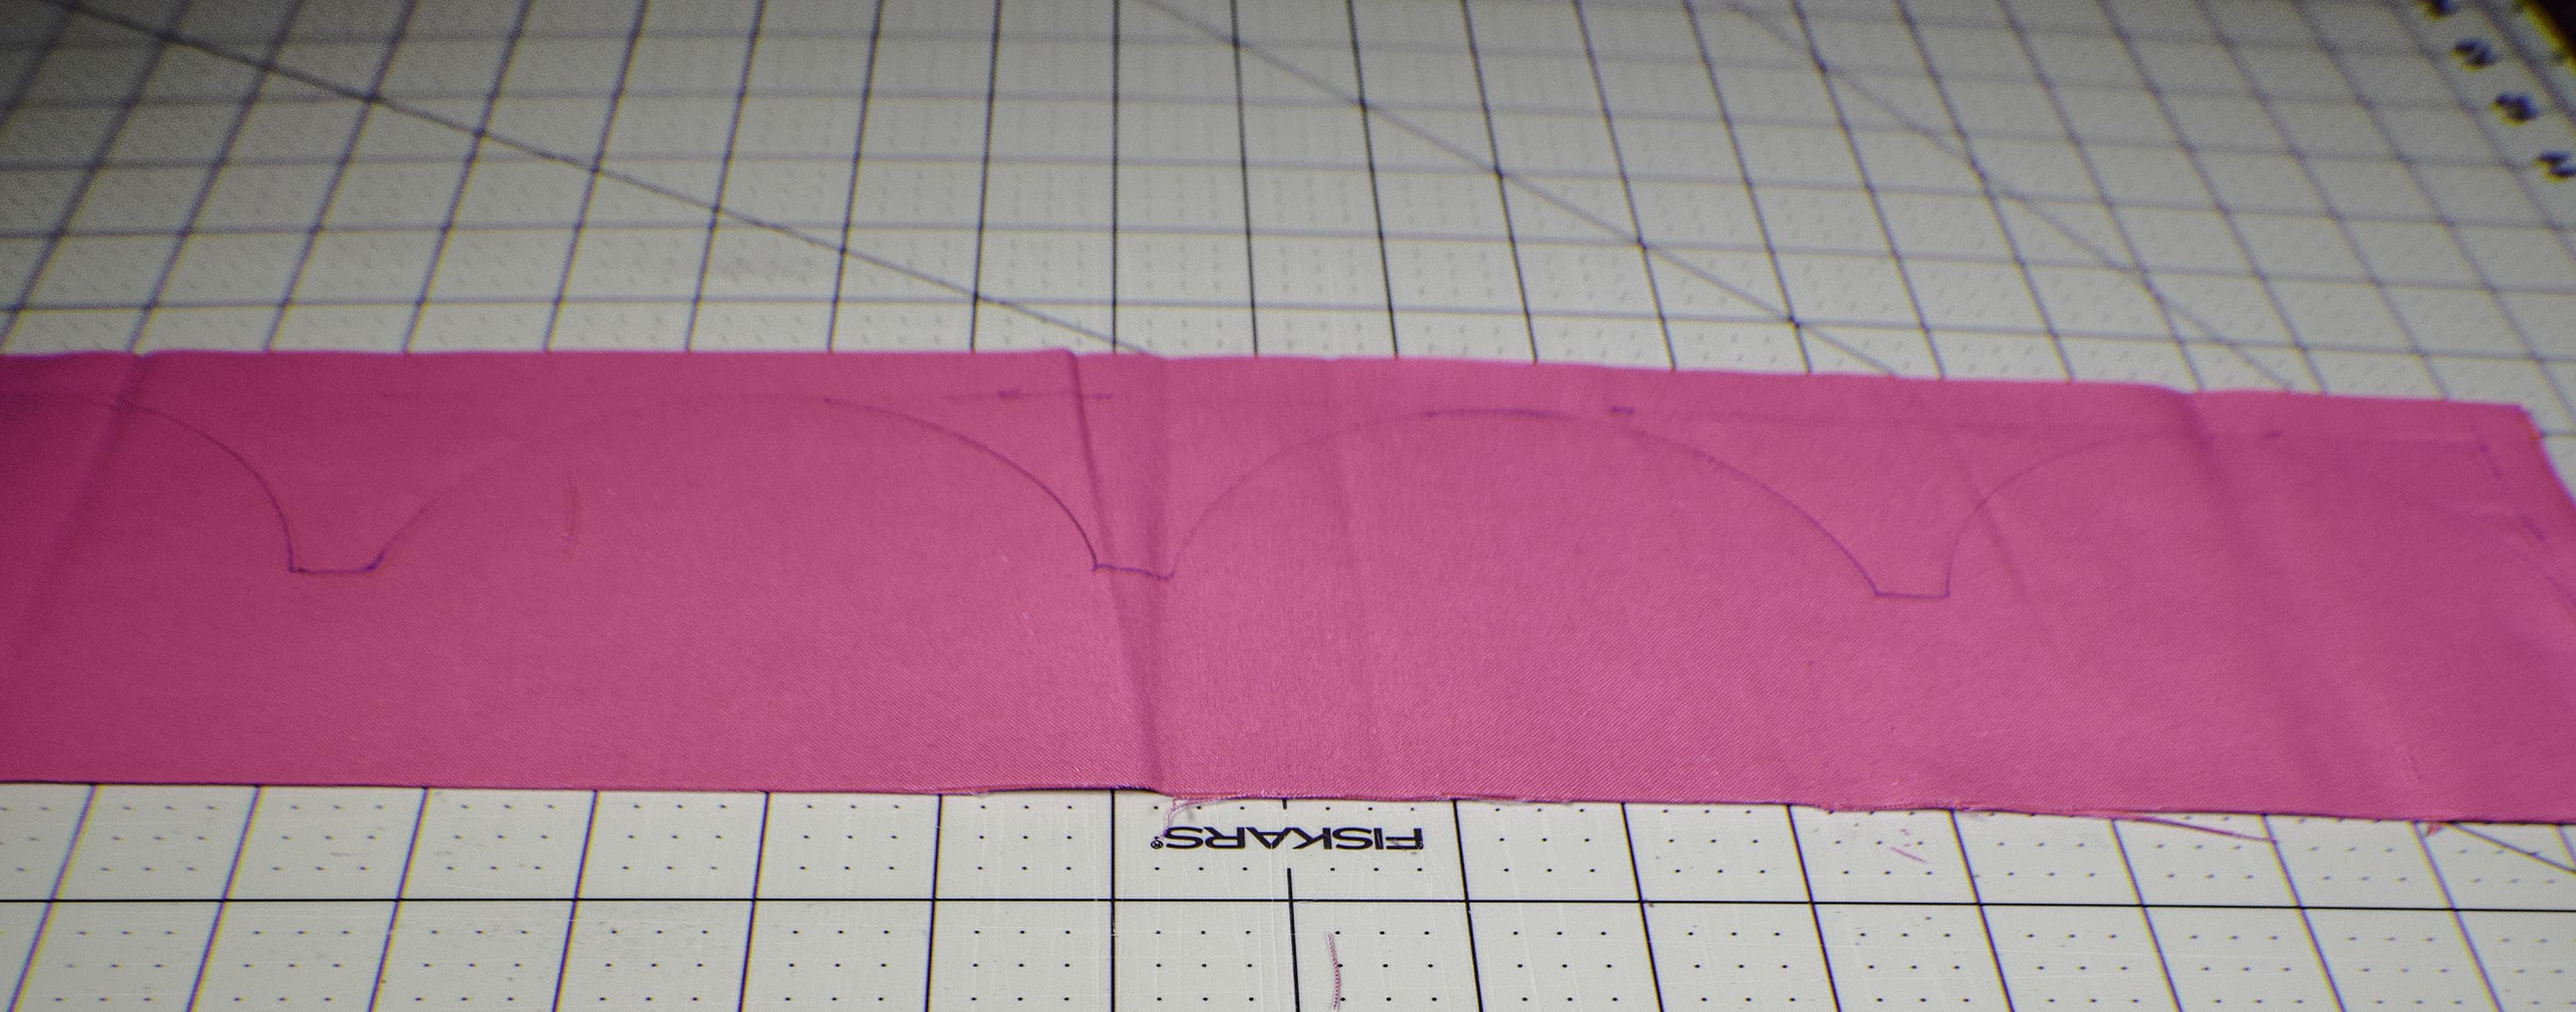
Draw the Scallops
Step 3: How to Make Scalloped Edged Pillow Cases
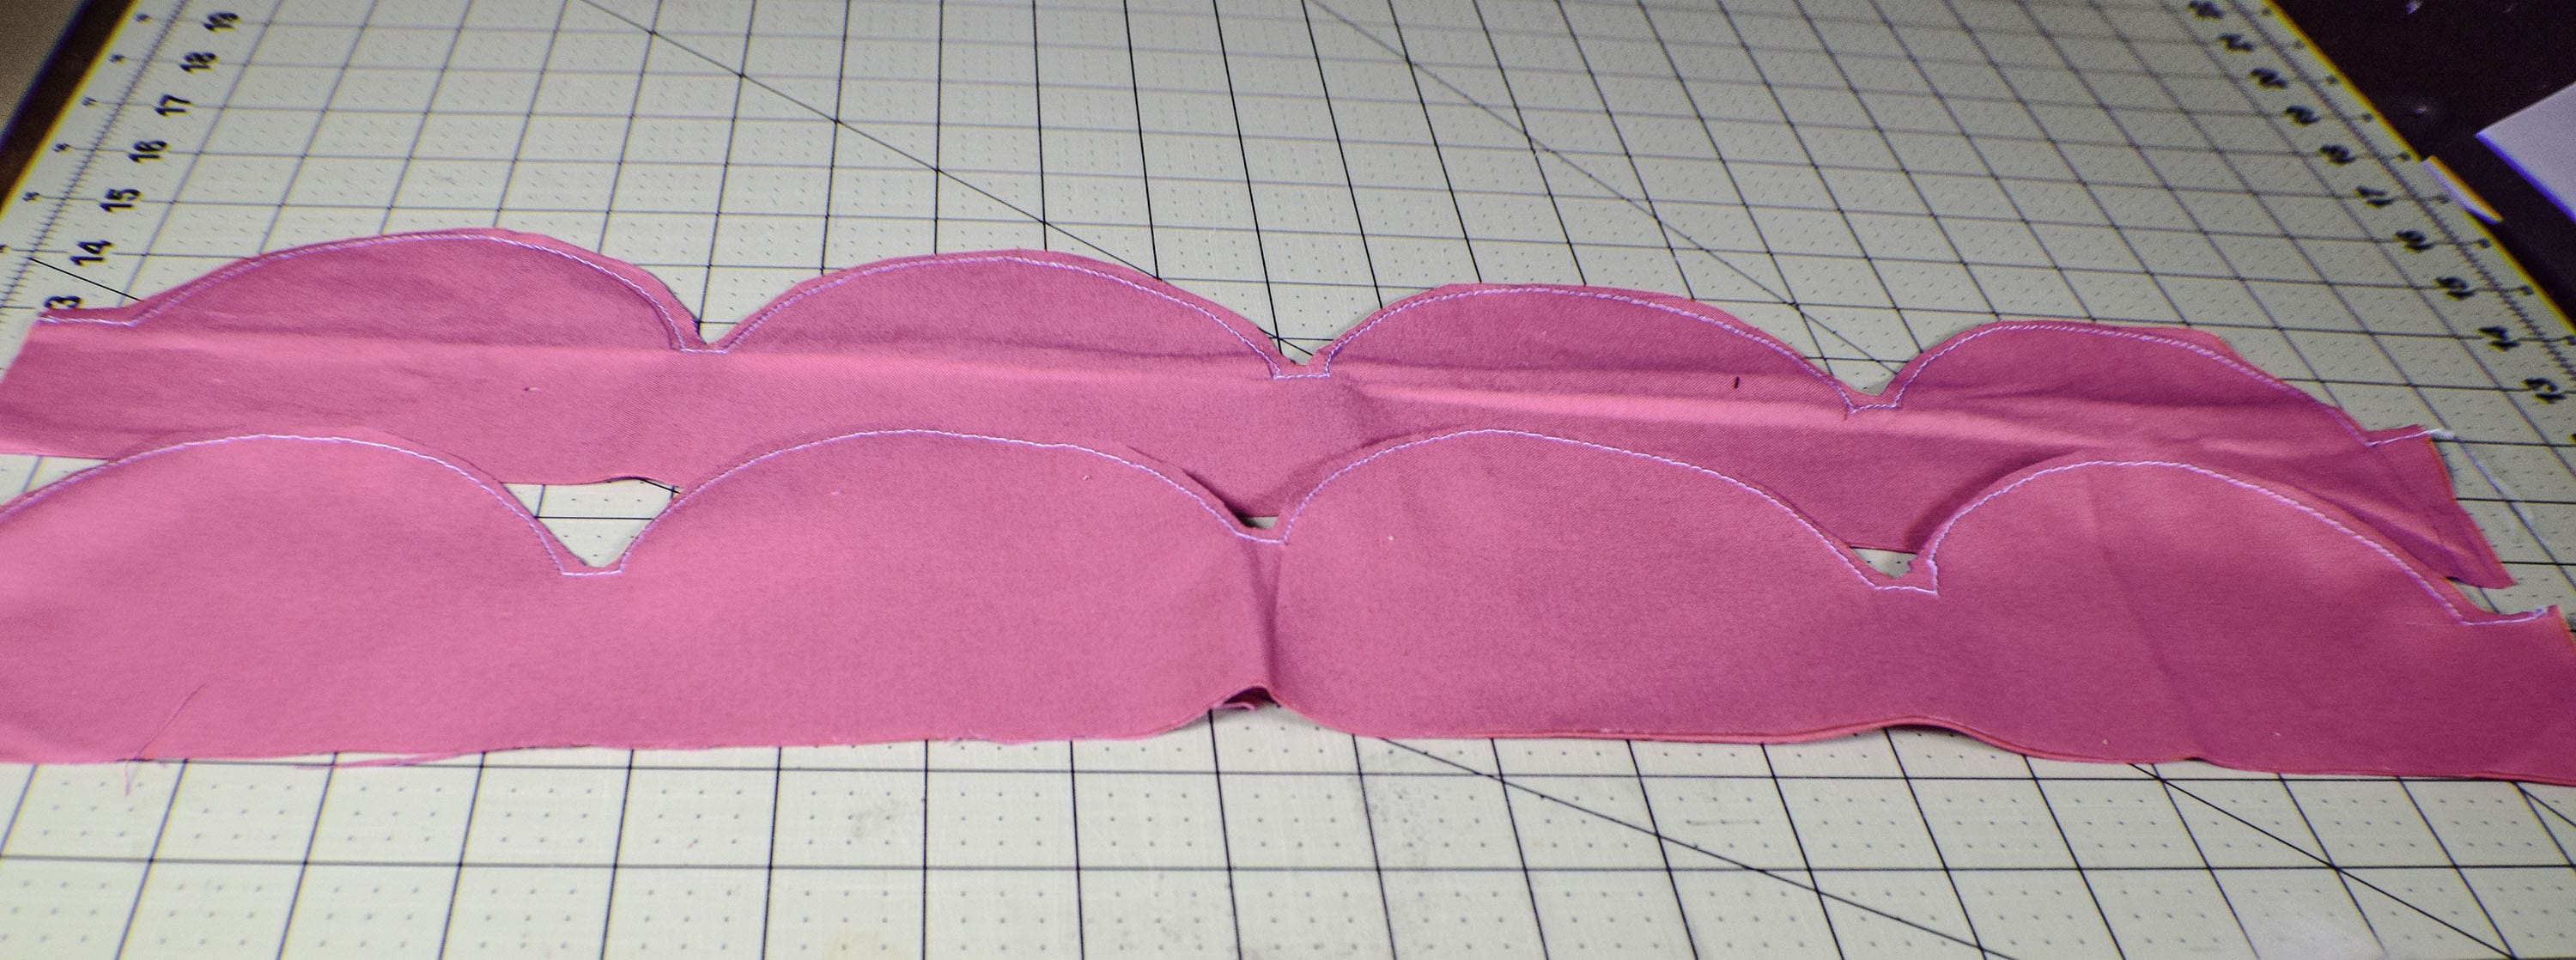
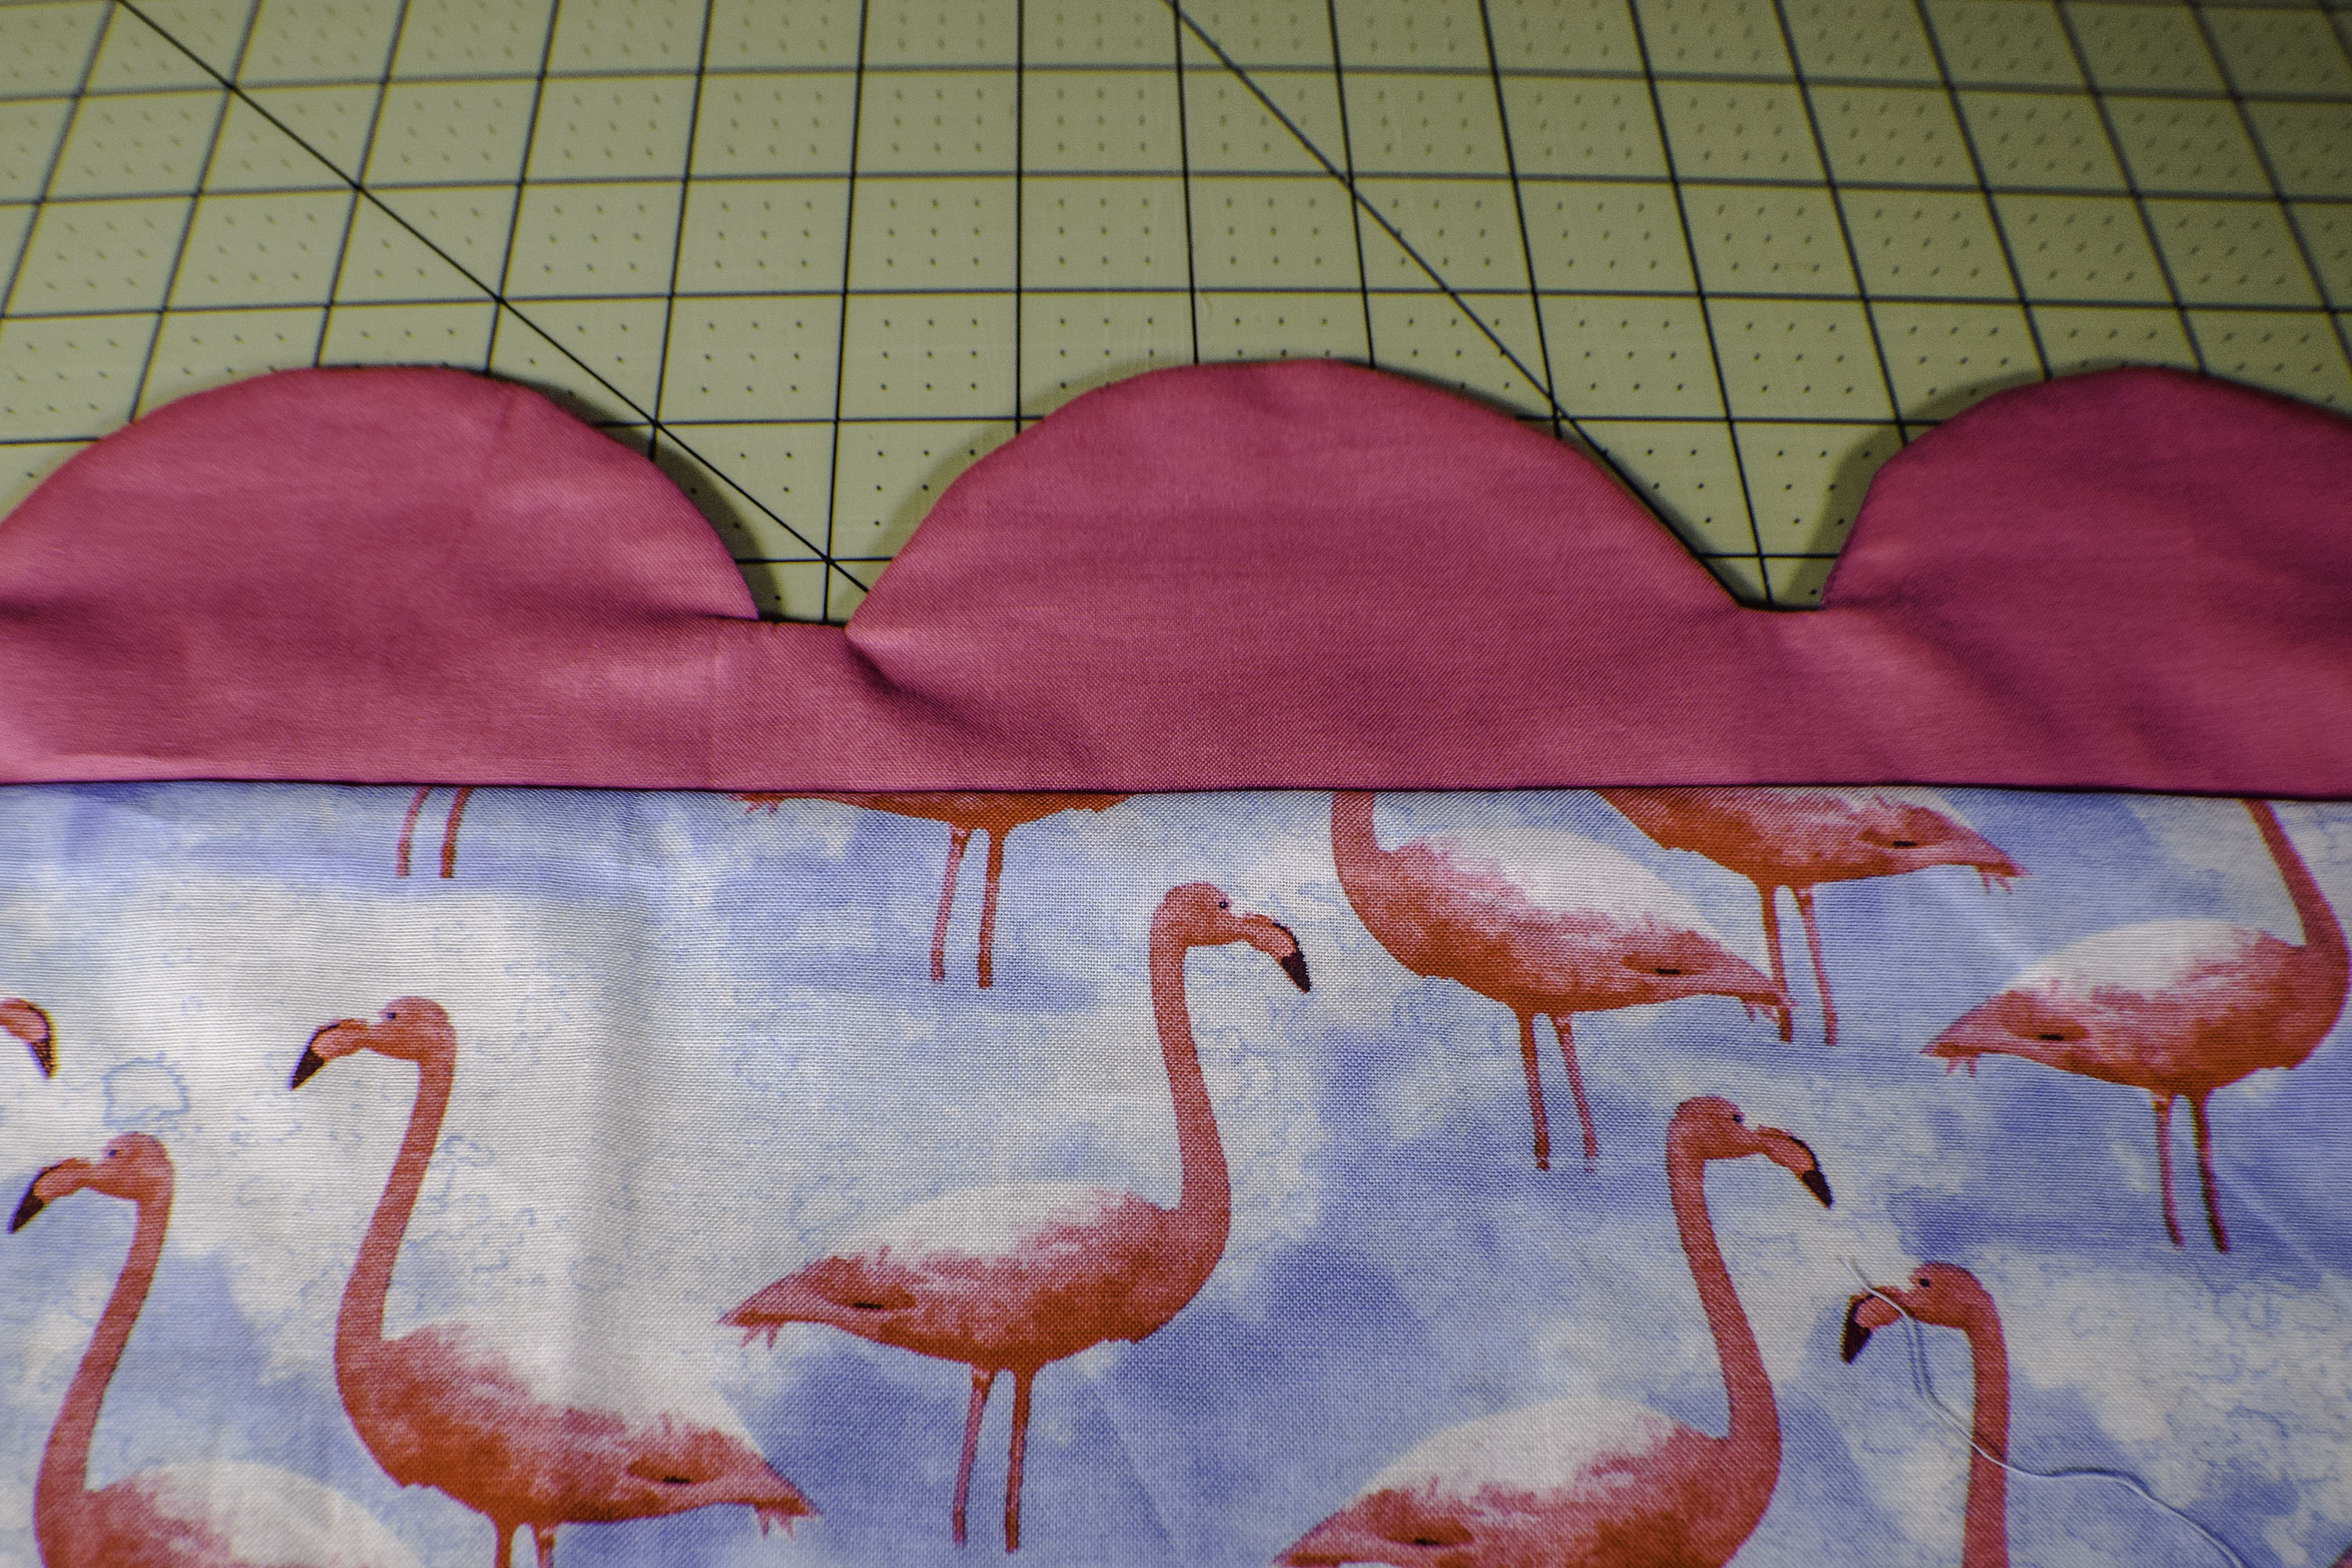
Place two of the arc pieces right sides together. Sew along the arc lines and straight across the 1/2″ spaces that you have left. Cut around the arcs and the lines so that you have a nice scallop. Turn the scallops right side out and press thoroughly.
Step 4: How to Make Scalloped Edged Pillow Cases
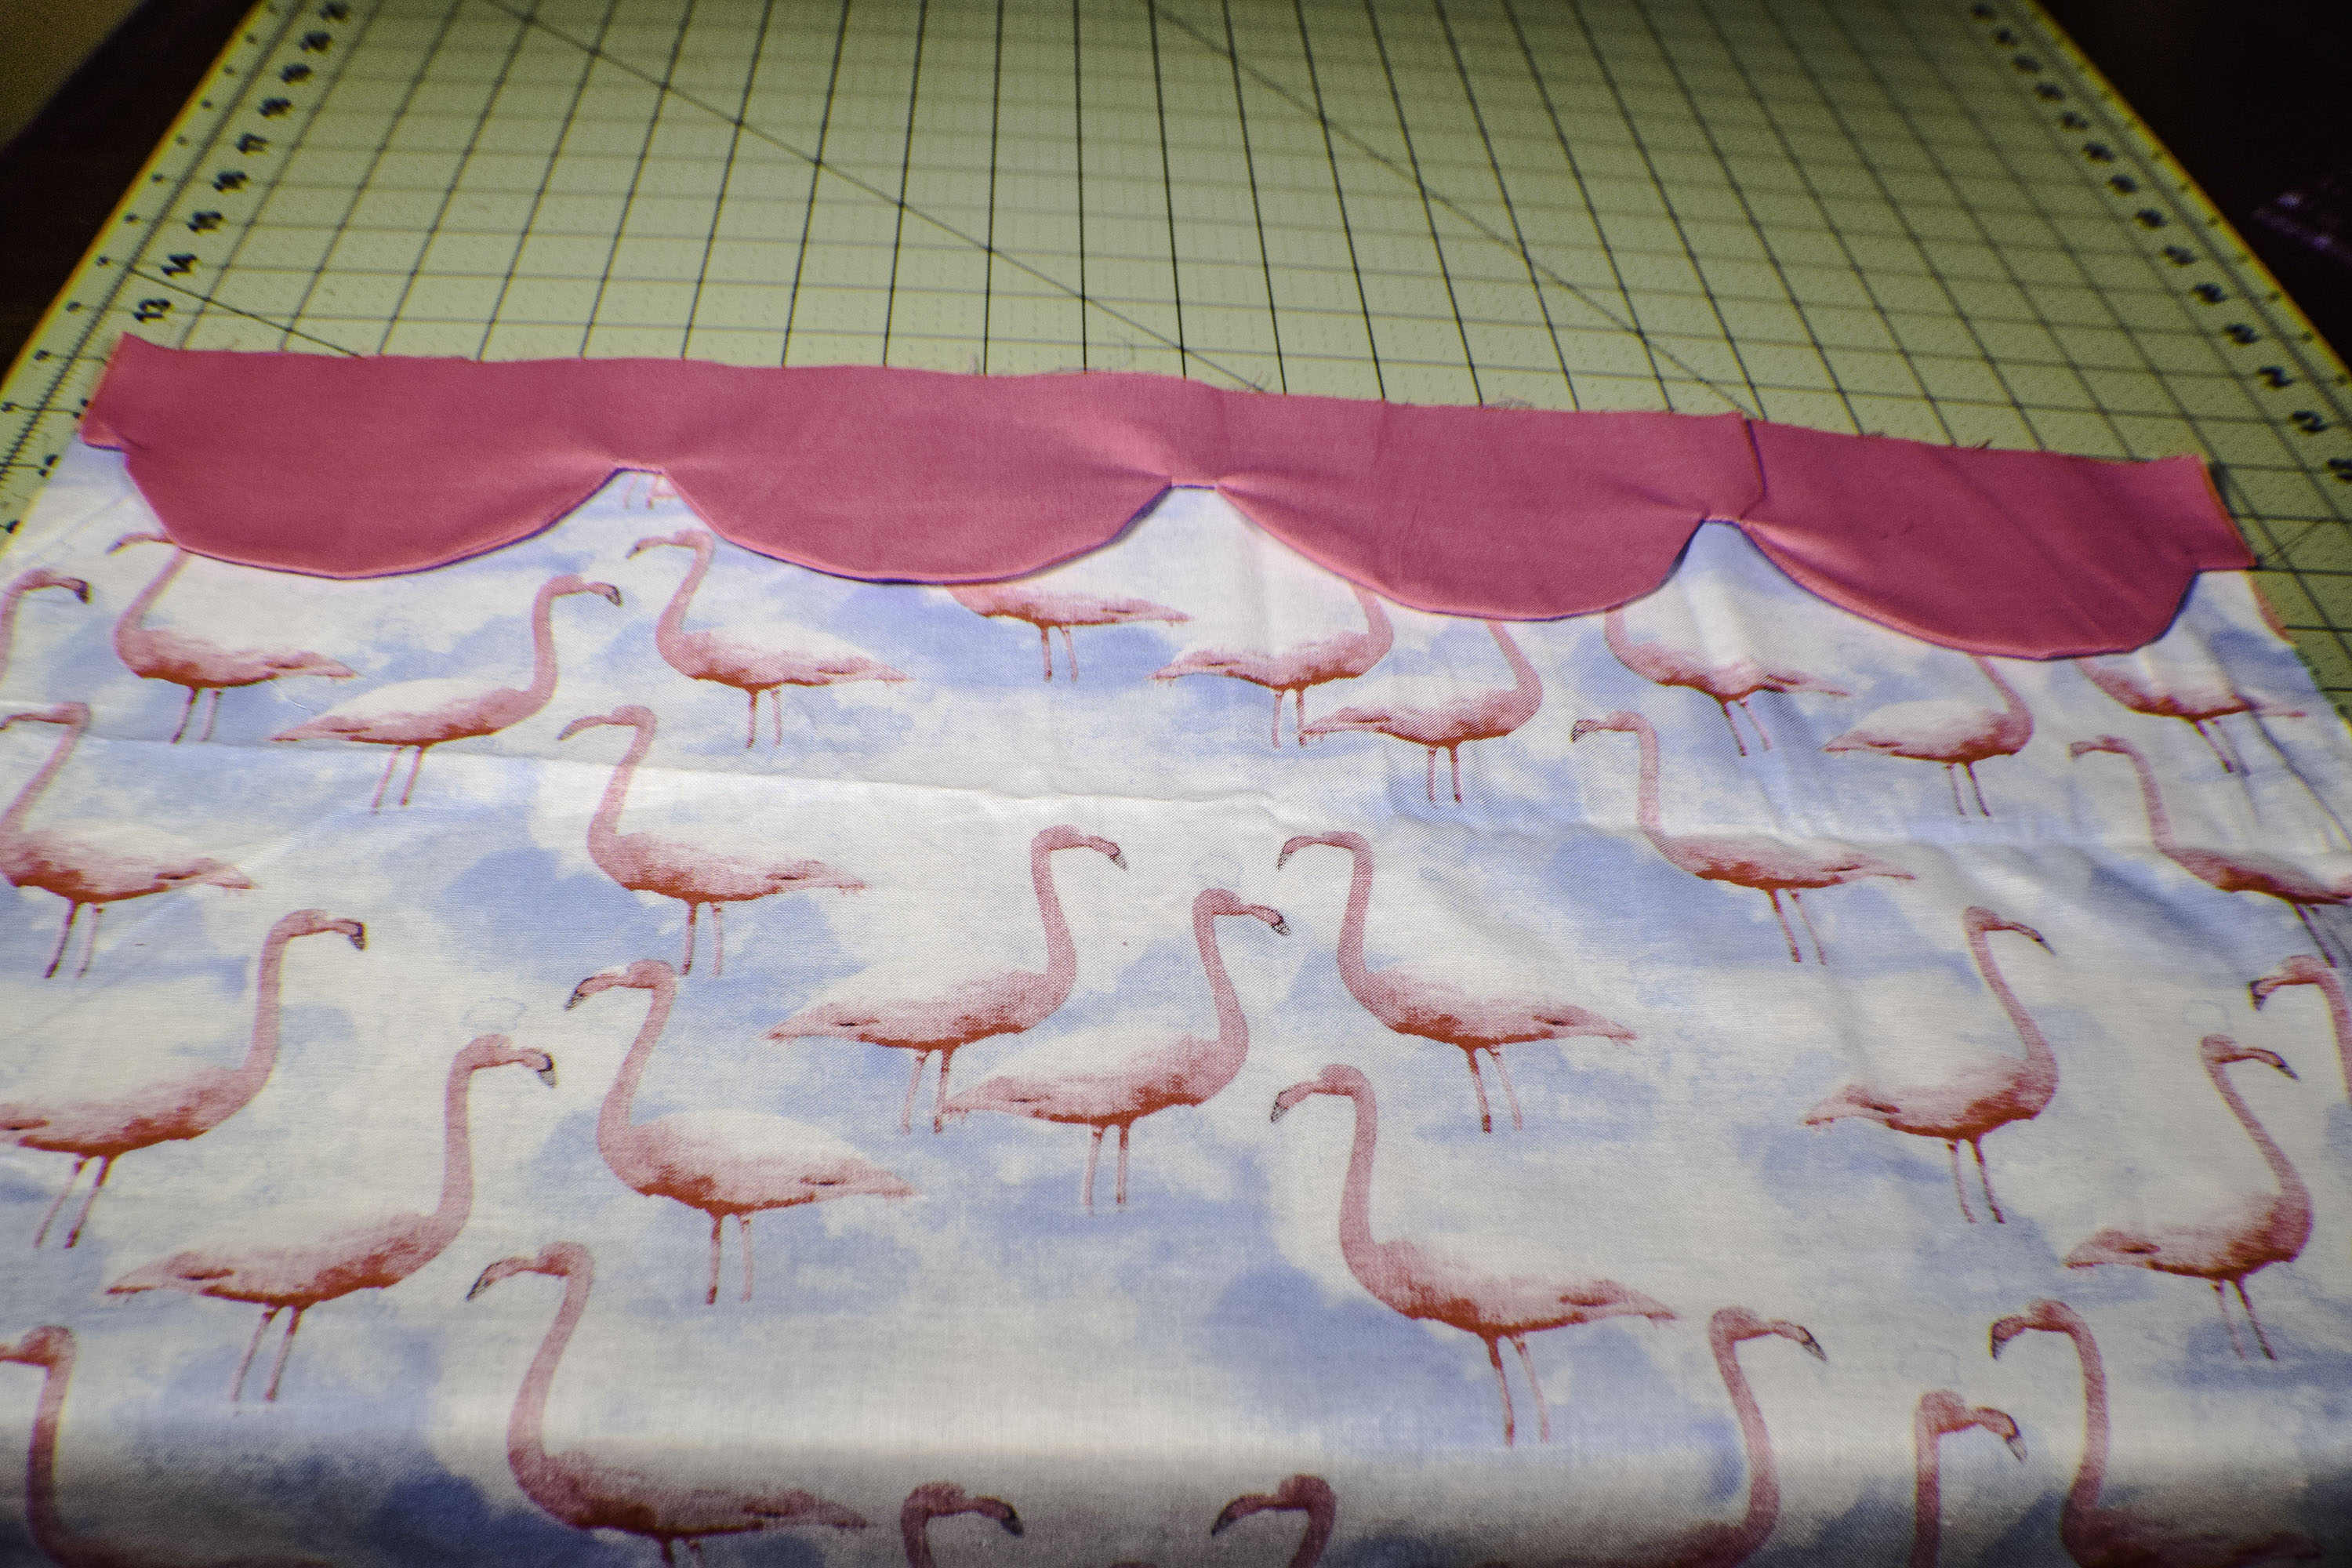
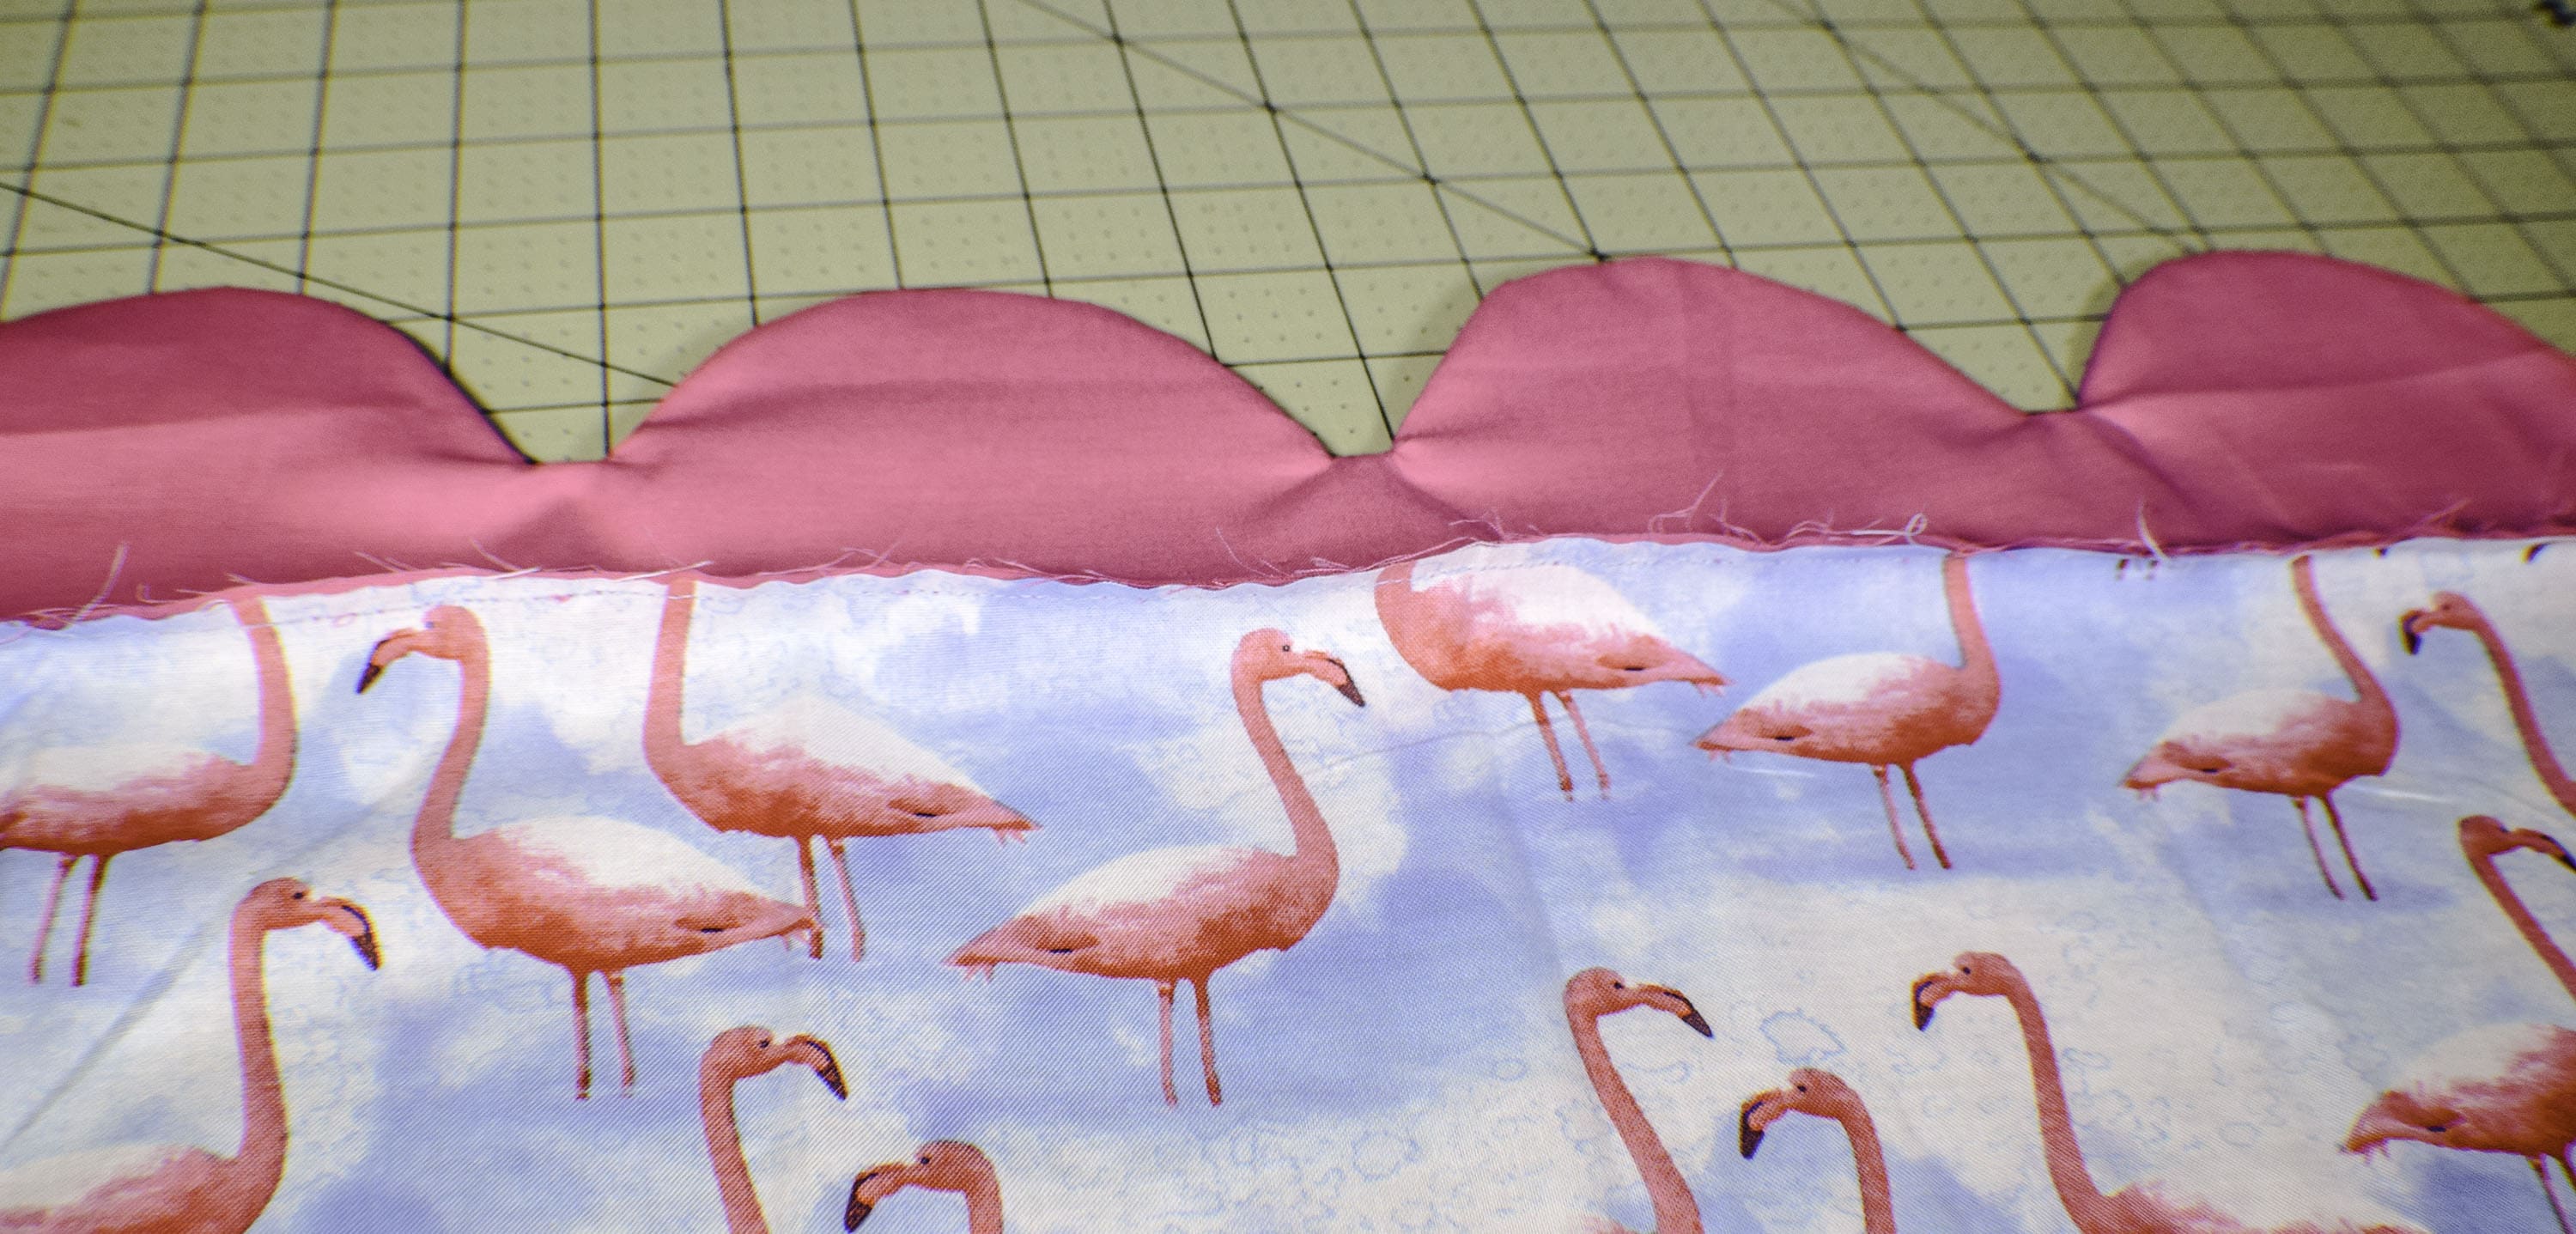
Now the key to making this terrific pattern is using french seams. Please do not be intimidated by them. They are super easy to sew and result in a nice finished seam. So how do we do it? First, take the scallop piece and place it wrong sides together with one of the main body pieces. There really is no wrong side to the scallop piece so you can pick either side. Just make sure that it is WRONG sides together. Sew a 1/4″ seam. Trim that seam so that it is 1/8″.
Place the scallop wrong sides together
Step 5: How to Make Scalloped Edged Pillow Cases
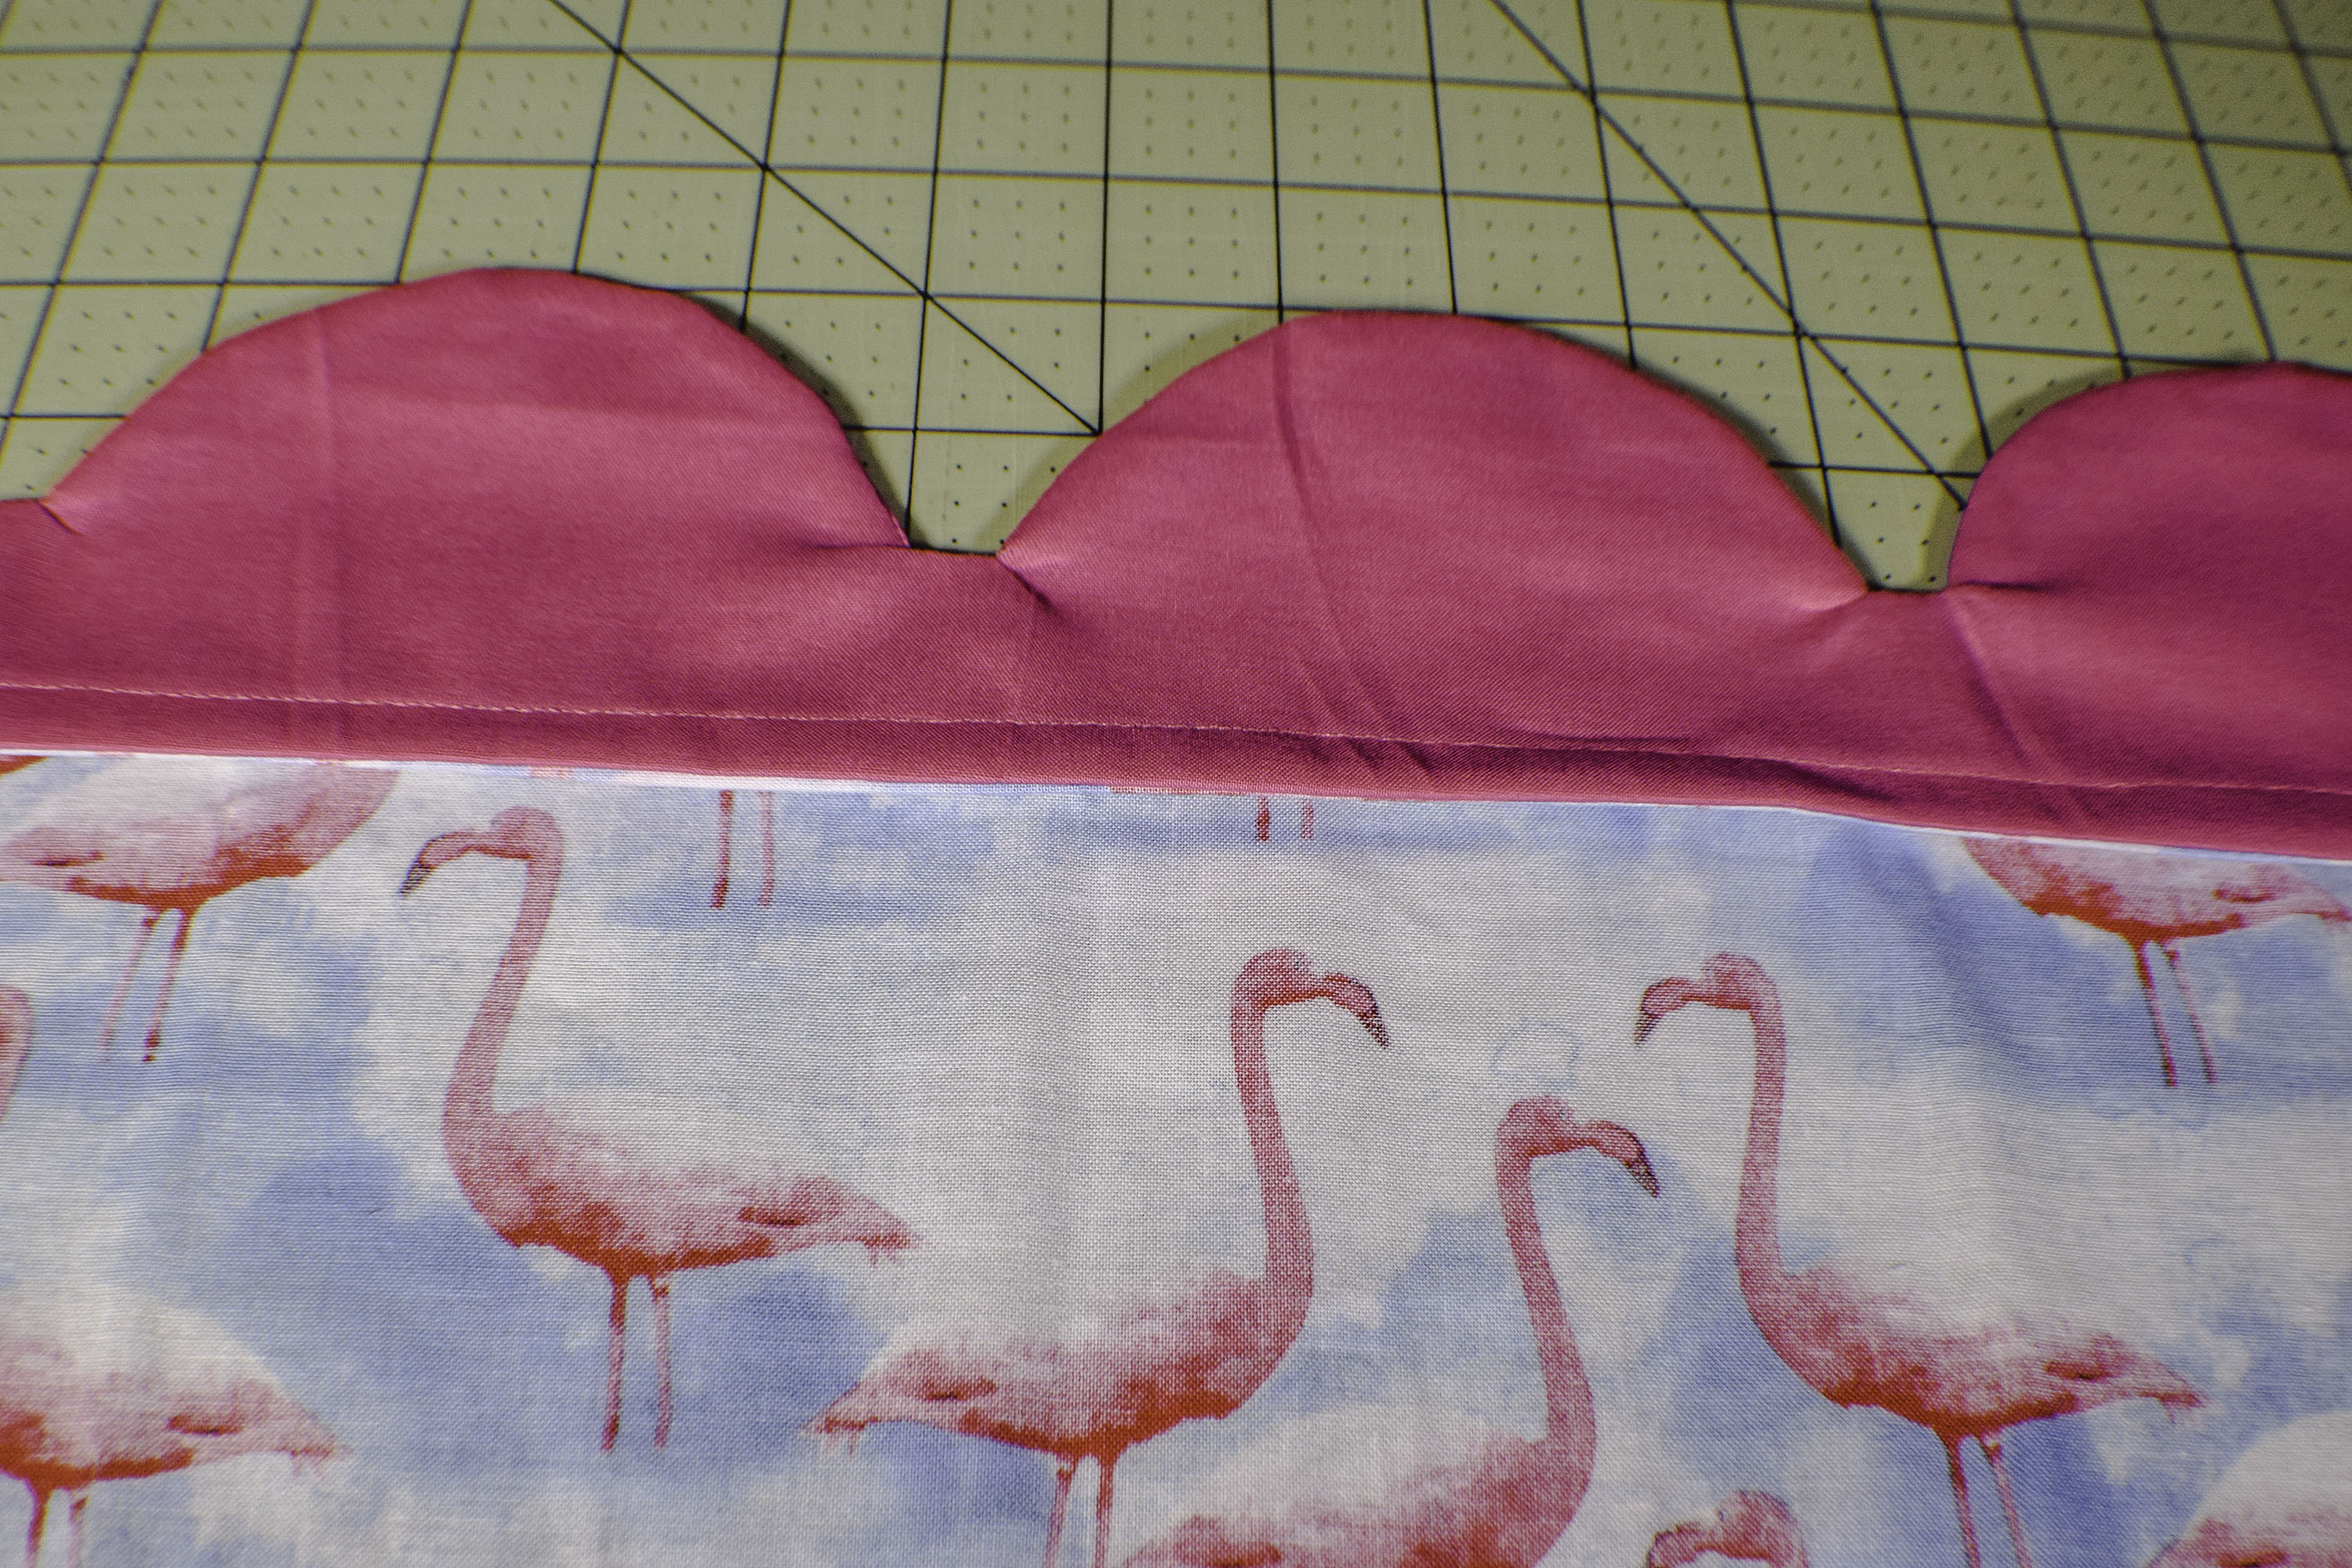
Now you will have a raw edged seam facing the right side of the main body piece. Fold the scallop piece right sides together along the seam and pin. Sew another 1/4″ seam. This will enclose all of the raw edges. Both the right side and the wrong side will have a nice finished seam with no raw edges.
Raw edge on right side
Fold the scallops right sides together
Right Side of French Seam
Wrong side of French seam
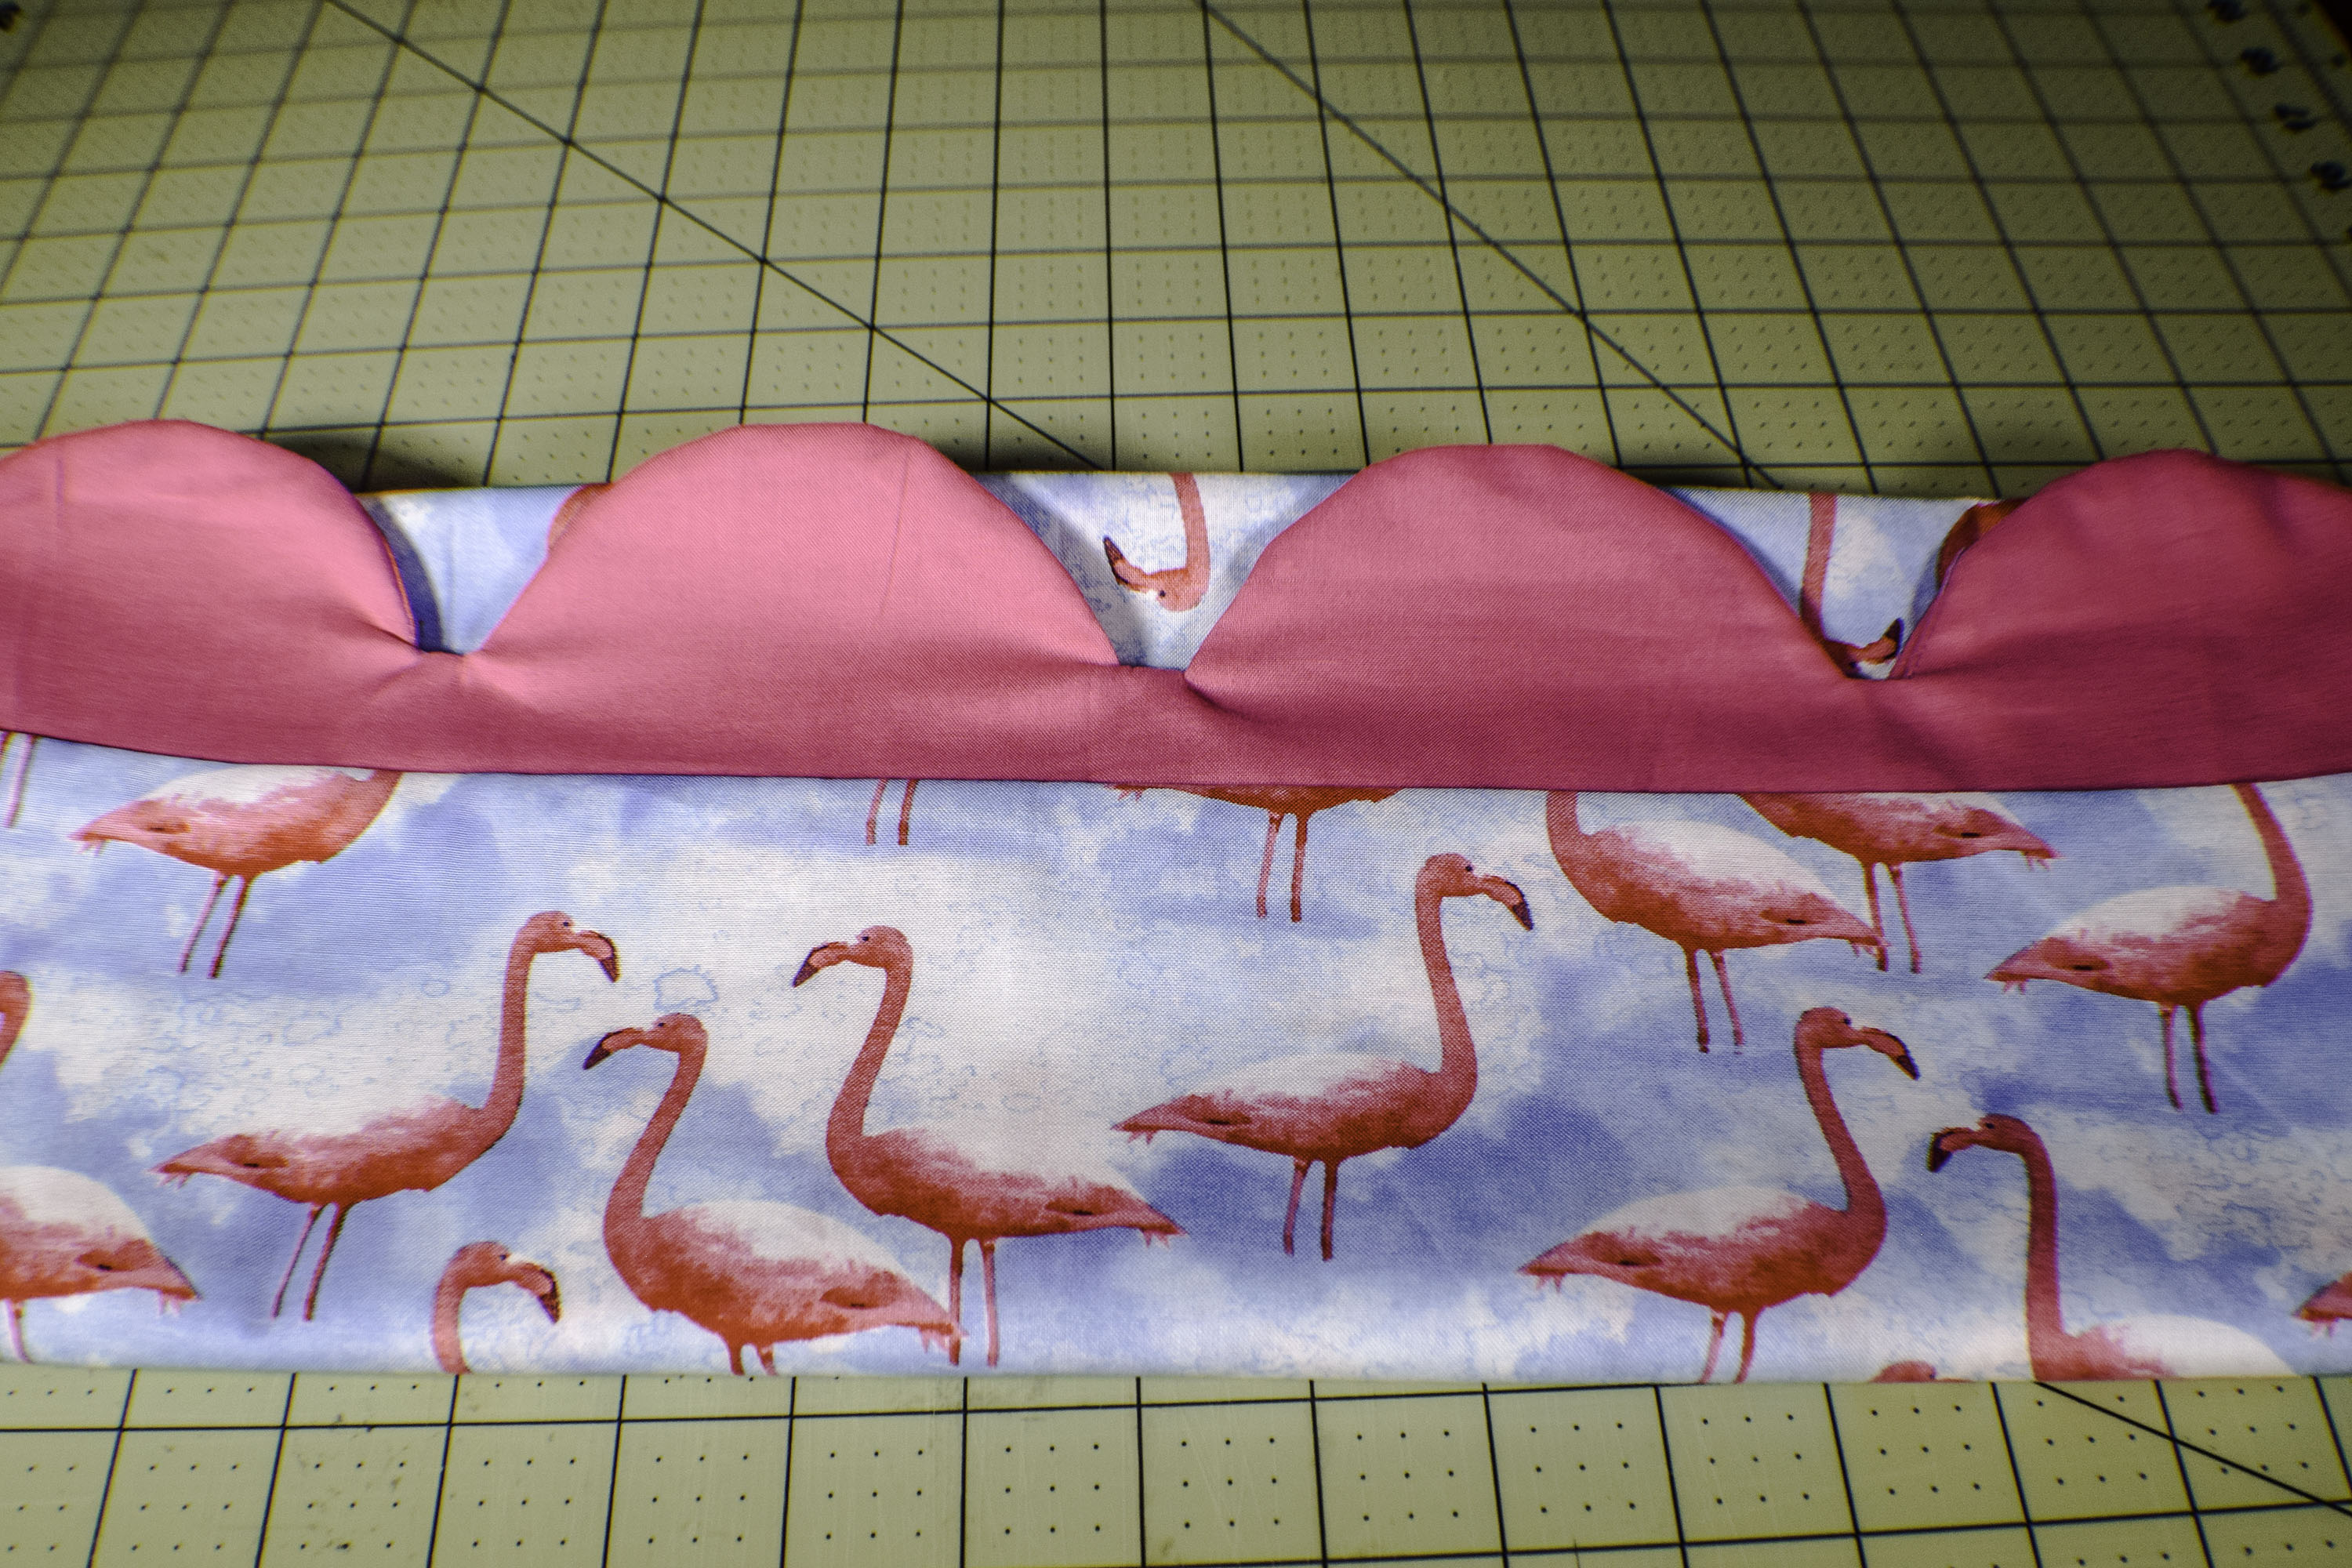
Step 6: How to Make Scalloped Edged Pillow Cases
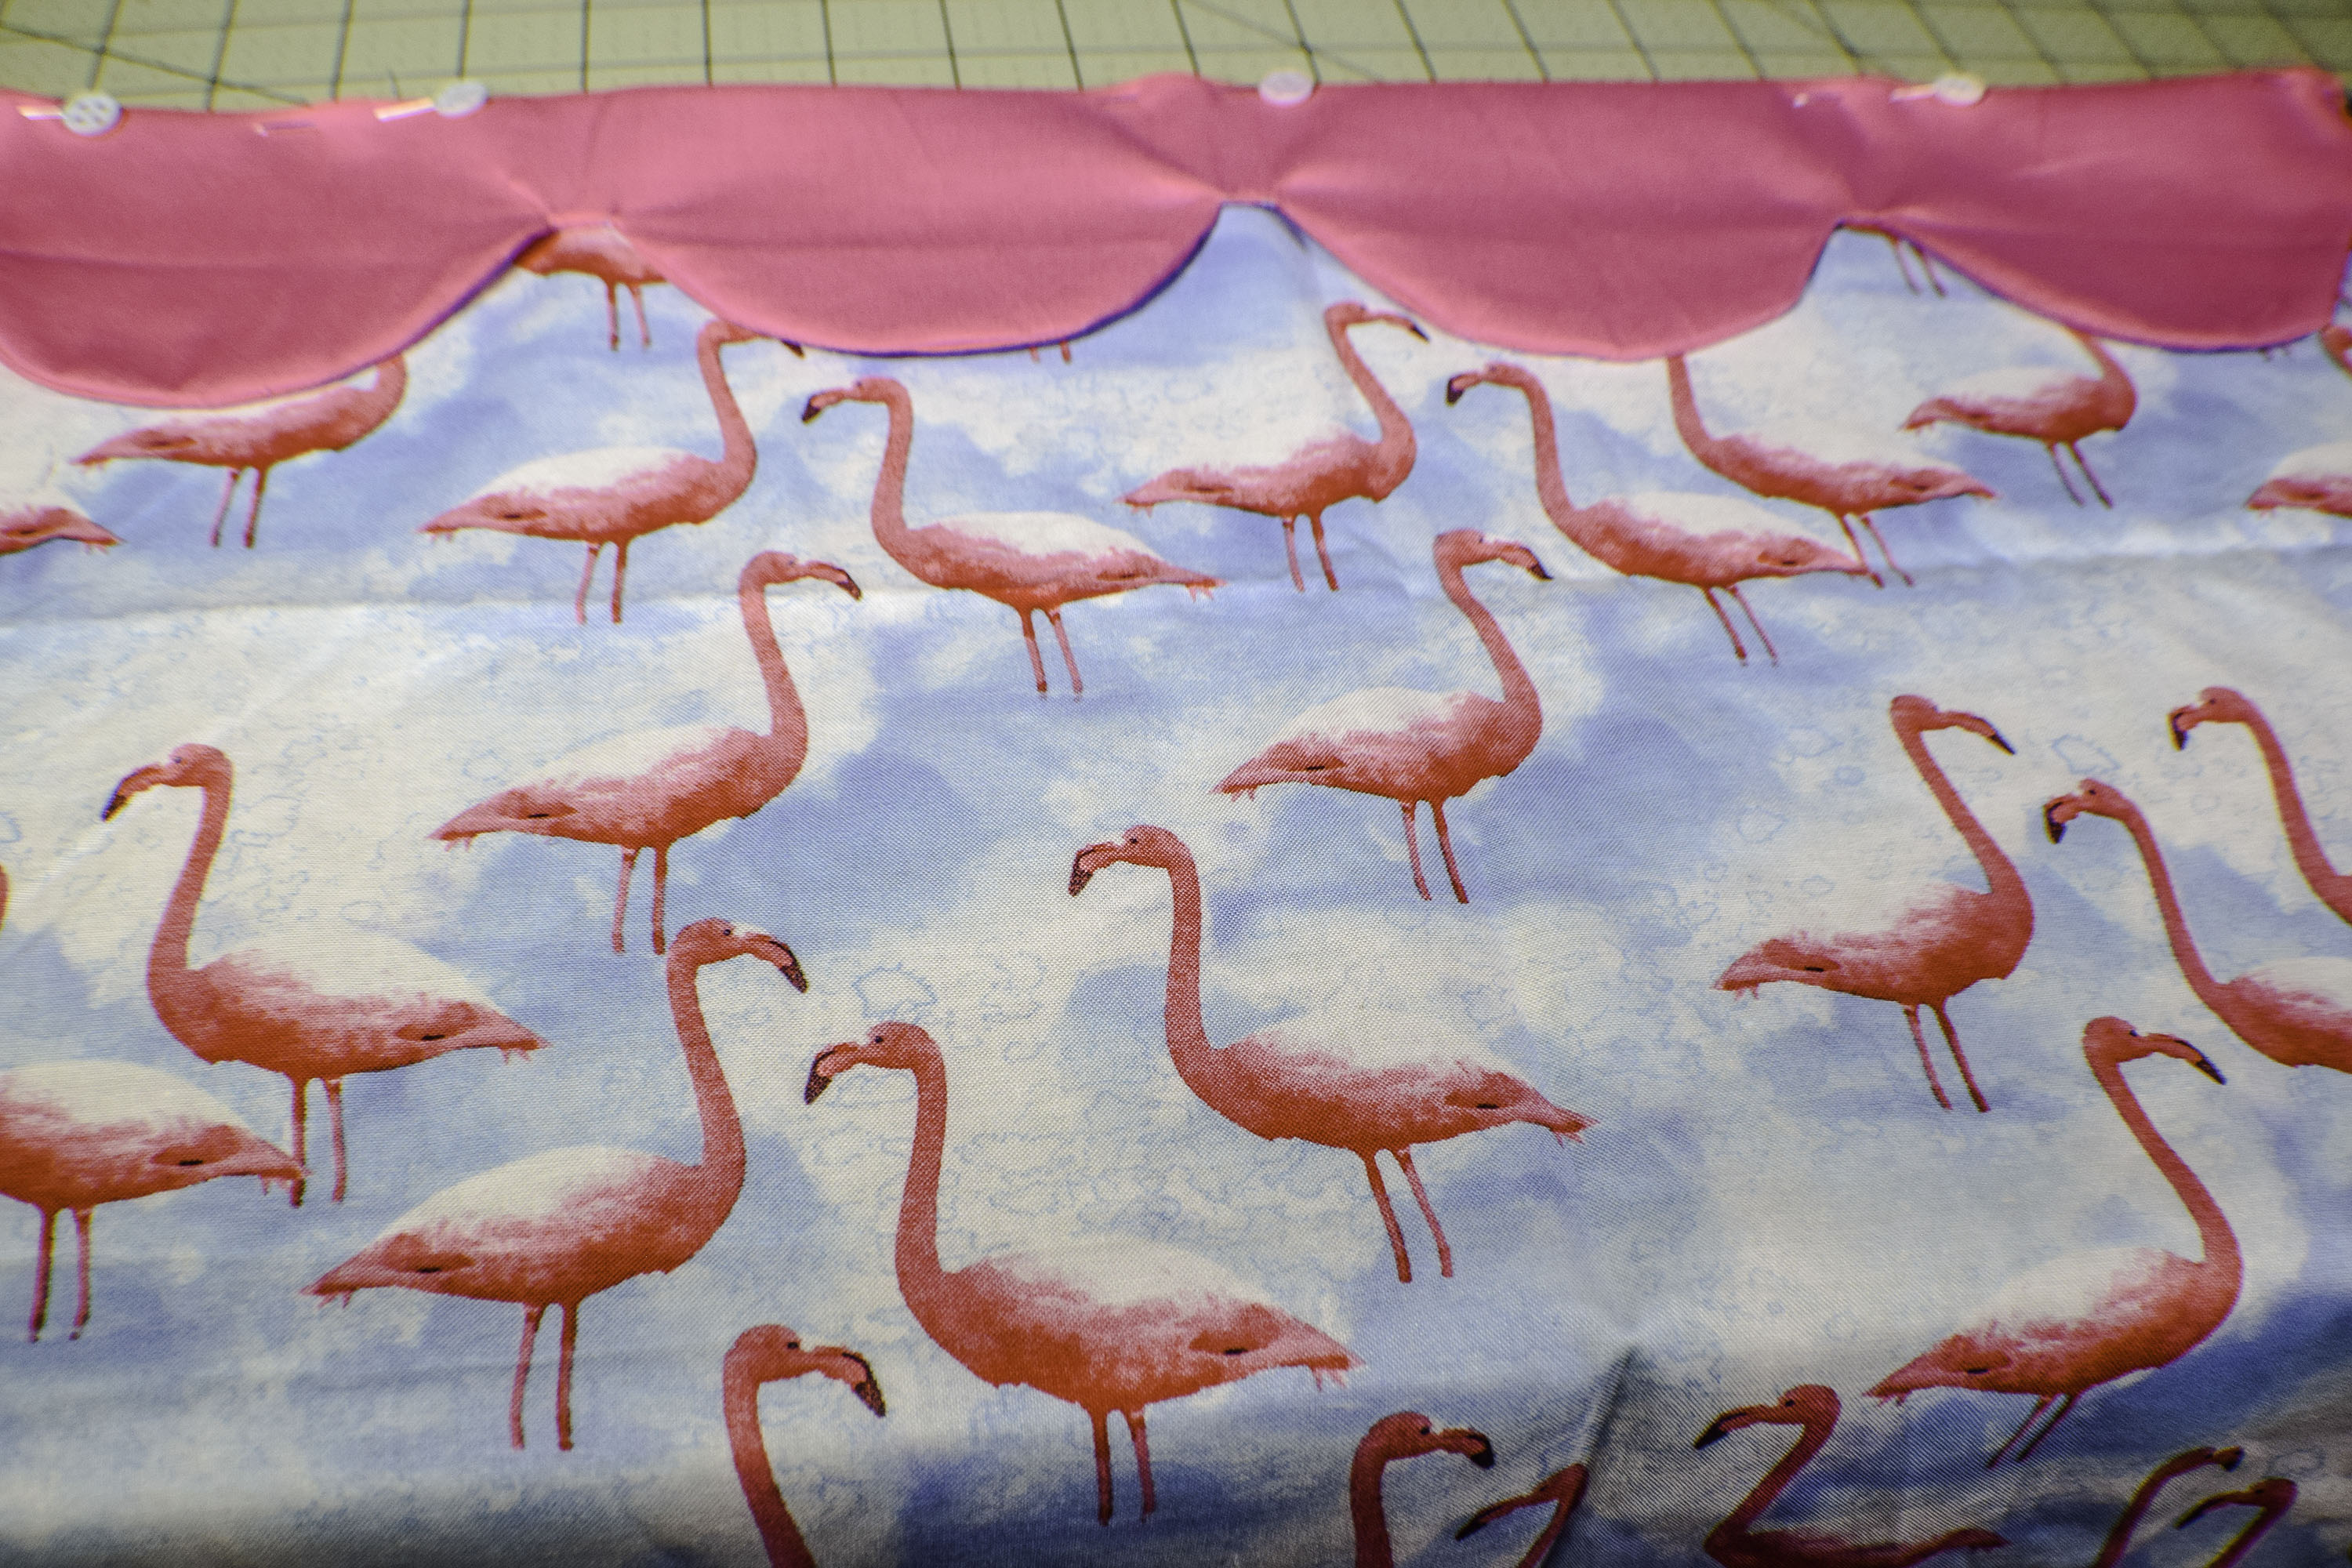
Repeat for the other main body piece and scallop piece. You will have two pieces with scalloped edges.
Step 7: How to Make Scalloped Edged Pillow Cases
With right sides together sew the two main body pieces together along the sides and bottom using 1/2″ seam allowance. You can sew these seams using French seams as well or leave them raw it is totally up to you. I like the finished seam but in all honesty it is not really necessary for the body of this project. You have now finished your scalloped edged pillow cases. Have fun with patterns and colors with these.
Sew the two pieces right sides together
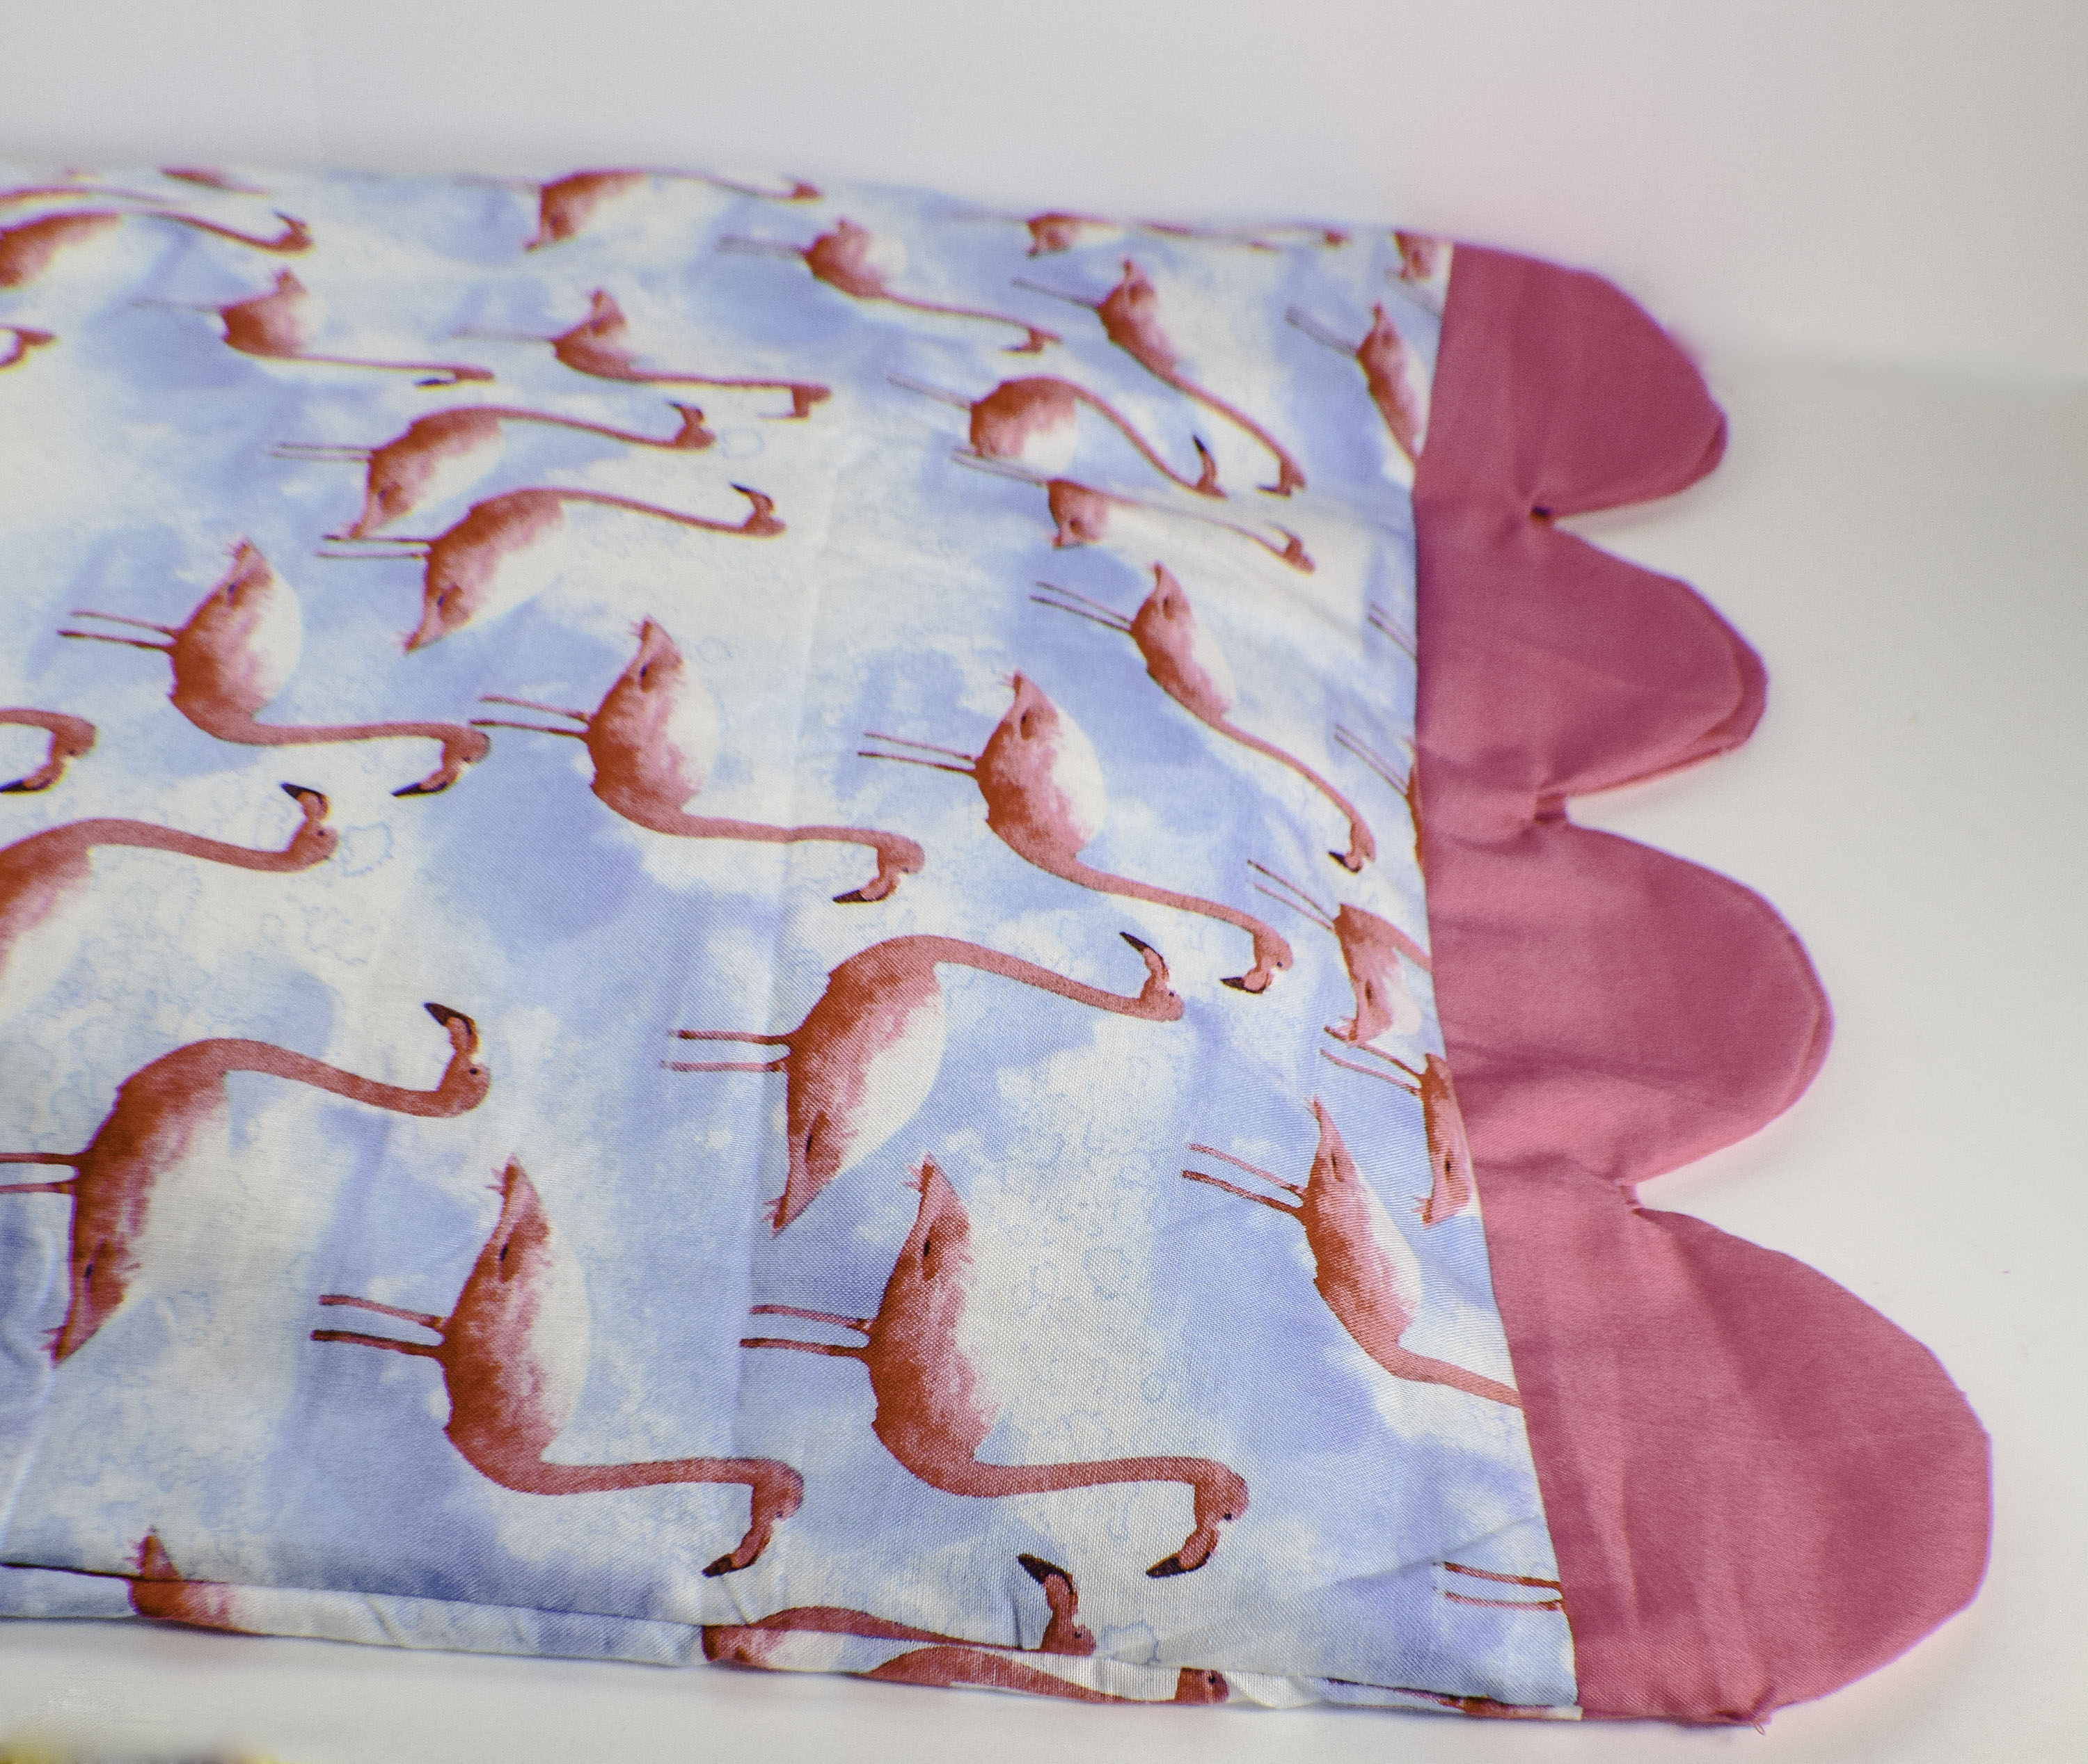
Finished Pillow Case