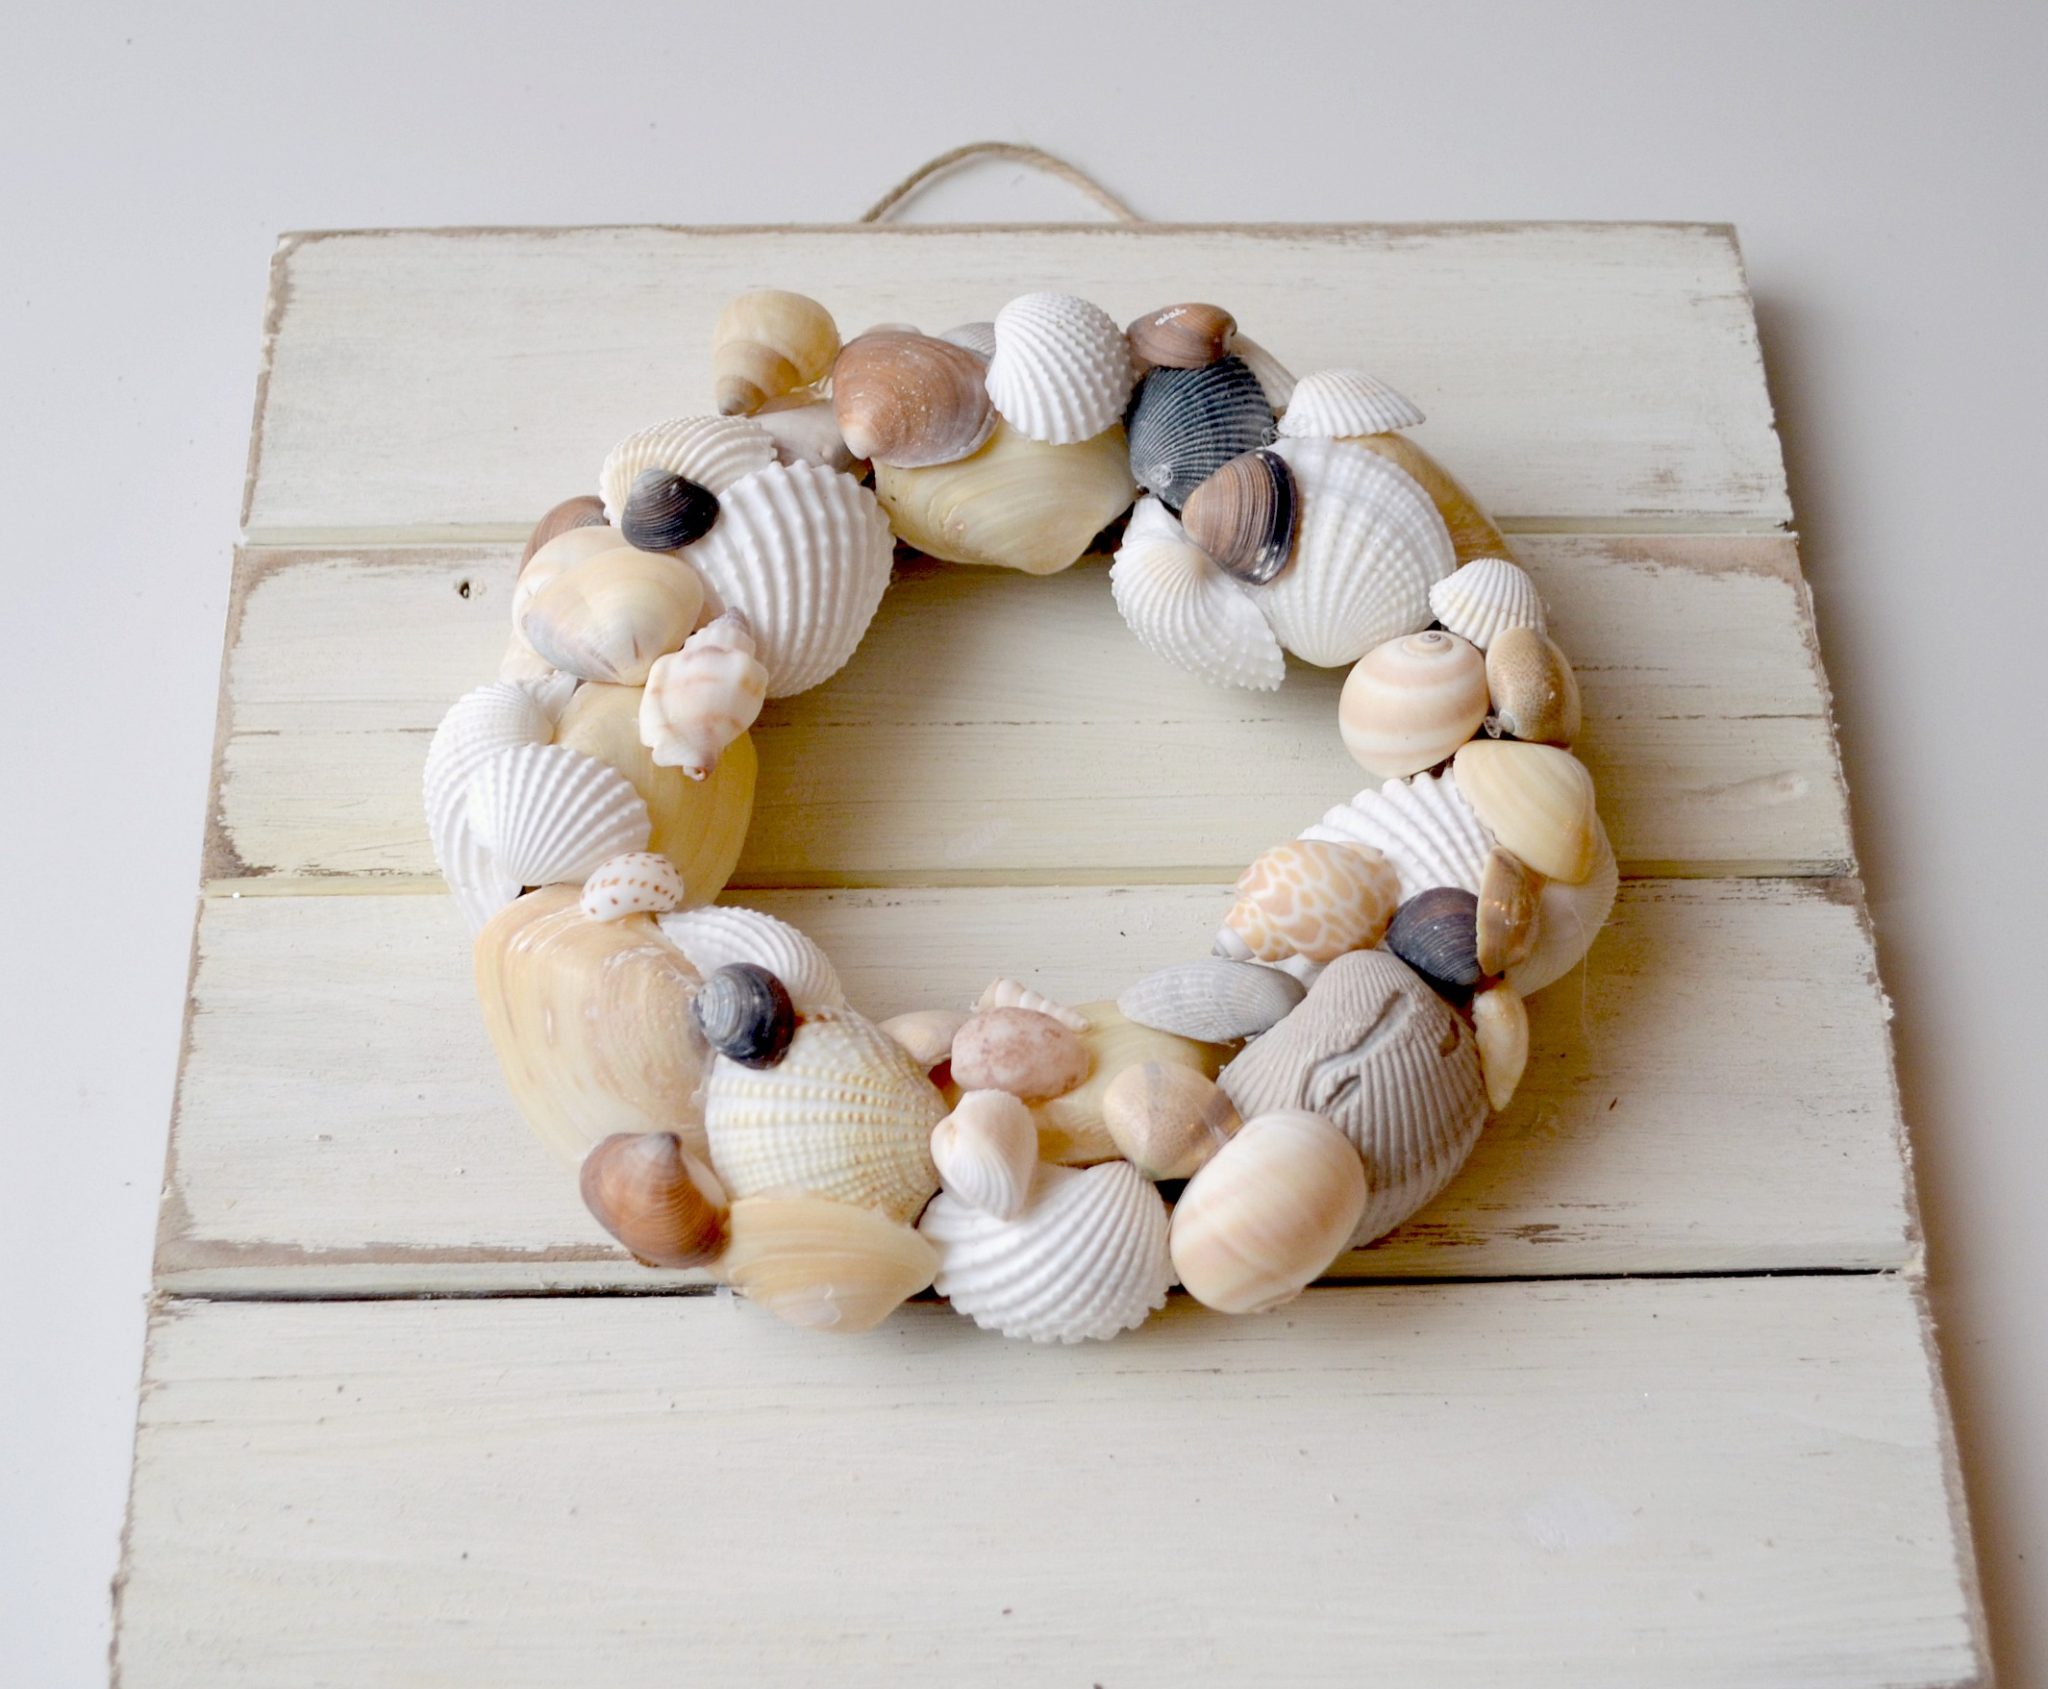
Coastal Seashell Wreath
Imagine a beautiful wreath made up of an assortment of seashells collected from the coast. This coastal seashell wreath is a stunning piece of decor that brings a touch of the beach into your home. Each seashell is carefully selected and arranged to create a unique and eye-catching design that captures the essence of the ocean. Hang this wreath on your front door to welcome guests with a touch of seaside charm, or display it indoors as a beautiful piece of coastal art. The coastal seashell wreath is not just a decoration, but a symbol of relaxation, tranquility, and the beauty of the ocean.
You’ll need:
Small Wooden Sign
Small Grapevine Wreath
Assorted Seashells
FolkArt Home Decor Chalk paint Adirondack White
Hot Glue Gun and Glue Sticks
Paintbrush
Sandpaper and/or Power Sander
Creating Your Wreath
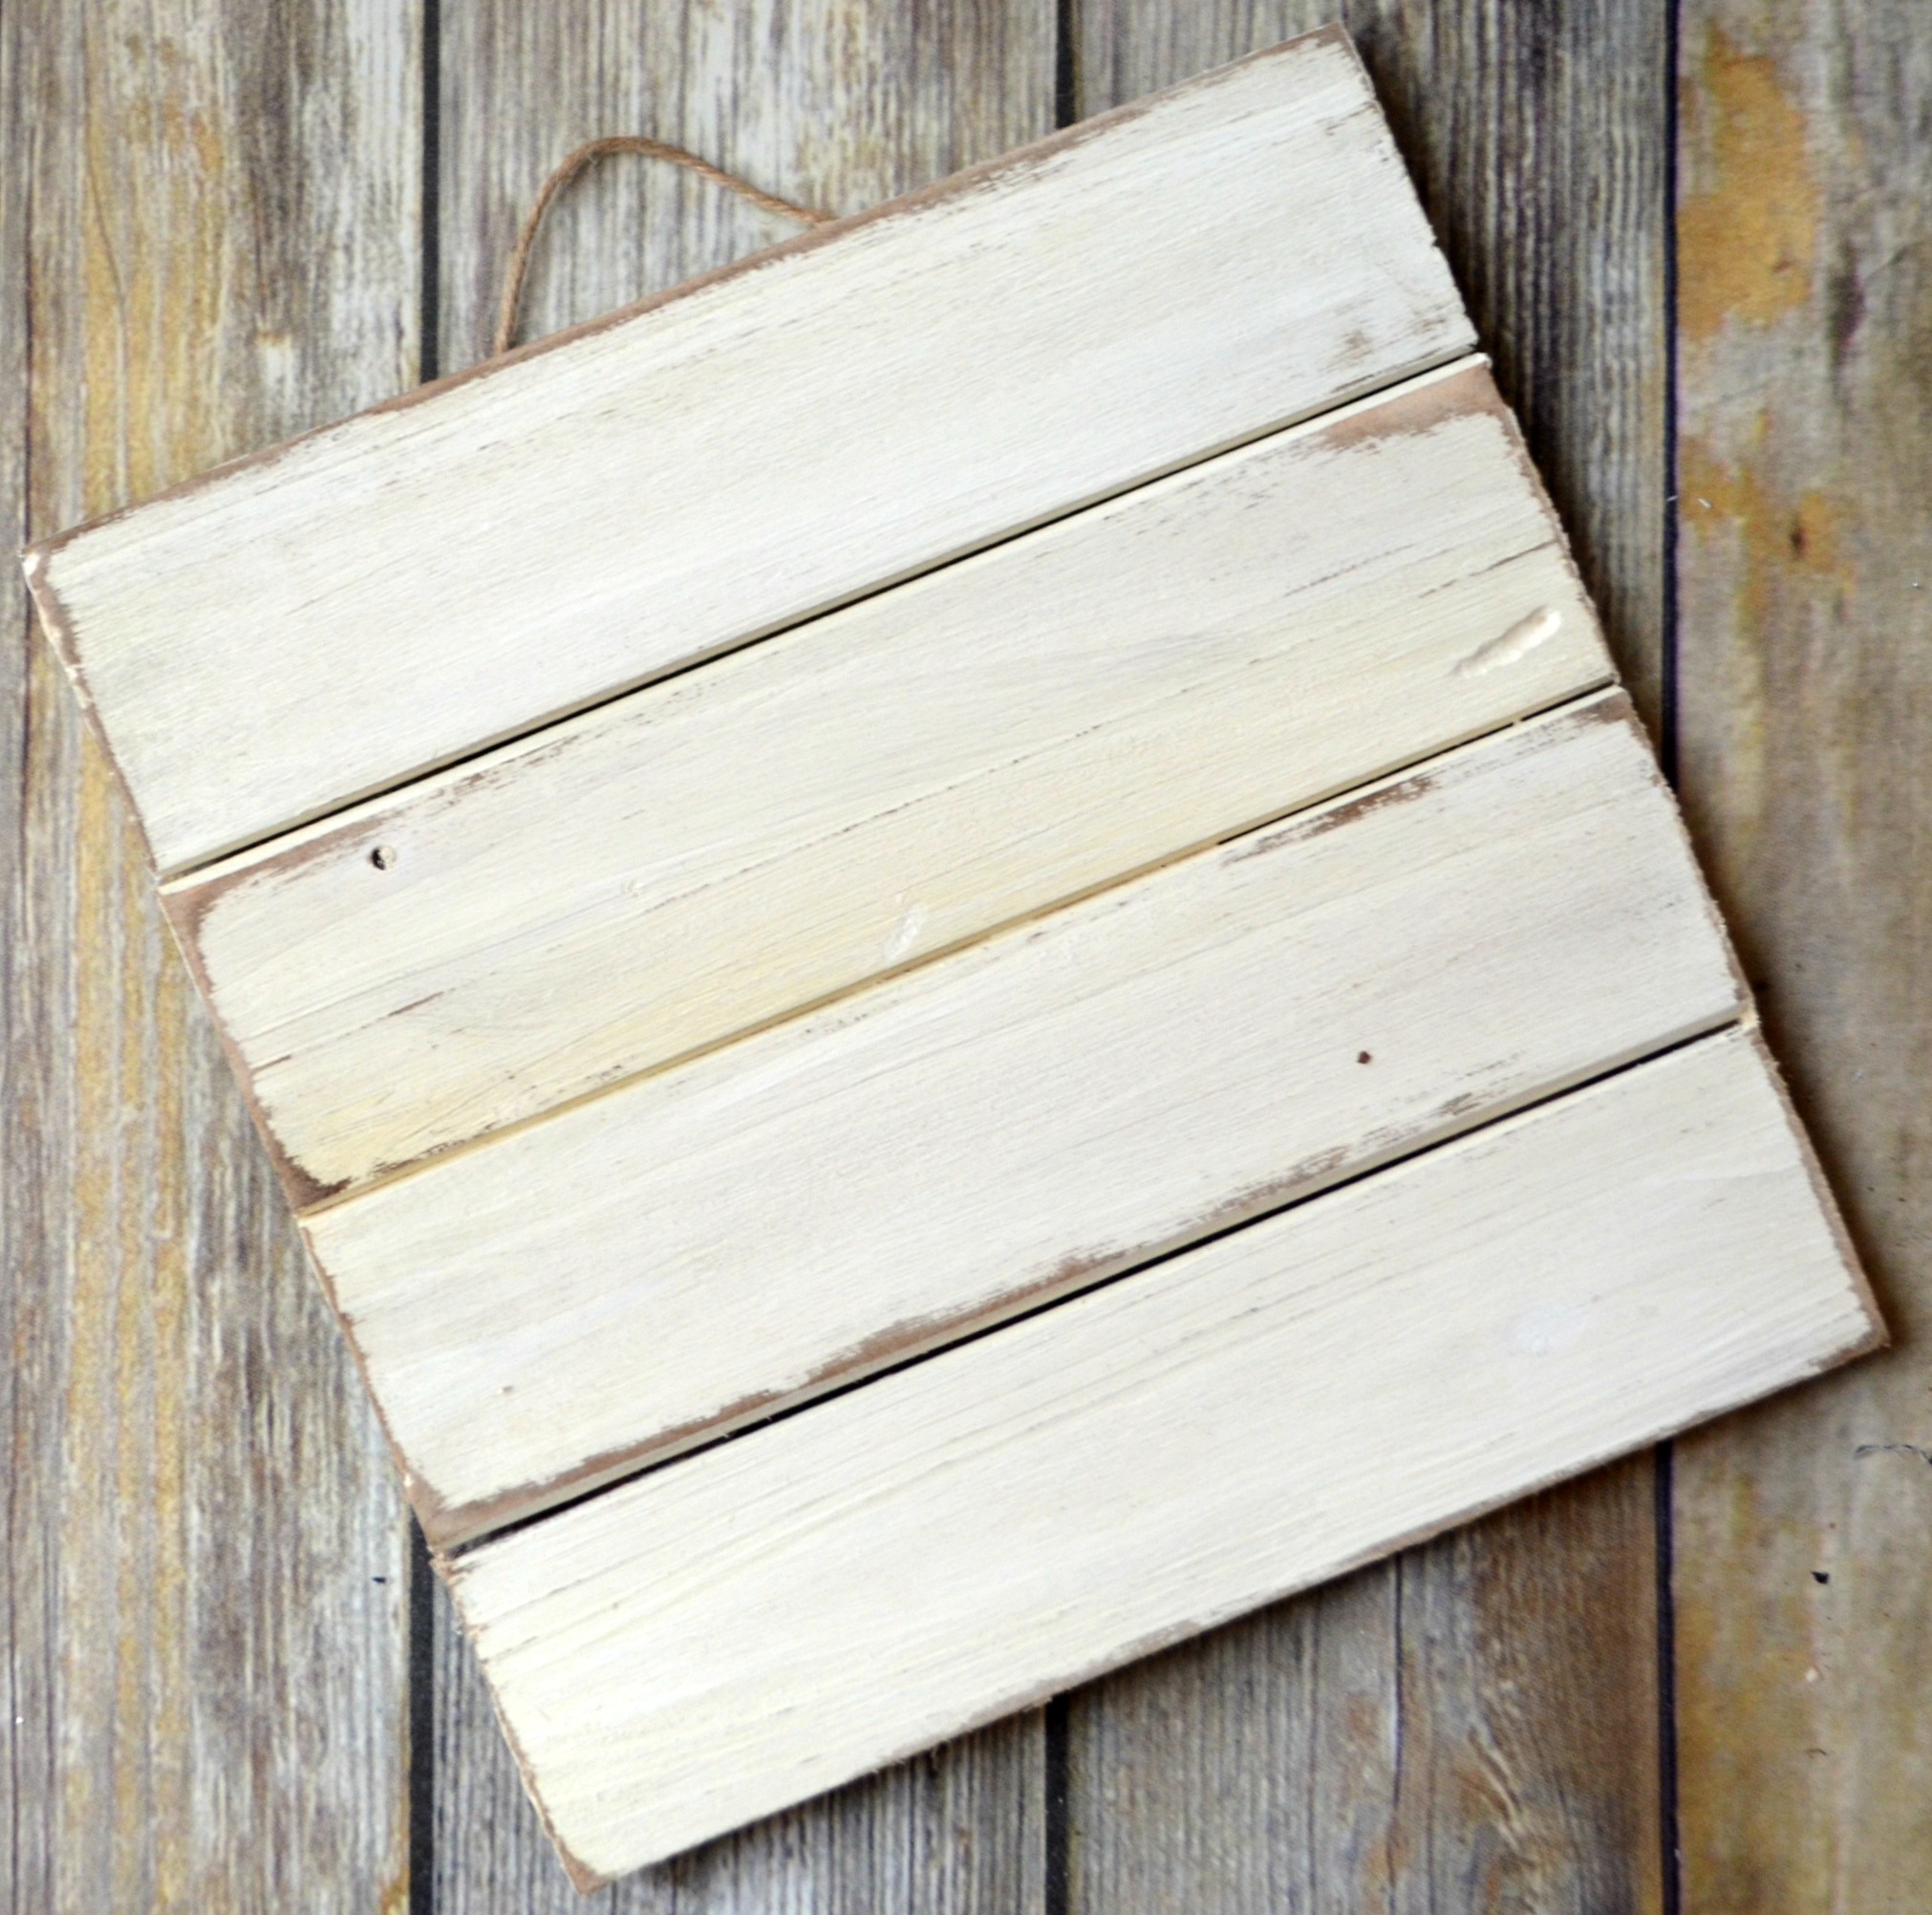
Step 1: Paint your sign.
I used two coats of Adirondack White. Don’t worry about getting perfect coverage, because you’ll be distressing it anyway. Let it dry completely before moving on.
Step 2: Distress your sign as much or as little as you like.I wanted mine to have a pretty weathered look like something exposed to the elements naturally would over time. I used my RYOBI ONE+ 18V Corner Cat Sander with a fine grit sandpaper, but you can also do this by hand. Sand around the edges of the sign as well as the edges of each individual board. Feel free to take off as much or as little of the paint as you like. If you want, you can skip ahead and make your wreath while the paint dries, then come back and distress your sign just before the final step.
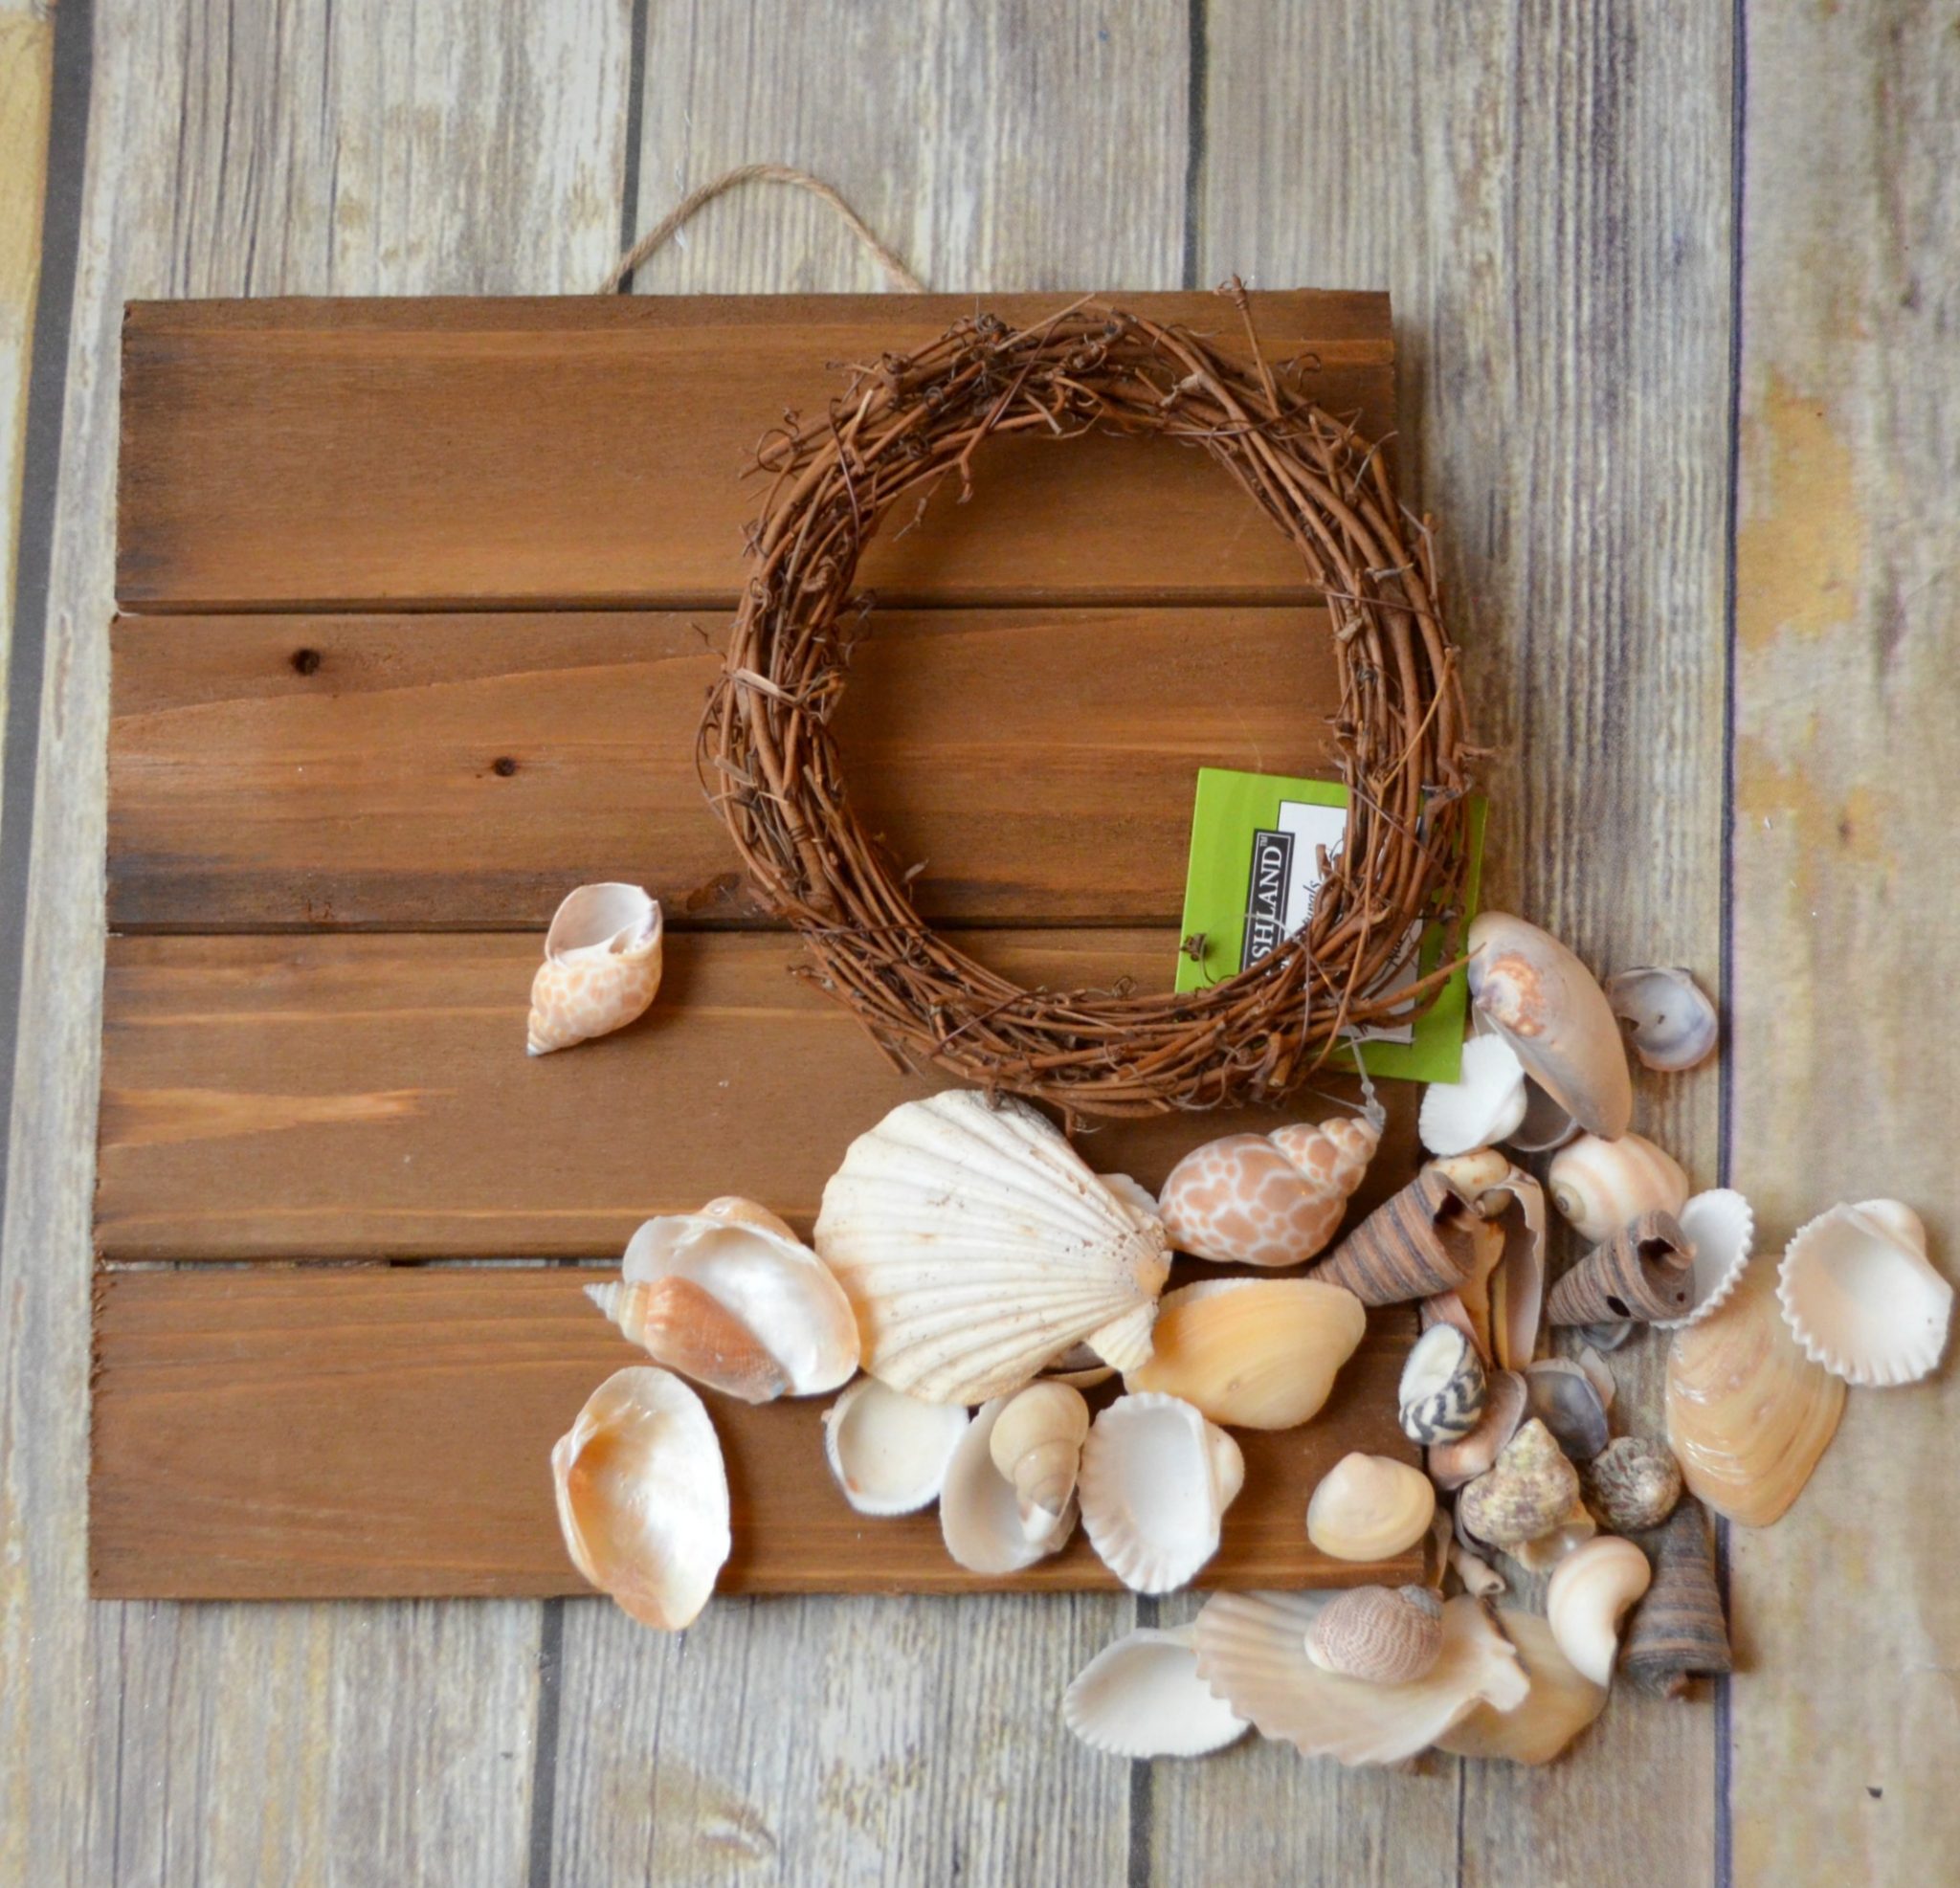
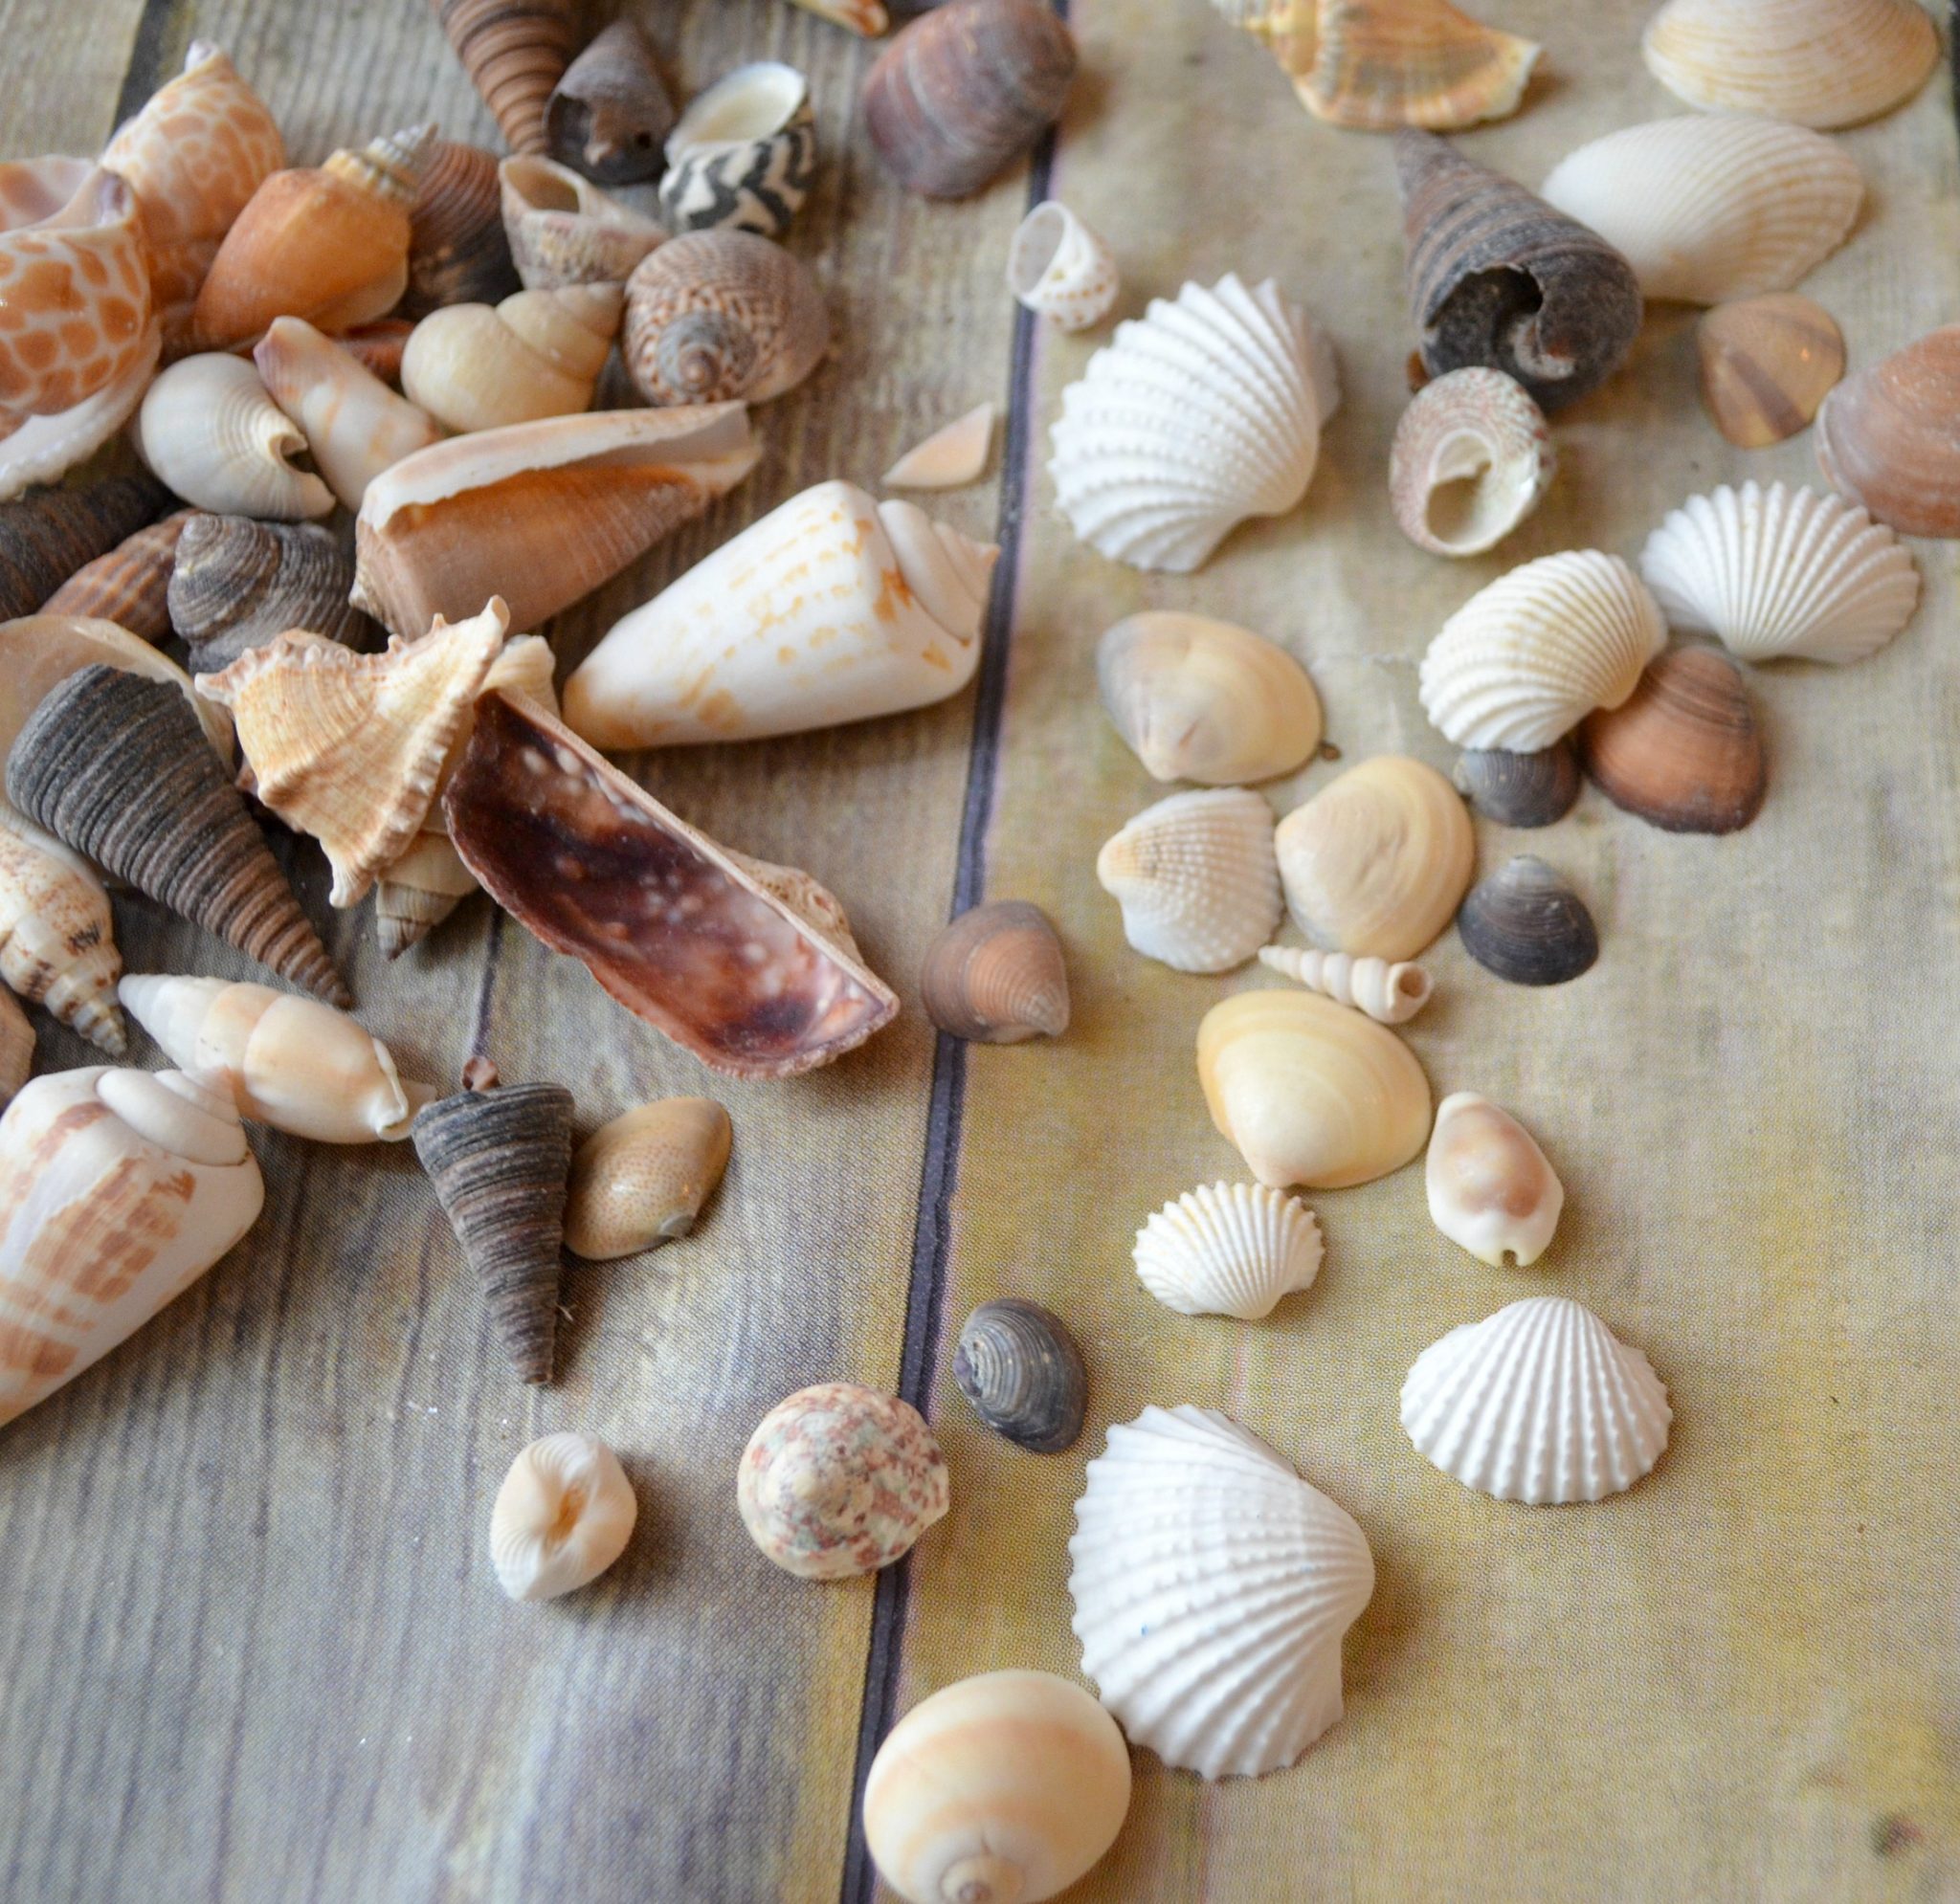
Step 3: Sort your seashells.
This is a great project for using up shells you’ve actually collected at your favorite beach vacation spots. If you don’t have any on hand, you can buy a package or two at your local craft store. I had a few from Myrtle Beach, but I supplemented with some from Michaels. You’ll want to make a pile of medium to large sized shells that are somewhat flat like scallop, clam, and cockle shells. You’ll also want a pile of small to tiny shells in a variety of shapes and colors. Large conch, cone, and tulip shells {as cool as they are} don’t work especially well for this project, so you’ll want to put those aside for another craft instead.
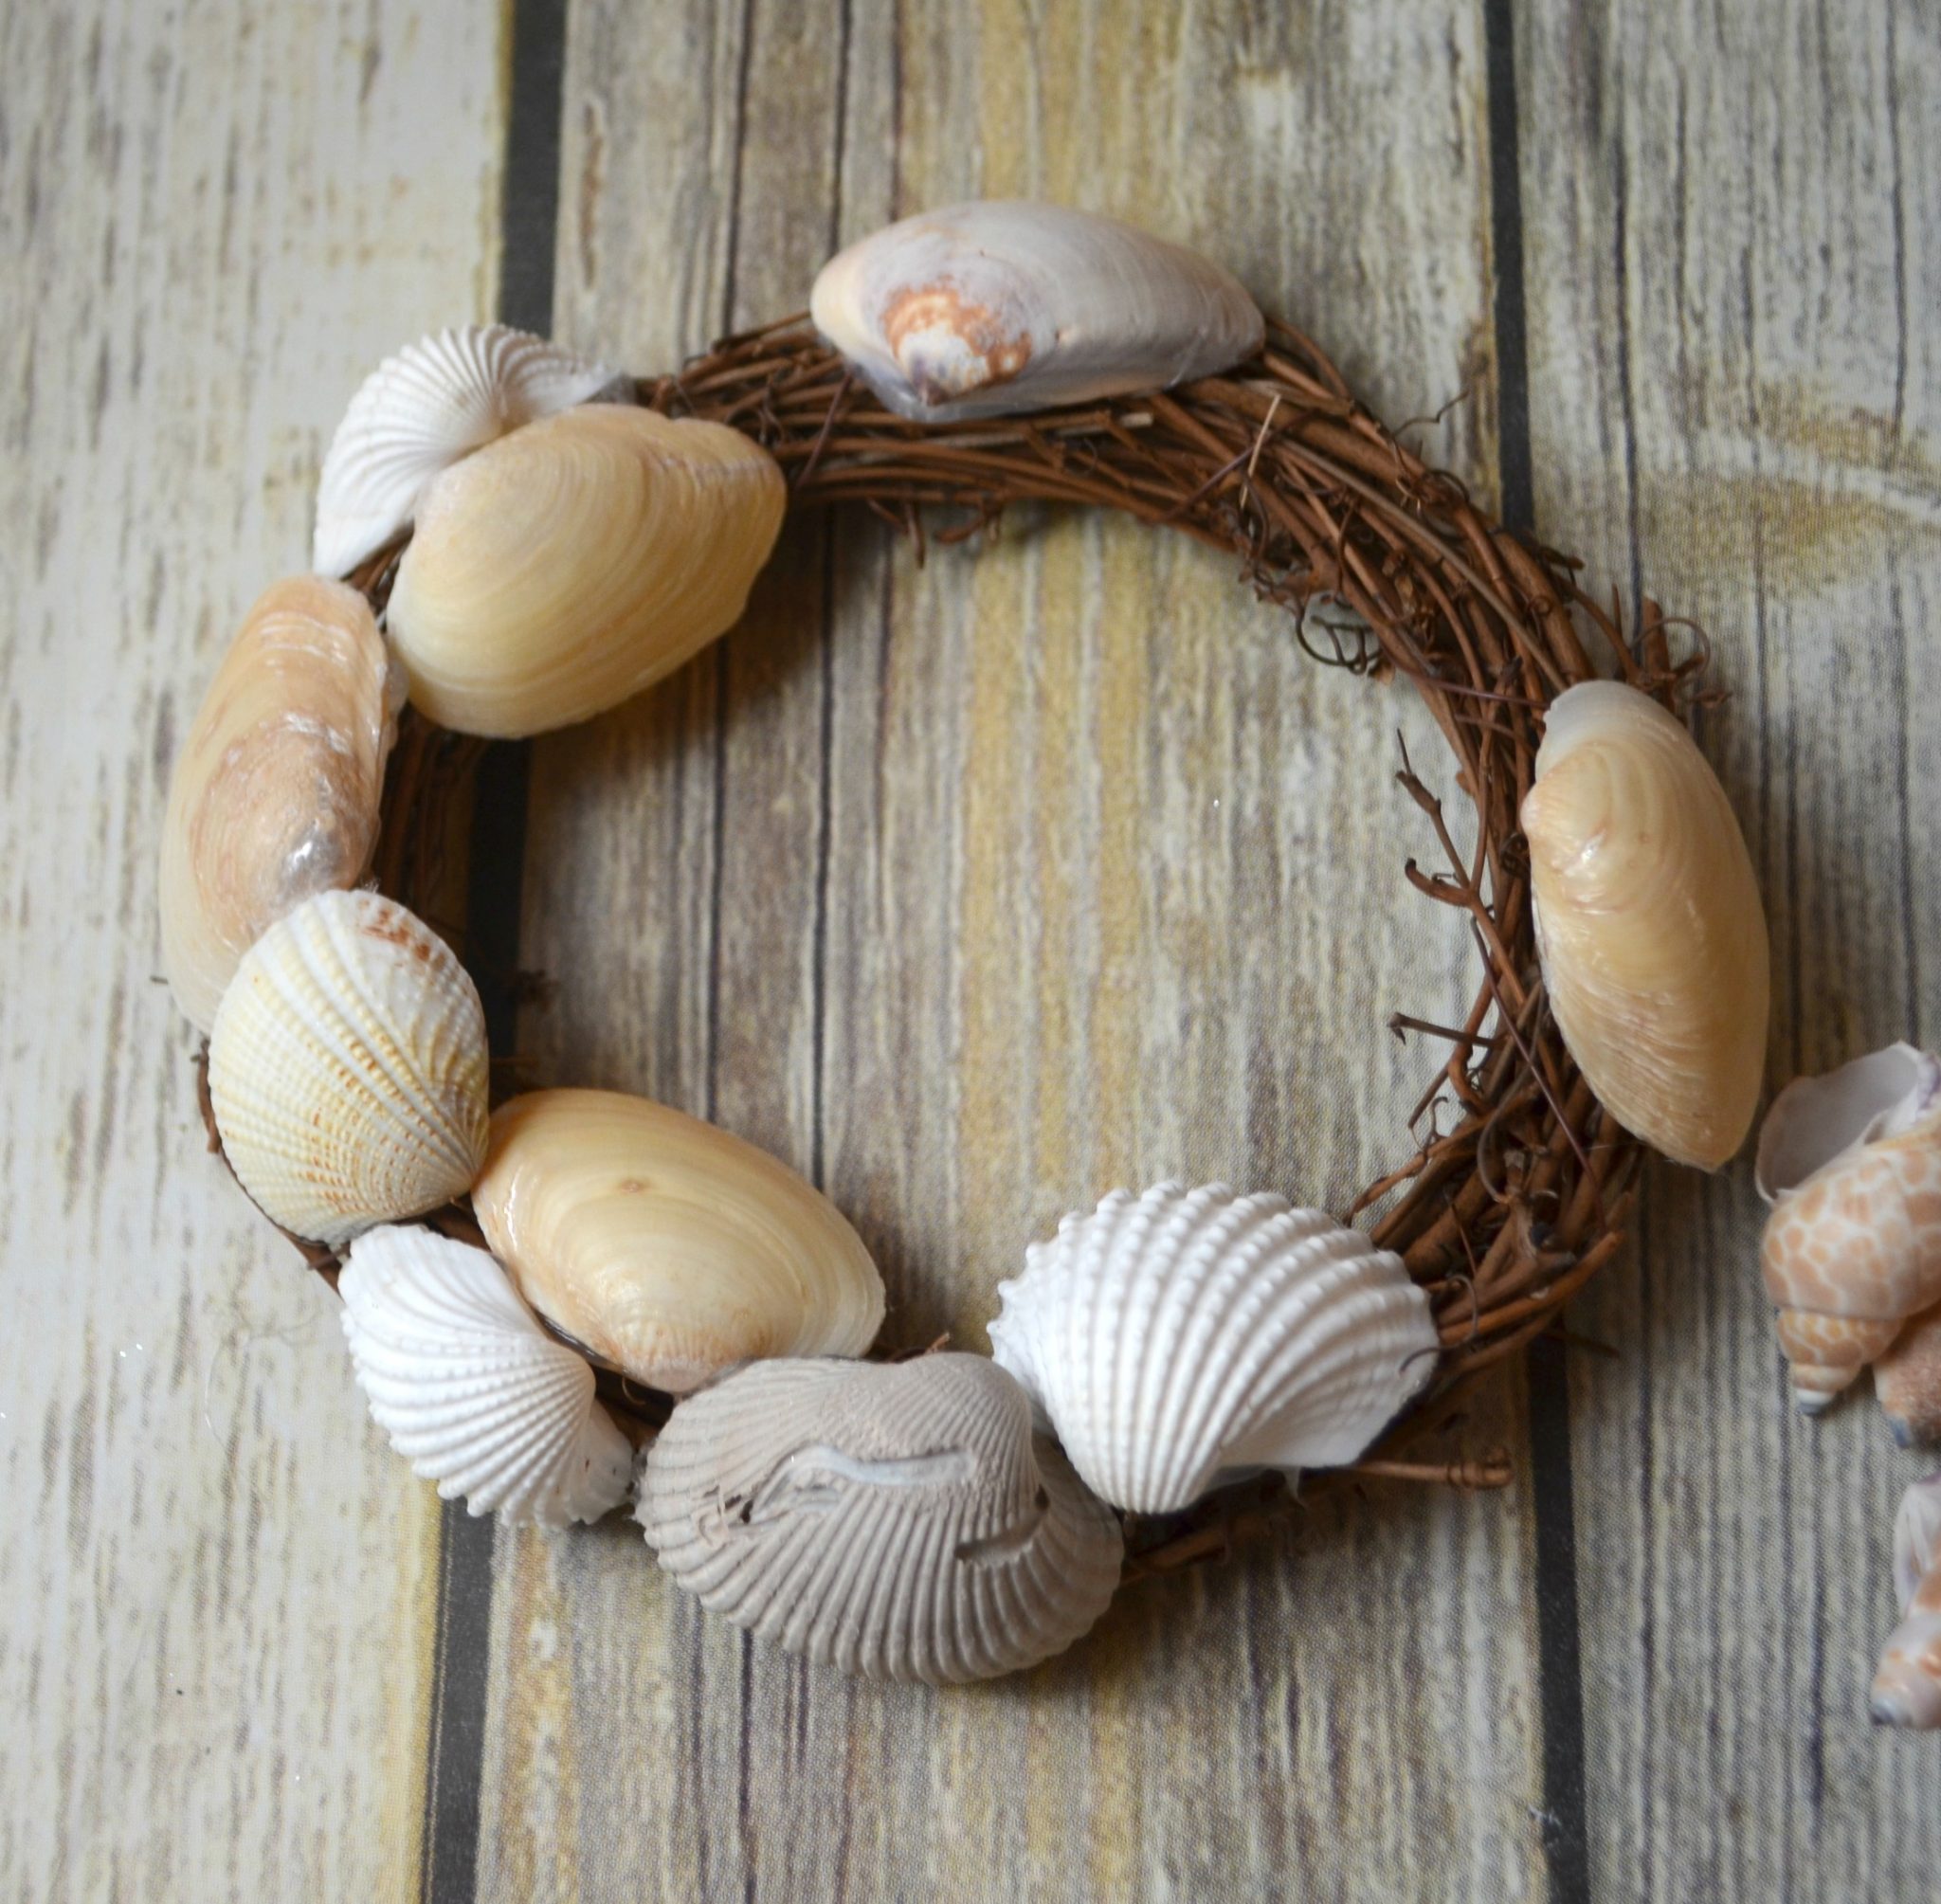
Step 4: Begin creating a base layer for your wreath by gluing large flat shells over the vine wreath.
I started by placing four large shells, one on the top, bottom, left, and right of the wreath. Then I used 3-4 more large shells to fill in each space between them. At this point, you’ll still see the brown of the grapevine between the shells. Just try to cover the large areas and maintain a somewhat round shape.
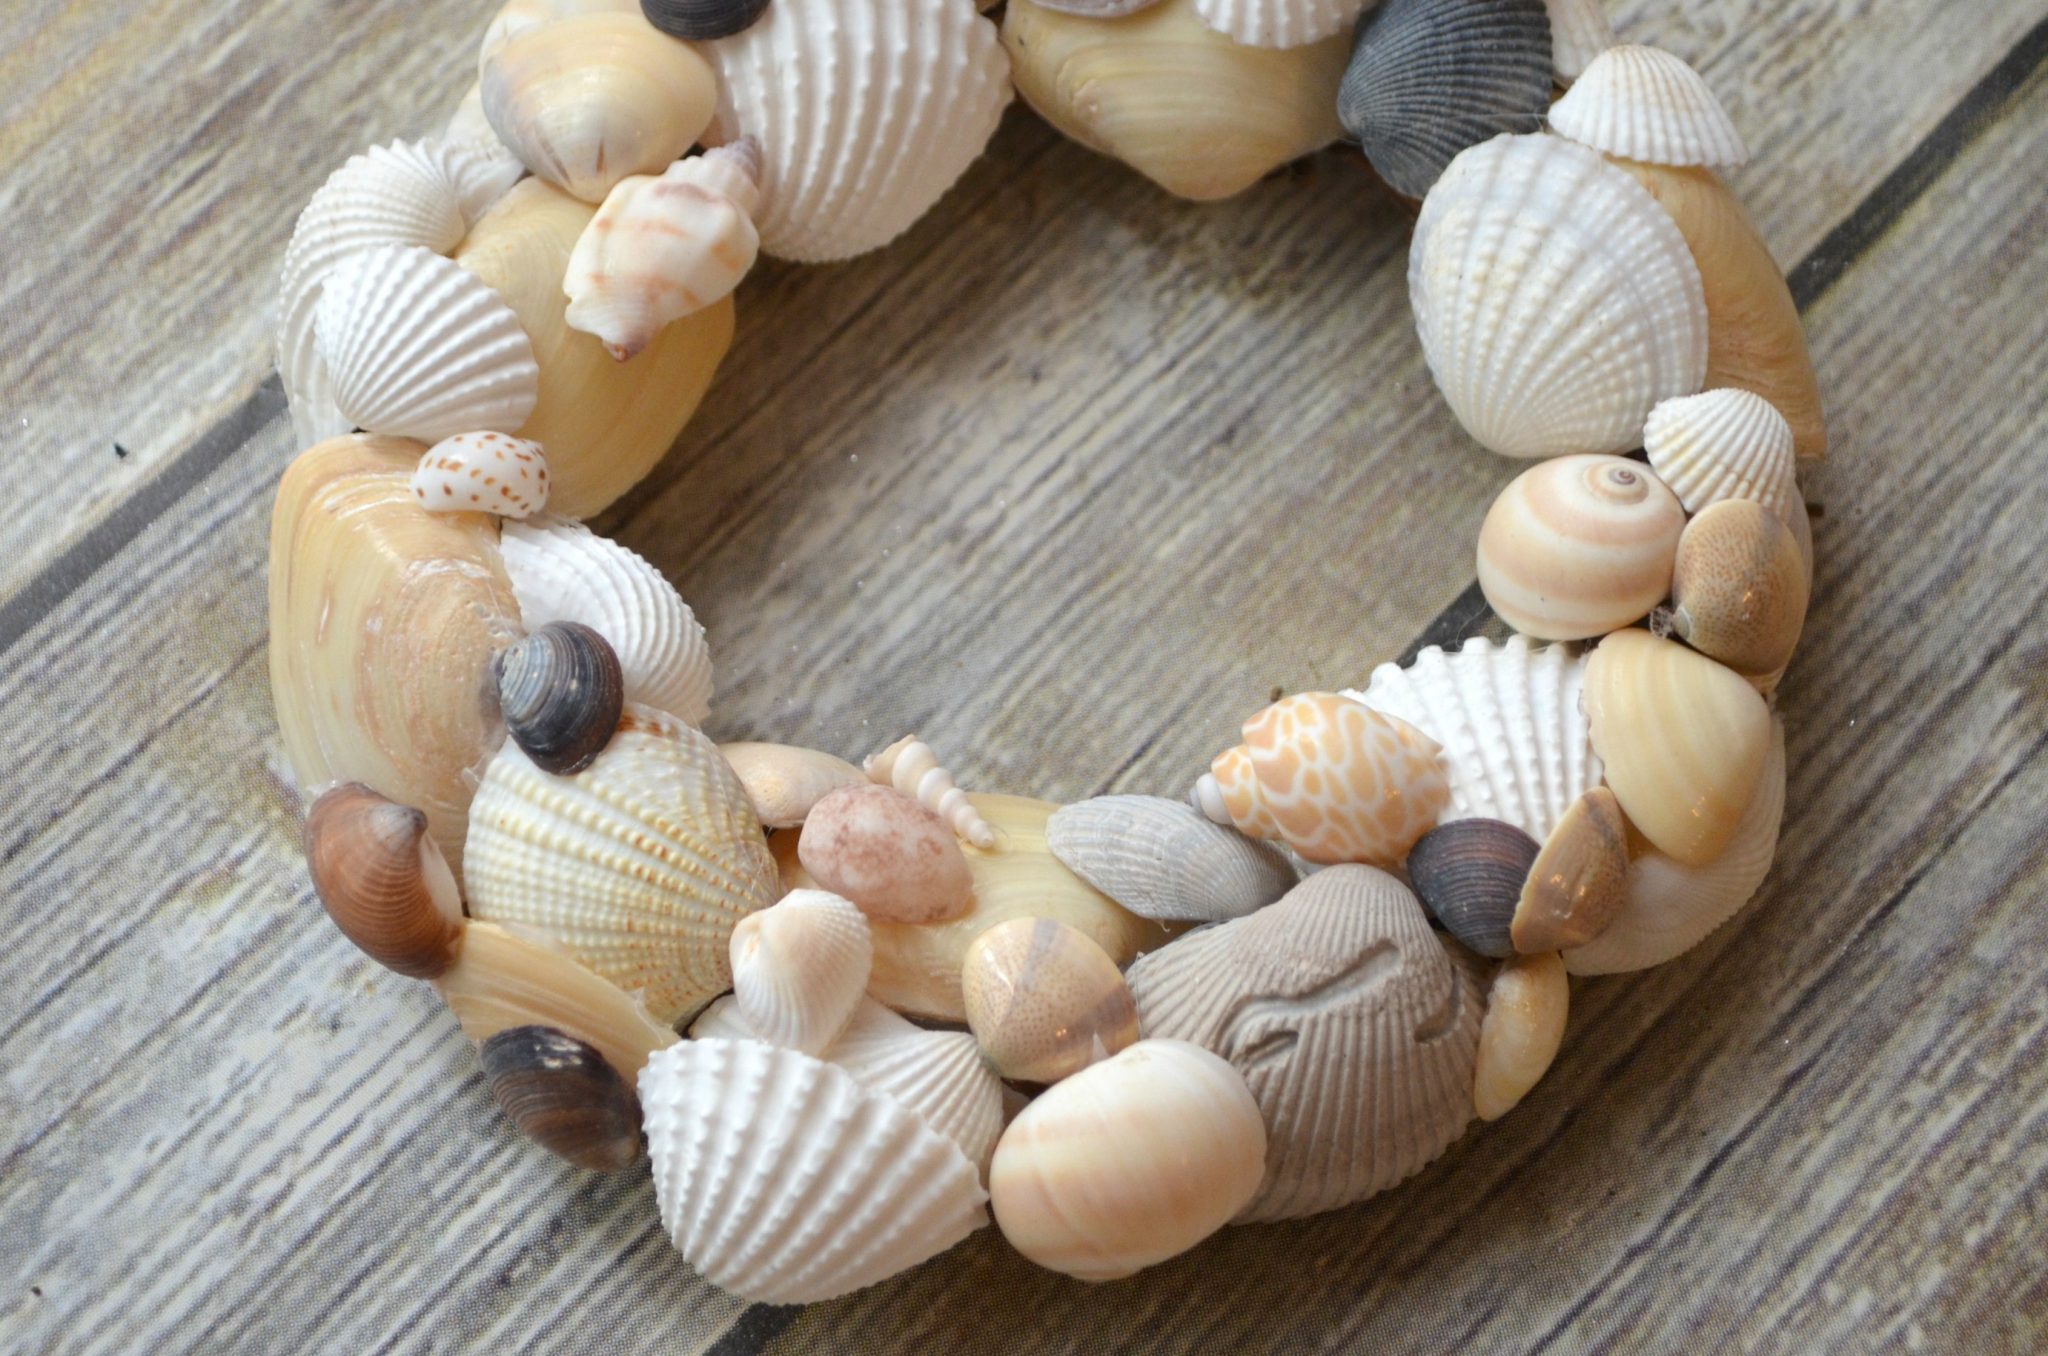
Step 5: Fill in the open spaces with small shells.
I was a little nervous about this part, but it turned out to be really fun. It was kind of like a puzzle, figuring out where I could place each shell. The trickiest part is not getting hot glue on your fingers because there’s not a lot of surface area around a shell’s edge!
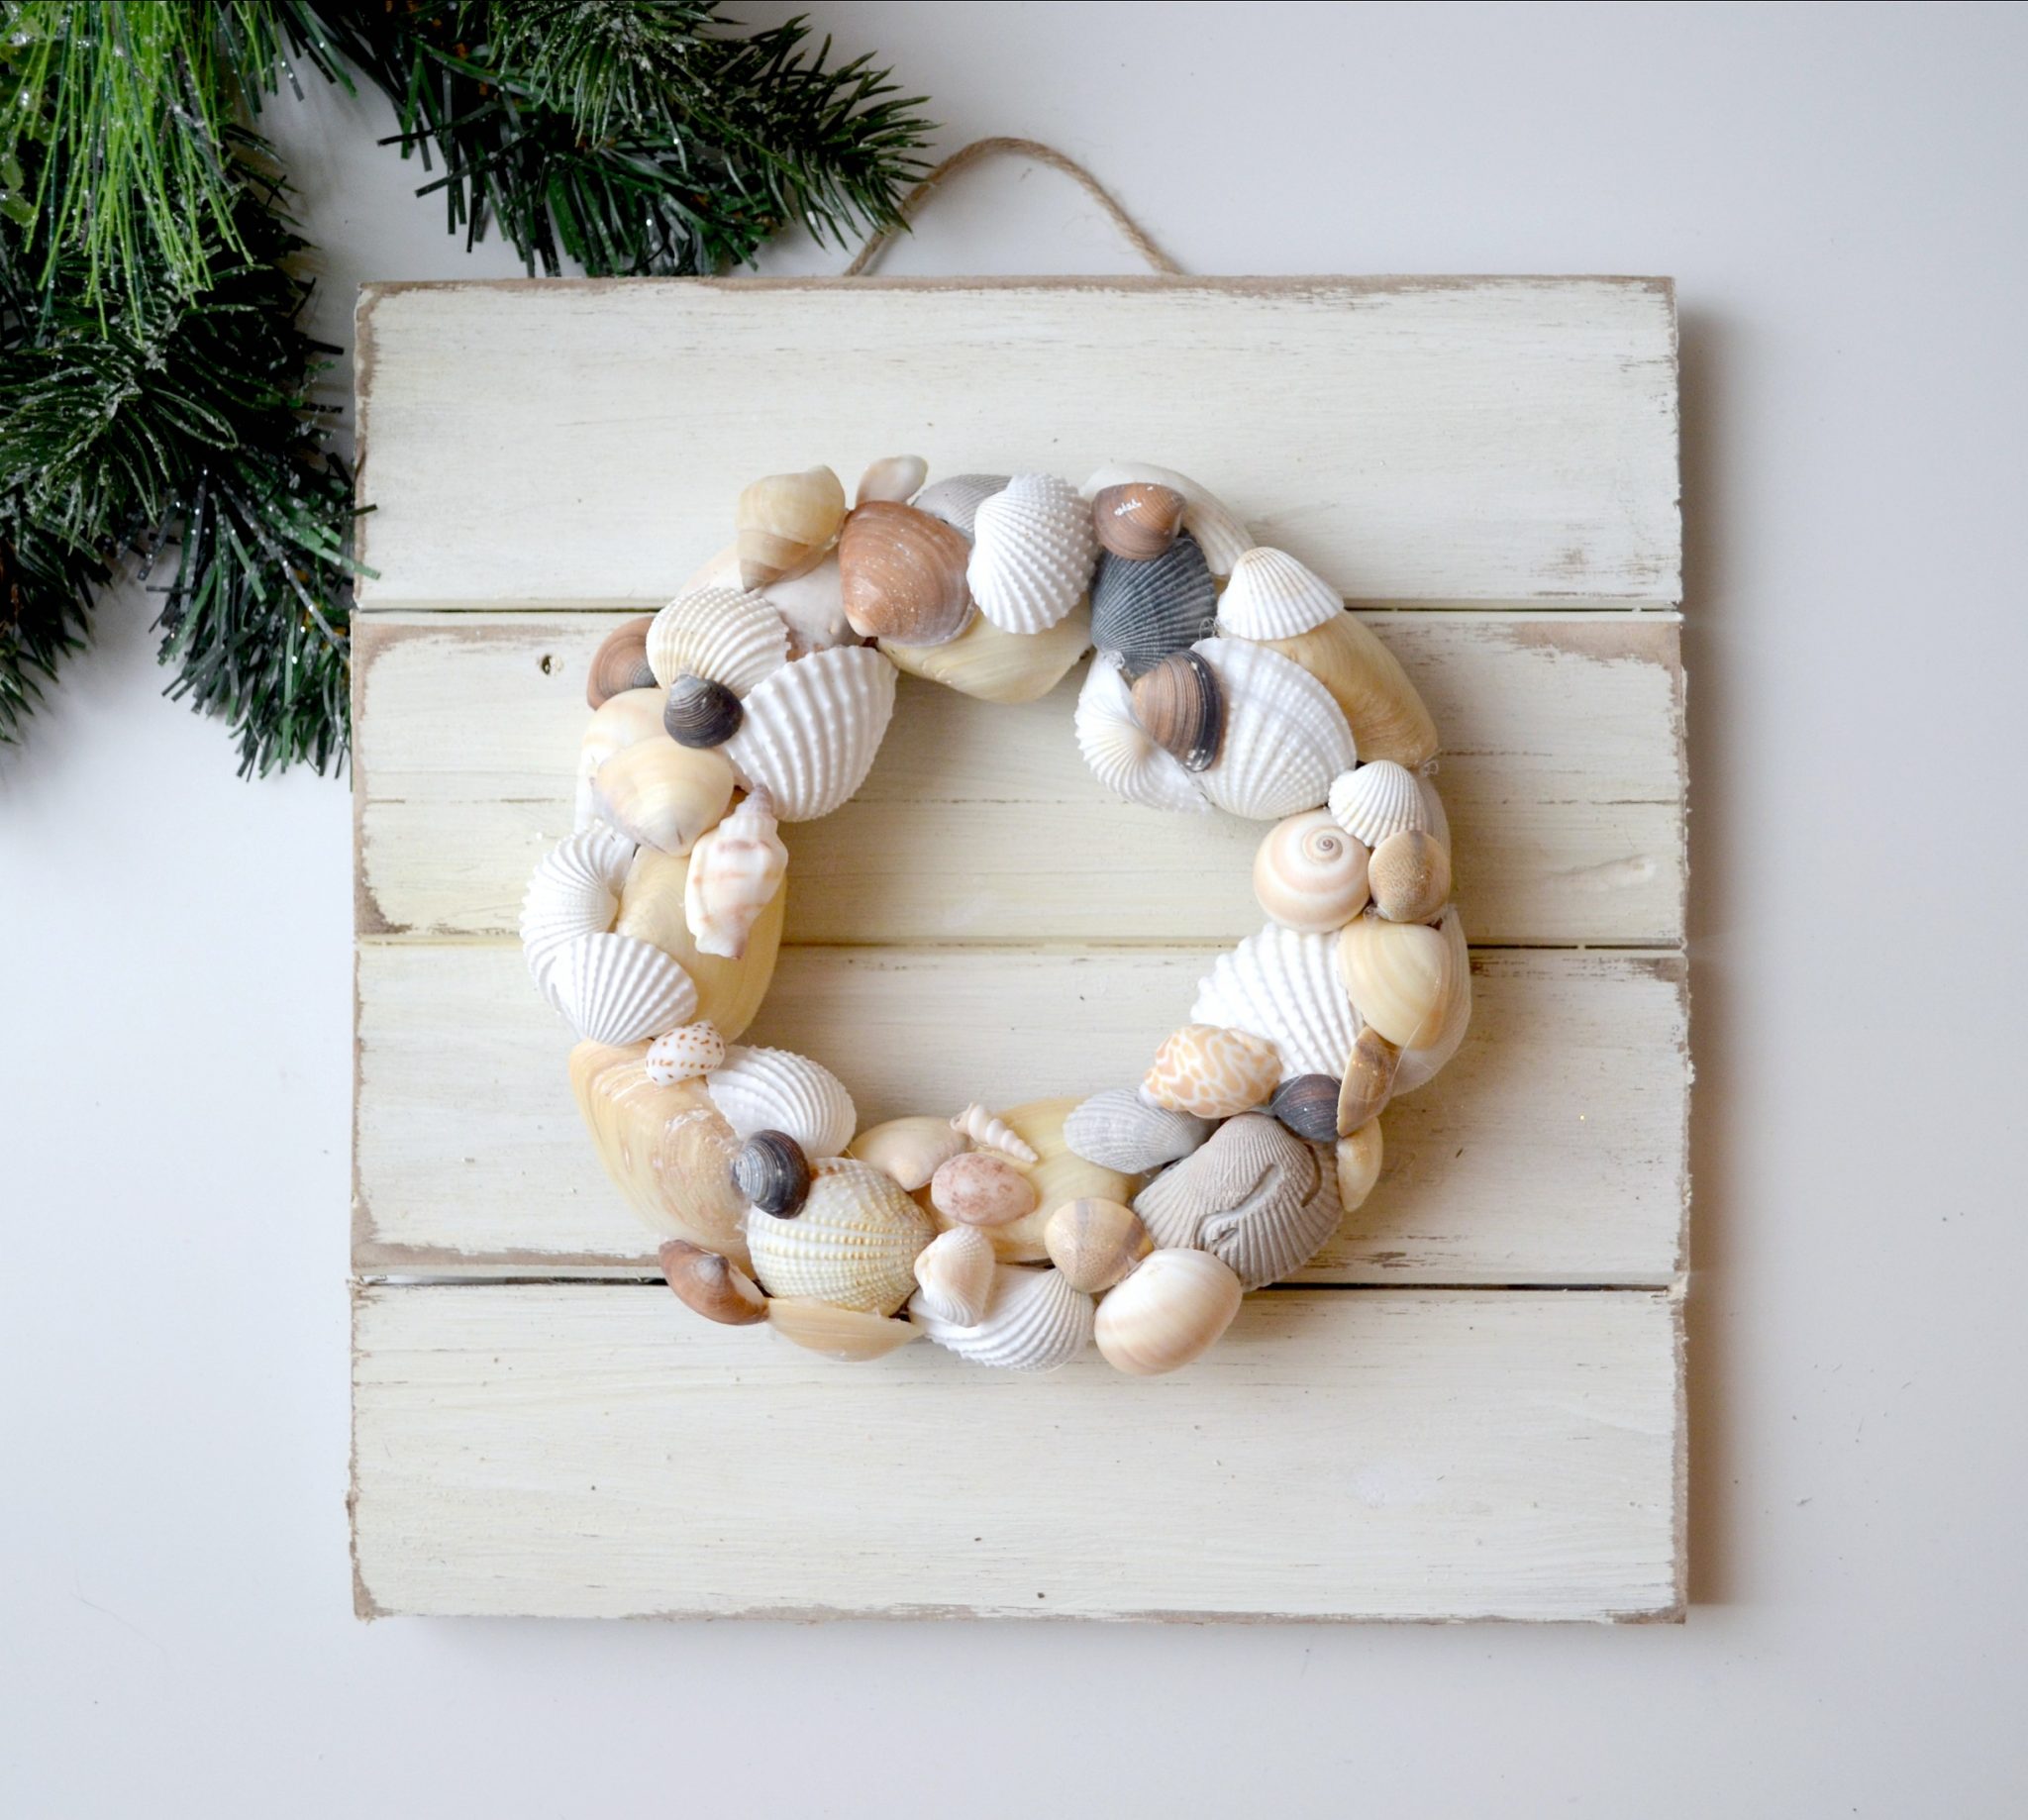
Step 6: Glue your wreath to the center of the sign.
I spent a few minutes turning the wreath around in every direction to find which way I liked it best.

Once the glue is set, you’re all finished and your wreath is ready to display or to gift to a special someone!