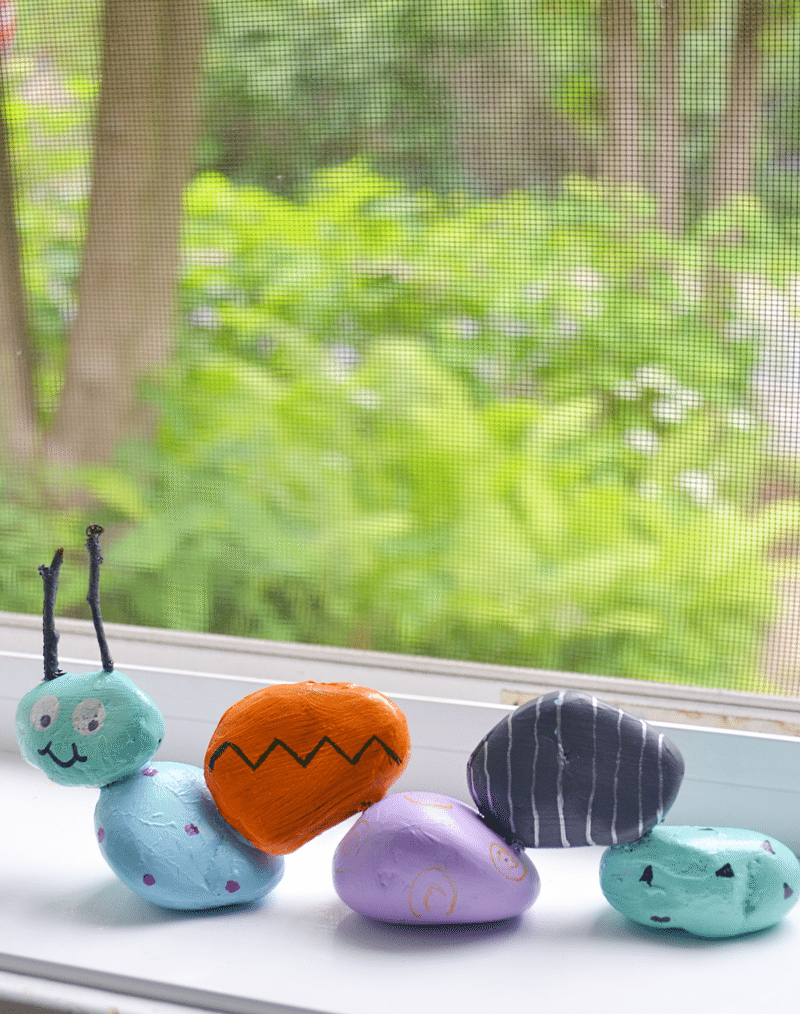
Rock Garden Caterpillar
Create a captivating Rock Garden Caterpillar that will add a touch of whimsy and charm to your outdoor space. This project is easy and fun to make with the simple stated materials. This project can be completed in no time and it is a great addition to your repertoire. This project is sure to put a smile on your face once completed.
Supplies:
- Disposable brushes in various sizes
- Rocks
- Craft paint (if your caterpillar will be sitting outside use an outdoor paint)
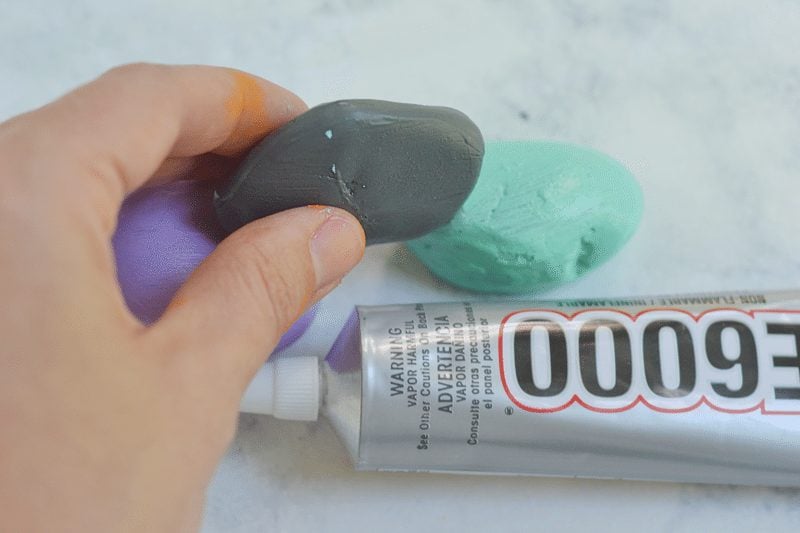
- E6000 (or similar glue to hold the rocks together
- Twigs for the antennae
- Sharpies (or you could use paint to draw on the faces)
To Do:
1. Paint Your Rocks.
It’s recommended that you paint them multiple colors, for fun. But you can certainly paint them all one color if you like. Have fun! Be prepared to take some time on this part. You need to paint one side, let it dry, and then paint the other. Sometimes for multiple coats. It is not difficult, at all, and a great time to watch a favorite movie and have some snacks. Be prepared, this is going to get messy. Messy is fun.
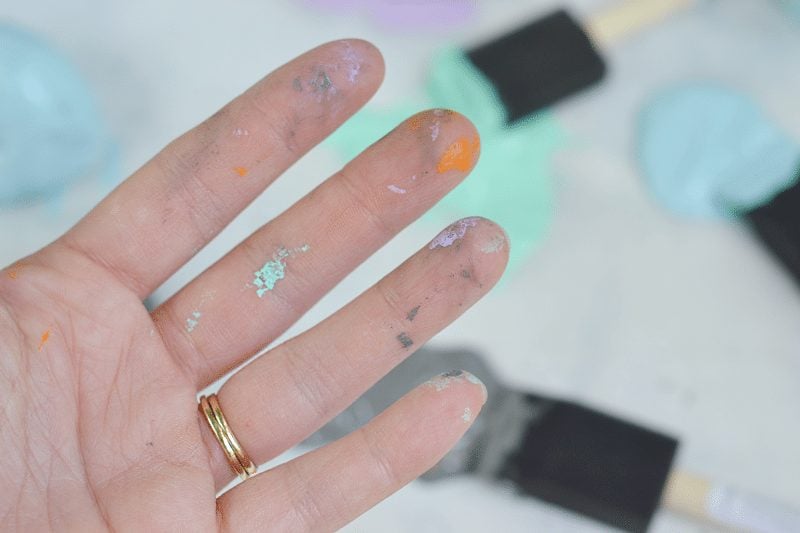
Be prepared with wipes, table covers, and aprons. But don’t be afraid of this project because of a paint mess. Art is messy. Everyone needs to be a bit messy sometimes!)
Tip:
Pull out your hair dryer to make the drying time go faster. If making the garden rock caterpillar with children, they love to use the dryer on their own!

Draw The Face On Your Caterpillar’s “Head”.
One of the easiest ways to do this is with q-tips and the paint you are currently using. Or, you could pull out some permanent markers (Not recommended with children). Be sure to wait until the paint on the rock has properly dried before adding your face.
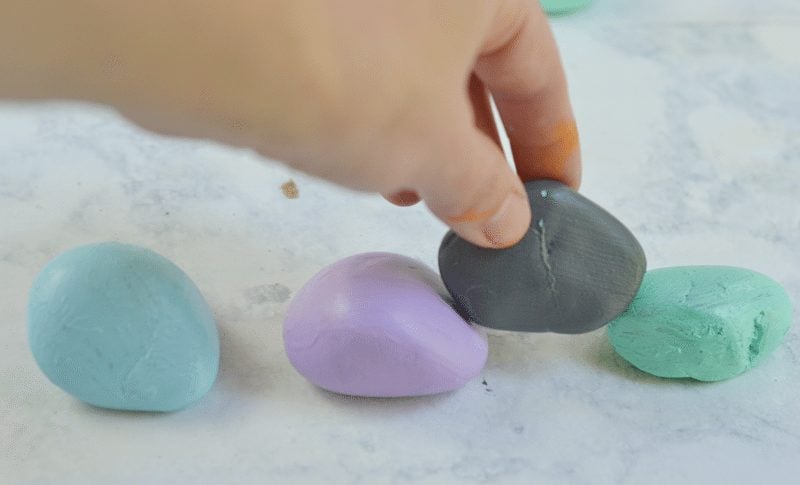
3. Assemble the caterpillar after the paint has properly dried!
Put the head in place and then balance the remaining rocks onto one another. Often you will want to prop up the rocks with a paint container, another rock, or whatever works.
Tip:
This is another great time to pull out the hairdryer. Prop up as much of the caterpillar as you can and then give it a shot with the dryer. It will help it be more secure and dry faster.
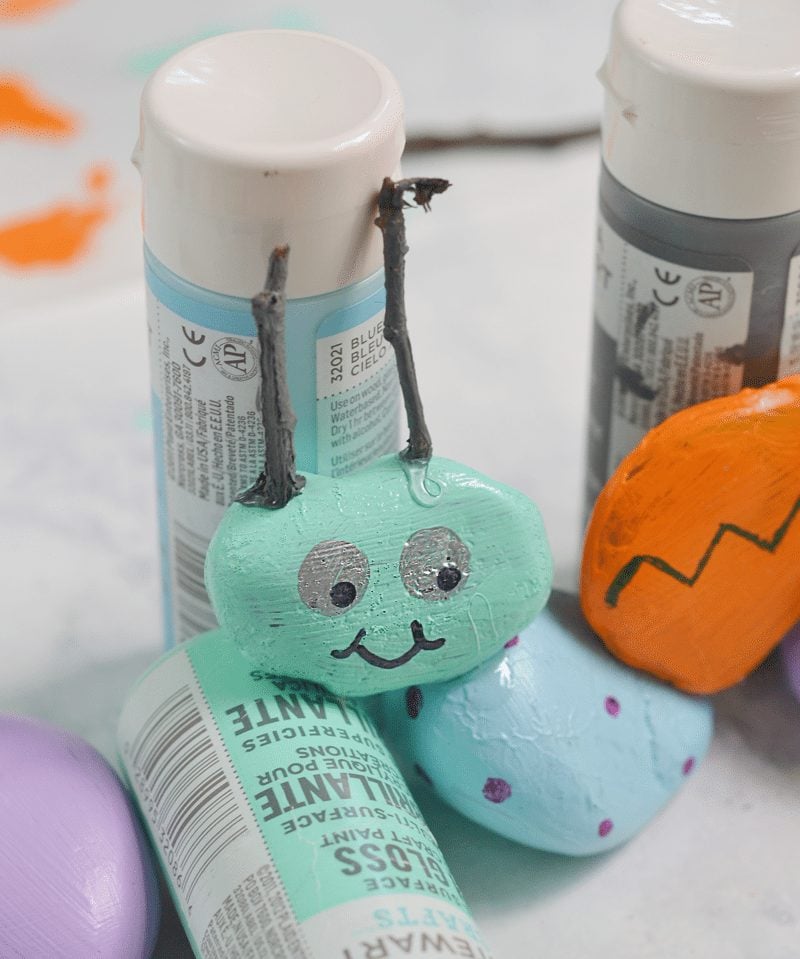
4. Attach The “Antennae” (Sticks) With Your Waterproof Glue.
You need to attach your “antennae” to the first rock on the body. Use rocks, bottles, books, whatever you can find to prop them up while they dry. Let dry for several hours.
5. Let Your Whole Caterpillar Dry And Cure Overnight.
Note, if this is a project you are making and sending home with children consider putting it together on a sturdy piece of cardboard or wood so that it can be easily transported. You still want to have several hours before you try to transport it but it will be more secure if moved as one piece.
