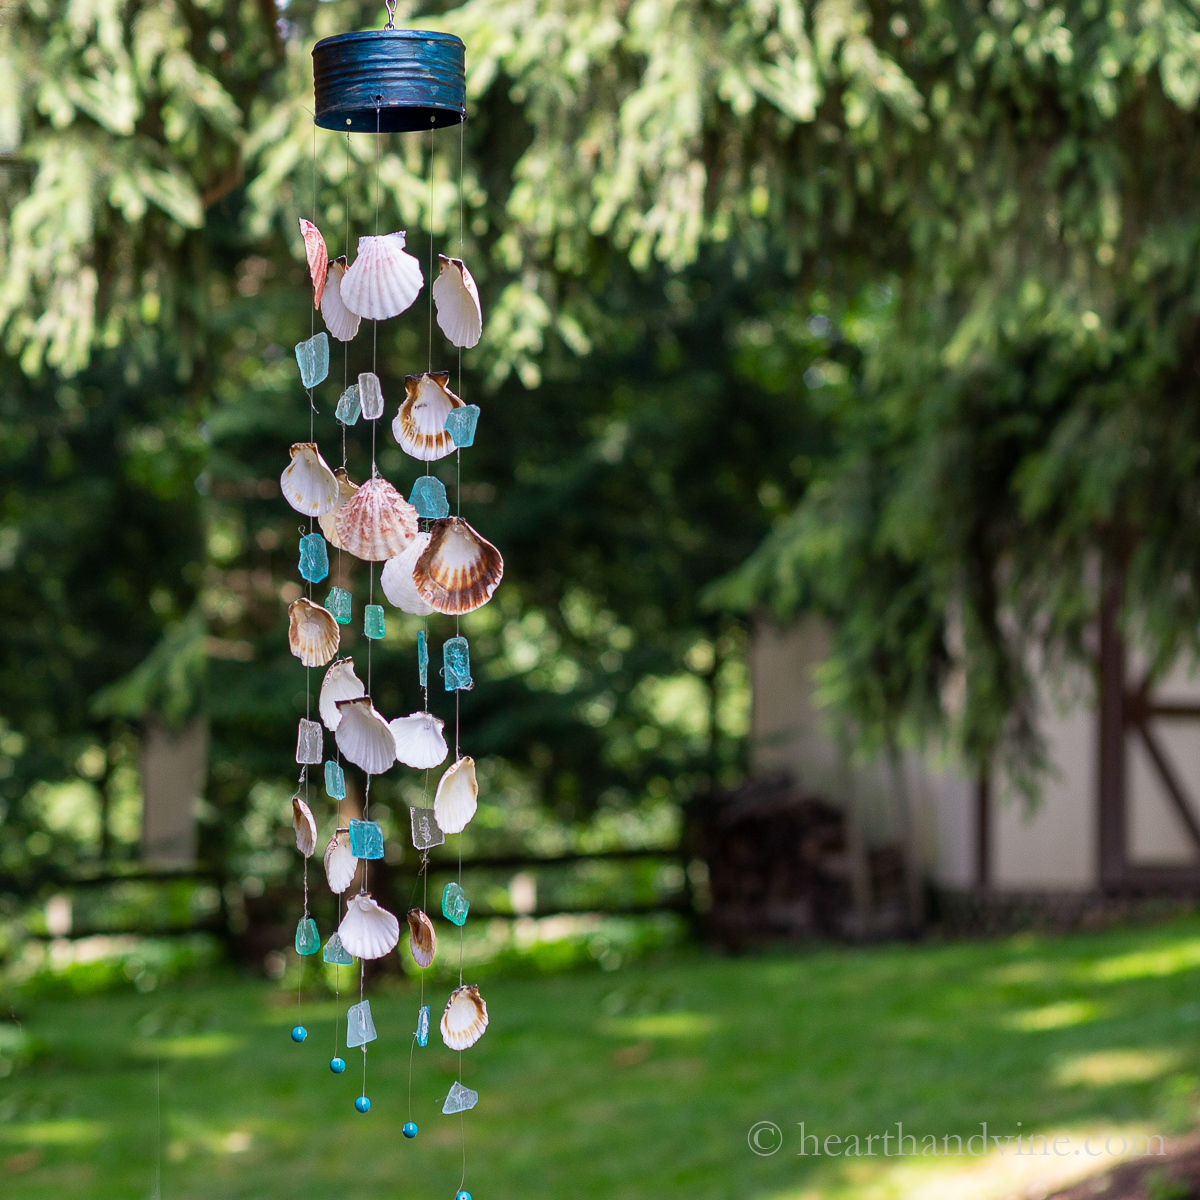
Sea Glass & Seashell Wind Chime DIY
Create your own unique and beautiful wind chime with this easy-to-follow Sea Glass & Seashell Wind Chime DIY project. This creative endeavor allows you to bring a touch of the beach into your home and add a whimsical and soothing element to your outdoor space. This DIY project is not only a fun and creative way to spend your time, but it also allows you to bring a piece of the beach into your everyday life.
Supplies
- Clear Fishing Line
- Seashells (with holes drilled through the top)
- Sea glass pieces
- A small empty can with the lid removed
- Chain for hanging (you could use wire or twine)
- Beads (optional)
- Paint to cover the can (optional)
- Hot glue gun and glue sticks
How to Make a Seashell and Sea Glass Wind Chime
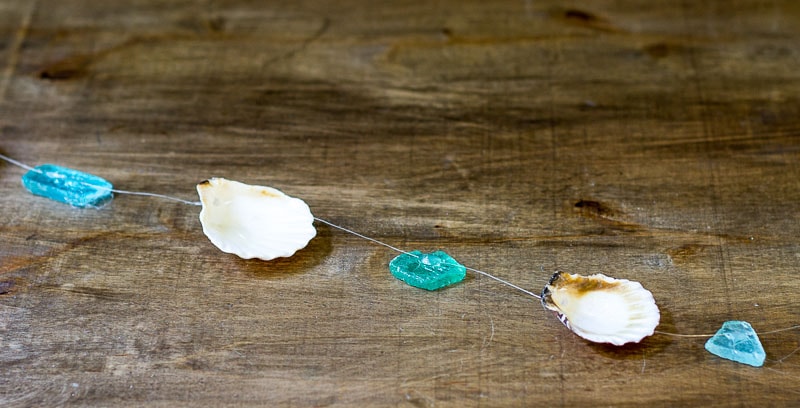
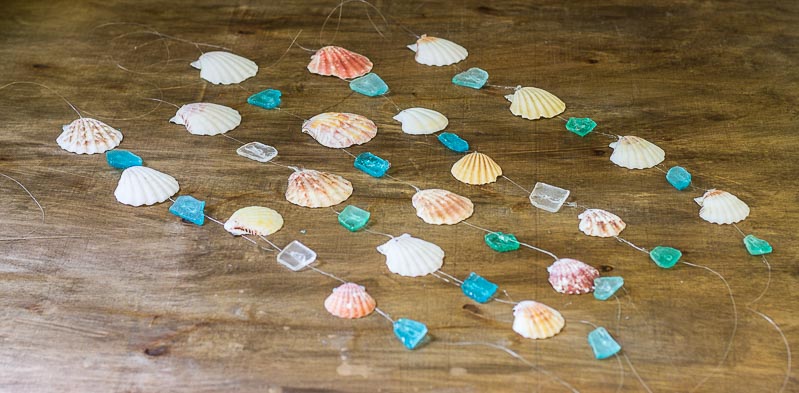
Step 1
Layout your shells and sea glass in a pattern. This is where your creativity can shine. Make them as long or short as you wish. You need to make sure that there are enough strands close together so that they hit each other in order to make the chime sound.
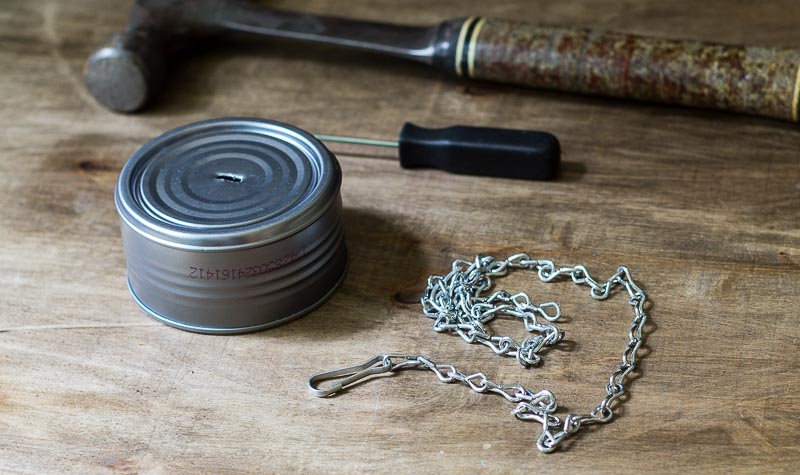
Step 2
Puncture a hole just large enough to fit the chain through, using a screwdriver and hammer. No drill is needed.
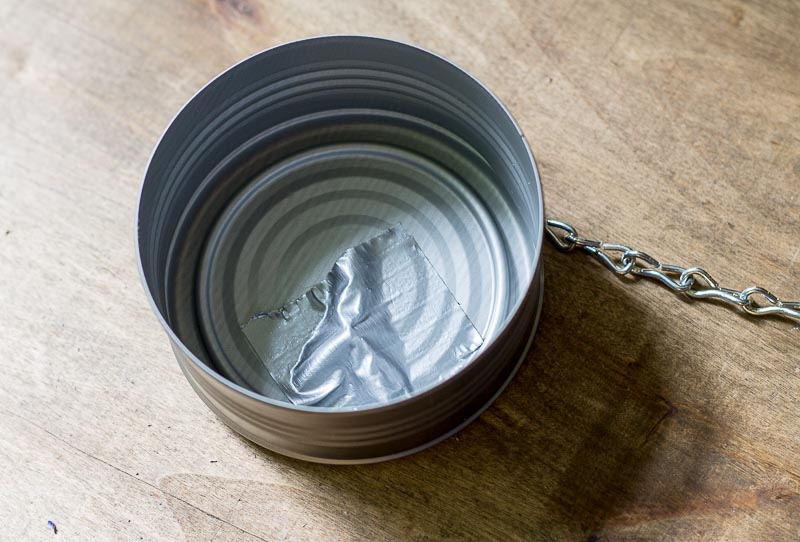
Step 3
Use a little tape to secure the chain. I used duct tape but any strong tape should work.

Step 4
Measure the can, and divide the circumference by the number of strands you want to make. I chose to make 5 strands, and my can was 10.5 inches, so 10.5 /5 equals 2.1 inches. Place a dot just past 2 inches all around.
Then make a hole at each dot. I tried a nail and hammer but that was difficult. Believe it or not, a paper hole punch worked. It really doesn't matter how you make the holes though. You could even drill them.
Step 5
Make a small hole at the top of each shell with a thin nail and a hammer. Do this from the inside with the shell on a table to prevent breakage. Start with a shell you don't like to practice and then continue with the rest. You can also drill holes with a small drill bit for this step.
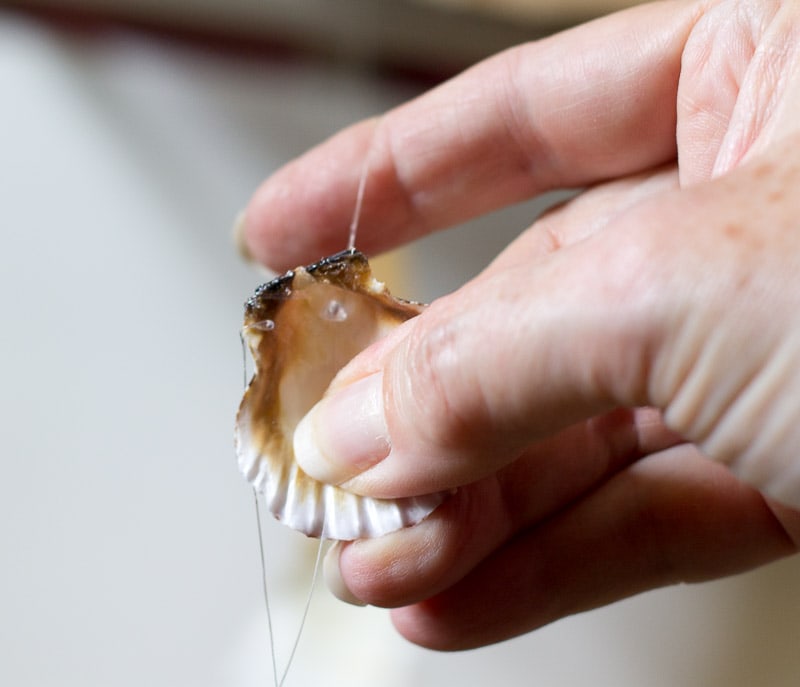
Step 6
Cut a piece of fishing line to a length several inches above your shell pattern and below. You can always cut the excess later.
Tape down the fishing line to a table, leaving several inches above the tape.
Then thread your first shell, starting at the top. Hold the shell and fishing line in place with your thumb and fingers, and place a drop of hot glue on the inside of the drilled hole, on top of the fishing line. Hold for a few seconds and set down.
Take the next shell and space it a few inches below the first one, leaving room for the sea glass, and place a drop of glue over the inside hole and fishing line.
Continue until you are finished with the strand. Repeat the process with the other strands.
Step 7
Add the sea glass by placing a line of hot glue on the glass and setting it in place under the fishing line. Add additional glue on top of the fishing line.
At the bottom, you can add a bead, by threading through the fishing line and tying it off with a double knot.
Step 8
Paint the can with craft paint if desired, then once dry thread the top of the strands through the holes in the can at the length you want and tie off with a couple of knots.
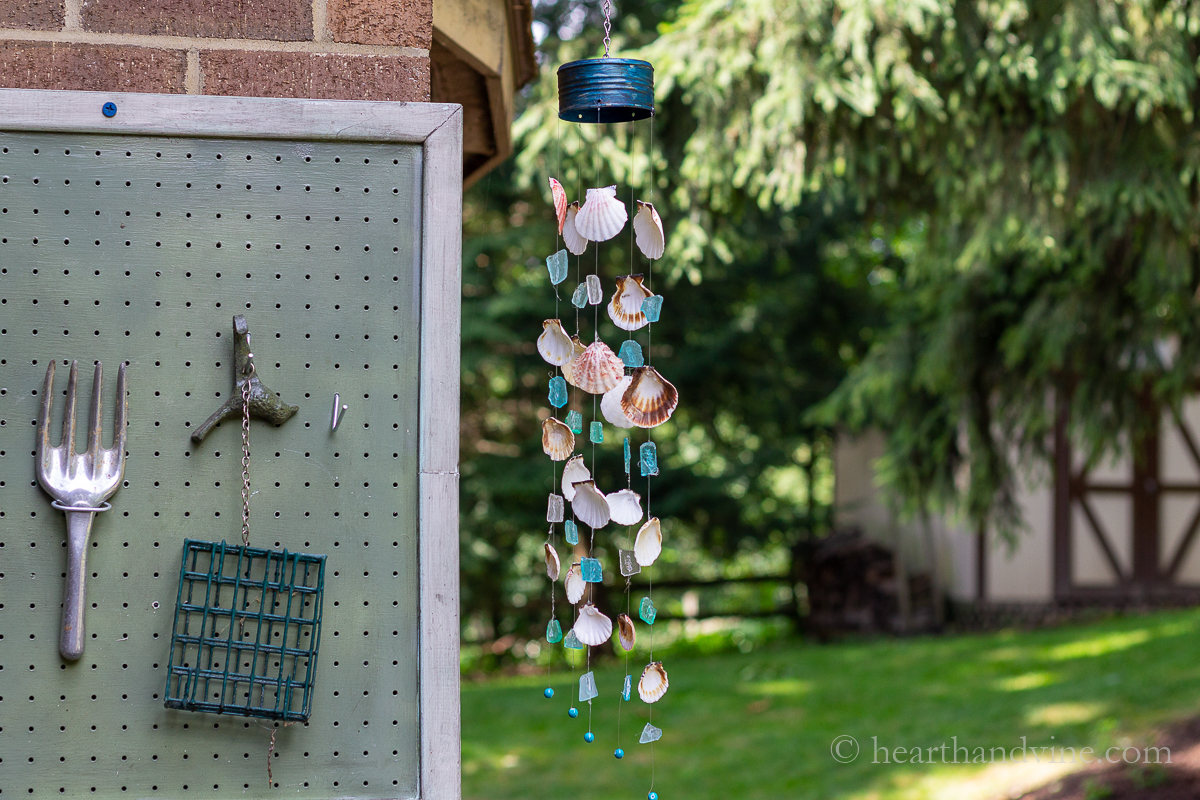
Hang your beautiful Seashell & Sea Glass Wind Chime on the porch or patio and enjoy.