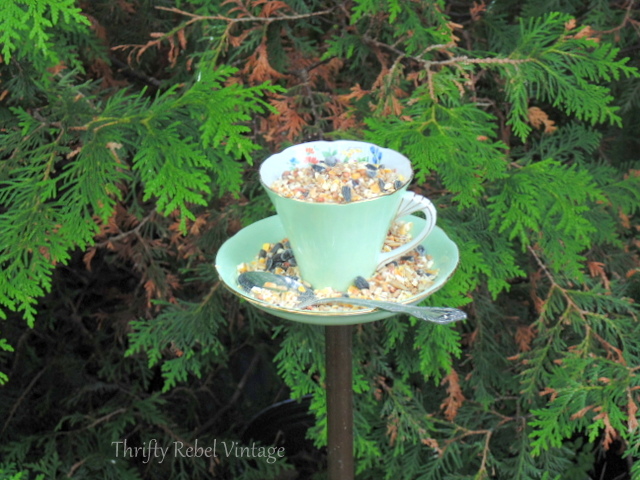
How to Make a Teacup Bird Feeder
Transform your backyard into a charming oasis for feathered friends with this delightful bird feeder designed to resemble a teacup. Crafted from durable materials, this whimsical feeder adds a touch of elegance to your outdoor space while providing a convenient spot for birds to enjoy a meal. The teacup design is not only functional but also serves as a decorative accent that will surely be a conversation starter among guests. The delicate design of the teacup adds a touch of nostalgia to your garden, making it a lovely addition to any bird lover's collection. Watch as colorful birds flock to this charming feeder, adding a touch of beauty and joy to your outdoor space.
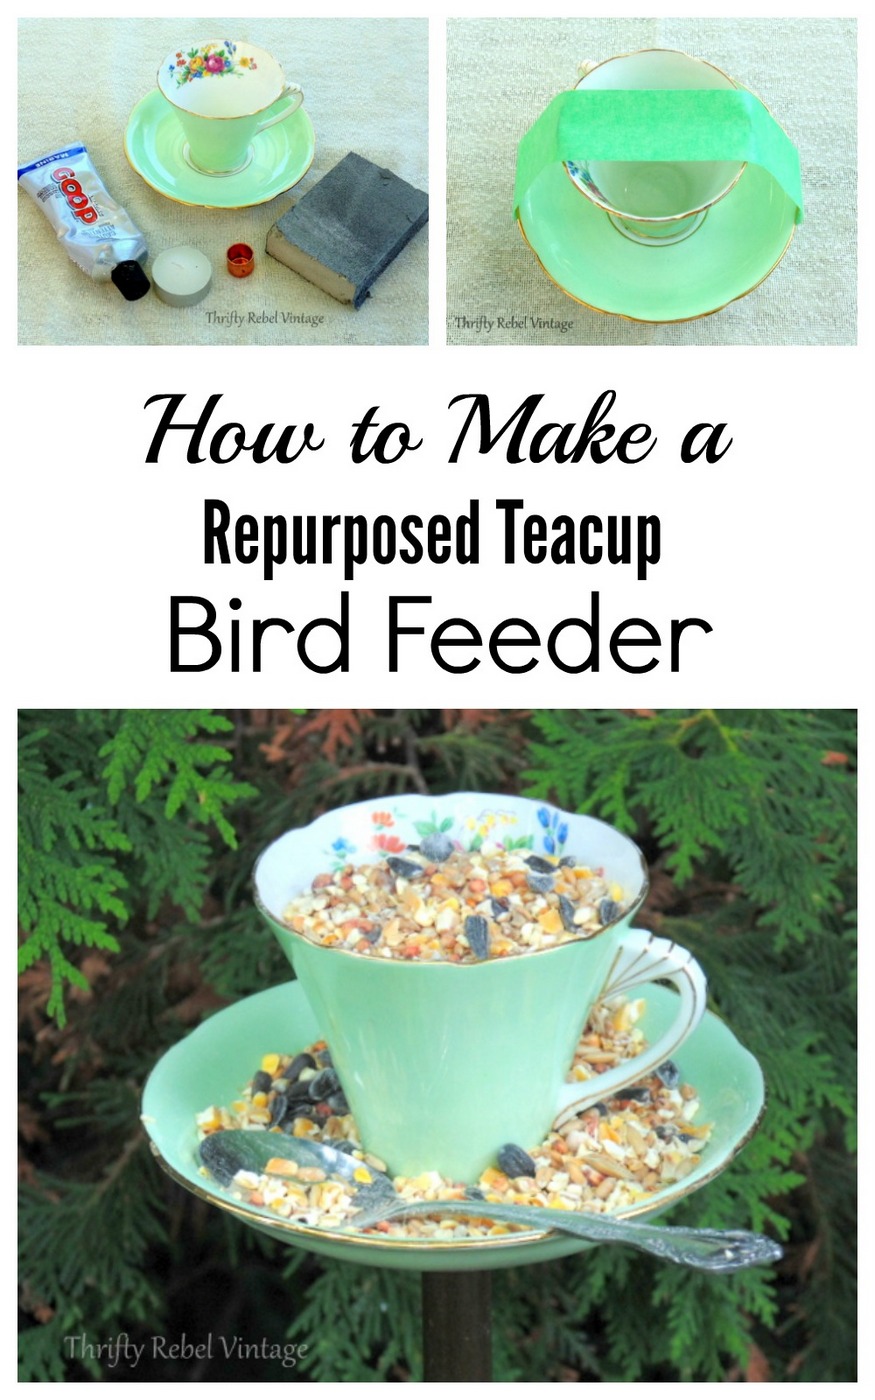
You’ll also need:
I use Marine GOOP adhesive for all my outdoor garden art projects. It’s meant for boat repair and is UV and water resistant. It can be found at most big box department and hardware stores.
I’ve heard that E6000 works good for outdoor projects as well, but I’ve never used it myself.

To glue the teacup to the saucer place some glue around the rim of the bottom of the teacup.
Yes, I’m a little messy… but thankfully it doesn’t matter.
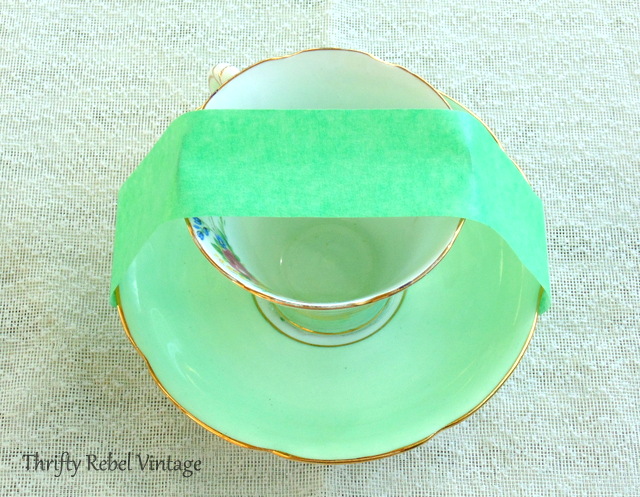
Place the teacup in the centre of the saucer and press down lightly, gently moving the teacup a little to make sure there is good contact with the saucer.
Then use painter’s tape to keep the teacup in place while the glue dries.
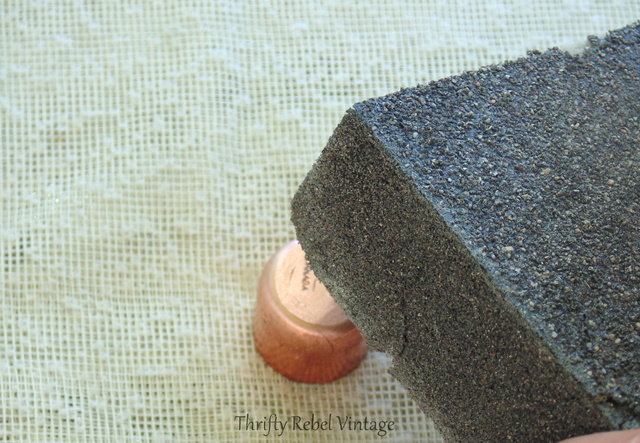
First the plumbing cap needs to be sanded and scratched up good.
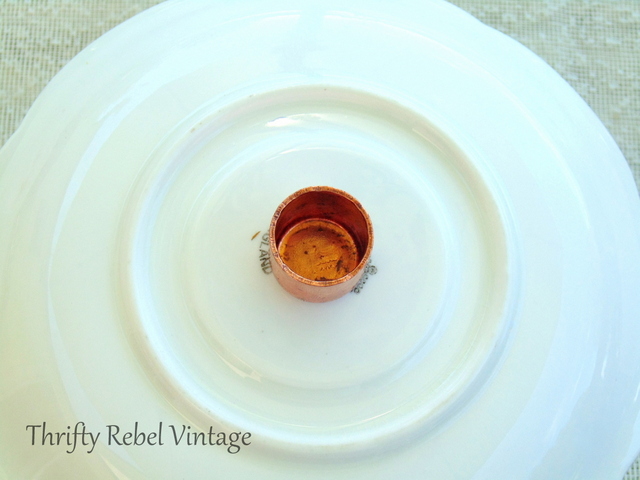
This makes for a better grip when it’s glued in the centre of the bottom of the saucer.
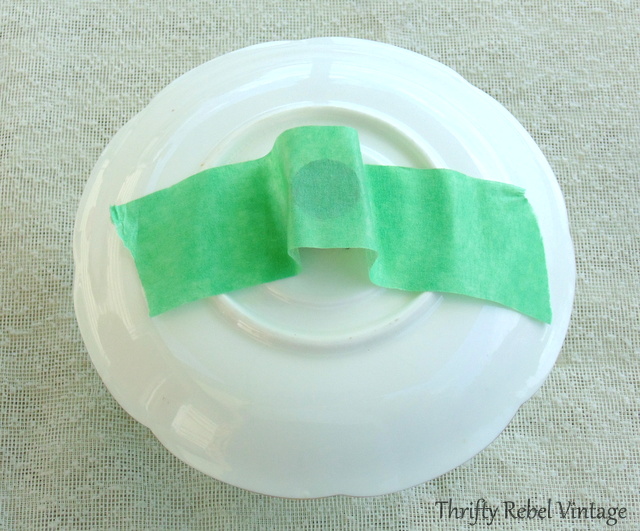
Use painter’s tape again to hold the cap in place for about 30 minutes.
When it’s cured test the strength of the cap by trying to twist it with your hand. If it loosens at all, either too much glue was used or more sanding of the cap needs to be done. There’s also a chance that you may have to sand the spot on the bottom of the teacup where you want to glue the cap.
When your teacup bird feeder passes the twist test it’s time to put it in place.
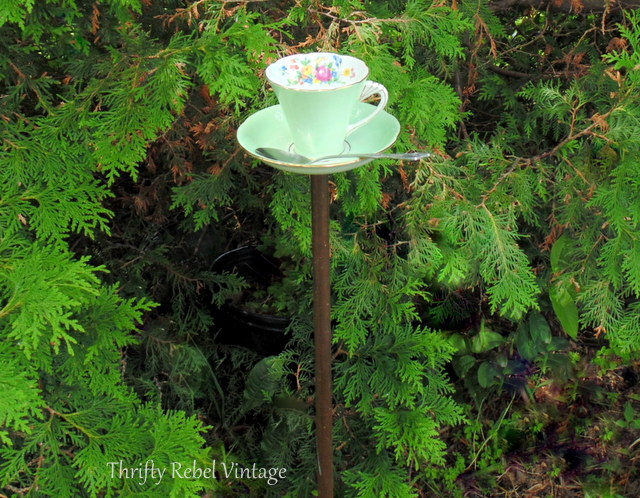
Push the copper pipe into the ground at least 8-10″. The deeper the better, especially if you’re feeding bigger birds.
Use a hammer, with a wooden block to protect the top of the pipe, if you need to.
Then place the plumbing cap onto the pipe. At this point I decided to glue on a stainless steel teaspoon