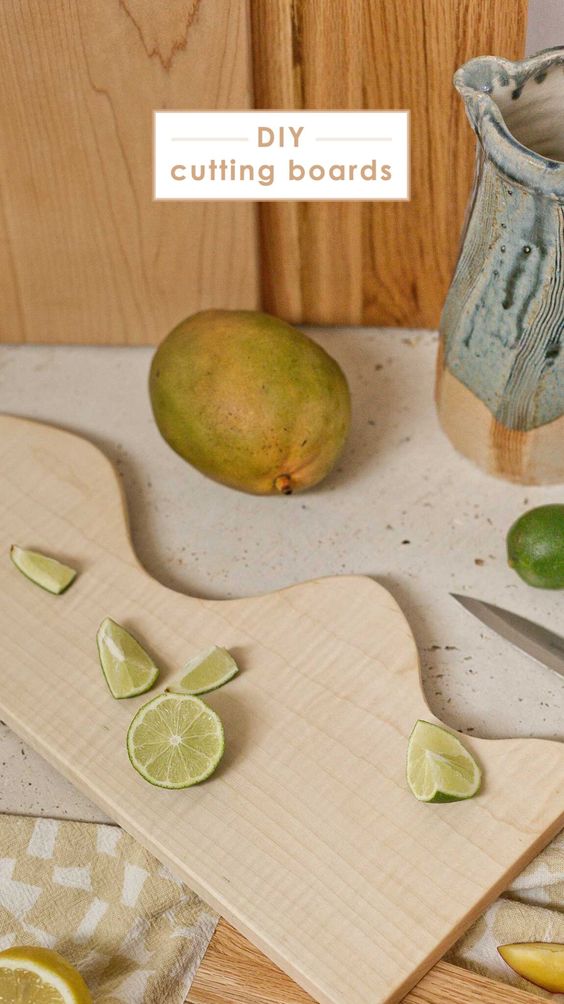
Let’s Make DIY Cutting Boards
Crafting your own cutting boards allows you to create a unique and personalized kitchen accessory that reflects your style and preferences. DIY cutting boards can also be more cost-effective than purchasing a pre-made board, especially if you already have some of the materials on hand. Additionally, making your own cutting boards gives you the opportunity to experiment with different designs and techniques, allowing you to hone your woodworking skills. Whether you're a seasoned woodworker or a beginner looking for a new project, DIY cutting boards are a great way to add a personal touch to your kitchen.
DIY Cutting Board Materials
- food safe wood of your choice
- jigsaw
- pencil
- bar clamps
- sander or sandpaper
- food safe cutting board oil
- cloth or rag
How to Make a Cutting Board
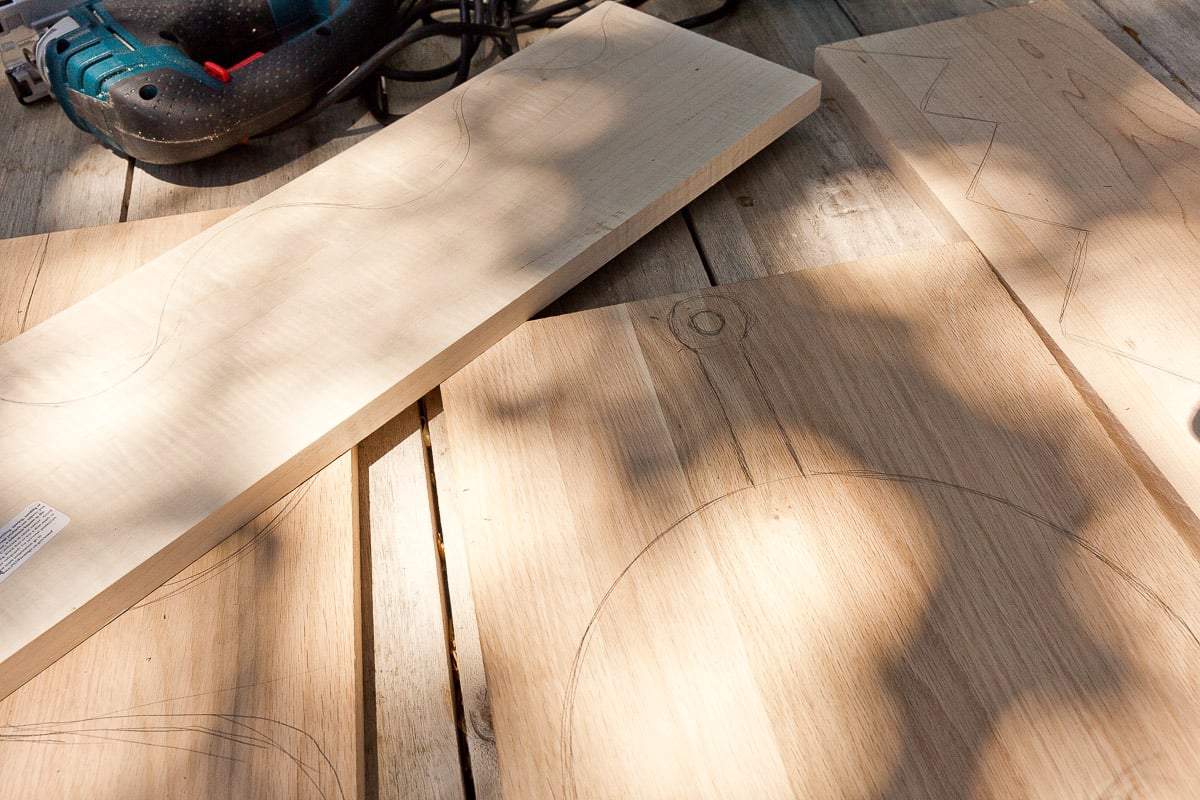
1. Drawing a design.
Start by drawing out your initial cutting board design with a pencil, so you can use it as a guide.
I didn’t follow my drawings precisely when I started cutting. But it was nice to see the drawing, so I had an idea of the shape I wanted to create.
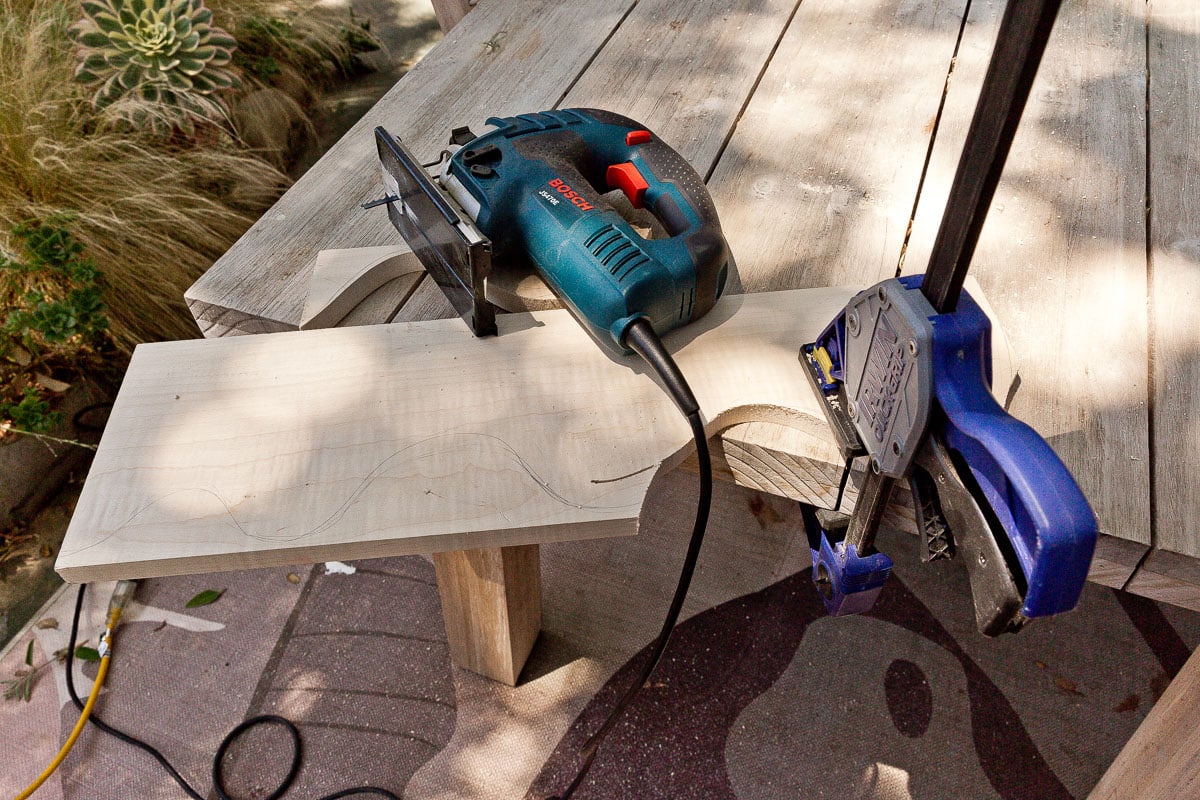
2. Clamp the wood.
Next, clamp your piece of wood down to the table or another sturdy surface, so the wood doesn’t move around while cutting.
3. Cut the board out with a jigsaw.
Then, using a jigsaw, carefully cut out the design you drew on the board in step one.
I typically go slow with the jigsaw, so I can see where I’m cutting and it helps with precision too.
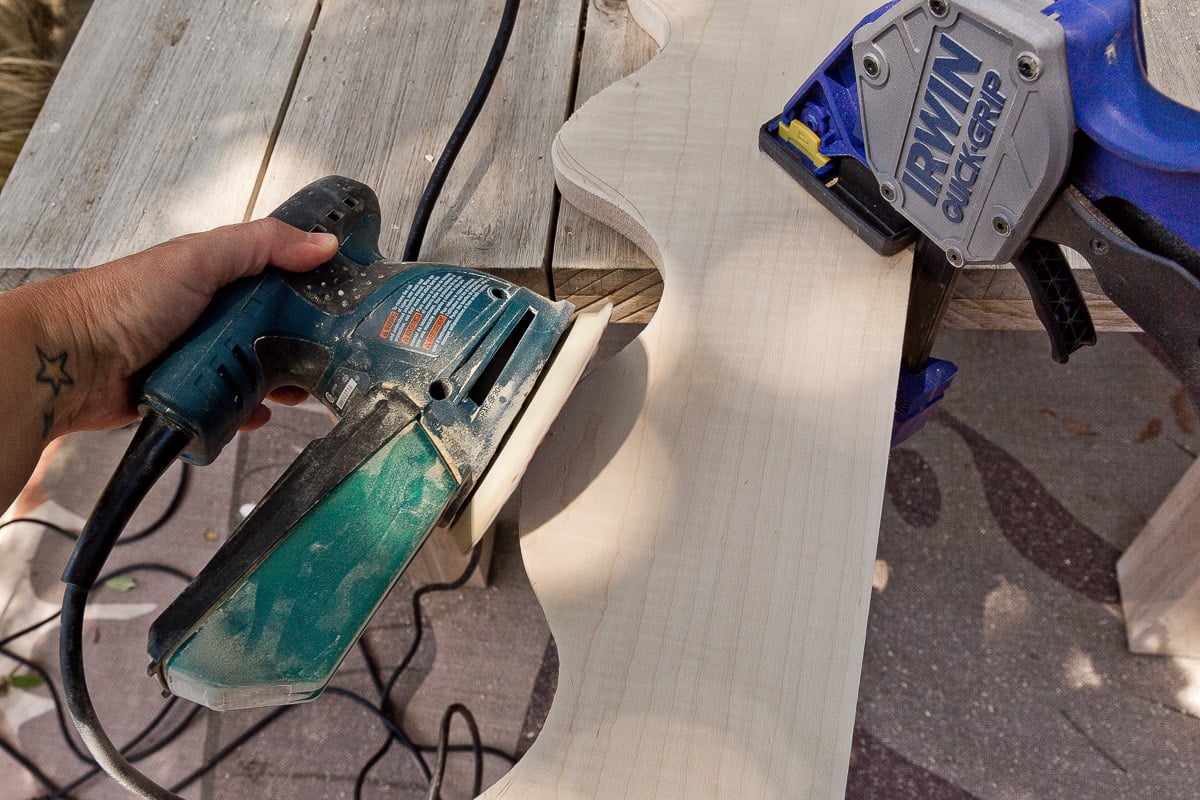
4. Sand the board.
Once the cutting is done, use a sander to sand every surface of the finished board (including the sides).
You can also sand by hand, but it will take longer.
A small detail sander is great for curved areas that are hard to get to with a larger sander. It’s also good for smoothing the interior areas of any handles you create, that would otherwise be difficult to get to for smoothing.

5. Oil and/or wax the board.
Once all the sanding is complete, wipe the board of any debris and use a cloth to evenly wipe the oil over the entire board – front, back, and sides.
Let the oil sink in and repeat the process if necessary.
Most of the things that I’ve read about oiling say to do two coats, so that’s what I would recommend. Then, it’s ready to use.