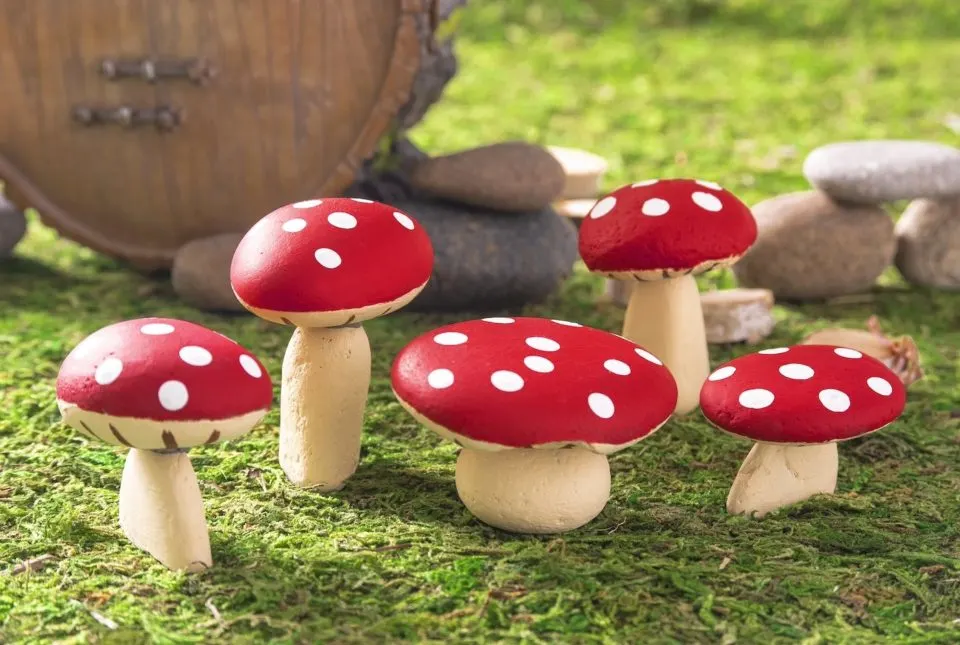
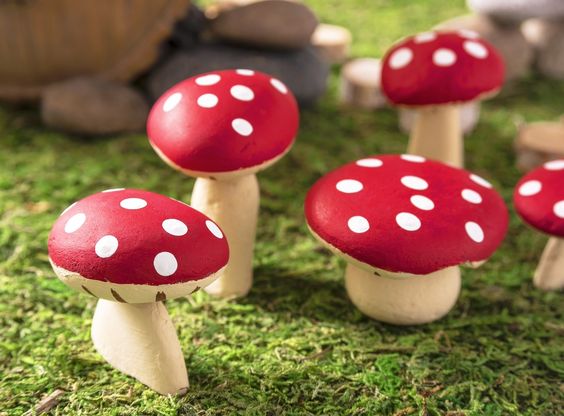
Summer Rock Mushrooms
Create your very own rock mushrooms by gathering small rocks of various shapes and sizes. Look for rocks that resemble the cap and stem of a mushroom. Once you have collected your rocks, use a strong adhesive to carefully stack them on top of each other to create the mushroom shape. You can get creative by mixing and matching different rocks to achieve the desired look. After the adhesive has dried, you can paint your rock mushrooms with acrylic paint to add some color and detail. Consider adding spots or patterns to mimic the appearance of real mushrooms. Once the paint has dried, you can place your rock mushrooms in your garden or on a shelf as a unique and eye-catching decoration. Let your imagination run wild and have fun creating your own rock mushrooms!
Materials
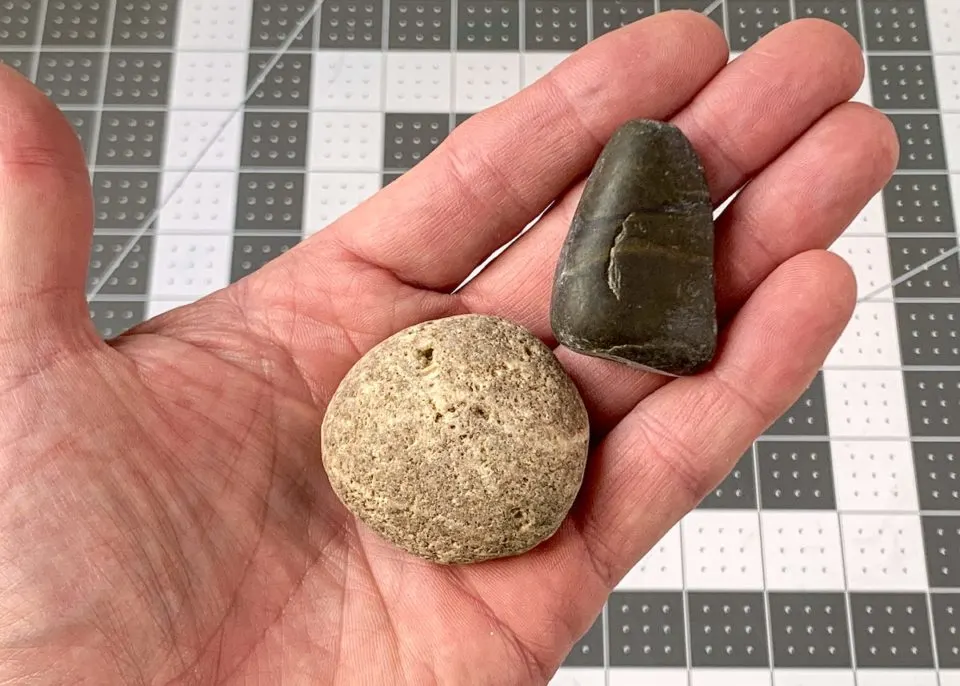
- Rocks or stones - one top and one bottom for each mushroom
- Multisurface craft paint - red, white, brown, cream
- Two part epoxy for stone
- Painter's tape (optional)
- Mod Podge Hard Coat (optional)
Tools
- Paintbrushes
- Dremel tool with a grinding stone - we used the 8193 Aluminum Oxide Grinding Stone
Instructions
- Select the rocks you're going to use for your top and bottom It helps to "test fit" them as best you can to make sure they will balance.
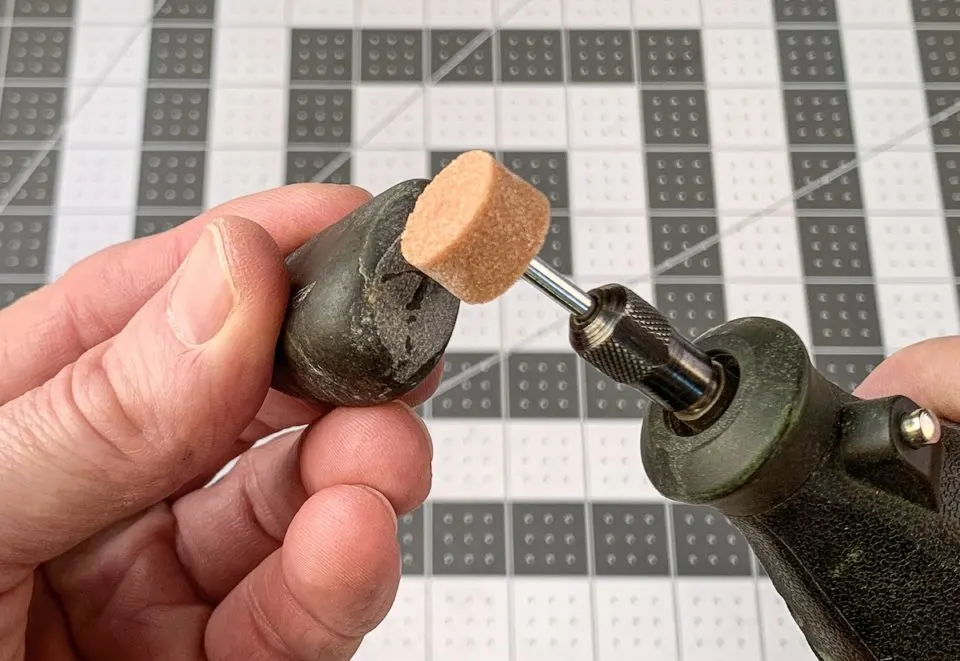
Fit the Dremel tool with the grinding stone. On the top stone, grind a flat area on the bottom where you will glue on the stem.
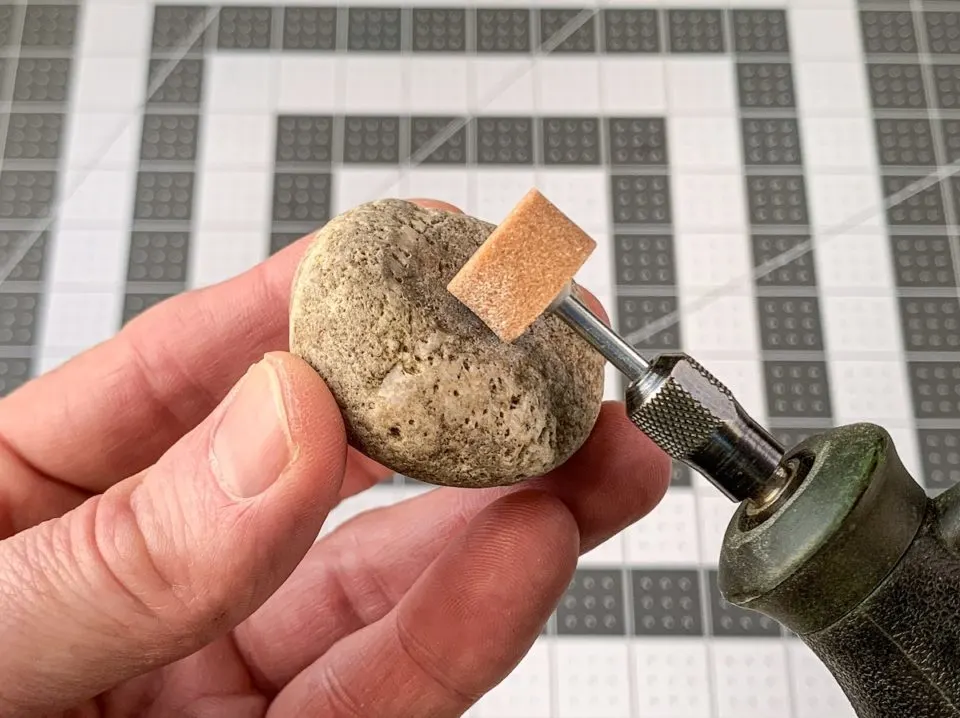
On the bottom stone, grind a flat area on one end where you will glue the stones to each other. Then grind the bottom so that it sits flat on a surface, if necessary.
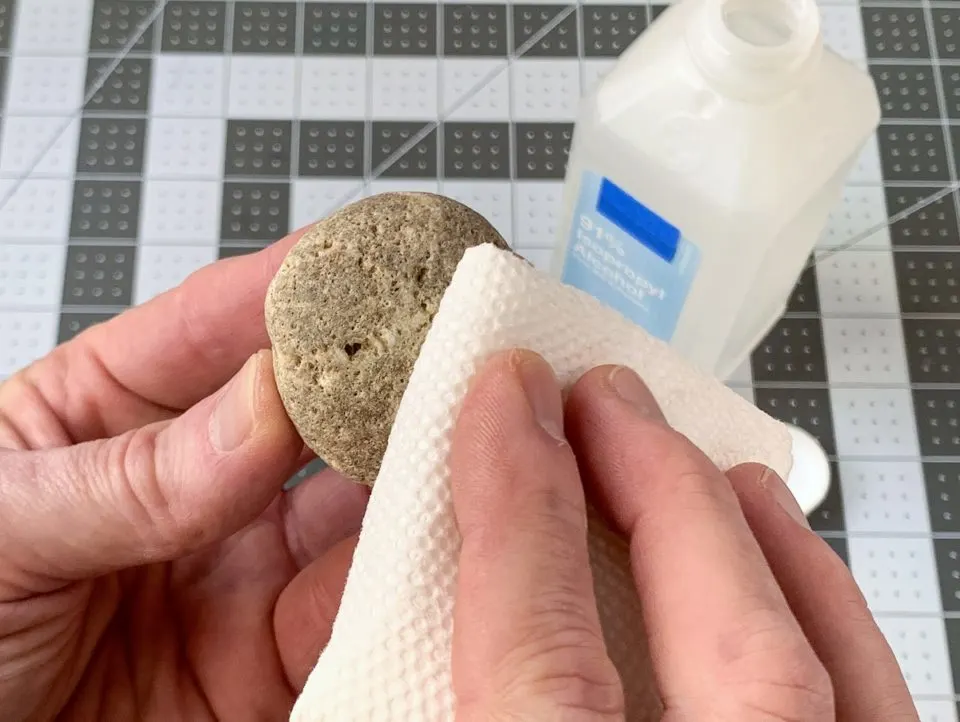
Wash and clean the stones with mild soap and water or rubbing alcohol. This gets rid of the grinding dust also.
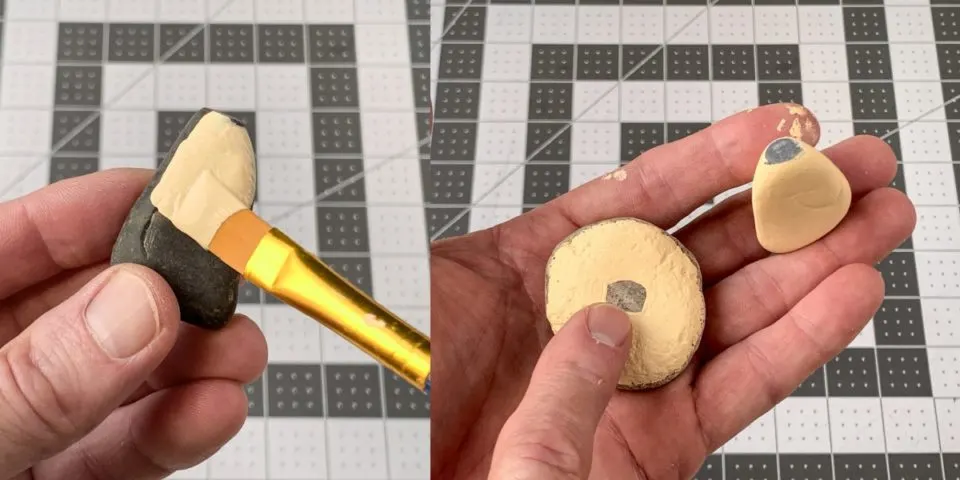
Use the cream paint to paint the stem rock, as well as a circle on the bottom of the top rock. On both rocks, leave small areas that you are going to glue them together unpainted. I did this for maximum adhesion.
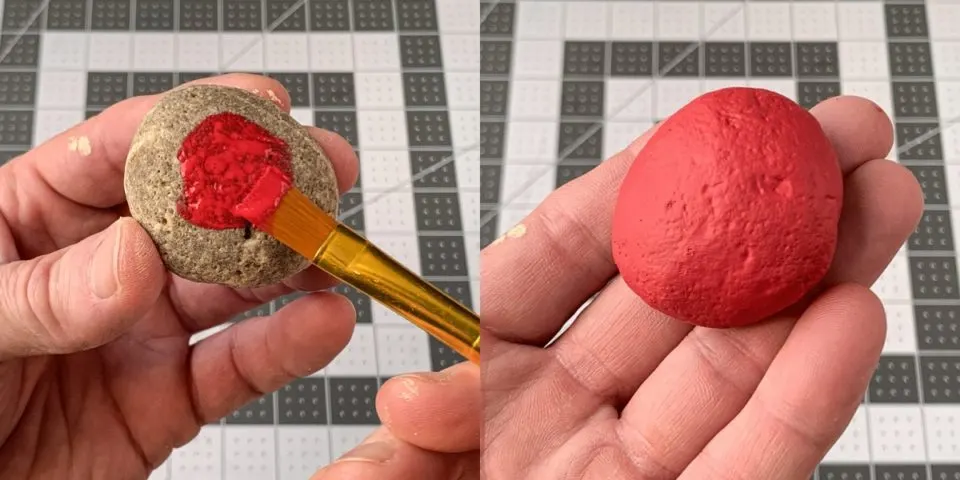
Paint the cap rock with red paint. Give several coats and paint over the edges to meet the cream paint on the bottom.
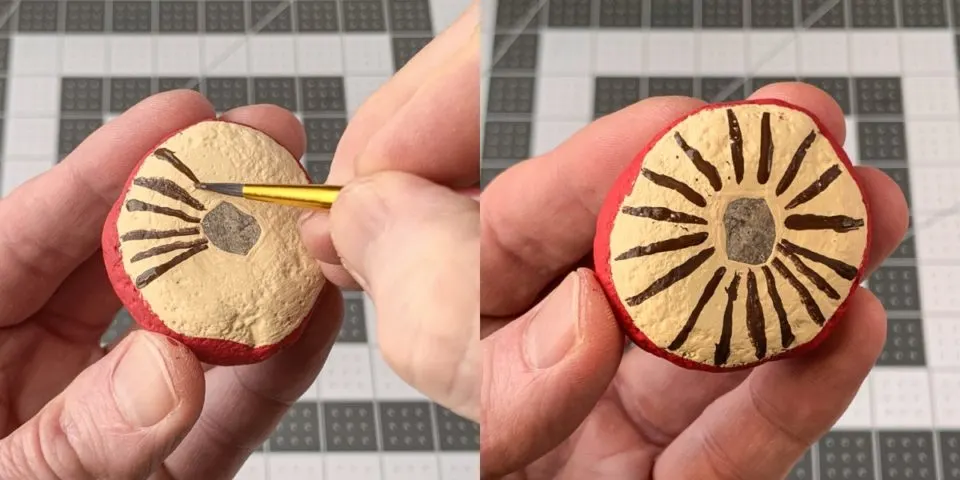
Use brown paint and a thin paintbrush to add "gills" to the bottom of the cap, on top of the cream paint. Let dry.
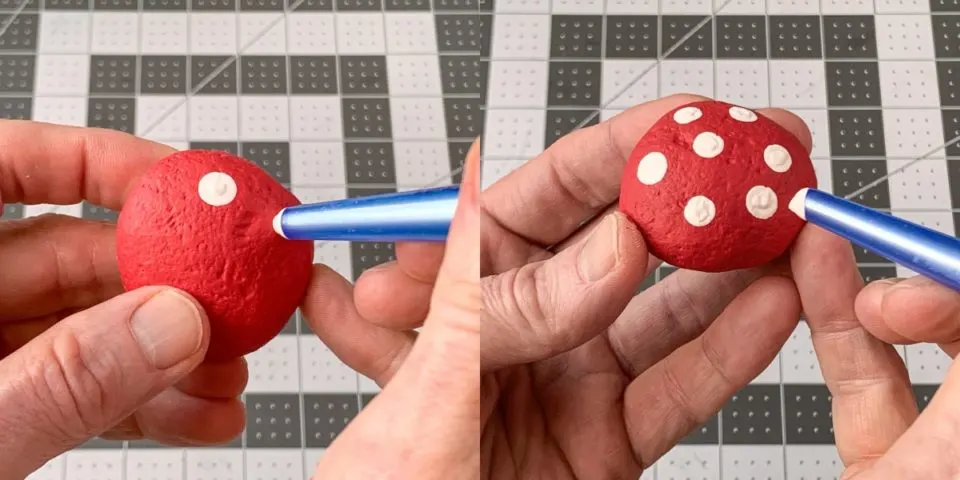
Choose a paintbrush with a smaller end. Dip the end into white paint and then press onto the rock to make a dot. Continue until the top of the rock has several white dots on the top. Let dry.
Following the instructions on your epoxy package, mix the resin (if required).
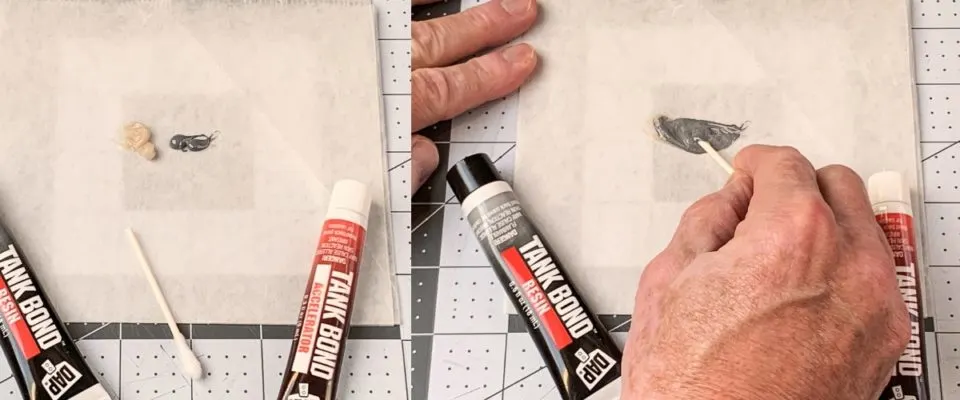
Apply the epoxy to the top of the rock that you are using as a stem. Press the top down onto the base and hold. It should start to set right away. Use painter's tape to secure until dry, if necessary. Let dry overnight.

If desired, seal the mushrooms with Mod Podge. I used Hard Coat for a Satin finish.