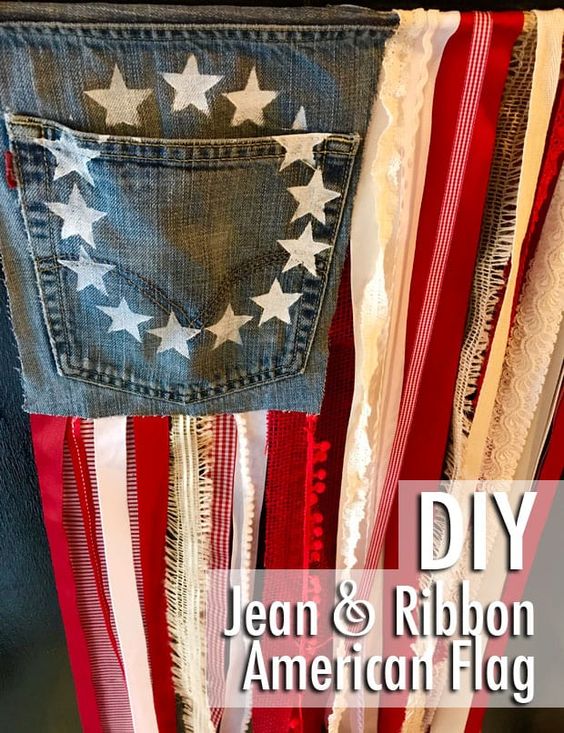
DIY Rustic American Flag with Denim and Ribbon
Create your own unique Rustic American Flag using denim and ribbon for a charming and patriotic touch to your home decor. This project is easy and fun to make with the simple stated materials. This project can be completed in no time. It is a great addition to your hand made collection. Hang your DIY Rustic American Flag proudly in your home for a handmade and patriotic decoration that is sure to impress your guests.
Supplies
- 8” x 10” Denim jean rectangle (with a pocket preferably)
- 18” wooden dowel
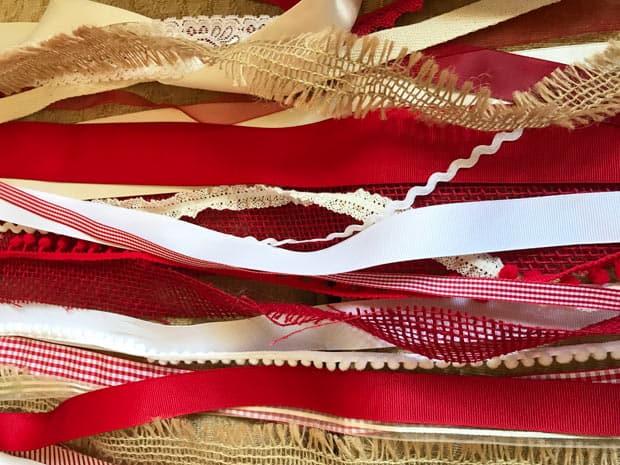
- Variety of ribbon, trim and fabric strips (red, white, off-white/solid and patterned), in 30” & 21” lengths and a variety of widths
- 24” length of jute string
- Hot glue gun/hot glue
- Scissors
- White acrylic paint
- Star stencil or stamper
- Piece of laminate or thick paper
- Sticker paper (or a sheet of labels)
- Spouncer or paint brush
- X-acto knife
- Ruler
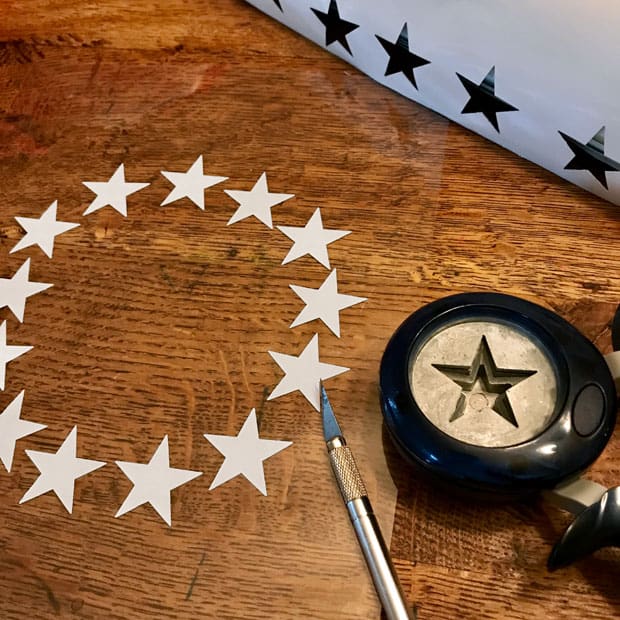
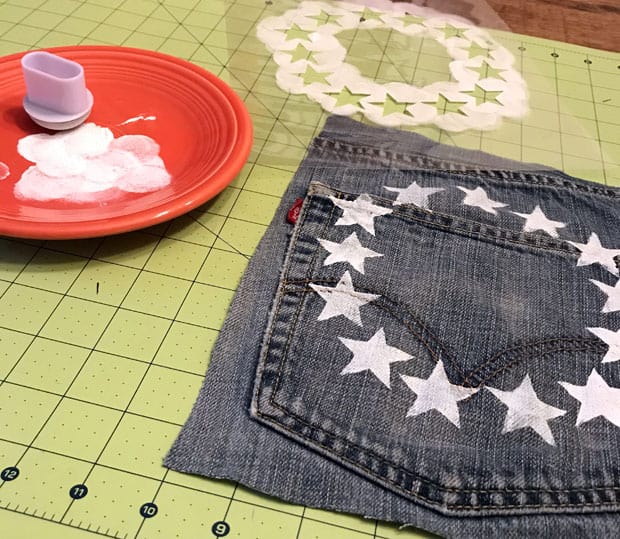
1. Place 13 white stars in a circle onto your jean square with acrylic paint, centered one inch from the top. (You will need the top inch to fold over and attach your wooden dowel.) Use a spouncer or a dry paintbrush for best results.
To do this, I created my own stencil by using a star punch and sticker paper. Once punched, I placed the stickers into my desired circular formation onto a laminated sheet. Then I cut each star out with an x-acto knife.

You can simplify this step by placing a small bowl, or a large mug, down and stamping your stars around the outer circle. If you don’t have a star stamp, you can even carve one out of a potato!
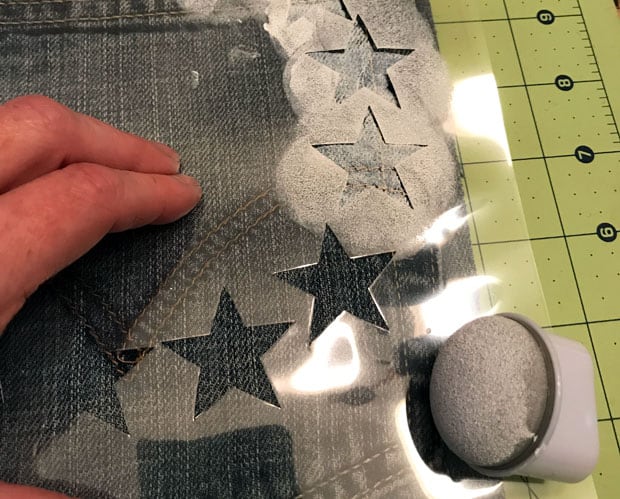
Let your paint dry for a few minutes.
2. Position your denim pocket rectangle 1” in from the left end of the wooden dowel. Fold top inch of denim over dowel and apply hot glue to the dowel, as well as the inside fold of your fabric.
3. Now that your denim rectangle is secured to the dowel, you will begin to glue the “stripes” that hang under it. Under the denim/blue portion, you will be attaching the 21” ribbon and fabric pieces. You should start with red, and end with red.
Your stripes should be approximately 1.25 inches wide. This could be made up of one piece of fabric/ribbon, or with several pieces that equal 1.25″.
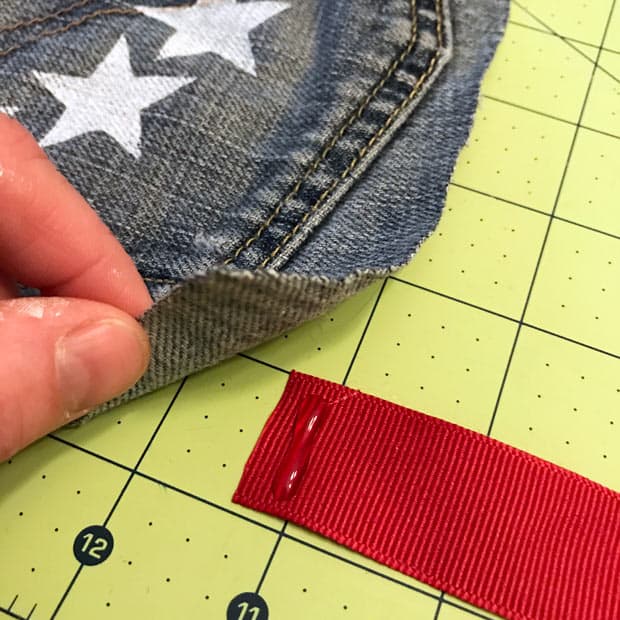
Make a line with hot glue along the top edge of your ribbon/fabric. Line it up with the outside edge of the denim. Push denim down onto the glue.
Expert tip: When selecting your ribbons, it’s good to choose different widths, and a variety of textures. Burlap, satin, sheer, pom-pom trim, etc. all add whimsy to your flag. Layering ribbons also adds to the overall aesthetic of your piece.
Once you have completed attaching stripes under the denim, you will begin to glue your 30” length ribbon/fabric next to it. Fold the top inch over the wooden dowel and glue the underside. Be sure to secure ribbon to the rod, as well. Alternate red & white/cream stripes. Remember, you are shooting for 1.25″ per stripe. Red should be your last stripe, stopping one inch from end of the dowel.
5. Finish off by gluing your 24” jute string around the dowel and wrapping around several times next to the denim. Do the same with the other end of your jute on the opposite end.
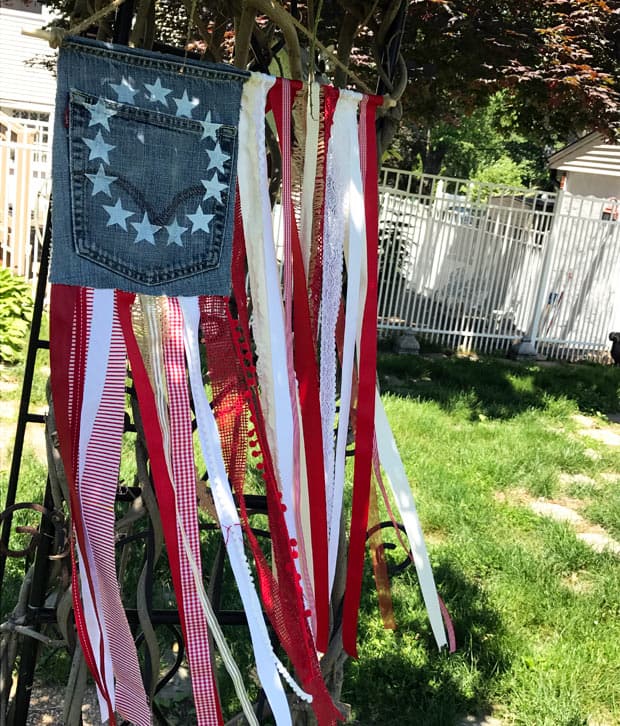
Now your beautiful shabby chic flag is ready to hang!