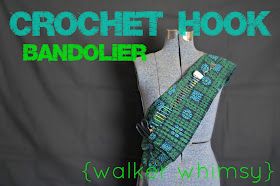
Crochet Hook Bandolier/Roll Up Case
Imagine having all your crochet hooks neatly organized and easily accessible wherever you go. With the Crochet Hook Bandolier, you can keep your hooks in one convenient place, whether you're at home or on the go. This innovative design allows you to roll up your hooks in a compact case, making it easy to transport and store. No more digging through drawers or bags to find the right hook - simply unroll the bandolier and select the perfect hook for your project. Whether you're a beginner or an experienced crocheter, this bandolier is the perfect accessory to keep your hooks in order and ready for your next project. Say goodbye to tangled hooks and hello to the convenience of the Crochet Hook Bandolier.
You will need 2.5 to 3 yards of fabric and some ribbon as well as the basic ability to sew a semi-straight line and measure things semi-accurately. If bandoliers came in sizes (do they?), this would be a small. You can adjust the measurements to make sure it will fit you.
Step 1: Cut
Cut three 27 inch by 11 inch rectangles. If you'd like a medium or large, increase the length of these pieces as much as you deem necessary.
Take one of those pieces and cut it on a diagonal from 8 inches to three inches. This is the piece that will hold your paraphernalia.
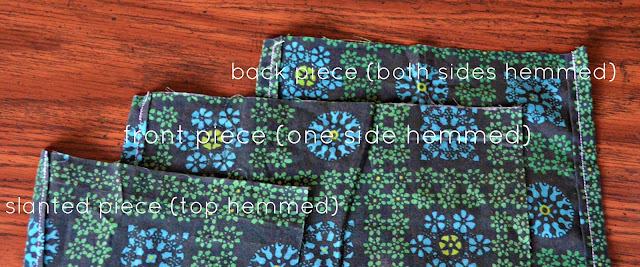
You'll now have three pieces that look like this:

The pattern is crooked on this fabric. I really did cut it straight.
Step 2: Sew
Hem both long sides of the back piece (1/2 inch folded under twice is what I did), one side of the front piece, and the diagonal edge of the slanted piece.
Now place the RIGHT side of the slanted piece on top of the WRONG side of the front piece (so the WRONG sides of both pieces are facing you). Sew along the bottom (1" seam allowance). I did a double seam with very small stitches to make sure none of my smaller crochet hooks and needles would slip through. Trim.
Flip inside out. Now you have a machine gun pocket.
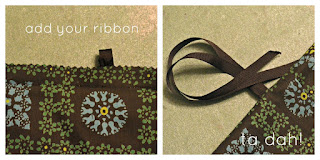
Place your pocket on top of the back piece with RIGHT sides together. Add your ties between layers on the side with the long edge of the slanted piece. Sew up both short sides (1 inch seam allowance). Trim and press seams flat.
Now, sew all your little pockets onto the front piece. I made decreasing sizes to accommodate my crochet hooks and a few large ones for my scissors and measuring tape.
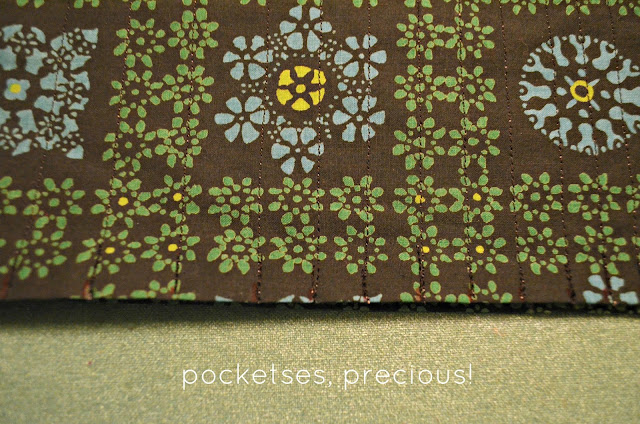
For large crochet hooks - 3/4 inch pockets
For medium crochet hooks - 1/2 inch pockets
For small crochet hooks - 3/8 inch pockets
For large scissors - 1.5 inch pocket
For little scissors - 2 inch pocket
For needles - 1/4 inch pockets
For the measuring tape - 1 inch pocket
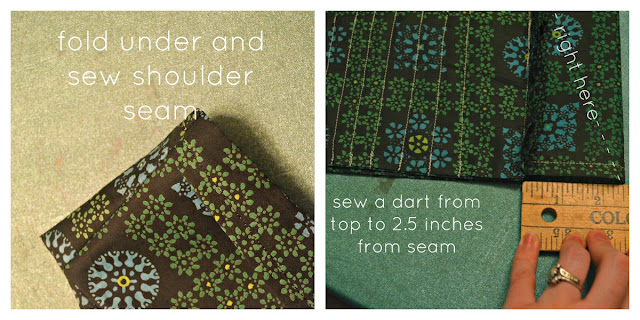
Now for the shaping. Fold the top of your bandolier in half and re-sew along the seam. This makes it less unwieldy but still allows you to adjust the width at your leisure. Finally, sew a 2.5 inch dart directly behind the bottom seam. This makes it lay flat against your body and is very flattering (as flattering as a bandolier can possibly be, in fact).
Step 3: Wear it. Feel like a total bad ants. Or roll it up, carry it around and still feel like a total bad ants.