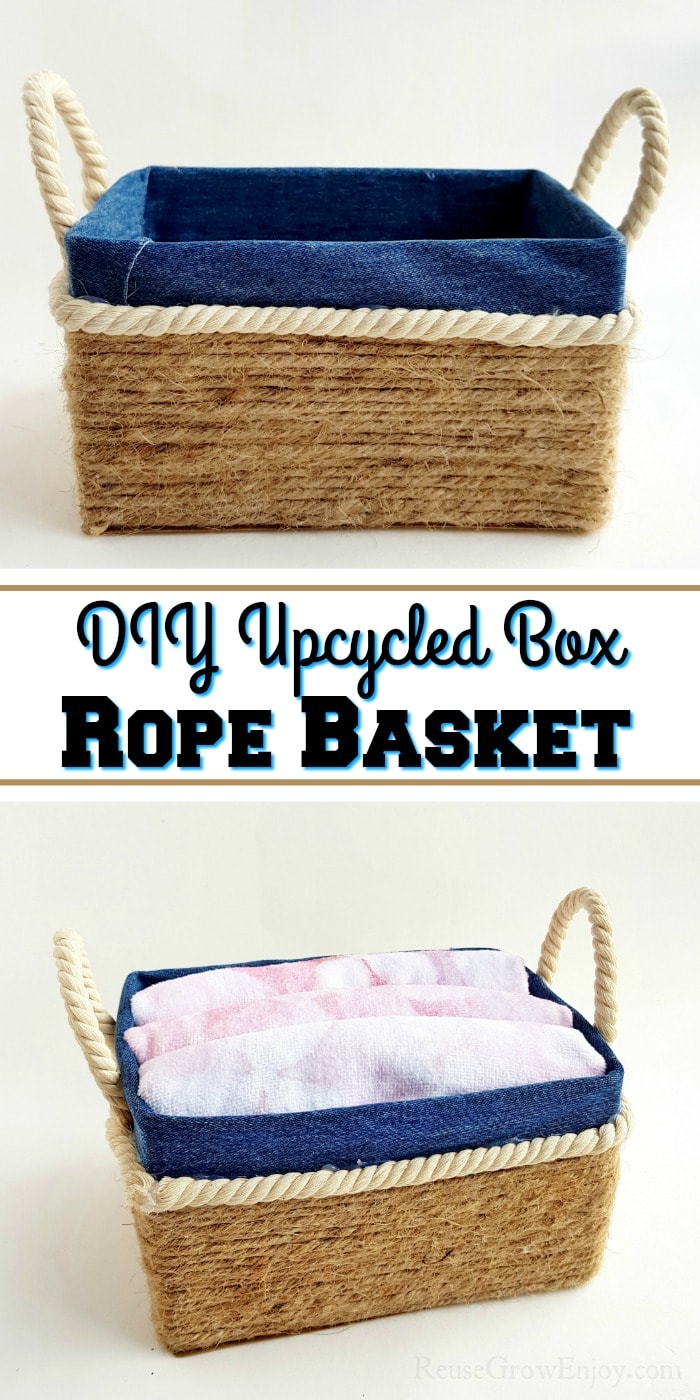
Upcycled Box Rope Basket
Transform an ordinary cardboard box into a stylish and functional rope basket with this easy upcycling project. By repurposing materials you already have at home, you can create a unique storage solution that adds a touch of rustic charm to any room. This DIY project is not only environmentally friendly but also a fun way to get creative and personalize your home decor. With just a few simple steps, you can turn an old box and some leftover rope into a trendy and practical storage basket. This upcycled box rope basket is perfect for organizing small items like keys, remote controls, or even toiletries. The best part is that you can customize the size and shape of the basket to fit your specific needs and style preferences. Give your home a touch of handmade charm with this fun and eco-friendly DIY project.

Supplies Needed:
- Rope thicker than the twine
- Hot glue gun (with glue sticks)
- Empty Cardboard Box (can also use things like tissue boxes)
- Twine rope
- Denim (From an old pair or fabric of choice)
- Scissors
Directions:
Start with an empty cardboard box. The size of the box you use is up to you and what you want to use it for. You can either cut off the top flaps or you can simply fold them inside the box.
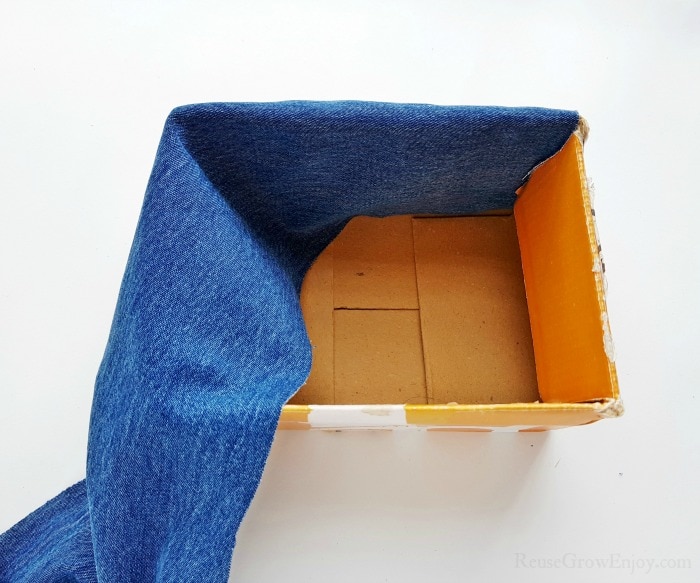
Covering With Fabric:
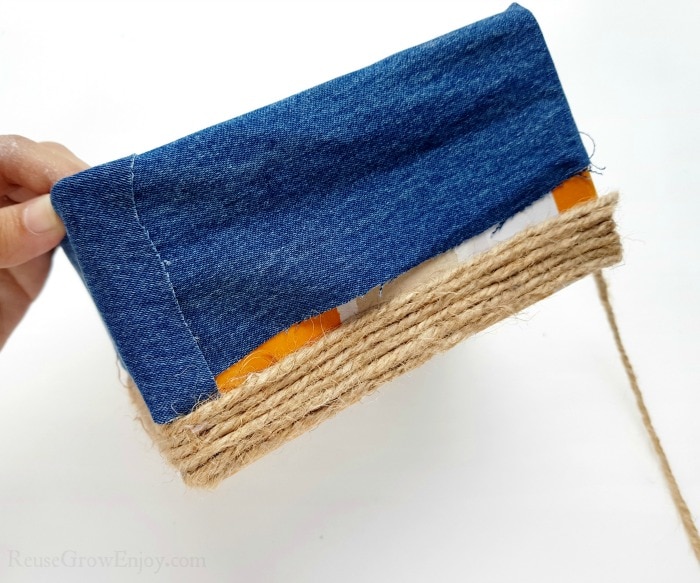
Measure and cut the fabric long enough so that it covers the inner side of the box and a few inches that fold over the top. Then you can start to wrap the fabric around the box. Make sure to apply glue on the fabric when you start it so that it stays.
As you cover, remember to fold some over the top edge. You only need it to be an inch or two that folds over. Apply glue to the ends to hold the fabric in place.
Now you need to measure the inside bottom surface of the box. Cut out a piece of fabric that is an inch larger all the way around than what you need.
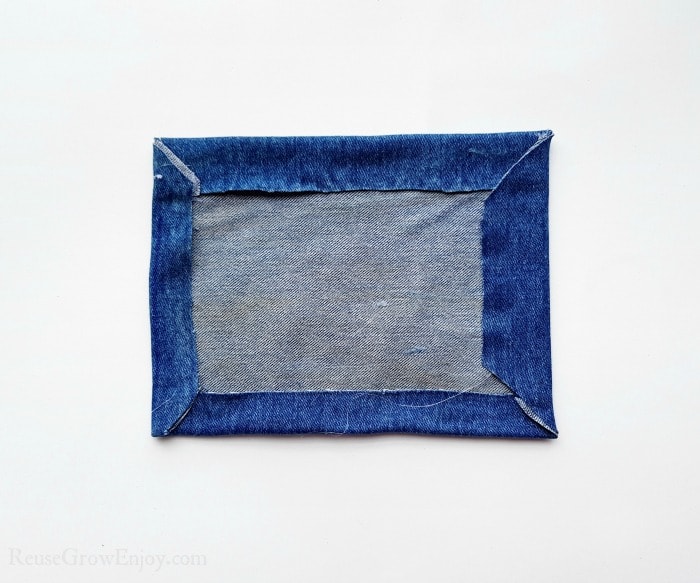
On the backside of the fabric cut out, fold 1 inch along all 4 sides and apply glue to hold in place. Trim as needed so nothing is sticking over the edge on the corners.
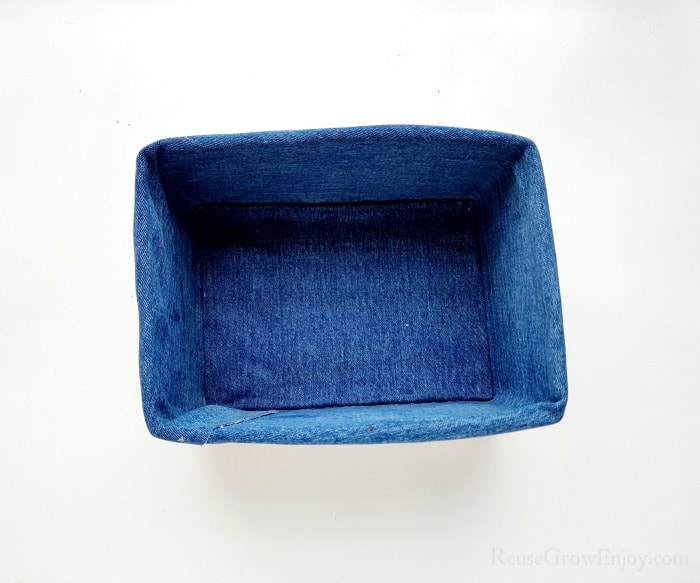
Then place that inside the box facing right side up like pictured above.
Adding Twine & Rope:
Start wrapping the rope around the outer side of the box. You want to start from the bottom. Try to keep the twine neat and even. Apply a dab of glue after every 2 or 3 times around to hold it neatly in place.
Keep wrapping until you are about an inch from the top of the box. Apply some glue to the end to hold in place. Cut off any of the extra rope.
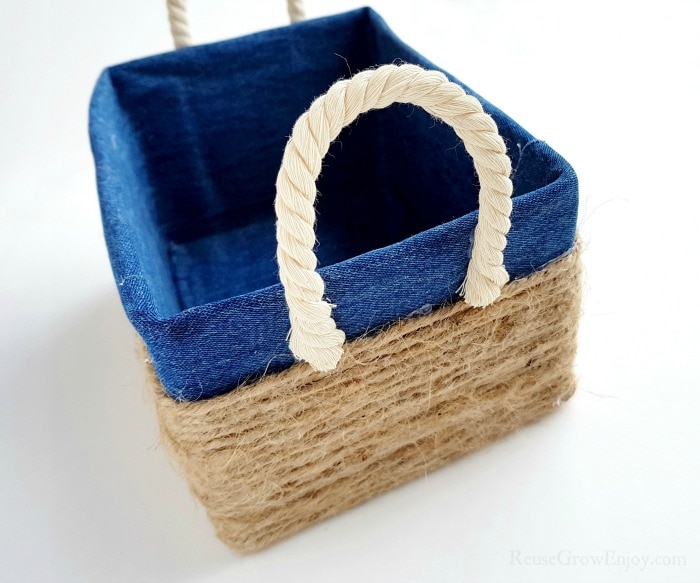
Now we added some handles for the look. It can not be carried by them but looks super cute. Use a thicker rope then you used to wrap the box.
Simply cut a small piece of rope appropriate for a handle size of your box. Then attach with glue to the ends of the box forming a loop with it.
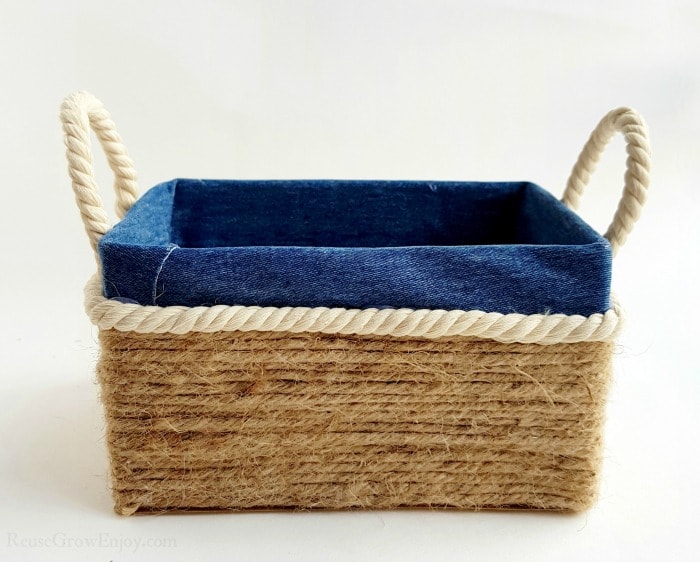
You can decorate your box however you want. For this one, we also attached a layer of thick rope (same rope as used for handles) around the box. We placed it where the twine and fabric touch.
That is it! You now have a super cute farm style box you can display in the home. You can repeat the steps to make as many as you want and need. You can also change it up by doing a few in different sizes.