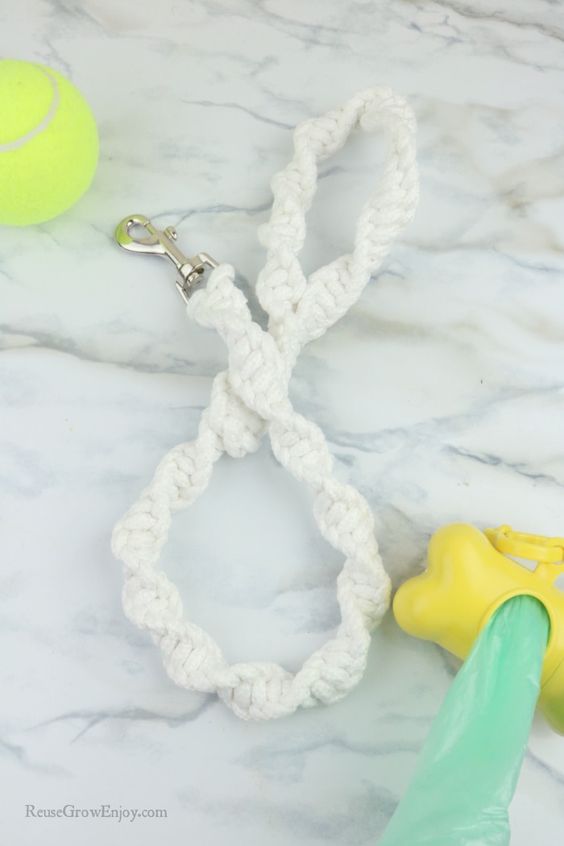
DIY Dog Leash Made From Clothesline
Are you tired of your old clothesline taking up space in your closet? Why not give it a new lease on life by transforming it into a trendy and practical dog leash? With just a few simple steps, you can create a unique and personalized leash for your furry friend that will have everyone asking where you got it from! This simple and fun DIY project allows you to repurpose materials you already have, saving money and reducing waste. These materials are not only strong enough to withstand your dog's pulling but also easy to clean. Measure and cut the clothesline to your desired leash length, keeping in mind the comfort and safety of your furry companion. This not only adds a touch of style but also provides a soft grip for your hands. You can even get creative by incorporating patterns or designs that reflect your dog's personality.
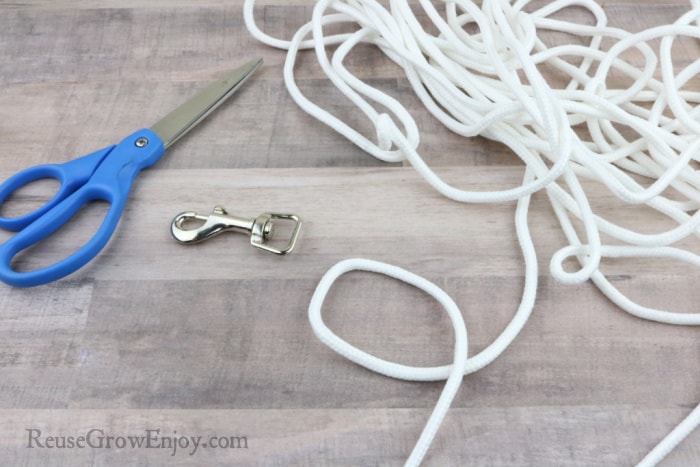
Supplies Needed:
- (1) Dog Snap
- 30 feet of clothesline
- Scissors
How To Make This Clothesline Leash:
Cut the 30 feet of line in half.
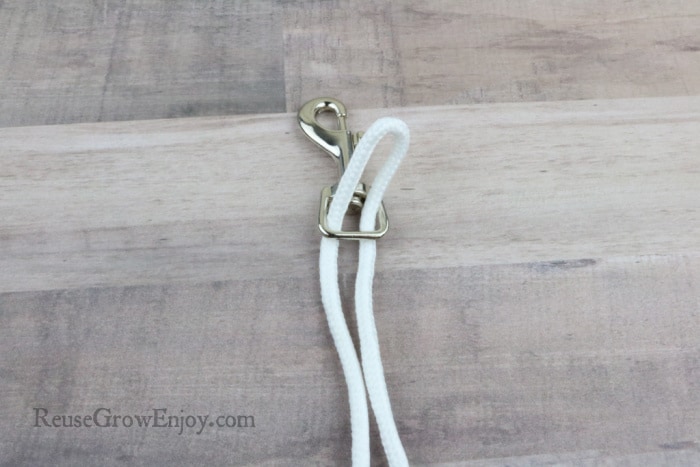
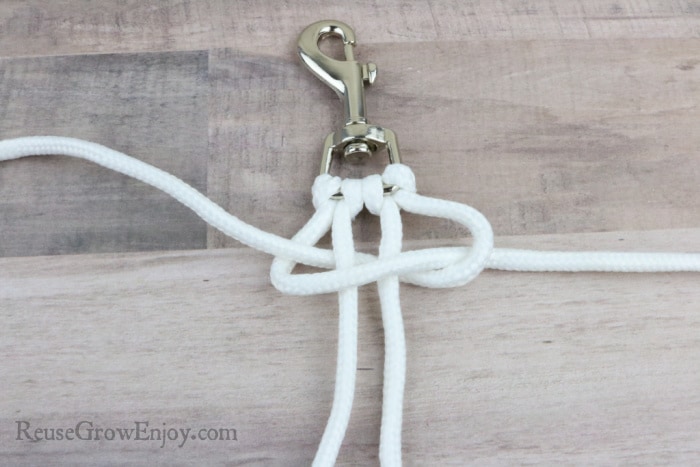
Then take one piece and fold it so there are about 30 inches on one side with the rest on the other. Push the end where it loops through the hook. Have it so the 30-inch side of the line is in the center of the hook.

Now run the ends of the line through that loop to attach it to the hook.
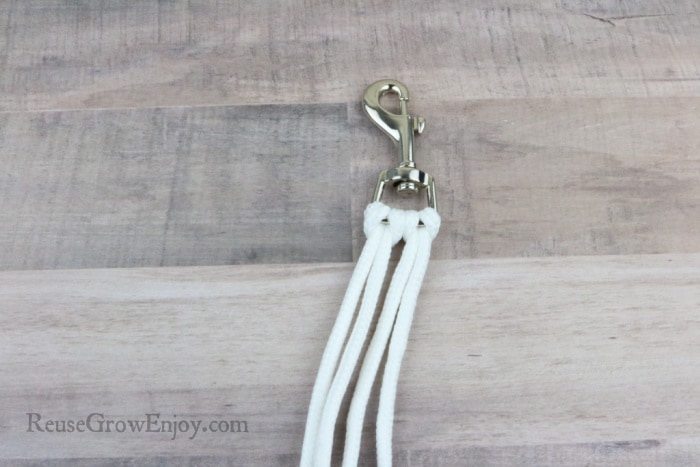
Pull it tight. Grab the other line and do the same. Again the 30-inch side needs to be in the center with the other one.
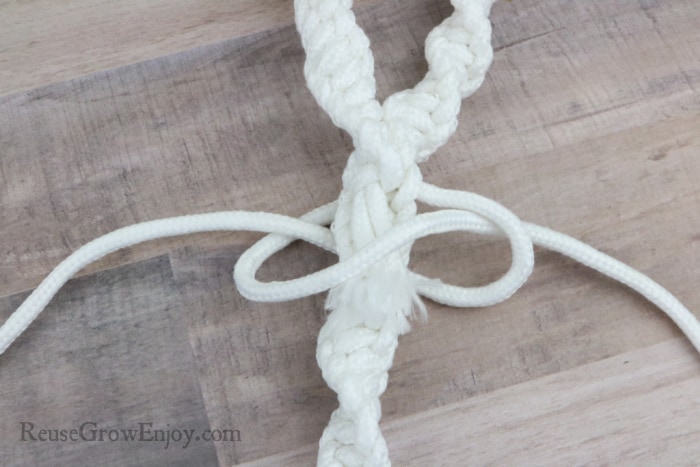
To start working the knots, take the outer line on the right side and run it behind the others to make a loop on the right.
Then grab the line on the left and run it over top of the others to make a loop on the left.
Take that top line and run the end through the loop on the right. Then take the bottom line and pull it through the loop on the left.
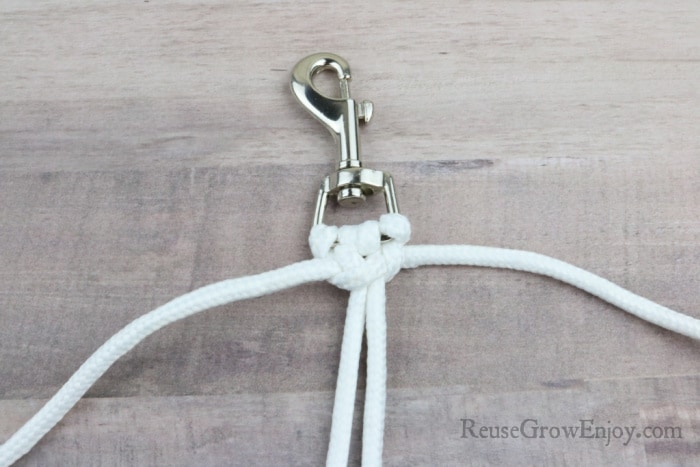
Be sure to pull both of those lines so they are nice and tight to make your first knots.
Keep repeating those same steps to make more knots and work your way down to form a leash.
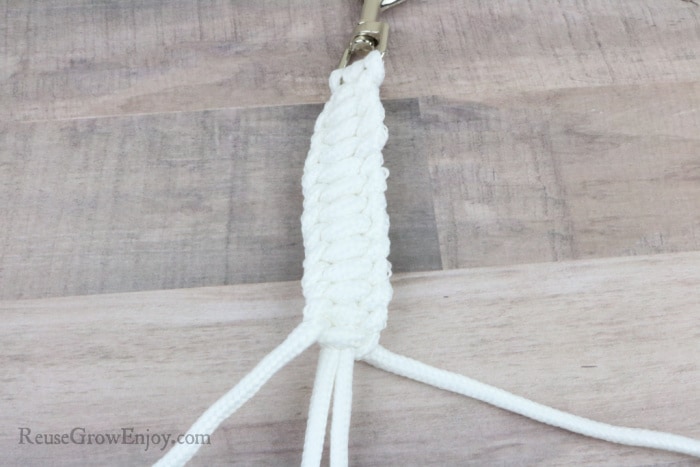
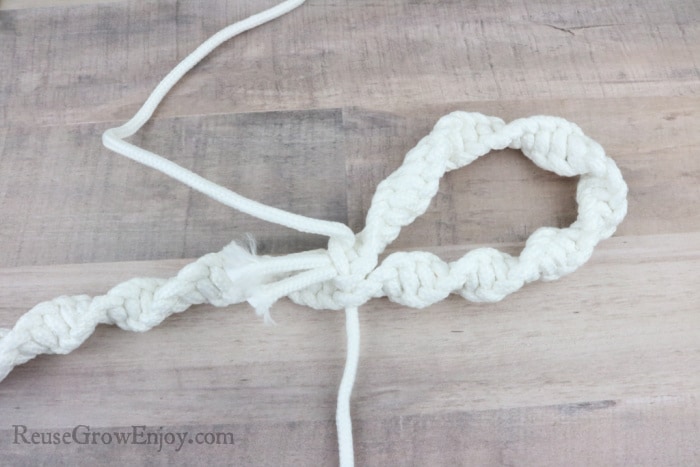
The picture above is what it should look like when you have about 13 ties/knots done. As you keep working it will start to twist on its own to give it that finished twisted look.
When you have worked your way almost to the ends of the center lines (the 30-inch ones), stop.
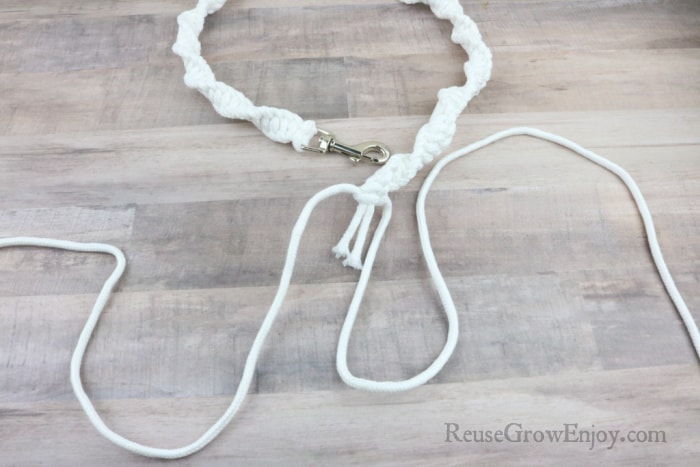
Making Handle:
Fold the unfinished end over to form a handle. This one is about 4 inches or so. Push the long ends through the side loops. Make sure you have them on the same row so it is even. This will join the handle to the leash.
Repeat the same knotting steps that you have been doing the whole time. This time, not only will we be covering over the small parts of the centerline, but we will also be wrapping the knotted leash as well. It will just be a little wider in this area.
Repeat those steps until you are almost out of line and only have about 6 inches left. I was about to make about 8-10 knots.
Take the two 6 inch pieces and tightly tie them together. Double tie it.

Then cut off the ends so they are about an inch long.
The last thing to do is push those ends under those knots to hide them. You can do this with the ends of the scissors or using something like a crochet hook.