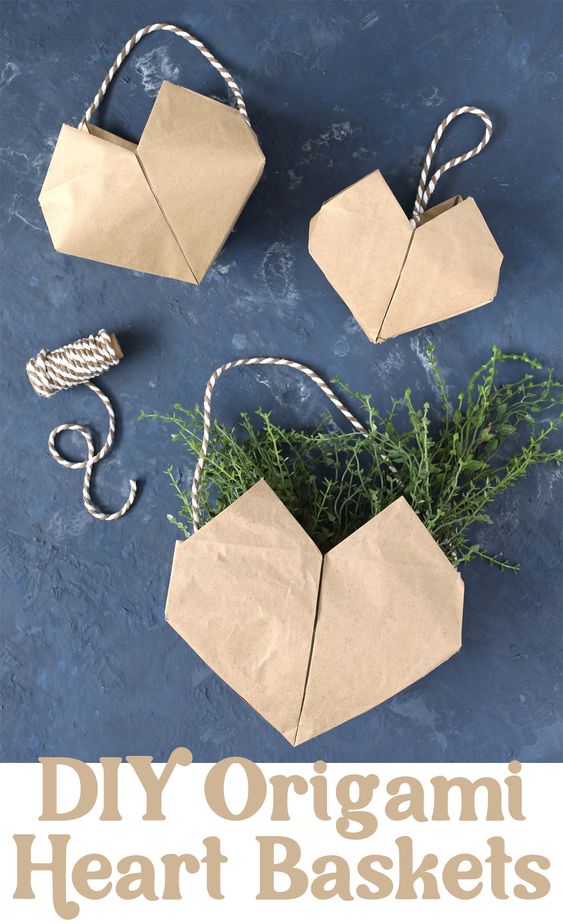
Origami Heart Basket
Create a beautiful heart-shaped basket using the art of origami. This intricate folding technique allows you to transform a simple piece of paper into a stunning and functional basket. By following step-by-step instructions, you can fold and shape the paper into a heart basket that can be used for holding small items or even as a decorative piece. Origami heart baskets make lovely gifts for loved ones or can be used as unique decorations for special occasions. You can customize the size and color of the paper to suit your preferences, making each basket truly one-of-a-kind. Whether you are a beginner or an experienced origami enthusiast, crafting a heart basket is a fun and rewarding project that showcases the beauty and versatility of this traditional Japanese art form.
Materials Needed
- Paper Squares (Kraft Paper Roll, Wrapping Paper, Paper Grocery Bag)
- Twine, Rope or Ribbon For A Handle
- Hot Glue Gun + Glue Sticks
Instructions
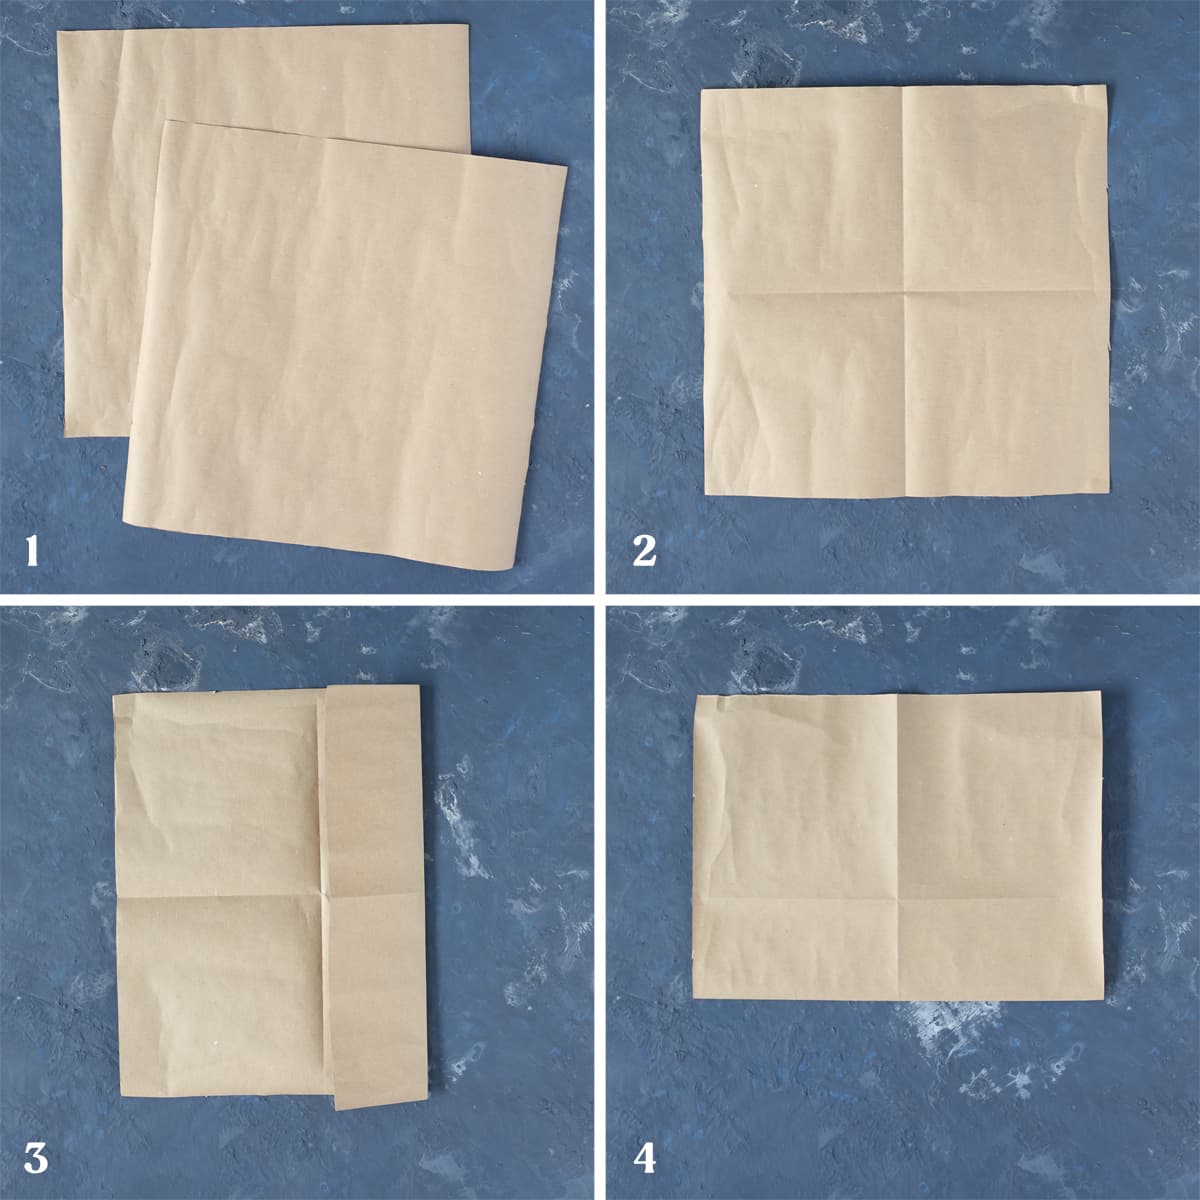
Step 1: Cut two squares of paper any size you want. I made three hearts in three different sizes and started with 12″ 14″ and 16″ squares.
Step 2: Fold the paper in half, then open it and fold it in half the other way, leaving T-shaped creases in the paper.
Step 3: Fold the right side edge inwards until it lines up with the center crease line.
Step 4: Flip the paper over to the other side, with the skinny folded section on the bottom.
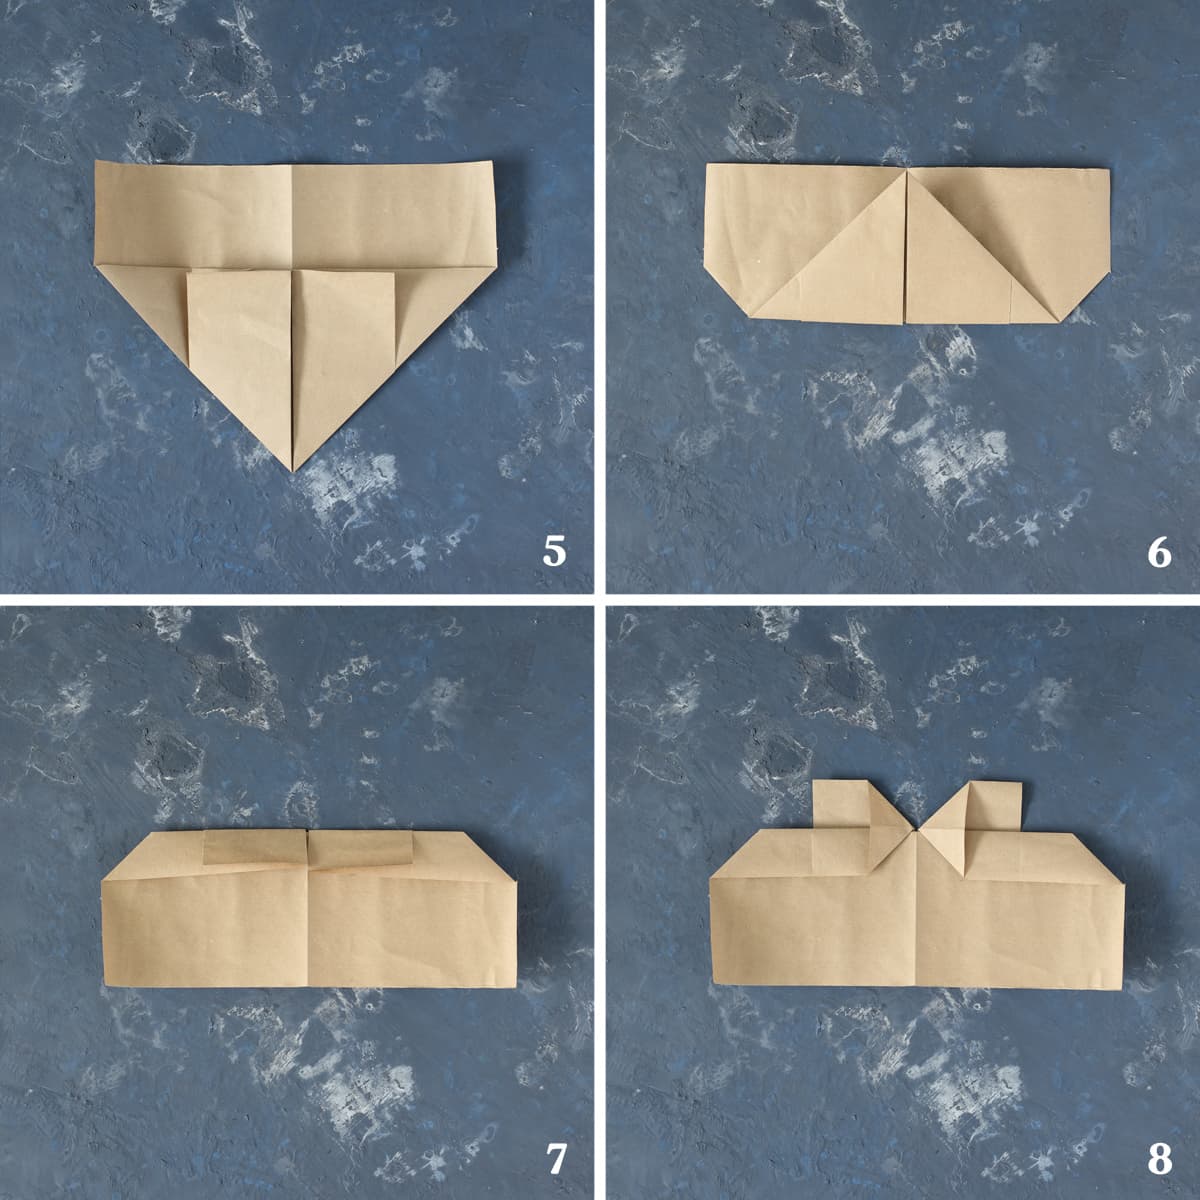
Step 5: Fold the bottom left corner up and in to the center line. Fold the bottom right corner in to the center line. This will create a point at the bottom.
Step 6: Flip the paper over to the other side. Fold the bottom point up to be even with the top of the center fold line.
Step 7: Flip the paper over and turn it 180 degrees.
Step 8: There are two small flaps along the top. Open these slightly, then fold them open to make a triangle shape.
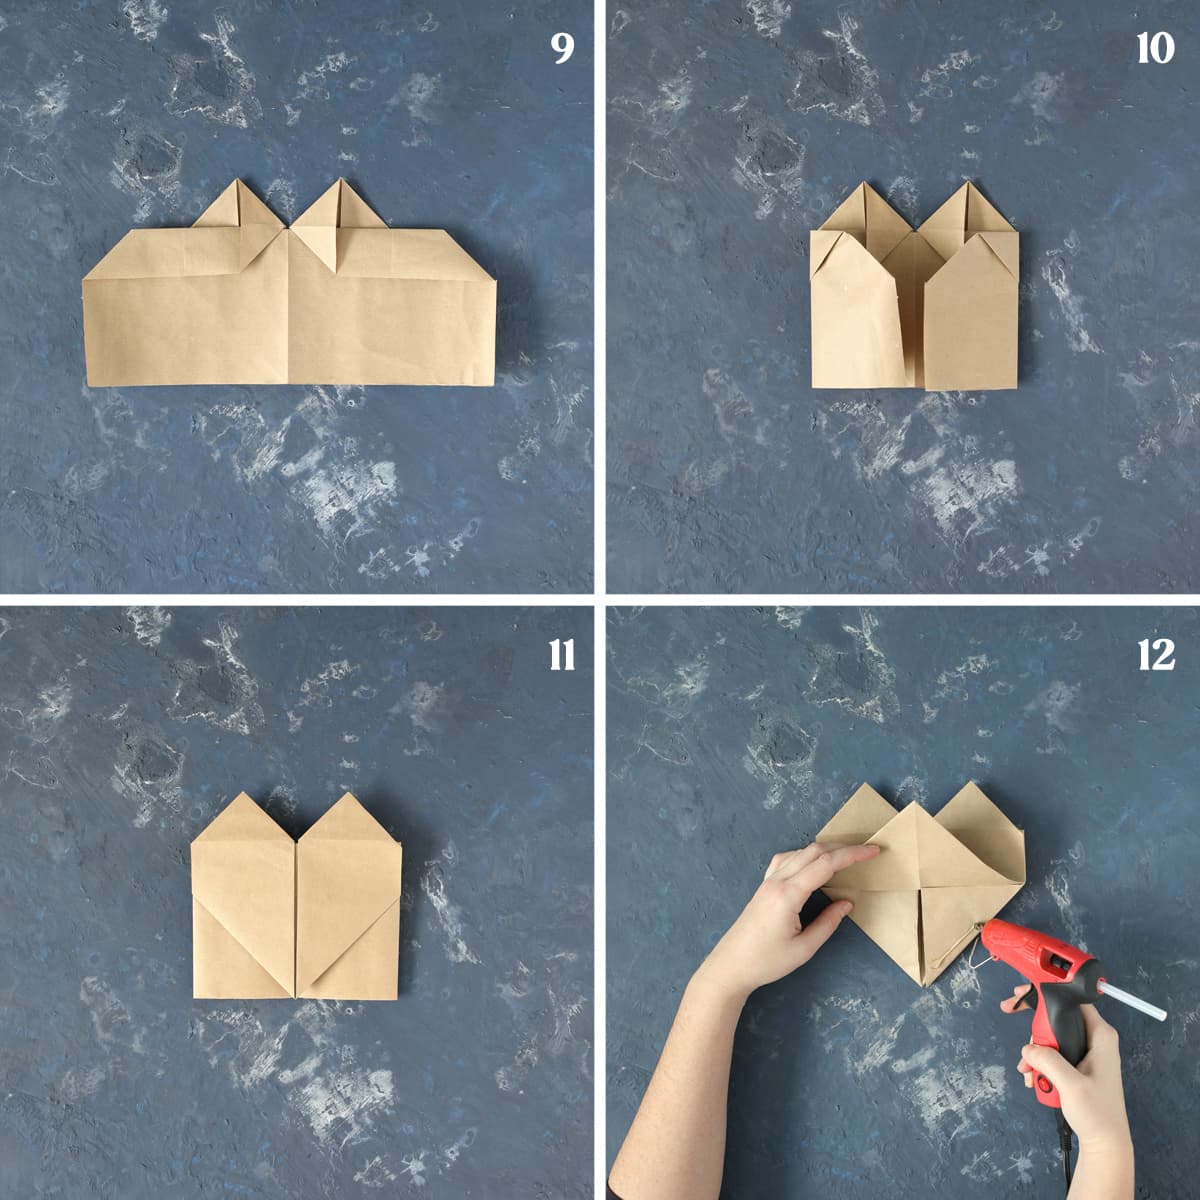
Step 9: Fold the top square shaped flaps inward to form triangle shapes.
Step 10: Fold the flat left edge inward and line it up with the center line. Do the same thing on the right side.
Step 11: Flip the paper over to the other side and you’ll see the heart shape with two extra flaps below it.
Step 12: Fold those two flaps up to be even with the bottom point of the heart. Lift up the tip of the heart, then tuck those two flaps inside and glue the two layers of the heart tip together. Now you have a paper heart!
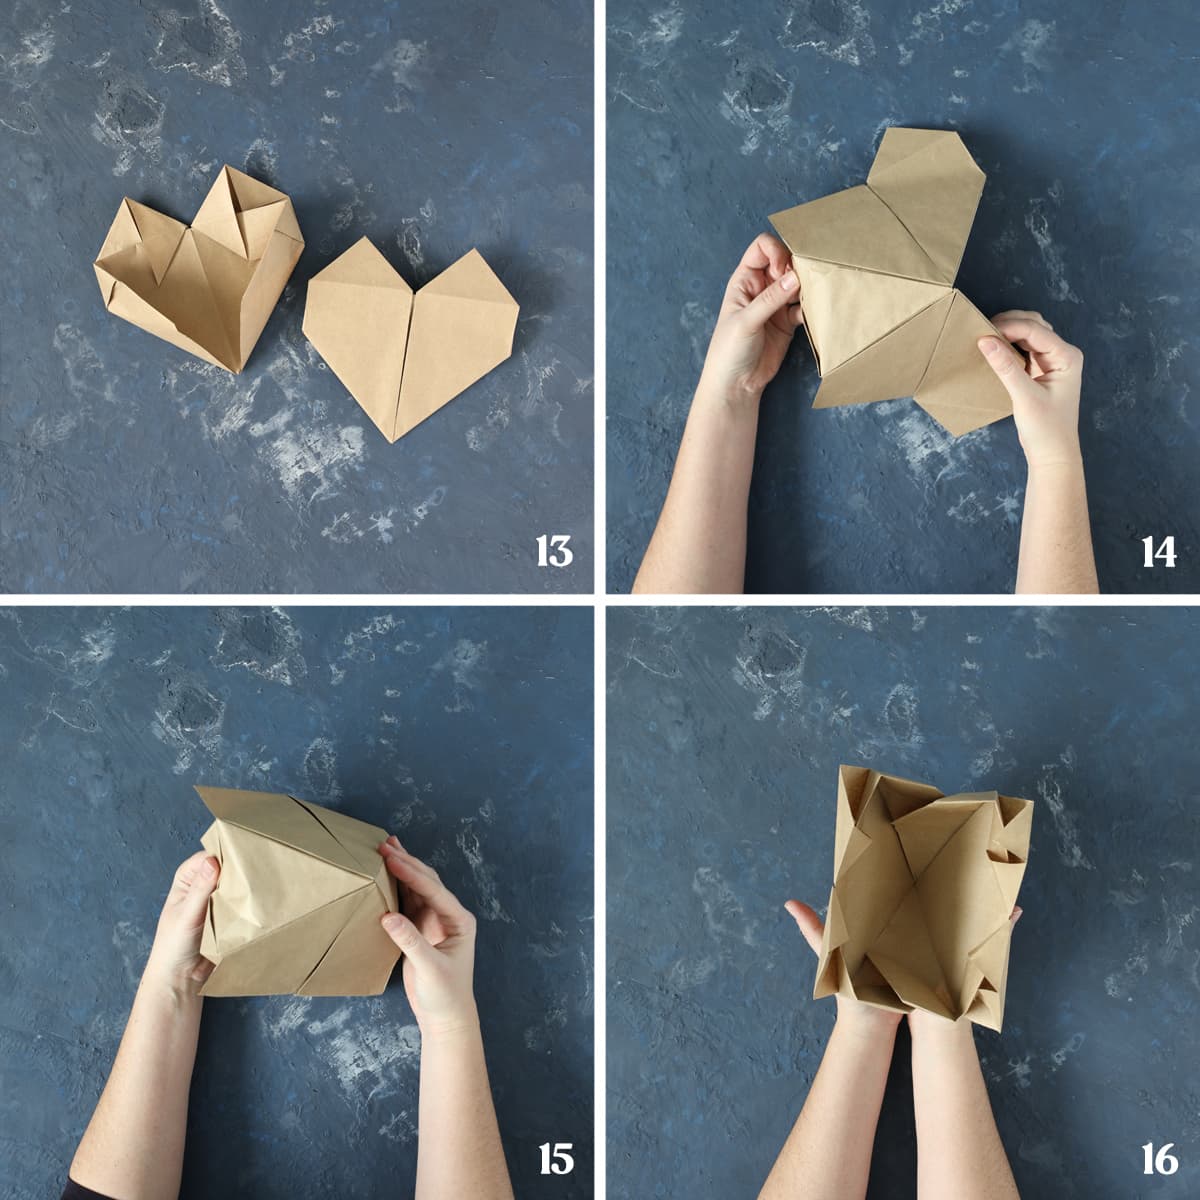
Step 13: Repeat steps 1-12 to make a second paper heart. You’ll notice the hearts have a smooth, pretty front side and a back side that has lots of flaps.
Step 14: Open up the side flaps of the heart and overlap them so that the tip of one heart lines up with the tip of the other heart and the side flap edges also line up. Glue them together.
Step 15: Glue the other side flaps of the hearts together the same way.
Step 16: Your heart basket is almost done! If you look inside, you’ll notice there are a lot of loose parts sticking out.
Step 17: Insert your ribbon or twine or rope handle into the area on each side of the hearts that overlaps. Glue the handle in place and glue the side flaps shut.
Step 18: Glue all edges down.
Step 19: Once all of the folded edges and flap pieces are glued down, your basket will look smooth on the inside.
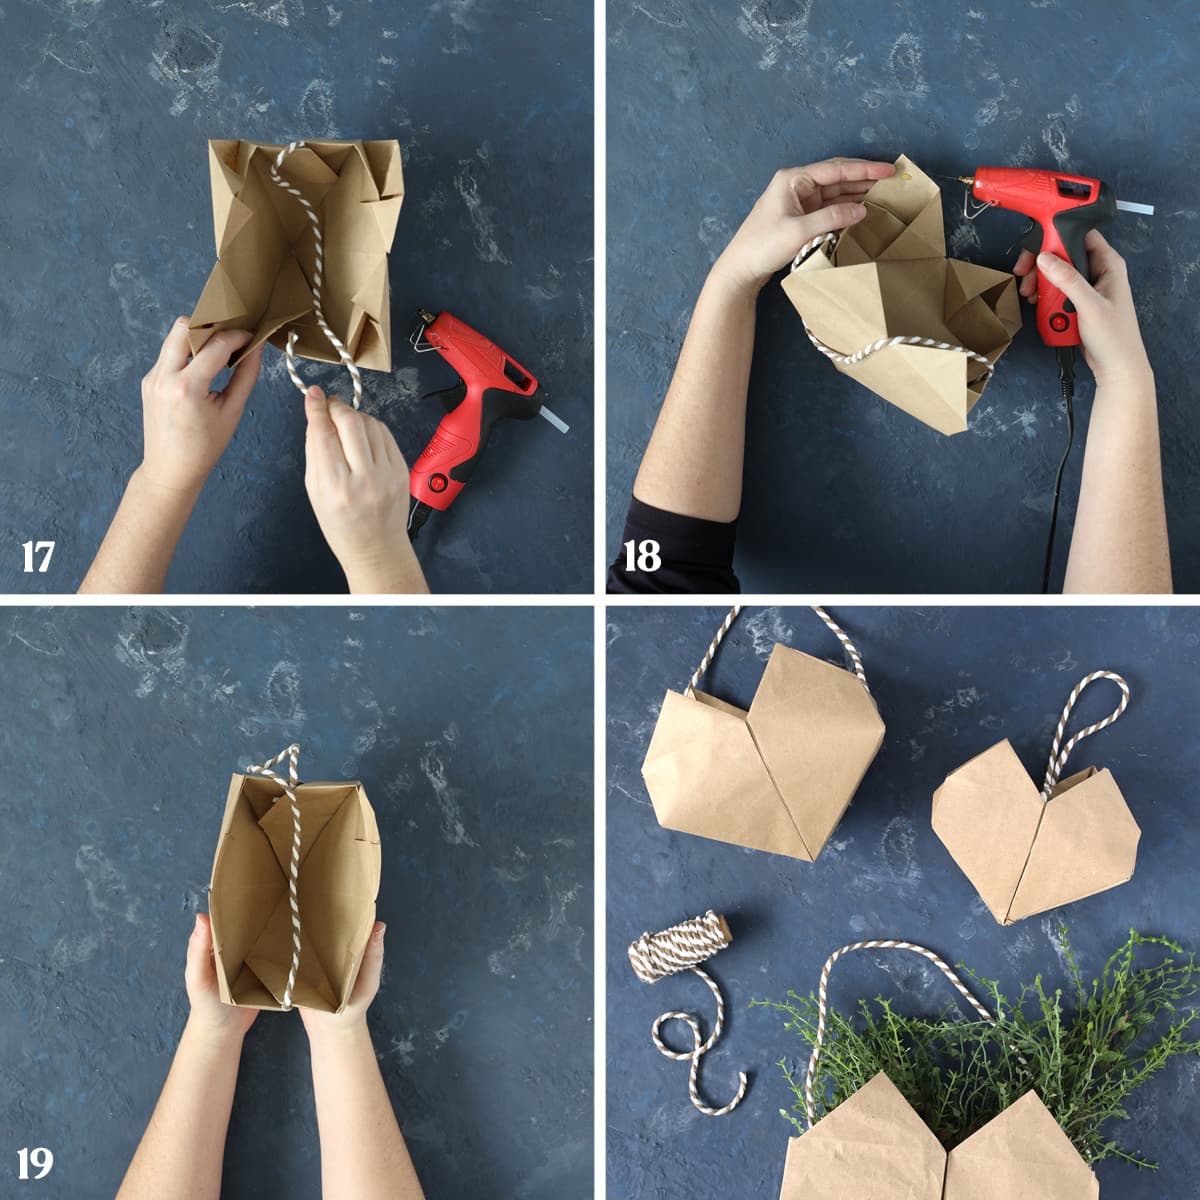
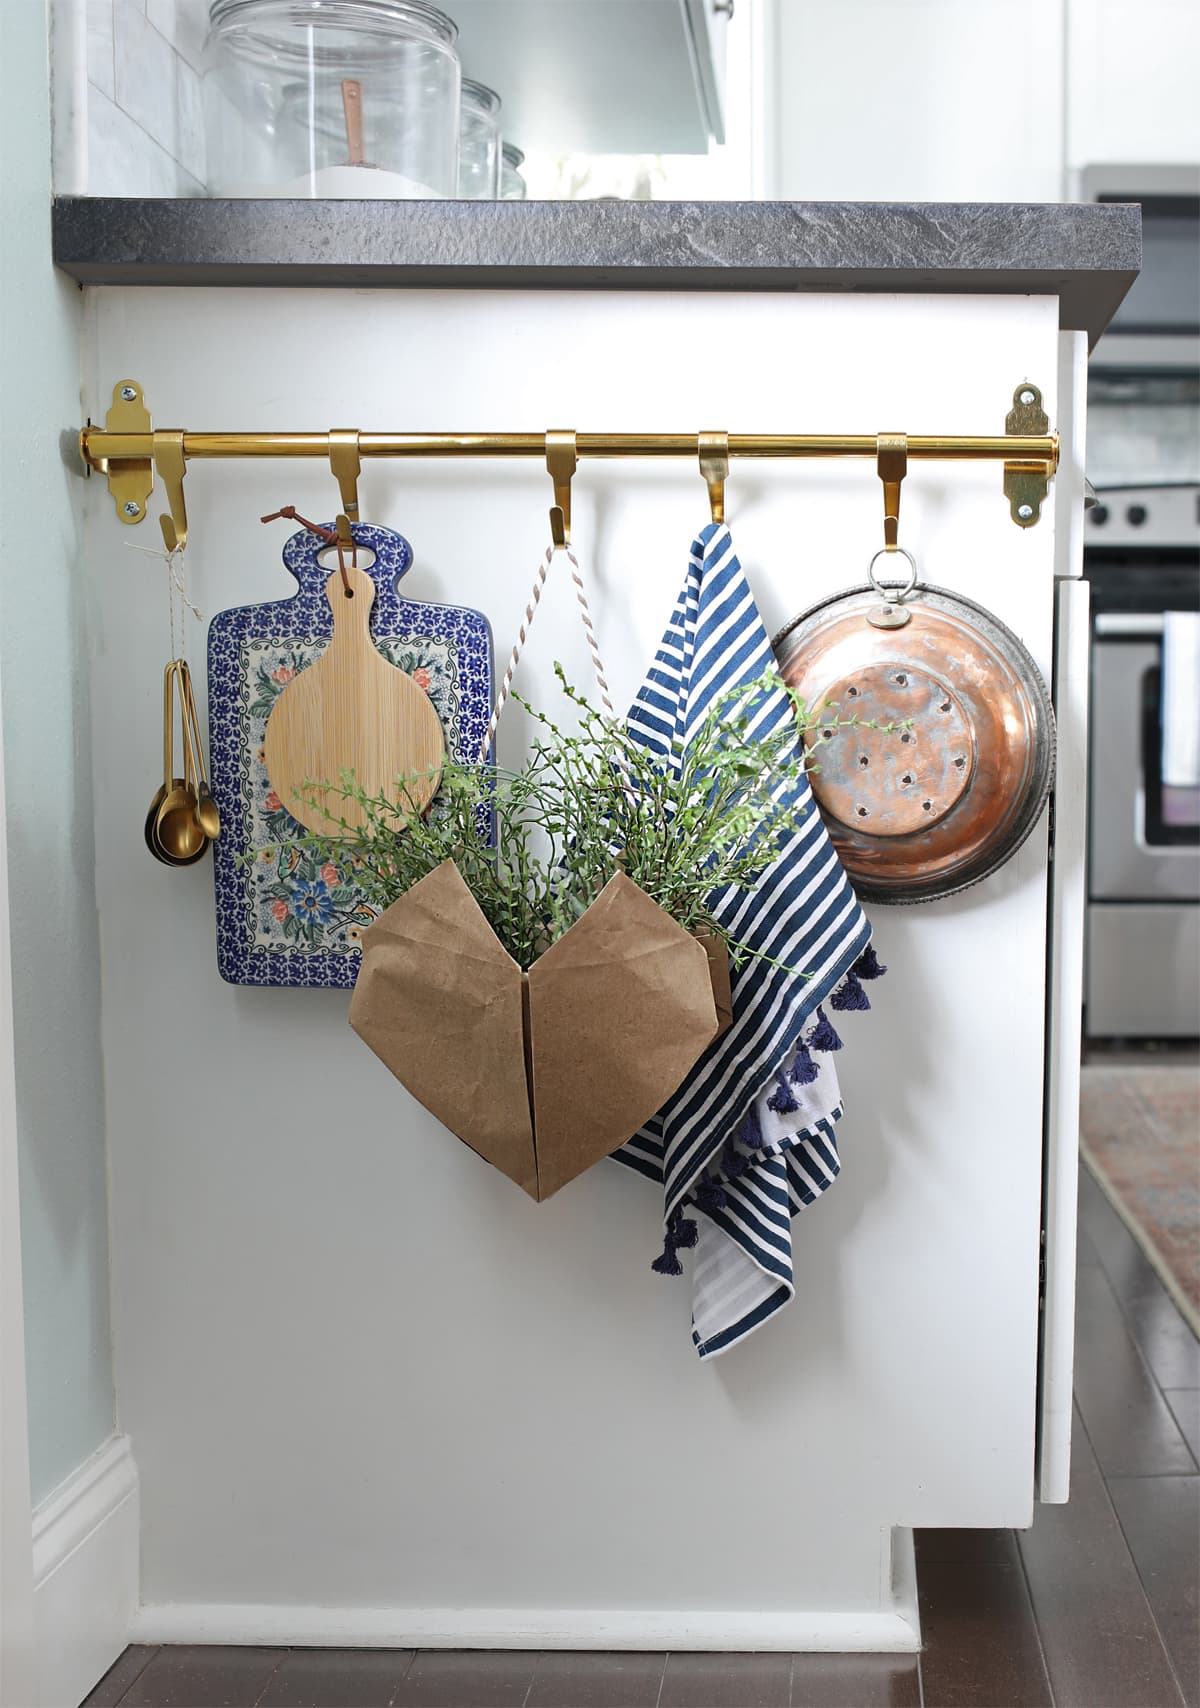
Then your cute basket is ready to fill and hang and enjoy. They’d be a darling way to give Valentine’s Day goodies to a friend. I used mine as a subtle Valentine’s Day decoration in my kitchen. But honestly, it’s such a cute project that you could use it all year round!