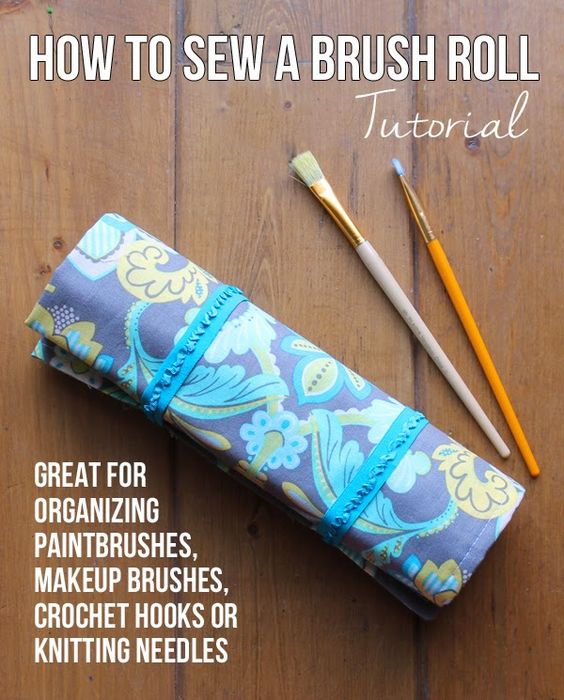
How To Sew A Brush Roll
Are you tired of your brushes getting lost or damaged? Why not take matters into your own hands and sew a brush roll that not only keeps your brushes organized but also showcases your unique style? With just a few materials and a little bit of sewing know-how, you can create a personalized brush roll that will make your beauty routine a breeze. Are you tired of rummaging through your makeup bag, desperately searching for the right brush? Say goodbye to the chaos and hello to organization with a handmade brush roll that is not only functional but also a stylish accessory. Sewing your own brush roll allows you to customize it to your liking, ensuring that your brushes are neatly stored and always within reach.

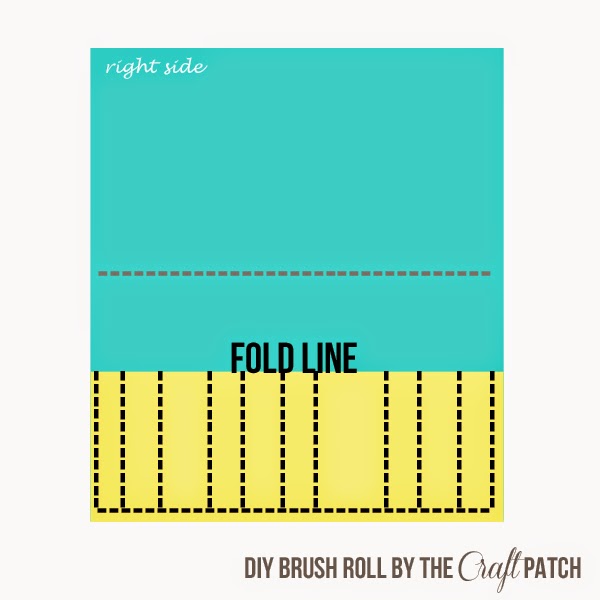
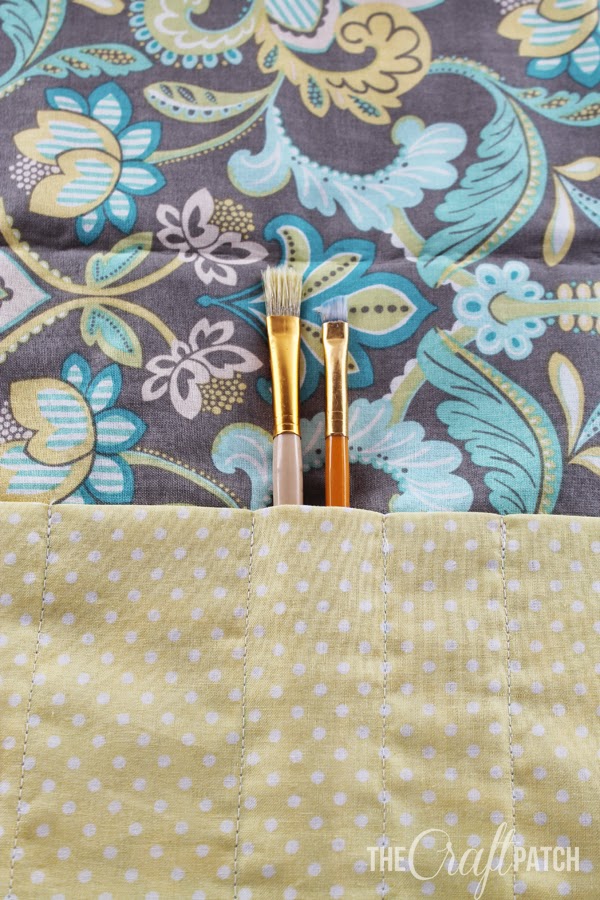
3. Sew pocket. Fabric B will become the pocket. Place the folded Fabric B on top of the flat Fabric A, matching the bottom and side edges. Pin in place, then stitch around the outside edge, leaving a 1/4 inch seam allowance. Using a disappearing fabric pen, draw straight vertical lines spaced across Fabric B, then stitch through all three layers of fabric, using the drawn lines as guides. Back stitch at the beginning and end of each vertical line.
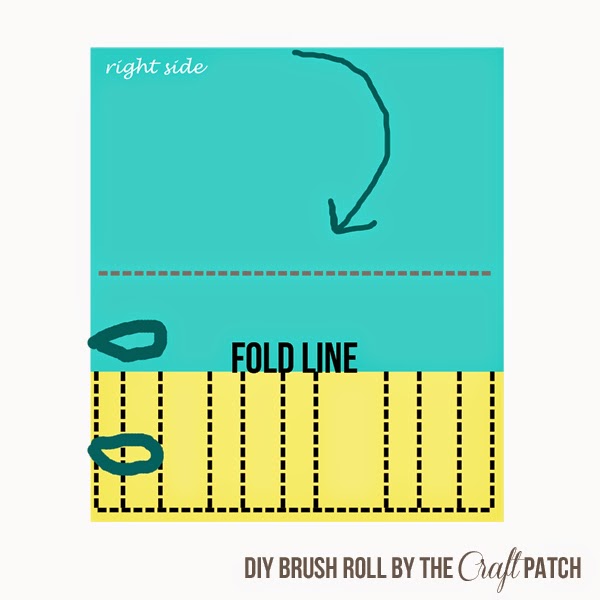
4. Elastic. Cut two 7-9 inch pieces of elastic. Fold elastics right sides together, and pin to left edge of fabric, aligning edge of fabric and ends of elastic. Stitch in place. I placed the lower elastic 3″ from the bottom edge and the upper elastic 7″ from the bottom edge.
5. Sew together. Fold the top edge of Fabric A down and align it with the bottom edge. Everything will be sandwiched inside, with only the wrong sides of Fabric A showing. Stitch around the entire outer edge, using a 1/2 inch seam allowance. Leave a hole on the right side to allow for turning.
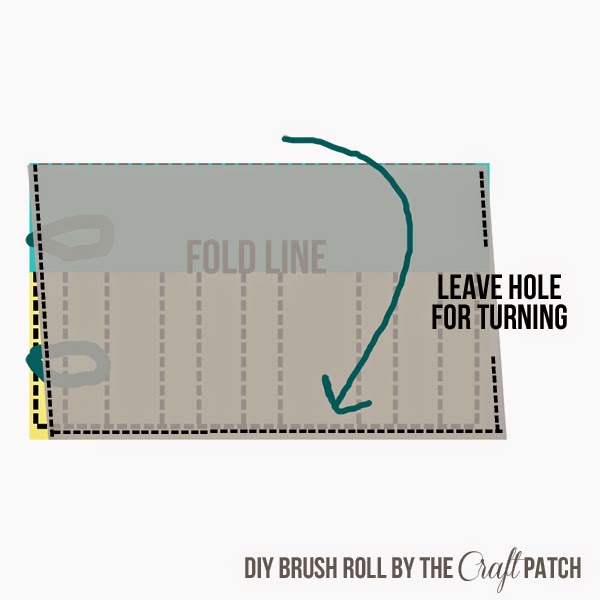
6. Finishing Up. When everything is securely stitched together, clip the bottom two corners diagonally, making sure not to cut past stitching. Turn brush roll right side out. Straighten corners and press entire project. Top stitch around the entire outer edge, making sure to catch the opening you used for turning so that it will be sewn closed.
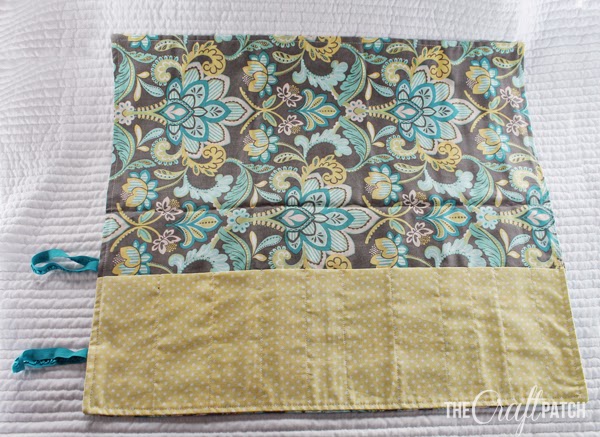
I love how my brush roll turned out! I think these two fabrics are really cute together.