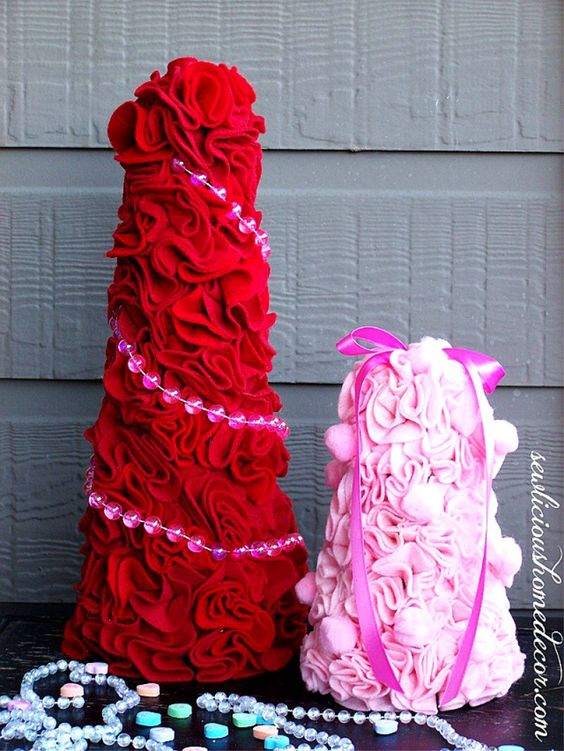
How To Make Felt Trees for Christmas or Valentines Tutorial
Create a festive atmosphere with these charming felt trees that are perfect for both Christmas and Valentine's Day celebrations. Crafted with love and attention to detail, these unique decorations will add a touch of whimsy to any space. Made from high-quality felt material, these trees are not only durable but also eco-friendly, making them a great choice for those who want to celebrate the holidays in a sustainable way. Whether you're looking to spruce up your home for the holiday season or surprise your loved one with a heartfelt gift, these felt trees are sure to impress. With their vibrant colors and intricate designs, they will instantly brighten up any room and bring a sense of joy and warmth. Hang them on your Christmas tree, place them on your mantel, or use them as table centerpieces to create a festive ambiance that will delight both young and old. These versatile decorations can also be used to celebrate Valentine's Day, adding a romantic touch to your home or serving as a thoughtful gift for your significant other. So why settle for ordinary decorations when you can have these adorable felt trees that are perfect for spreading holiday cheer and love?
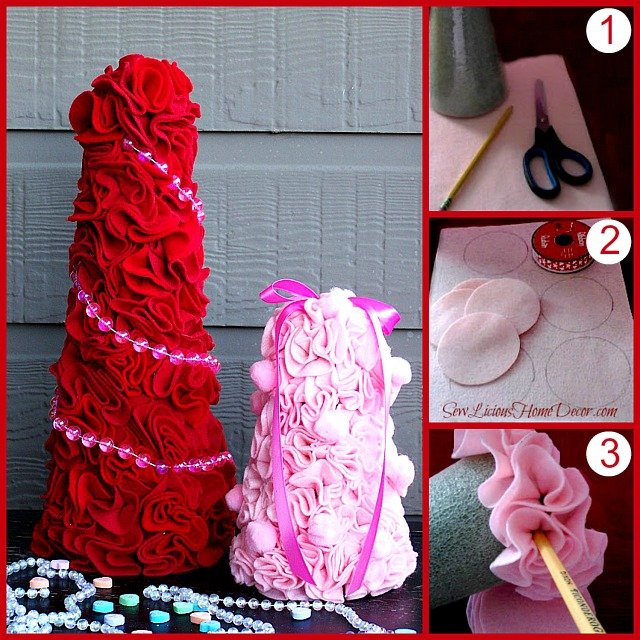
SUPPLIES
Appox. 15 sheets of felt-any color. Oh heck, grab them in all the colors!!
Styrofoamcone(s)-Or you can make one using poster board
Scissors
Pencil
Hot glue gun or regular Elmer’s glue if you don’t have a hot glue gun
Something round like a spool of ribbon to trace a circle
Decorative accessories, optional
Then add any other decorations you like. I added a strand of beads and some pink pom poms that I found at the Dollar Store.
Enjoy!