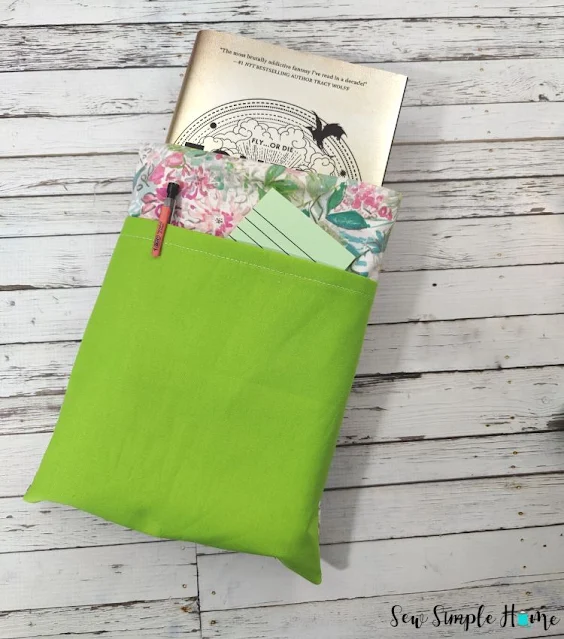
Book Sleeve Pattern
Discover the perfect blend of creativity and functionality with our exquisite Book Sleeve Sewing Pattern. This pattern is designed to protect your beloved books from wear and tear while adding a touch of style to your reading experience. Crafted with precision and attention to detail, our pattern allows you to create a custom-made book sleeve that reflects your unique personality and taste. Whether you're a seasoned pro or a beginner, our pattern provides step-by-step instructions that are easy to follow, ensuring a seamless sewing experience. From selecting the fabric to adding decorative elements, this pattern allows you to unleash your creativity and create a one-of-a-kind book sleeve that will make heads turn. So, grab your sewing machine and get ready to embark on a journey of creativity and craftsmanship with our Book Sleeve Sewing Pattern.
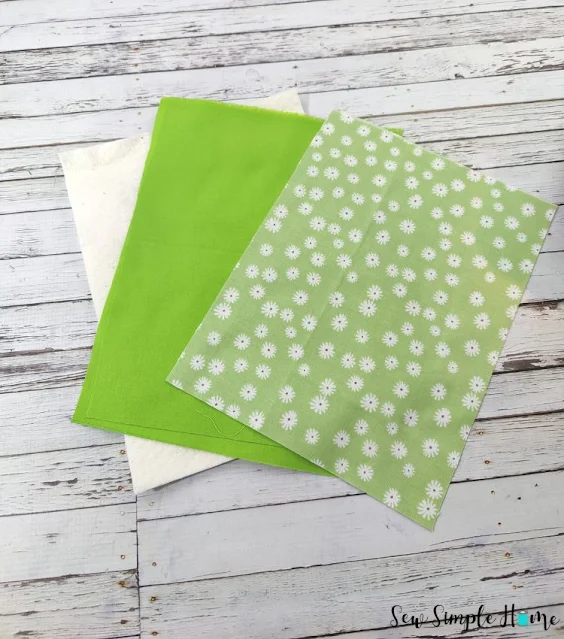
- 2 Cotton Fat Quarter Squares - 18" x 22"
- 1/4 yard cotton batting
- 1/4 yard fusible interfacing
- Thread
Step 1
Book Sleeve Dimensions and Cutting Chart
Type of Book
Sizes
Book Sleeve (l x w)
Pocket (l x w)
Kindle size, small paperback
Small
9” x 7.5”
Cut 2 main fabric
Cut 2 lining fabric
Cut 2 batting
6.5” x 7.5”
Cut 1 fabric
Tradition Paperback
Medium
11” x 9”
Cut 2 main fabric
Cut 2 lining fabric
Cut 2 batting
8” x 9”
Cut 1 fabric
Cut 1 fusible interfacing
Hardcover
Large
12” x 10”
Cut 2 main fabric
Cut 2 lining fabric
Cut 2 batting
9” x 10”
Cut 1 fabric
Cut 1 fusible interfacing
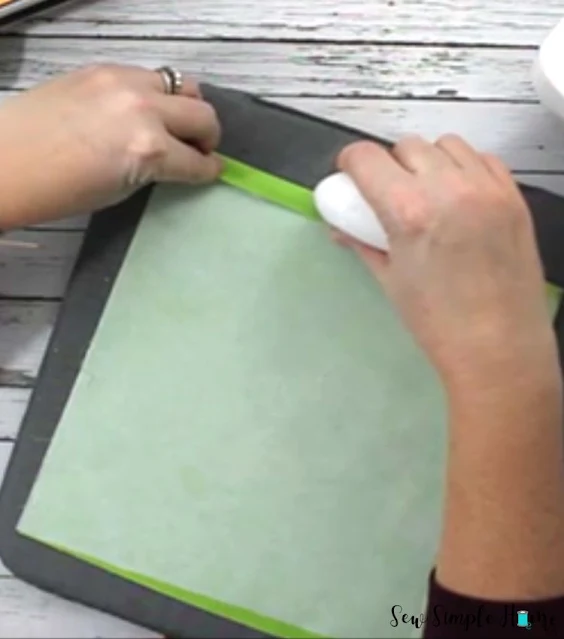
Step 2
Stitch across the pressed edge of the pocket.

Place the pocket over the top of the main fabric with right sides facing up. You can place a basting stitch along the outside of the pocket to keep it in place.
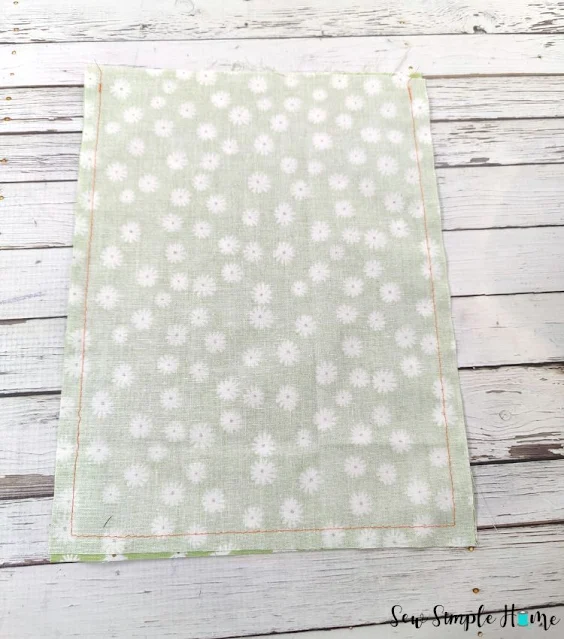
Place the two main pieces with right sides together. Stitch from the top corner down the side, across the bottom and up the other side. Leaving the top of the book sleeve open.
Step 5
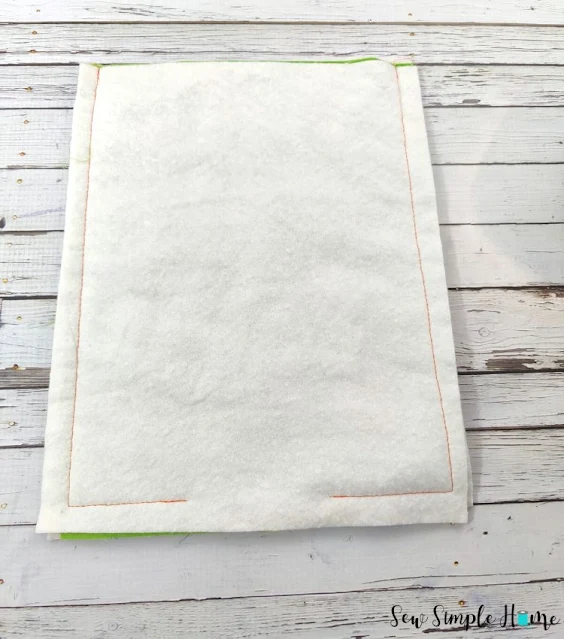
Mark a 2" opening at the bottom of the "sandwich". Stitch around the book sleeve lining and batting. Leaving the top open and the 2" marking at the bottom open.

Step 6

Step 7
Step 8
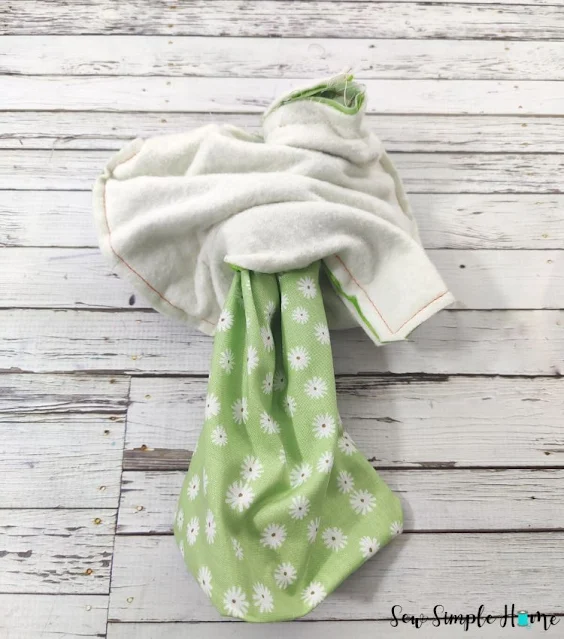
Turn the book sleeve right side out through the opening at the base of the lining.

Step 9
Stitch the opening of the lining closed and tuck the lining inside of the book sleeve. Press book sleeve.