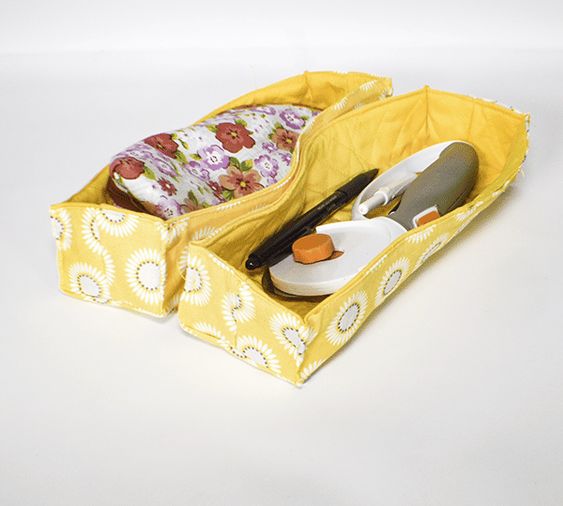
Make a Fabric Drawer Organizer
Introducing the Fabric Drawer Organizer, the ultimate solution to decluttering your living space! This innovative organizer is designed to fit seamlessly into any drawer, providing you with a stylish and efficient way to store and organize your belongings. Made from high-quality fabric, this organizer is not only durable but also adds a touch of elegance to your drawers. Whether you want to store your socks, underwear, accessories, or even office supplies, this organizer has got you covered. The soft fabric material ensures that your delicate items are protected from scratches and damage.
What you will Need: How to Make a Fabric Drawer Organizer
- 1/4 yd outer and lining fabric
- 1/4 yd quilt batting and Pellon SF101 (Optional)
- Standard sewing supplies
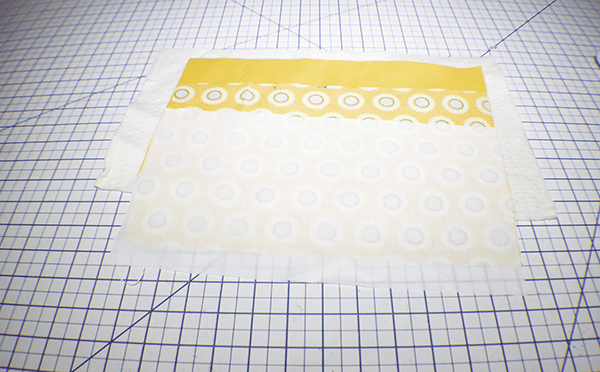
Step 1: Cut your Fabrics and Batting
From the outer, lining and Pellon SF 101 fabrics cut one each that measures 13″ x 7″. From the batting cut one piece that is a little bit larger all the way around to accommodate the quilting.
Step 2: Quilt the Lining
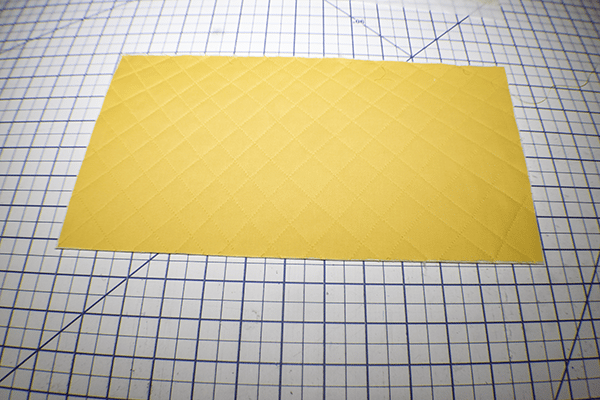
Place the lining fabric onto the batting making sure that it is centered. Quilt any way that you would like. I quilted mine in a diamond pattern starting with marking a line from one corner to 6″ from the other corner. Each line is 3/4″ wide. Once you have finished your diamond pattern trim off the excess batting.
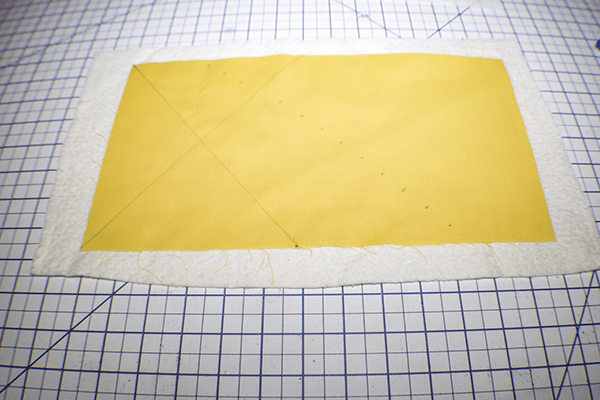
Mark the quilting lines
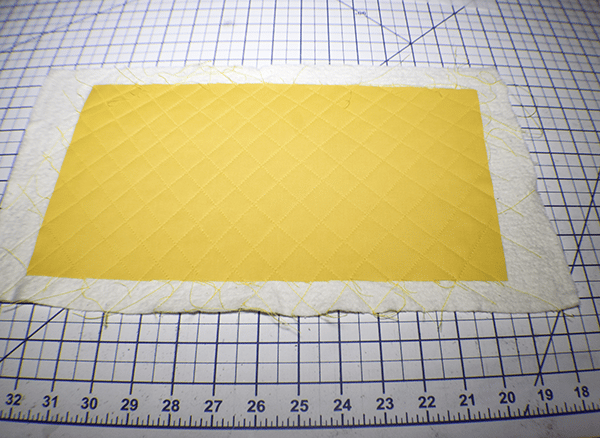
Quilted lining
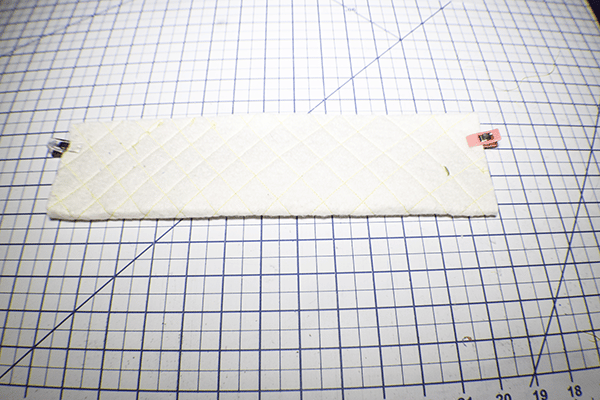
Step 3: Stitch the Ends
Fold the quilted piece right sides together and lengthwise. Stitch along the short ends using a 1/4″ seam allowance.
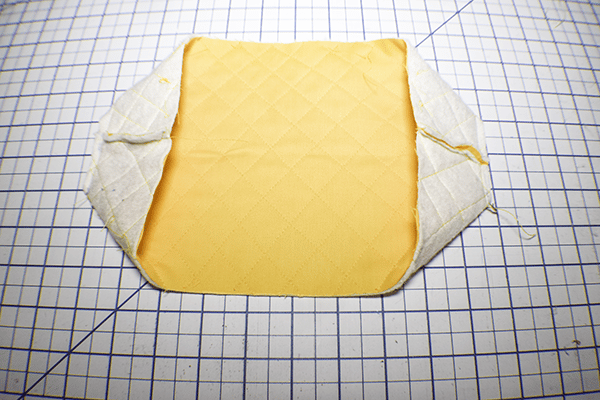
Step 4: Box the Corners
Fold the corners so that they are in a point. Using a ruler, measure down from the point so that there is a line that measures 2 1/2″. Stitch along this line. Trim off the excess. Do this for both ends.
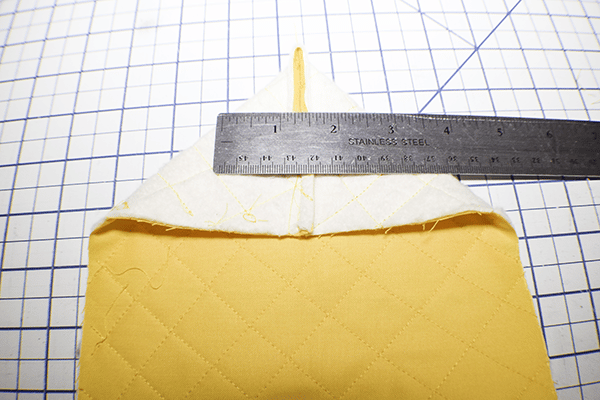
Box the corners
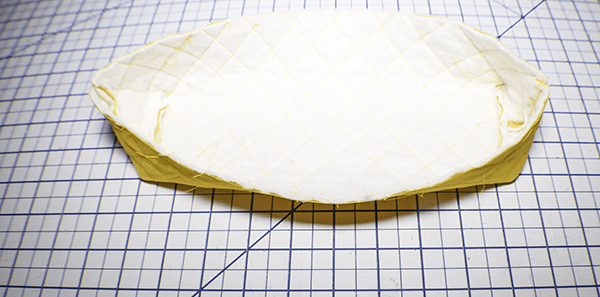
Step 5: Create the Outer Body
Fuse the SF 101 to the wrong side of the outer fabric following the manufacturer’s instructions. This step is optional. Create the outer body the same way you created the lining only without the quilting. Just use the fabric.
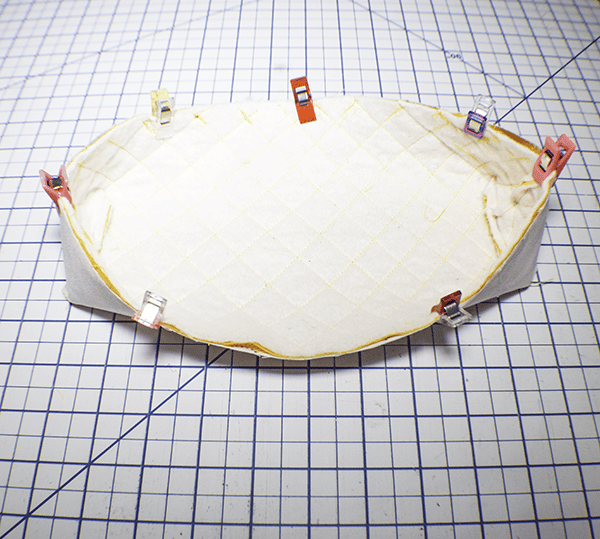
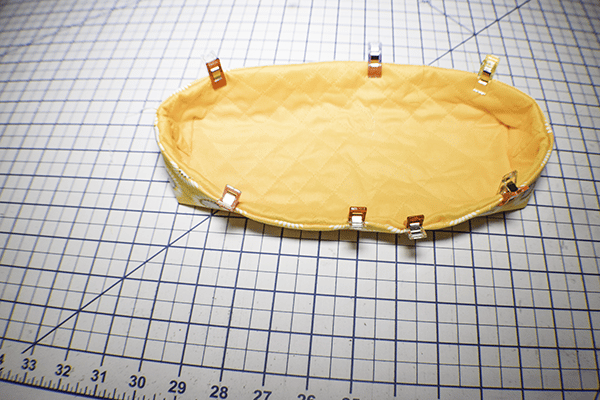
Step 6: Add the lining to the Outer Organizer
Place the outer body right sides together with the lining body and pin or clip. Stitch along the top using a 1/4″ seam allowance and leaving san opening for turning.
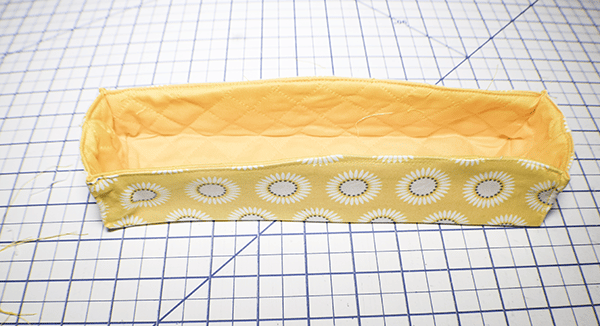
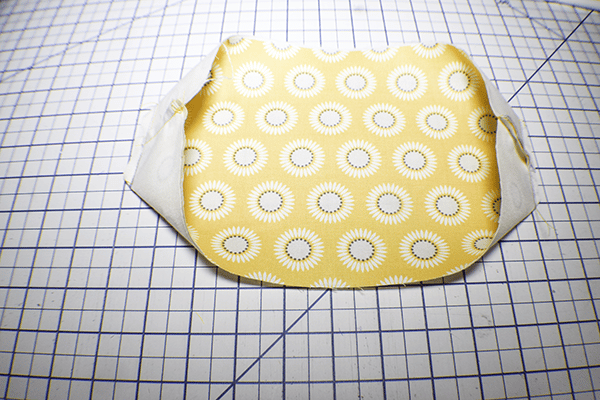
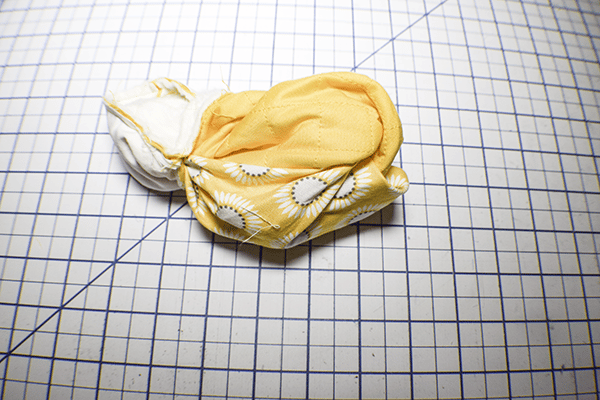
Step 7: Turn Right Sides Out
Reach into the opening you left in the top and turn the organizer right sides out. Push the lining into the outer body and press. Fold under the opening and topstitch all the way around the top to secure.
Turn right sides out
Topstitch around the top
Step 8: Optional Topstitch
Topstitch along each corner to stabilize the organizer. Press the long edge bottoms and you are finished with your long drawer organizer.