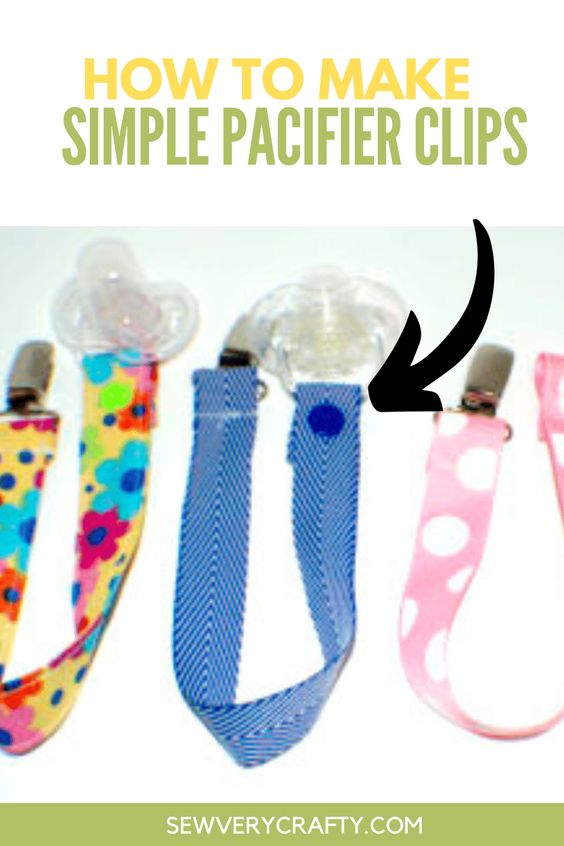
How to make DIY Pacifier Clips
Create your own pacifier clips with this easy do-it-yourself project. Instead of buying expensive clips from the store, you can customize your own designs to match your baby's outfits or nursery decor. All you need are some basic materials like ribbon, clips, and glue to get started. By making your own pacifier clips, you can save money and have a fun crafting activity to do. You can also make personalized clips to give as gifts to friends or family with babies. This project is a great way to add a personal touch to your baby's accessories while also being practical and functional.
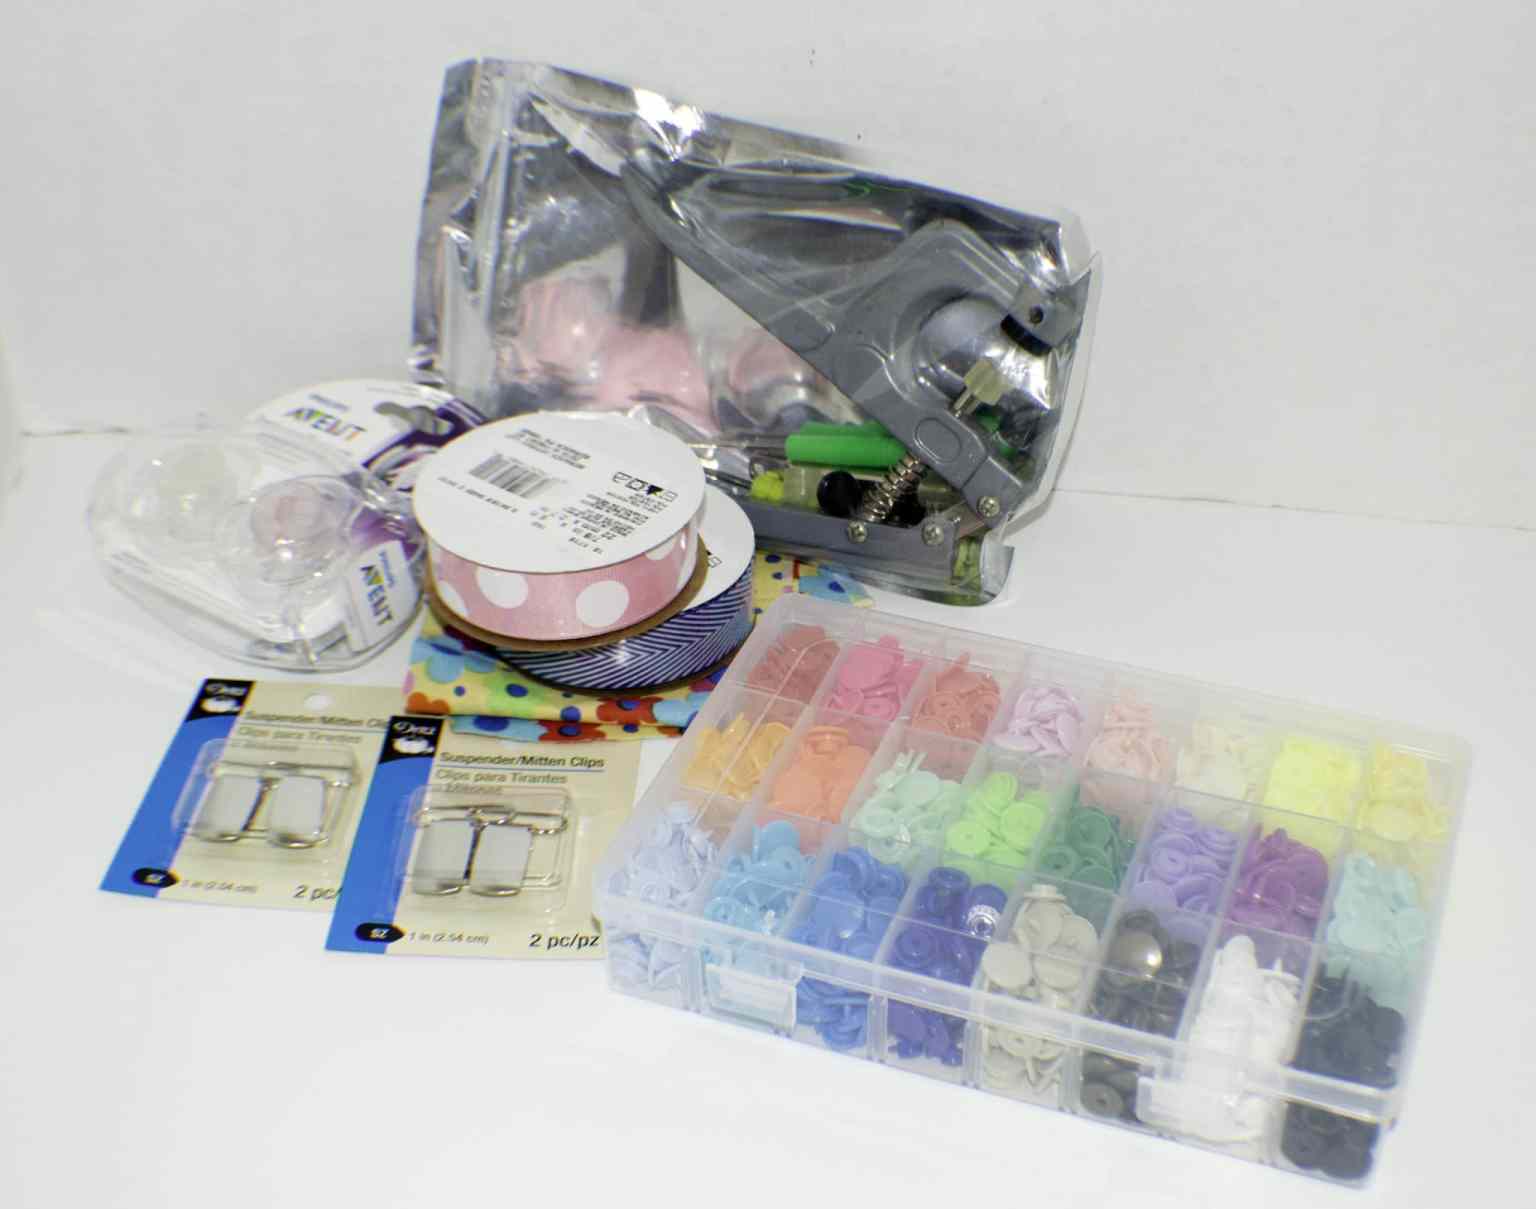
What you will Need:
- Ribbon and/or scrap fabric
- Plastic snaps
- Pacifier Suspender Clips
- Fray Check
- Pacifiers
- Standard Sewing Supplies
Step 1: DIY Pacifier Clips
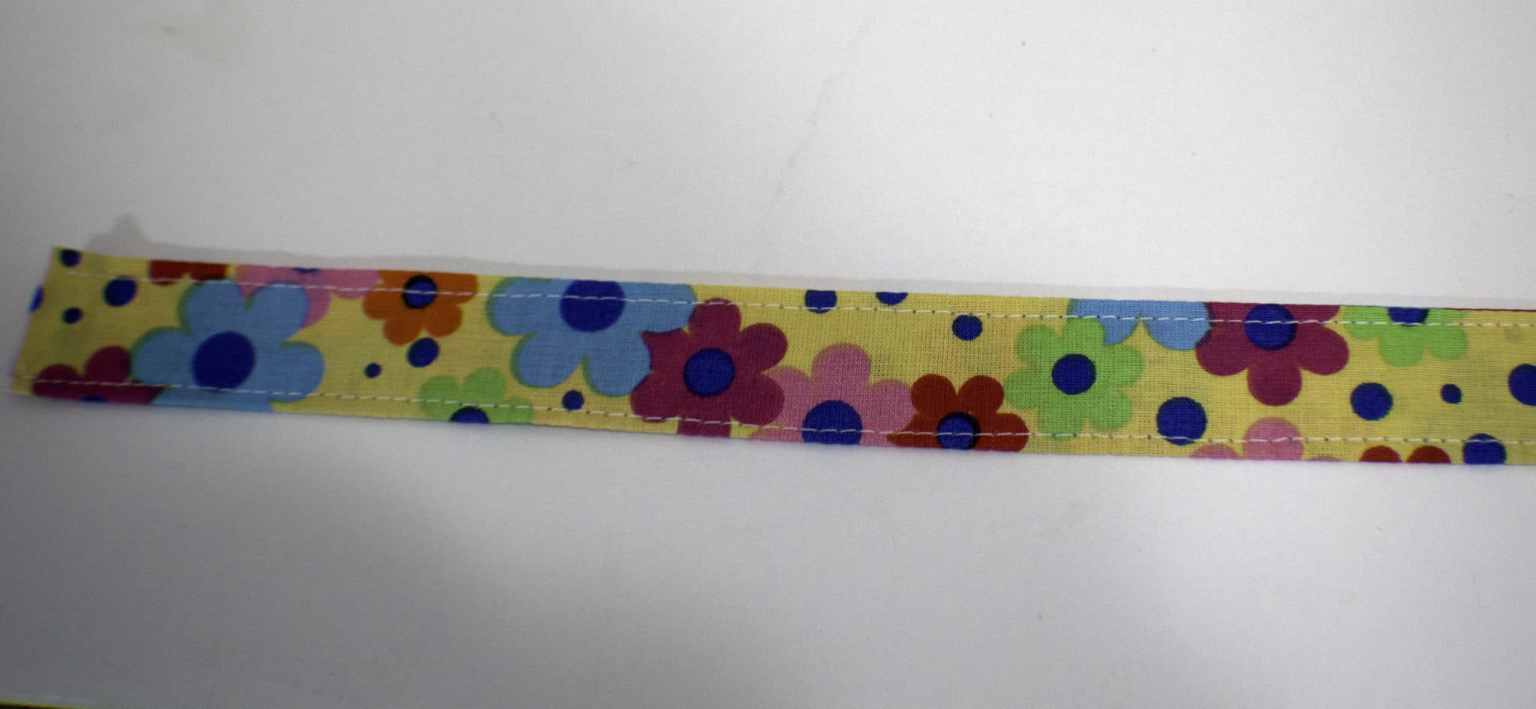
Decide if you are going to use ribbon or fabric. If you choose to use fabric, measure a piece that is 4″ x 14″ and cut. Fold the fabric lengthwise in half and press. Open up the fabric and fold the short ends in 1/4″ and press. Fold in the long raw edges and press. Refold the center so that the raw edges are safely tucked inside. Top stitch down both sides of the strip. The strip should now be 1″ wide and 13 1/2″ long. If you are using ribbon be sure to add fray check to each end to prevent fraying.
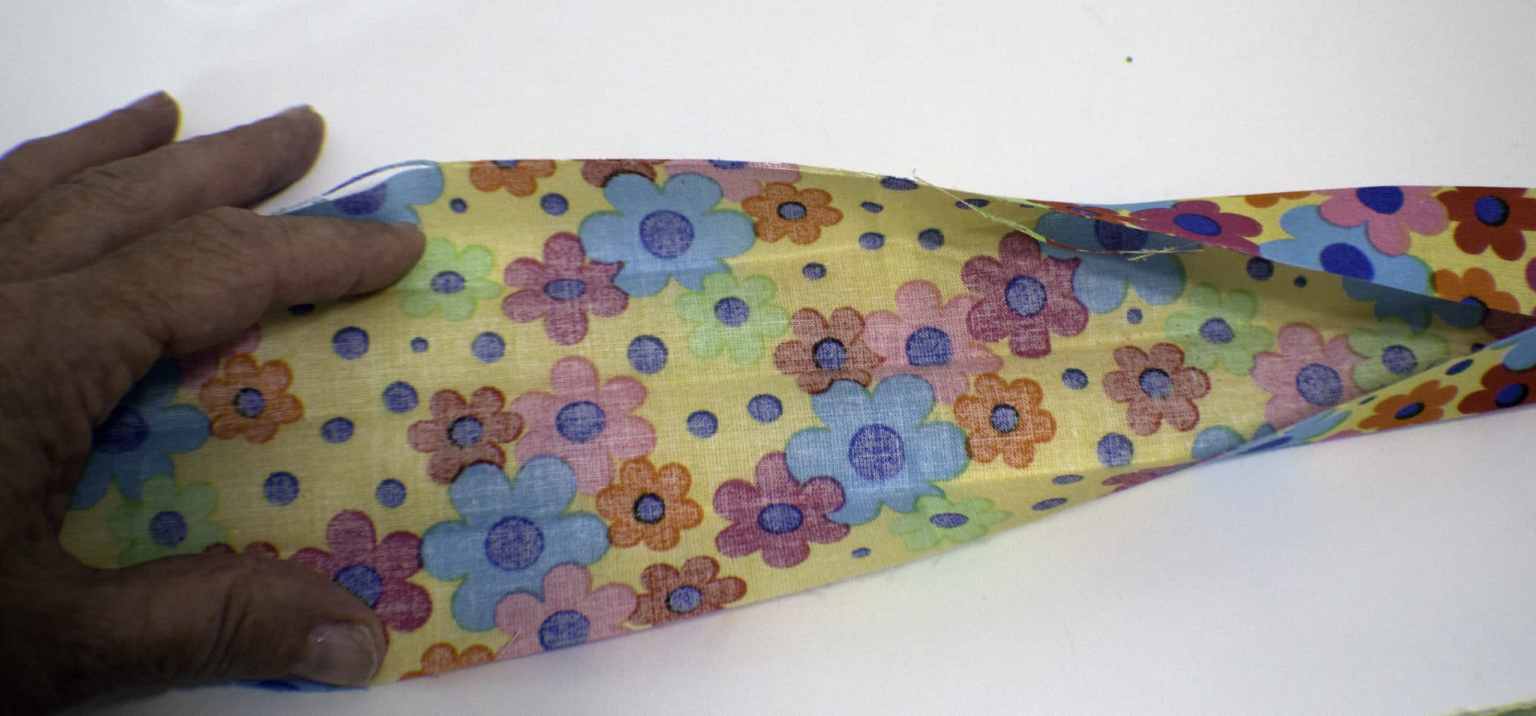
Fold the Fabric in Fours and Press
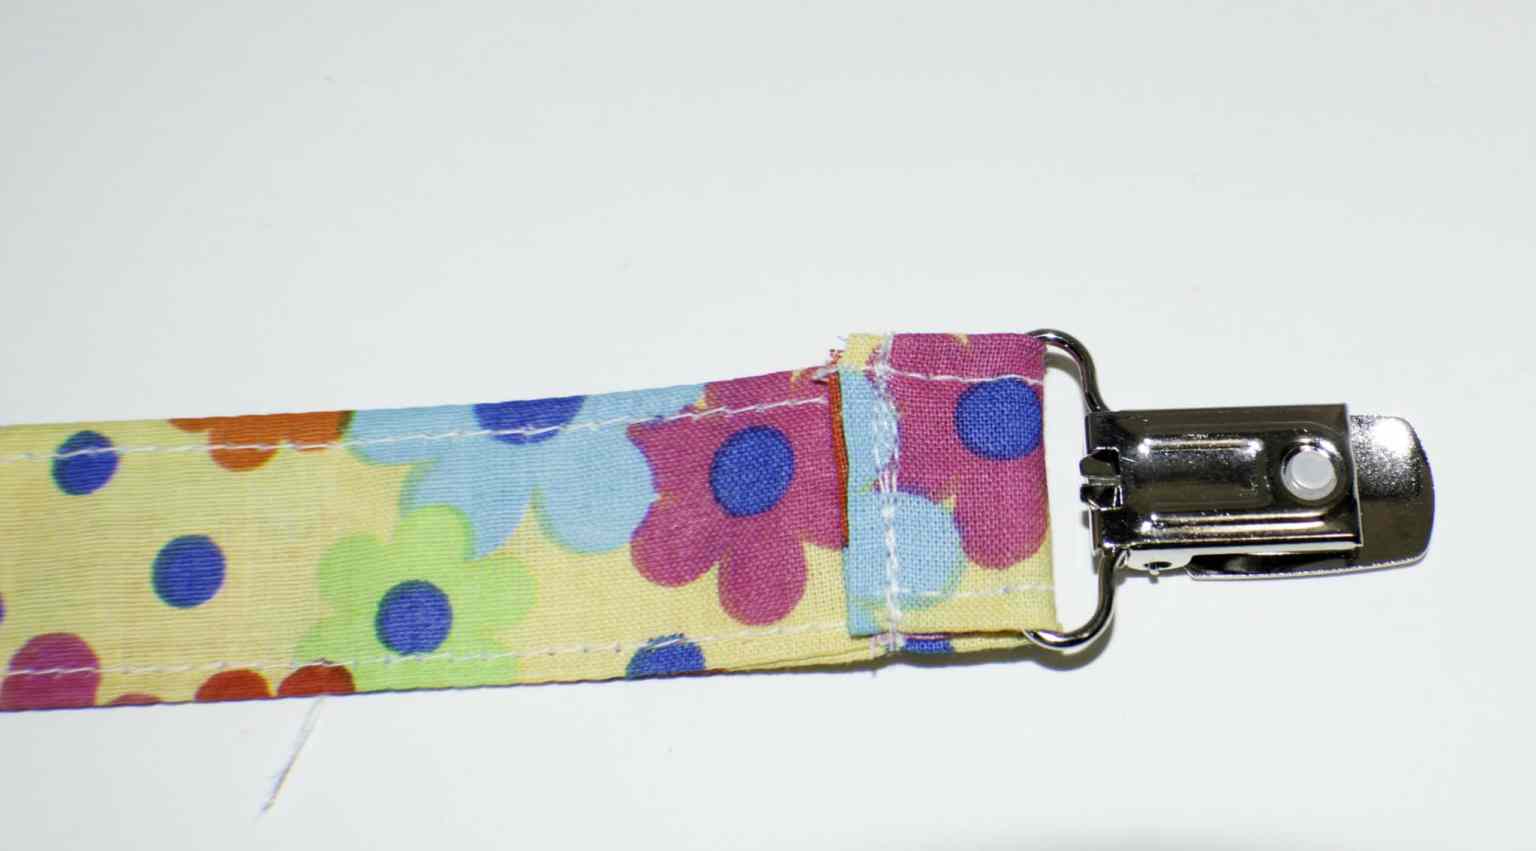
Step 2: DIY Pacifier Clips
Insert one end of the fabric or ribbon through the shank of the mitten clip and sew across the short end anchoring the clip.
Step 3: DIY Pacifier Clips
Place the male end of the plastic snap about 1/2″ from the other end of the fabric or ribbon and the female end 2 1/4″ from the end and press the snaps into place using the snap tool.

Step 4: DIY Pacifier Clips
Place the pacifier between the snap pieces and snap together and you have finished your pacifier clips.
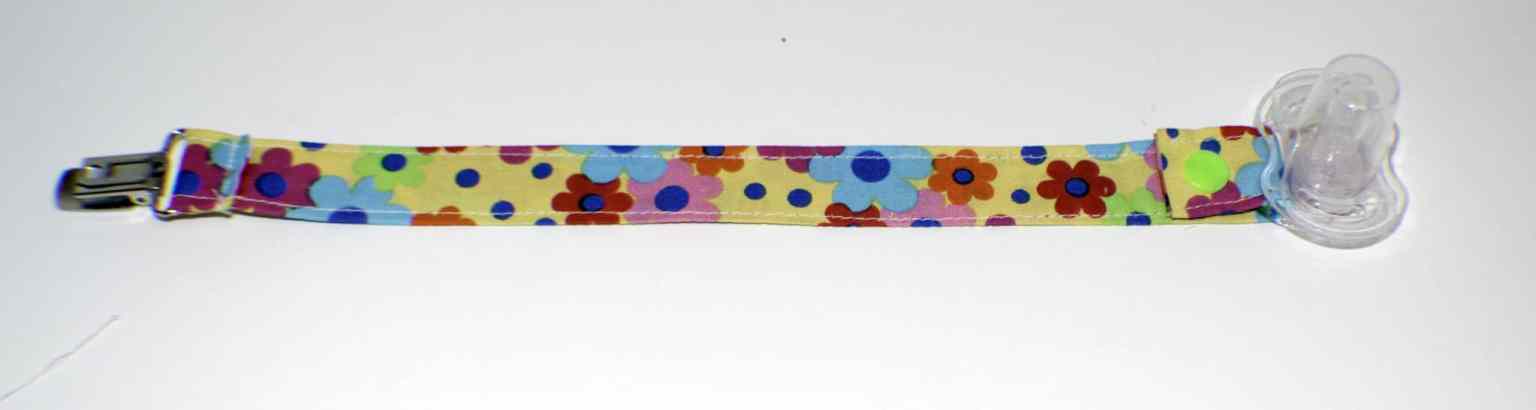
Add the Pacifier