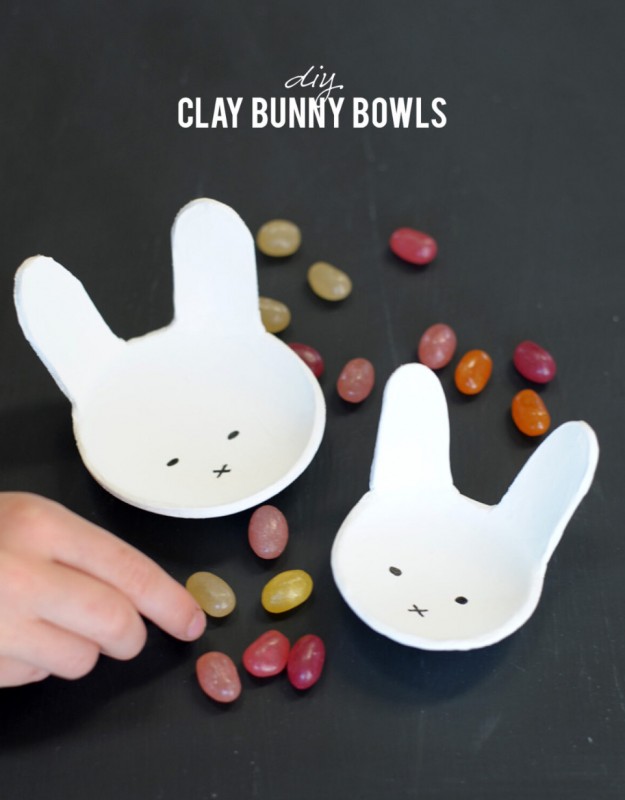
DIY Clay Bunny Bowls
This fun and creative project is a great way to add a touch of whimsy to your home decor or to create a unique gift for a friend. You can customize the size and shape of the bunny bowls to fit your personal style, making each one a one-of-a-kind piece. Whether you're a seasoned crafter or new to DIY projects, making these clay bunny bowls is a fun and rewarding activity that will bring a smile to your face every time you see them. So gather your materials and get ready to unleash your creativity with this charming clay bunny bowl project!
Supplies
How to make DIY Clay Bunny Bowls
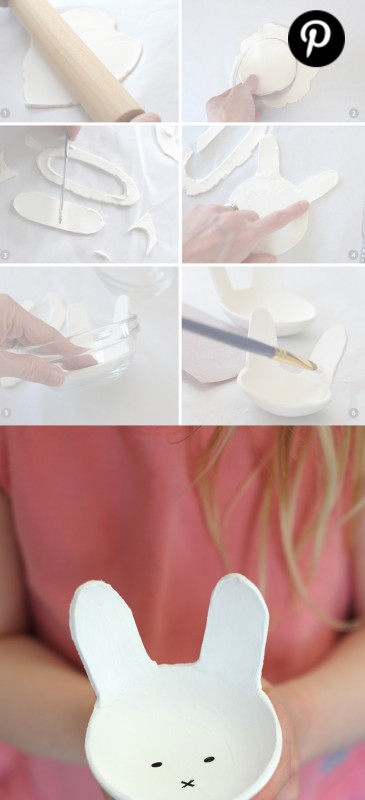
1. Roll out air dry clay on smooth surface like parchment paper. Roll to thickness of 1/4 inch.
2. Place bowl top side down on to clay. Cut around the edge of the bowl with a knife. Lift clay gently off of parchment paper.
3. Cut out long oval shape out of the remainder of the clay you’ve rolled out. Cut it in half to create the two bunny ears.
4. Place ears on backside of rolled out circle and gently push to create a good smooth seam.
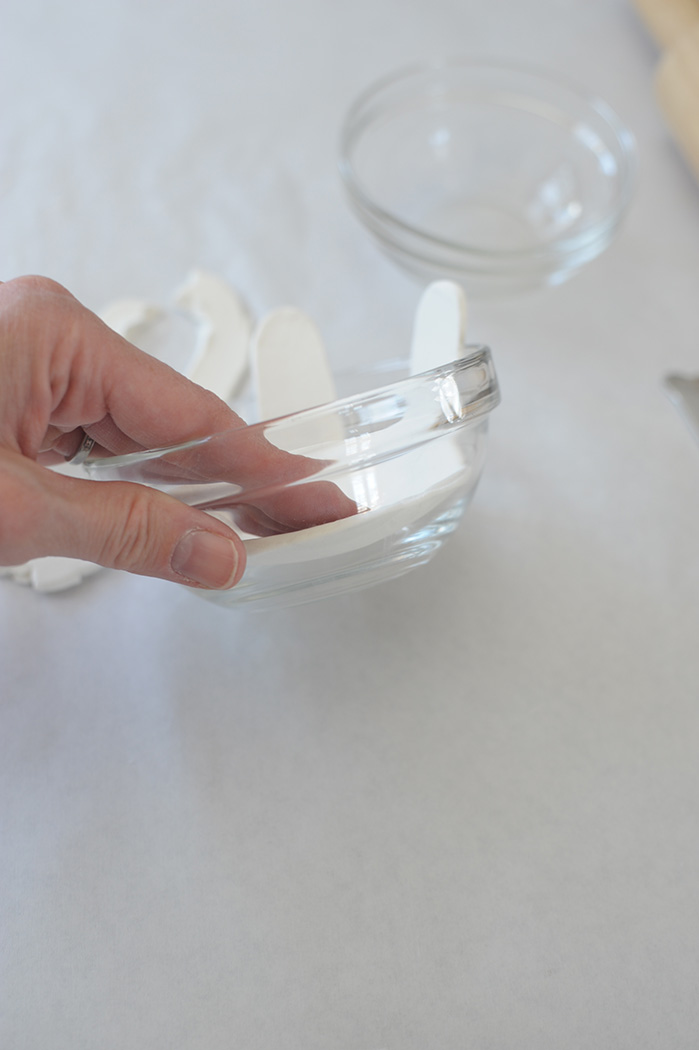
5. Push clay into bowl until it touches the bottom and side. Smooth edges with your finger. Let clay dry overnight, up to a day until dry. Pop out the dried clay from the glass bowls and sand the edges with the sandpaper.
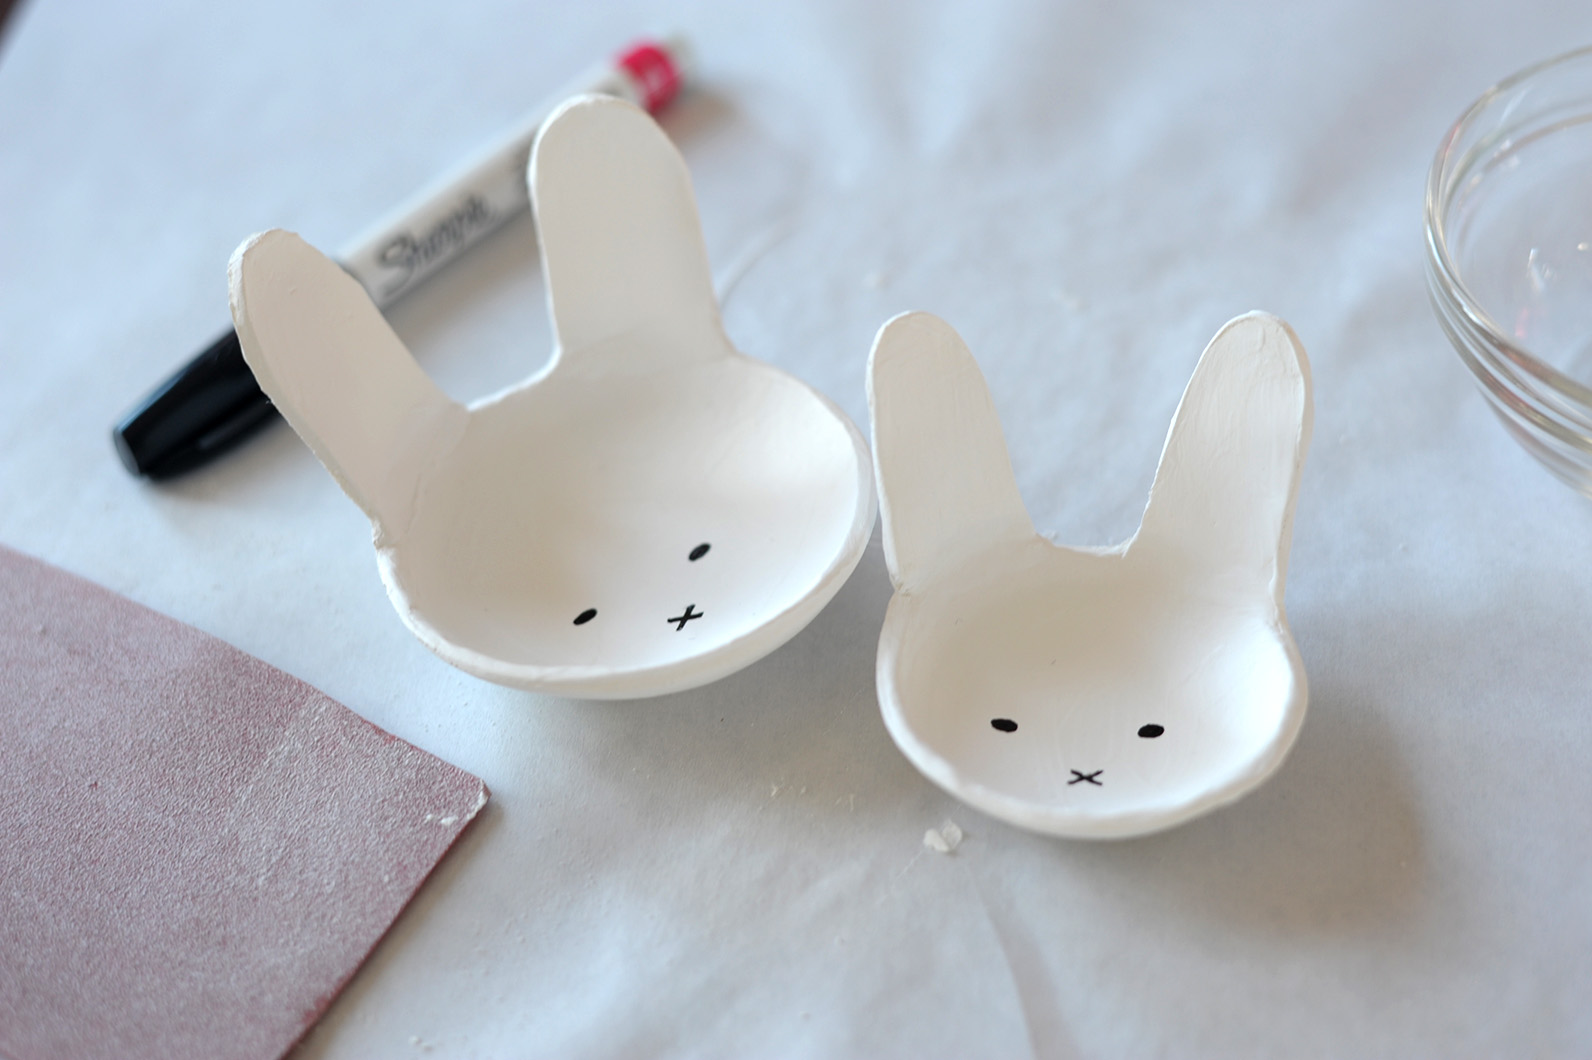
6. Paint the bowls however you’d like with acrylic craft paint. I painted the bunnies with white paint to smooth out the seams from the ears. Then I used a Sharpie oil-based paint marker to make the eyes and nose.