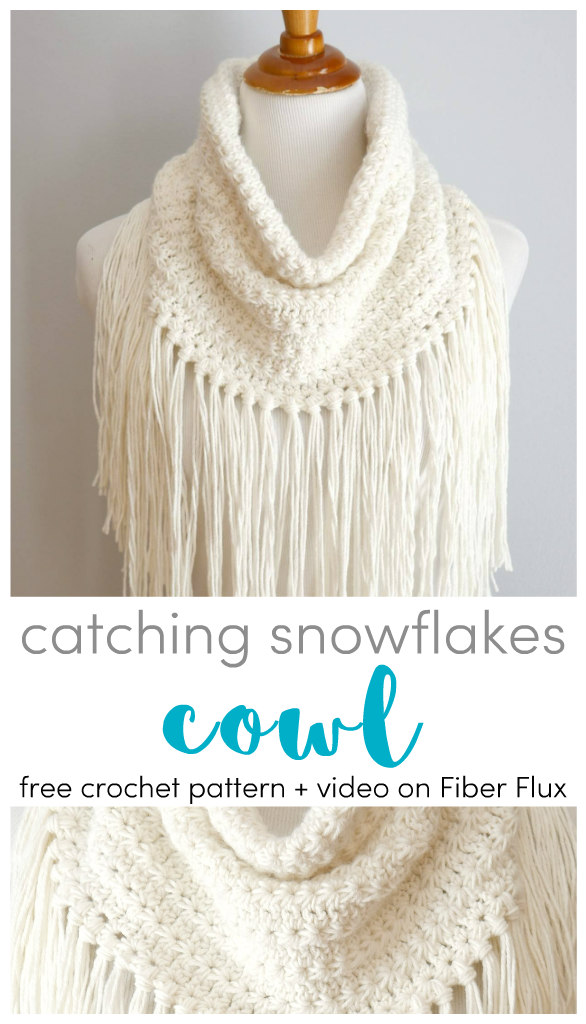
Crochet Catching Snowflakes Cowl
Experience the magic of winter with the enchanting Crochet Catching Snowflakes Cowl. This exquisite accessory is designed to capture the delicate beauty of snowflakes, bringing a touch of elegance to your winter wardrobe. Handcrafted with love and care, this cowl is a true work of art that will keep you warm and stylish during the chilly months. Its intricate crochet pattern mimics the intricate designs of snowflakes, creating a mesmerizing effect that is sure to turn heads. Made from soft and cozy yarn, this cowl feels luxurious against the skin and provides the perfect amount of warmth without sacrificing style. Whether you're strolling through a winter wonderland or sipping hot cocoa by the fire, the Crochet Catching Snowflakes Cowl is the perfect accessory to complete your winter look.
Materials:
- 6.5 mm K crochet hook
- 4 Skeins Whims Merino by Furls in “White” (worsted weight, medium/4 on the yarn weight scale), each skein is 103 yards. Note: The cowl itself uses three skeins, the fringe uses 1 skein. If you choose to make your cowl without fringe, you’ll need just three.
- Tapestry needle
- Scissors
- Tape measure
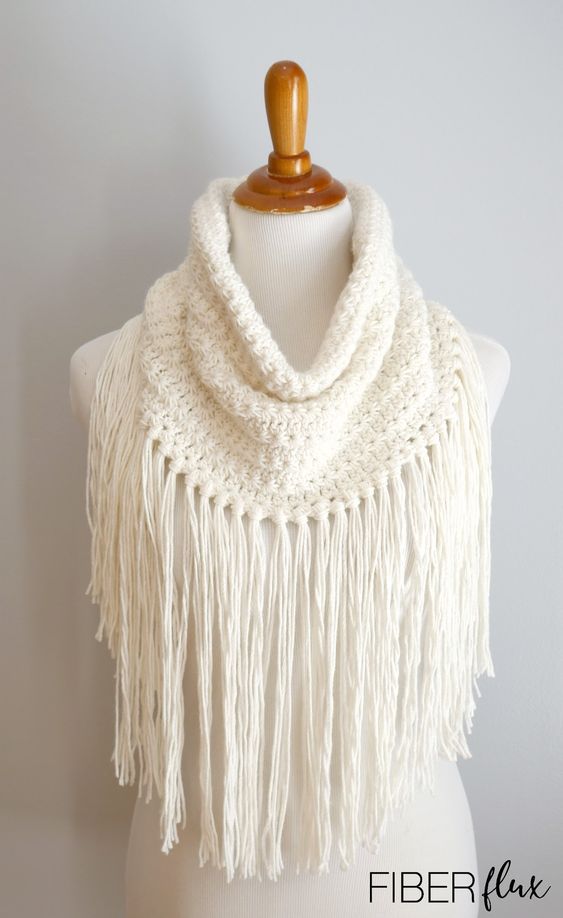
Finished Sizing:
- 11 inches tall (cowl part only without fringe)
- 28 inch circumference
- Fringe adds and additional 11 to the total height of the cowl.
Pattern notes:
- Cowl is constructed in the round from the bottom up.
- Starting chain determines circumference of the cowl, number of rounds worked determines height of cowl.
- sc5tog: Insert hook in stitch or chain (depending on the row you’re on), yarn over, pull loop through, *insert hook in next stitch, yarn over, pull loop through, repeat from * 4 times total, yarn over, pull through 6 loops on hook.
- If you are unfamiliar with the star stitch, I highly recommend the video, where I demonstrate everything completely, stitch by stitch.
- To prevent a gap or large opening where each round is joined, each time you work that last hdc of round 2, insert the hook just under the gap when you work the hdc.
- To give your cowl a more finished look, be sure to end on round 2. This will give the last round of stars a more complete look, but also give it a nice straight edge along the top as well.
Instructions:
Ch 115 (multiple of 2+1)
Join in the furthest ch from the hook, being careful not to twist.
Row 1:
Ch 3, then sc5tog from 2nd chain (bring up a loop in second ch from the hook, bring up a loop in third ch from the hook, bring up a loop from each of the next three chains (6 loops on the hook), yarn around hook and bring through all 6 loops, then ch1. Now continue around making stars. *Sc5tog from ch 1 (pull up first loop from “eye” of the star, pull up next loop from in between last two spikes worked. Pull up next loop from last chain worked. Pull up next loop from next stitch, pull up loop from next stitch (6 loops on the hook). Yarn around hook, bring through all 6 loops, then ch 1. Repeat from * to the end. Then join to close with a slip stitch in between the top two spikes of the first star worked.
Note: You may notice a gap where you joined. Leave that for now and we’ll close it up each time we work round 2 of the pattern.
Row 2:
Ch 2 and turn. *Work 2 hdc in each ch 1 (“eye” of the star) from previous row until you reach the last “eye.” In the last eye, work a hdc into the eye. Then work the second hdc just under the gap (wrap yarn around hook, and reach down just up under the gap, then loosen tension of the loop on the hook a bit, then finish the stitch). This will neatly close up the gap. Then count two chains up (from the beginning of the round) and join to close with a slip stitch.
Row 3:
Ch 3, then sc5tog from 2nd chain (bring up a loop in second ch from the hook, bring up a loop in third ch from the hook, bring up a loop from each of the next three stitches (6 loops on the hook), yarn around hook and bring through all 6 loops, then ch 1. Now continue around making stars. *sc5tog from ch 1 (pull up first loop from “eye” of the star, pull up next loop from in between last two spikes worked, pull up next loop from last stitch worked, pull up next loop from next stitch, pull up loop from next stitch (6 loops on the hook). Yarn around hook, bring through all 6 loops, then ch 1. Repeat from * to the end, then join to close with a slip stitch in between the top two spikes of the first star worked.
Repeat rounds 2 and 3 until cowl is as tall as you like for it to be (I worked mine until it was about 11 inches tall). Be sure to end your rounds on round 2 for a more complete look to your stars, but also give it a nice straight edge along the top as well.
Assembly & Finishing:
- Weave in all ends.
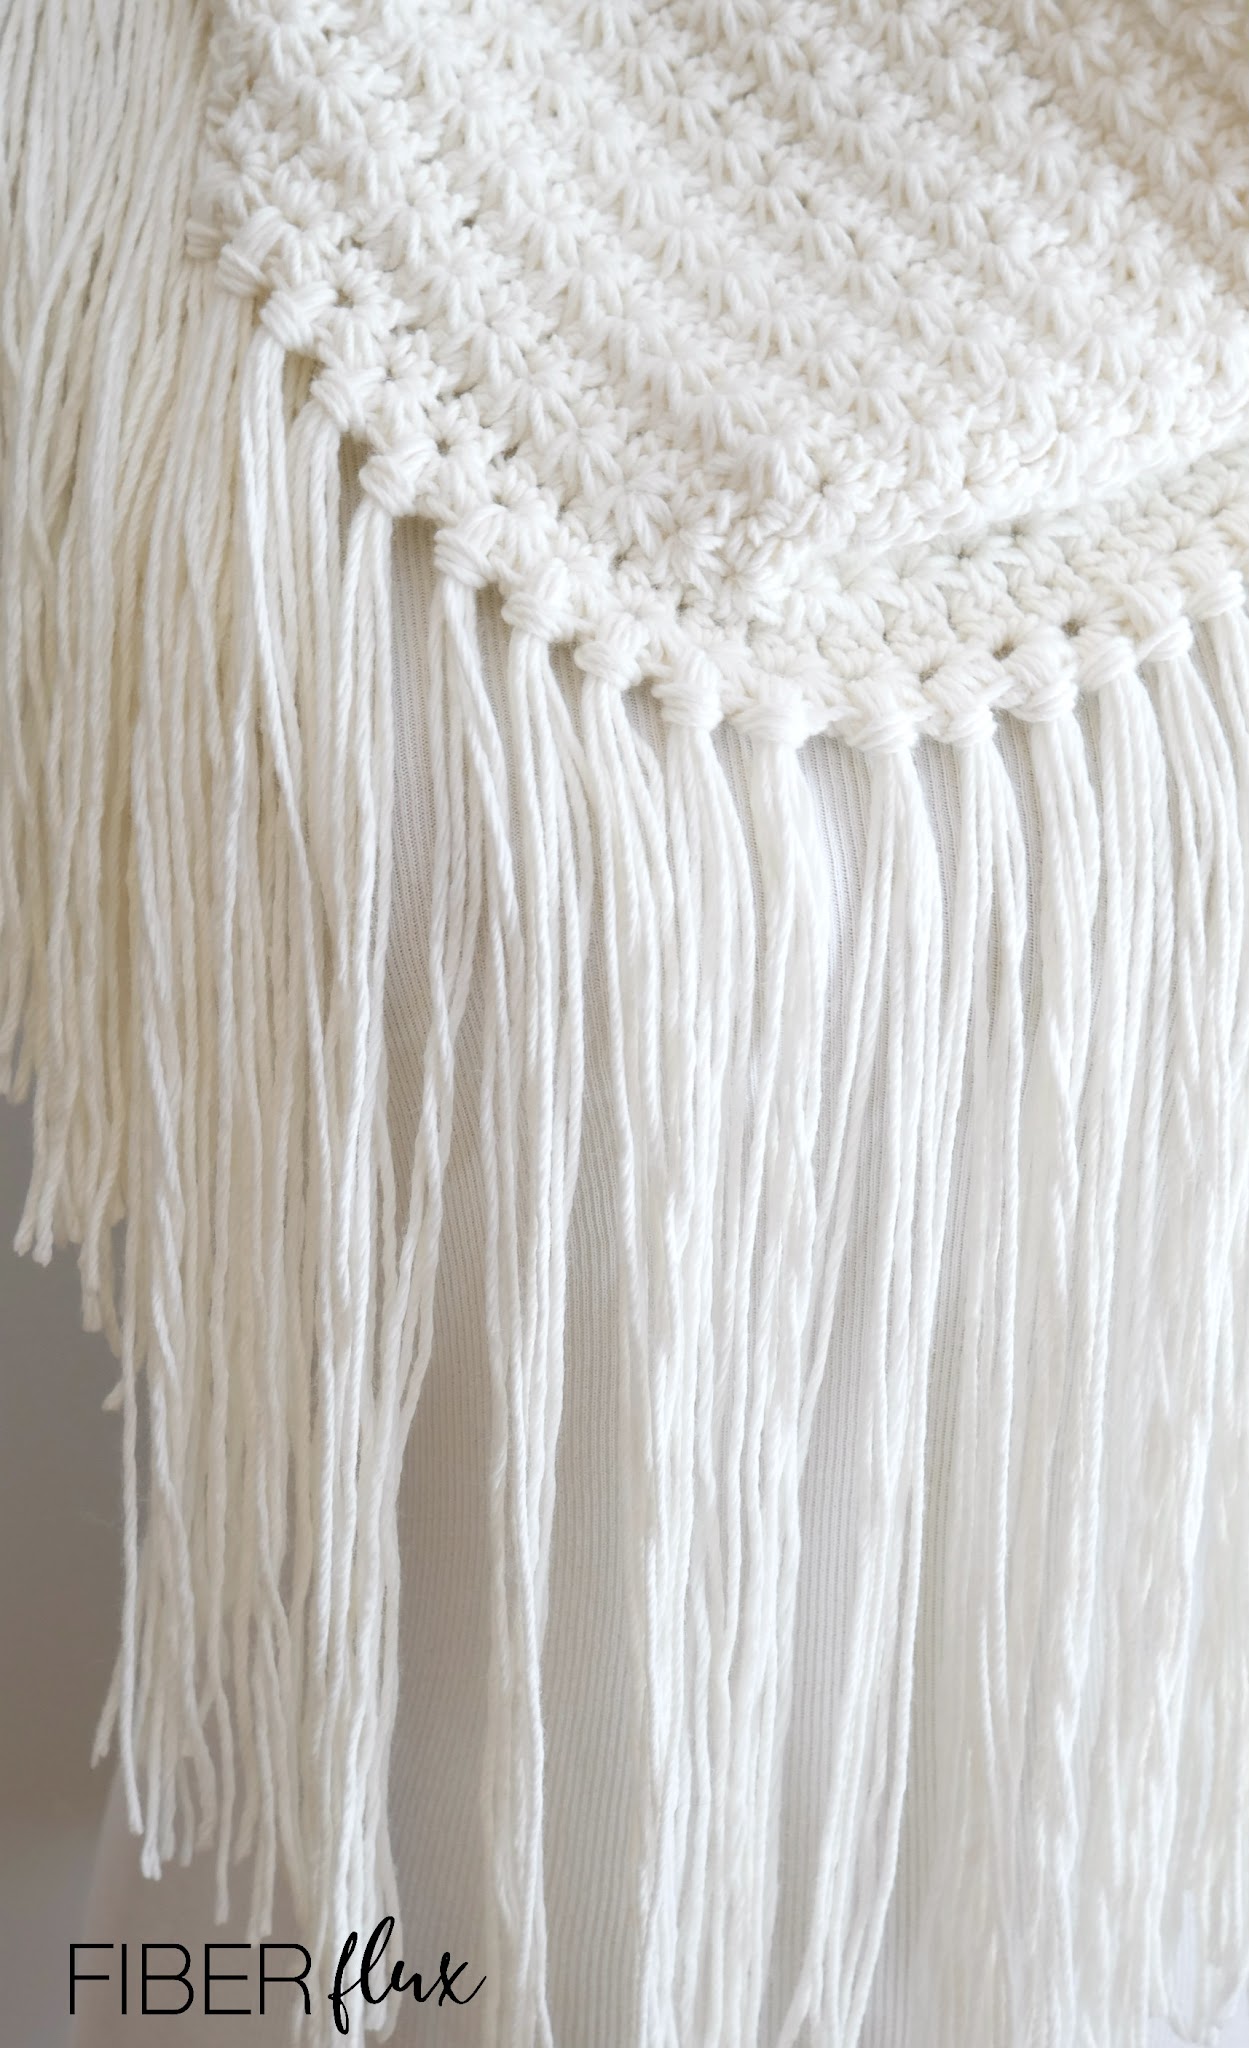
- To add fringe (optional), pull a length of yarn about 24 inches long. Pull another length of yarn and fold in half. Pull another length of yarn and fold in half. Cut yarn then wrap around your finger to make a large loop at the top. Using your crochet hook to help (I like to send mine up from underneath for the best looking knot), send loop through center of any star eye along the bottom edge of the cowl. Put ends through the loop and tighten carefully so you don’t distort the stitchwork. Repeat around the entire bottom edge, spacing evenly. I added a fringe bundle to each star eye on mine.Alternatively, you can make yours fuller looking by adding more in between if you like too.
- Trim fringe straight across. Pick up and shake a little and trim to neaten up if needed.