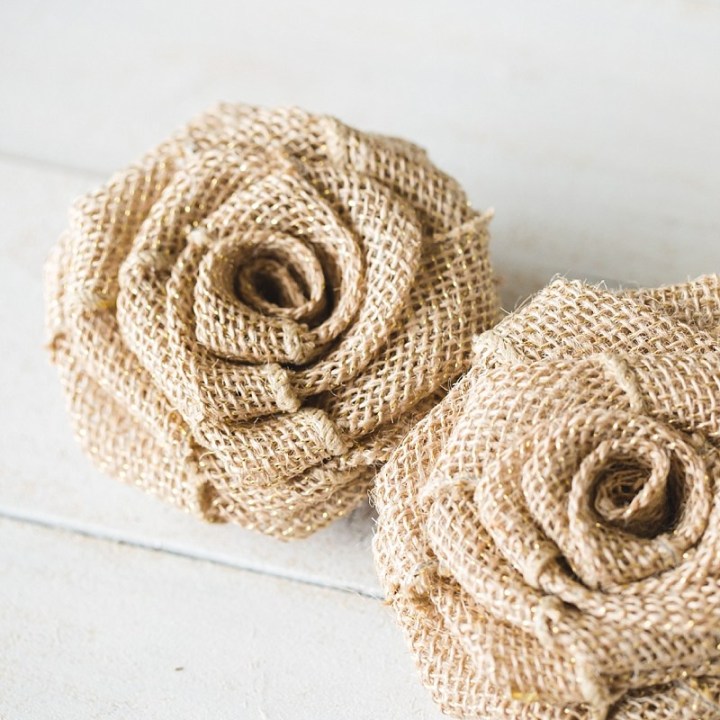
Beautiful No Sew Roses
This time we`re going to make flowers using burlap. This material is popular in autumn, but I like it so much that I use it all year round. It will also be cool to use these roses in some spring wreaths: just make flowers with me now and then add some colourful ribbons and I`m sure your work will be wonderful.
Let`s make something gorgeous!
Things you need:
- burlap ribbon 2-3″ wide (wider ribbon will make bigger roses)
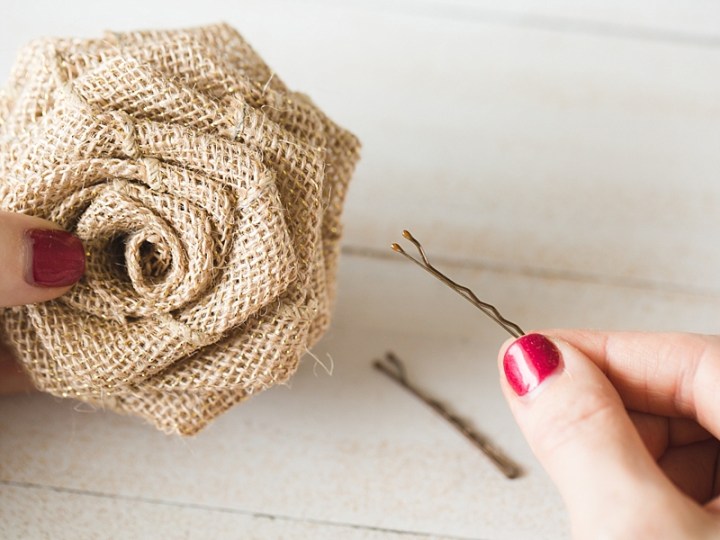
- bobby pins
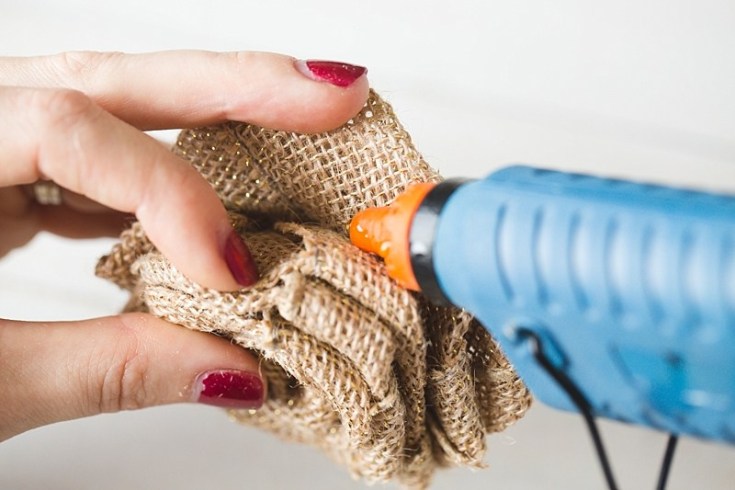
- hot glue gun & glue sticks
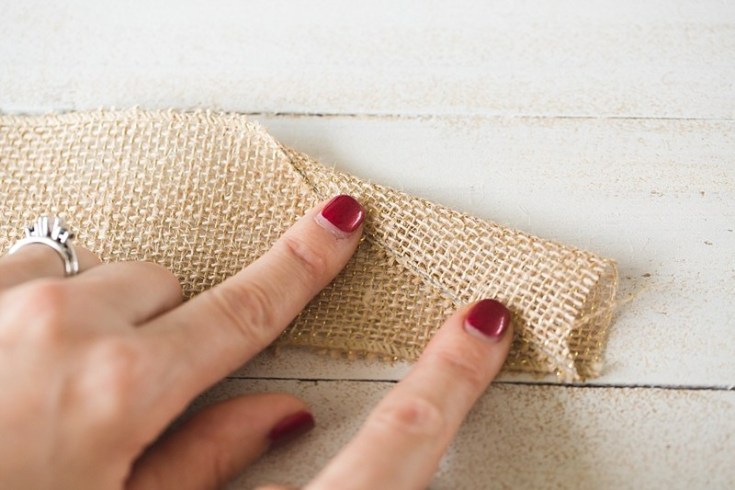
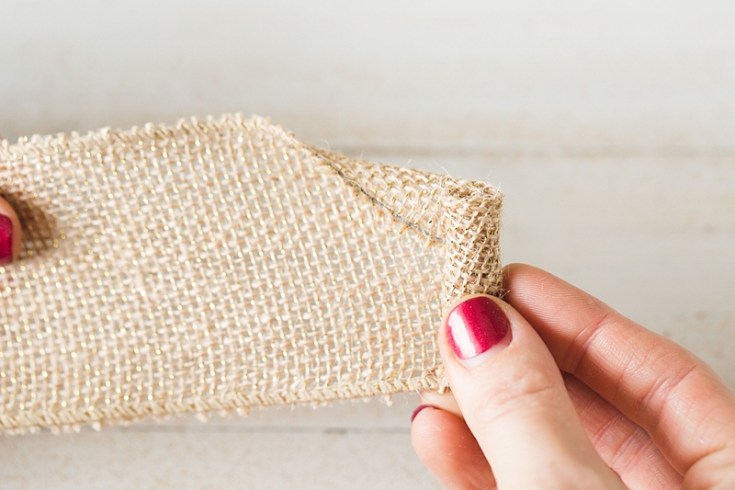
Step 1.
Next, cut a piece of burlap ribbon about 1 yard in length. If you want smaller roses, you can cut a shorter piece. Lay your piece of burlap ribbon out as shown in the photo below. That initial fold is important for starting your DIY burlap roses correctly.
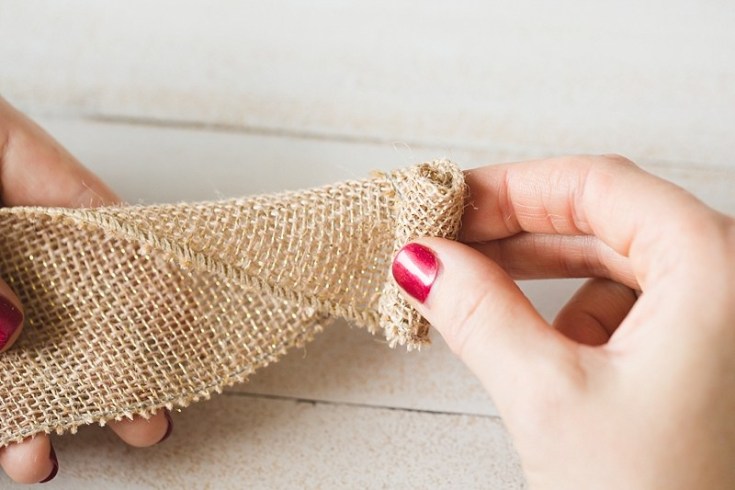
Step 2.
Starting from the right side, roll up the center of your rose tightly, as shown. You’ll stop rolling before you completely cover up the fold.
Step 3.
Now – you’ll keep holding onto that roll with your right hand, and with your left hand, you’ll fold the burlap away from you.
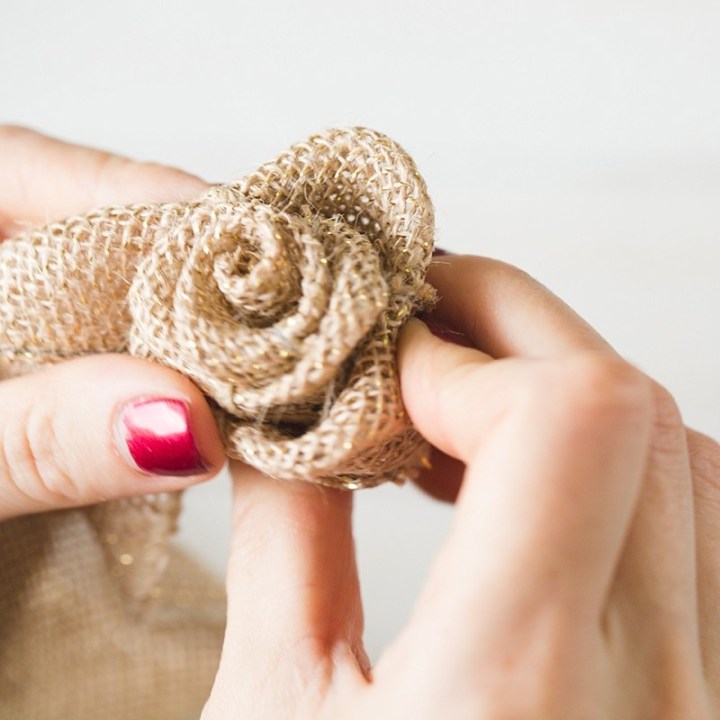
Step 4.
You’re going to just repeat these two steps (rolling, folding). Once your rose gets past the small stage, you can skip the “rolling” and just finish it off by folding away from you again and again.
Step 5.
When you’ve used up the length of your burlap ribbon, you’ll need to secure your rose. Fold the end of the burlap over so it can’t be seen from the front. I do this with 2 bobby pins in the back of the rose for a basic hold (perfect since burlap has holes in it!), and then hot glue to make sure it’s solid.