How To Make Shabby Chic Fabric Flowers
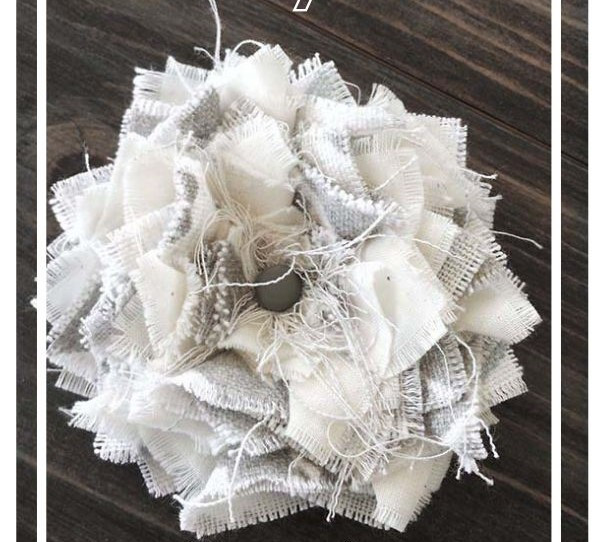
If you like sewing, i`m sure you have got some scraps of fabric or you can just use your old clothes for this diy. We`ll make with you today shabby chic flowers. It`s no sew project and super easy) Let`s make a bouquet of these cute flowers and then use them wherever we want: for shadow boxes, hairbows, on lamp shades or photo frames. Just try and then you can play with the size and colour of your flower for your needs.
Let`s get started!
Things you need:
- Scrap Upholstery Fabric
- Scrap Muslin Fabric
- Threads from Scrap Upholstery Fabric
- Thin cardboard box (mine came from a vanilla wafers box)
- Paper Brad used for Scrapbooking
- Fabric Scissors
- Ruled Cutting Mat
- Hot Glue Gun
- Glue Sticks
- Alligator Hairclips
Step 1.
These flowers are layered together in four sections. So, start by figuring out what material you want for each layer and then cut out the following squares:
- 14 @ 2” square for the base layer
- 9 @ 2” square for the second layer
- 5 @ 2” square for the third layer
- 4 @ 1” square for the fourth layer
Step 2.
You will need to fold these squares in an offset way to make them fluff out and look like a petal. So, I’m going to do my best to explain. If you get lost, refer to the pictures.
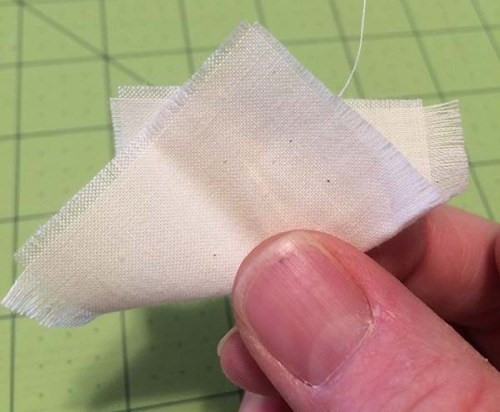
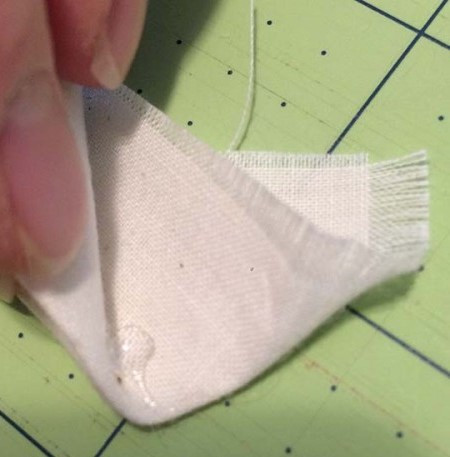
Take one square and fold it so that one of the corners is in the middle of the opposite side. Then fold that whole thing in half so that you have a point at one end.
Step 3.
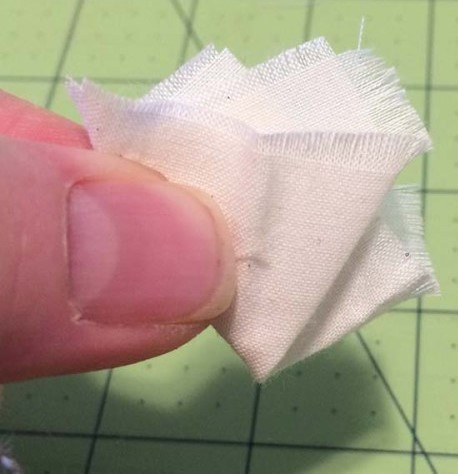
Now to make sure it doesn’t come undone, dab a small amount of hot glue along the last fold line, in between the fold and toward the bottom; then press together being careful not to burn yourself.
Step 4.
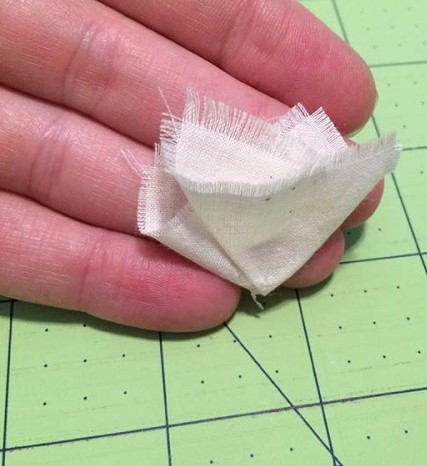
Once you have it figured out, repeat this process for all the remaining squares.
Step 5.
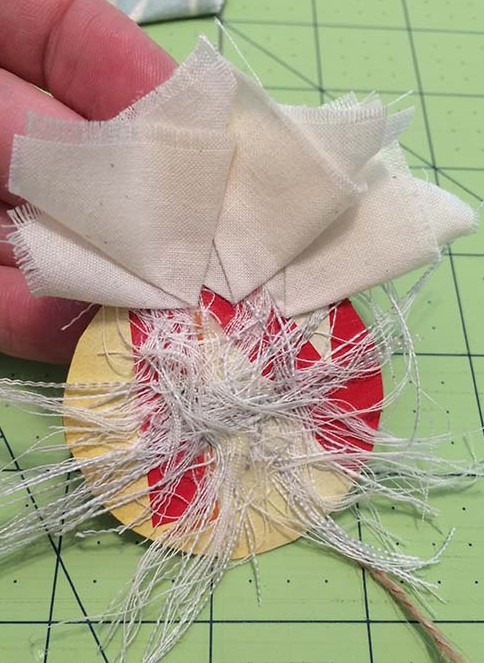
Alright time to get this cute little flower looking like a flower. In this step you will cut out a 1 ¾” circle from a thin cardboard box and then hot glue the folded squares of fabric to the circle in four different sections.
So, lets start with the base layer. Glue the point of a square down to the cardboard circle about 3/8” in from the outer edge. Then take another square and overlap it over the first square leaving about 1/8” between the tips. Continue in this fashion until you have glued down all 14 fabric squares to the circle.