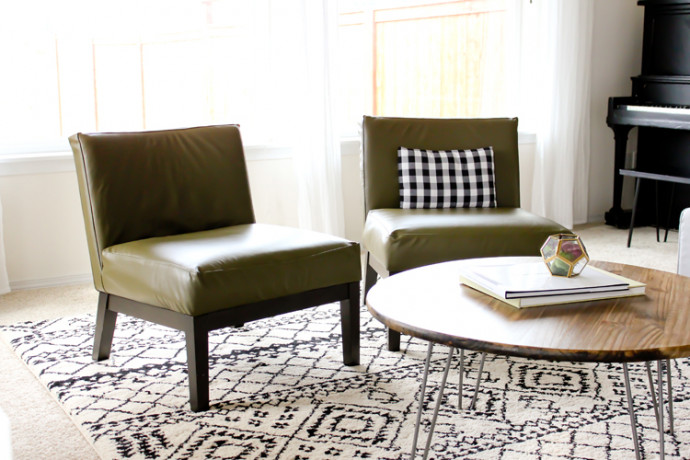
DIY Leather Chair Cover
Upgrade your old chairs with leather with these DIY covers. These handmade slipcovers are the perfect way to change the color of old chairs to match your sofa and decor.
Leather furniture is classics and will always be. Want to get such a piece? You’ll need upholstery leather, leather sewing needle, a walking foot, heavy duty thread, a stapler, clover clips, a permanent marker, a quilter’s ruler, heavy duty scissors, an eyelet tool and grommets and a staple gun. If there is a cover on it that you are going to remove, remove it now. Take your sewing measuring tape and get as accurate measurements you can of every curve, point, and side. Take those measurements and decide how you want to sew around it. For crisper corners, use long, continuous strips to join flat back and seat pieces. Leather requires more precision than cotton canvas, so it took quite a bit of work to figure out how I was going to tackle this project. For those of you in the same boat, I thought I would share my process and some tips with you!
Materials:
- Upholstery leather
- Leather Sewing Needle
- Heavy Duty Thread (matching), all-purpose is okay
- Stapler (regular office stapler)
- Clover Clips (binder clips work in a pinch)
- Permanent Marker
- Quilter’s Ruler
- Heavy Duty Scissors
- Eyelet Tool and Grommets
- Staple Gun
