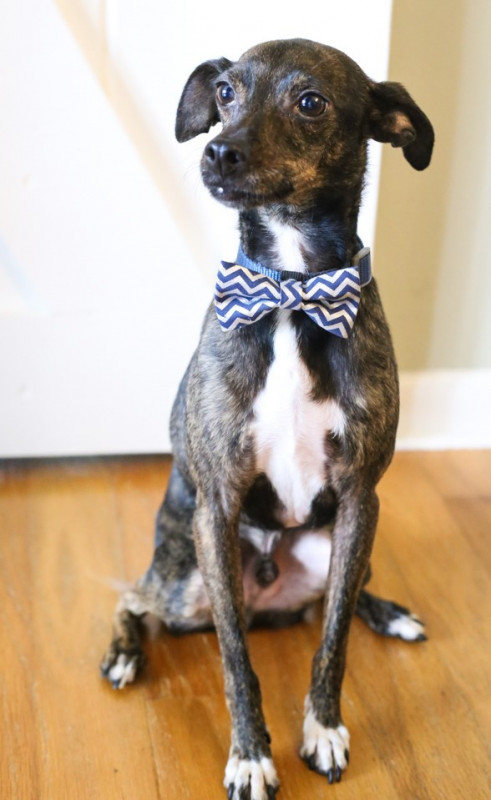
How To Make Dog Bow Tie Collar
If you`re a pet lover, this tutorial is for you. We`re going to make bow tie collar for your pet. I suppose it can befit not only a dog but a cat also. A collar has not only its main function: to show that a pet has got a host, but it also can be a cute "necklace") I like that this project is no-sew, it means that everyone can do it.
Let`s get started!
Things you need (to create a 3.25″ wide No-Sew Dog Bow Tie Collar Slide):
- 4″ x 7″ piece of fabric for the main bow tie
- 4″ x 1.25″ piece of fabric for the center (you will trim about 1″ off eventually)
- Fabric tape
- Thin rubber band
- Hot glue.25″ thick elastic ribbon (or thinner) – cut to a 2.25″ length
- Felt (optional)
- An iron
- A hot glue gun
Step 1.
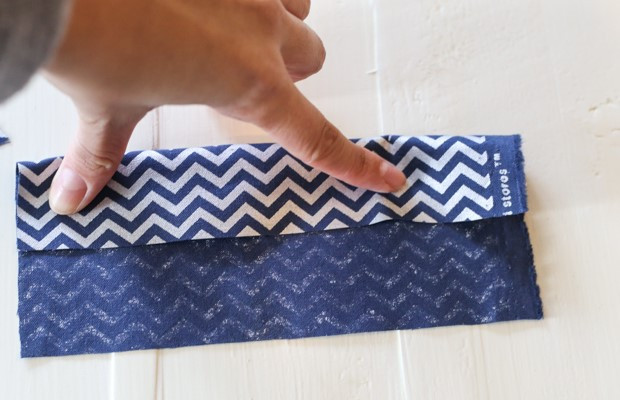
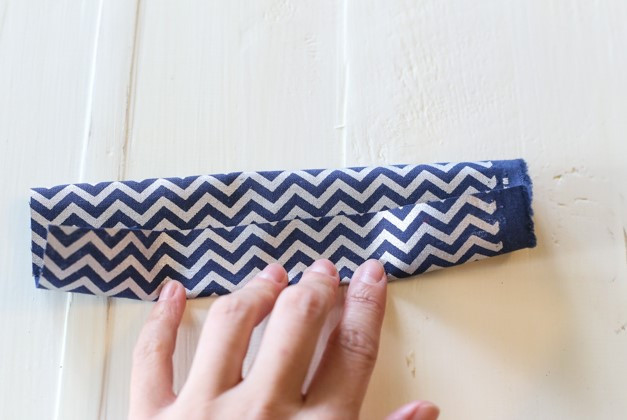
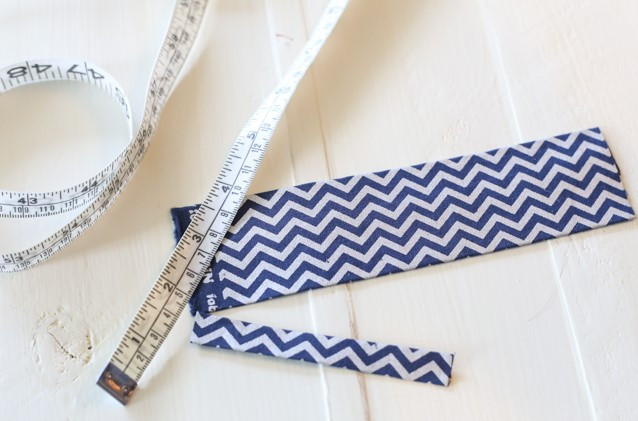
Cut the fabric of your choice into the dimensions listed above. Next, take the larger piece and fold it into a tri-fold (it won’t completely overlap – this will create the width of the bow tie, so you can adjust accordingly).
Step 2.
Place a strip of fabric tape on the inside fold of the fabric flap, then iron to fuse the piece together.
Step 3.
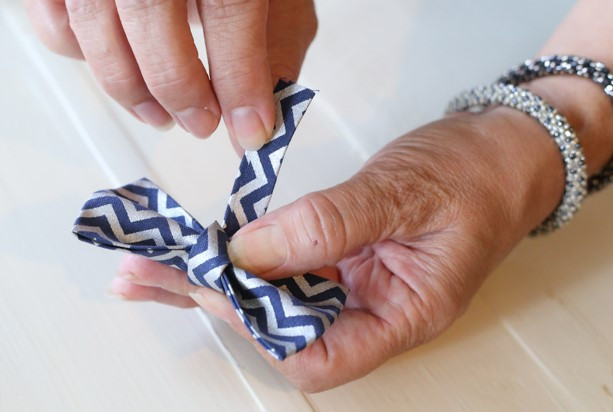
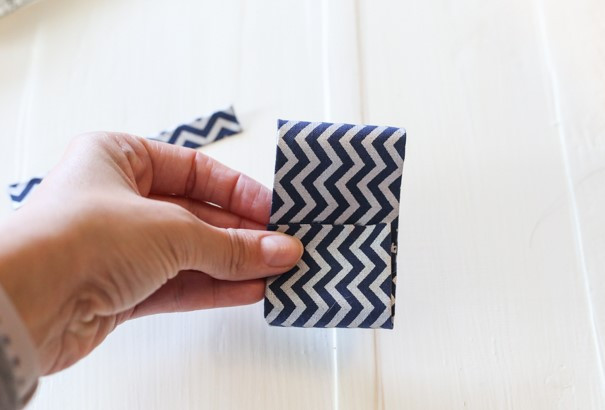
Repeat the same process with the smaller piece of fabric to create the wrap for the center of the bow tie.
Step 4.
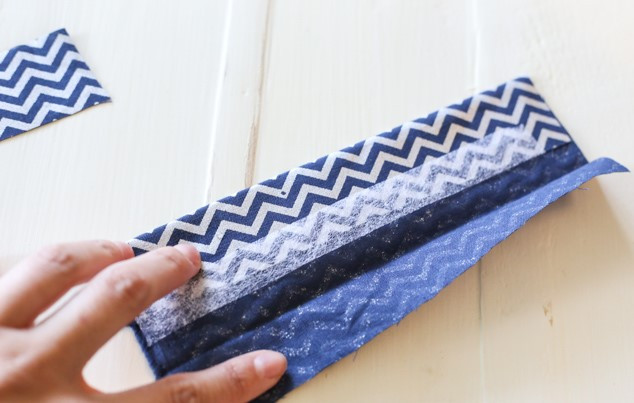
Back to the main fabric piece for the bow tie! Slightly overlap the ends of the larger piece of fabric together and fuse them with a piece of fabric tape. When you iron this piece, make sure the ends fall in the center. The press of the iron will create a small rectangle and will be the body of your bow tie!
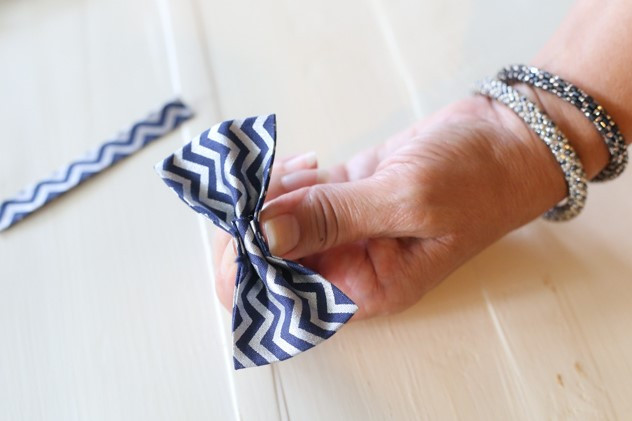
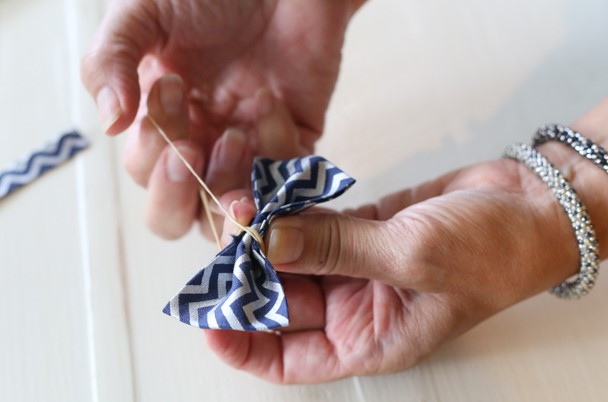
Step 5.
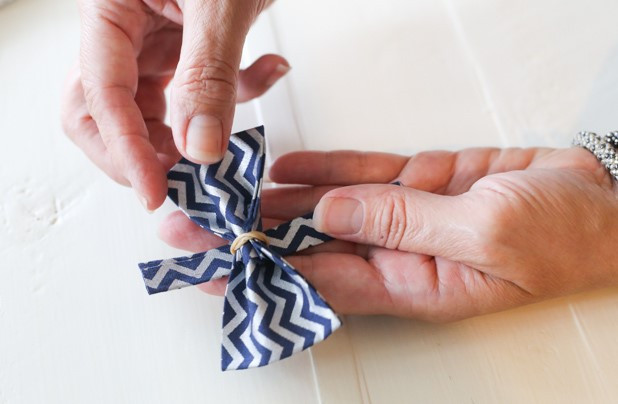
Next, create the bow. Carefully pinch the center of the large fabric piece together to create a bow shape. When it is in the desired shape, secure the center tightly with a rubber band.