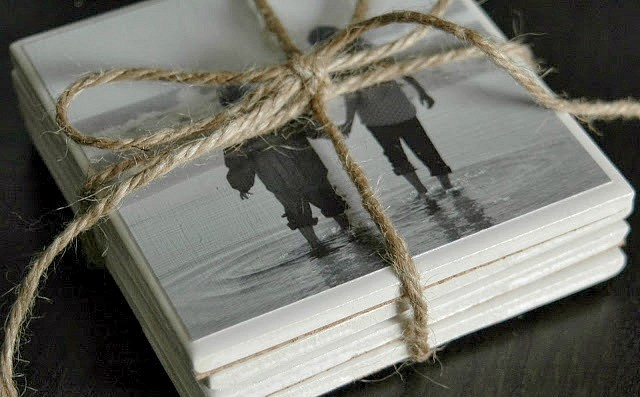
Nice DIY Photo Coasters
I have already told you a few times that I like having photos round my home because they keep warm memories. I have gor frames, photo holders in every room. But photos for this project will be perfect for kitchen. It`ll be DIY photo coasters. You can do them just for yourself, but I think that it can be a good personalized present for any person.
Let`s get strated!
Things you need:
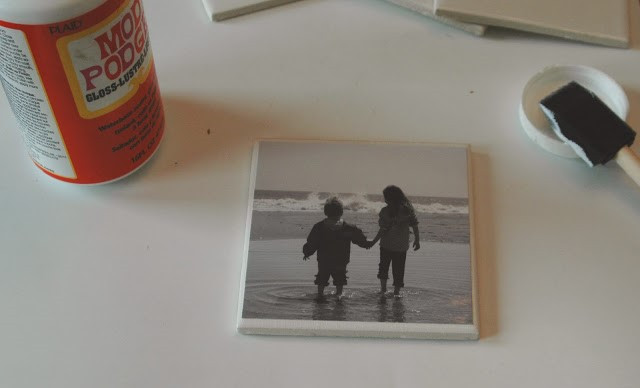
- 4x4 white ceramic tiles
- Photos or scrapbook paper
- Metal file
- Foam brush
- Scissors or paper cutter
- Mod Podge
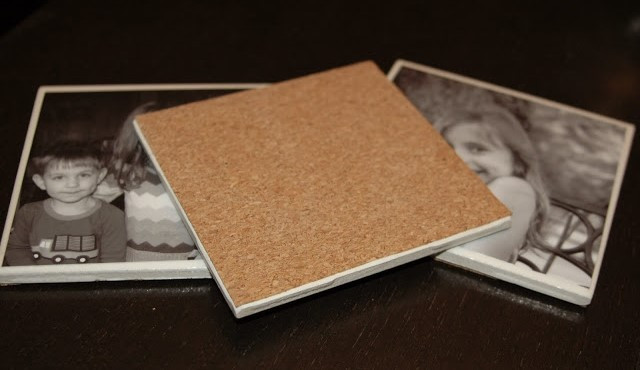
- Cork sheet
- Water-based poly
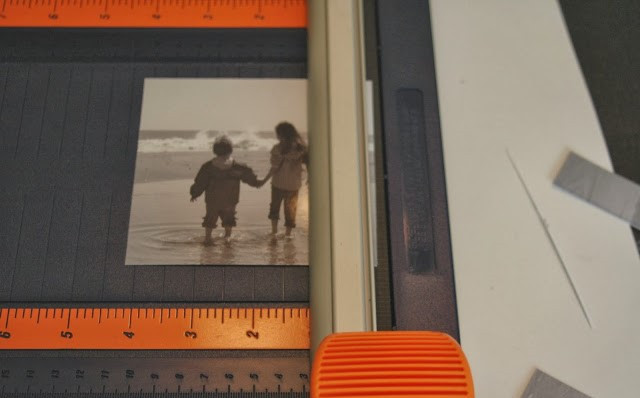
Step 1.
Cut pictures down to size so they fit on top of the white tiles.
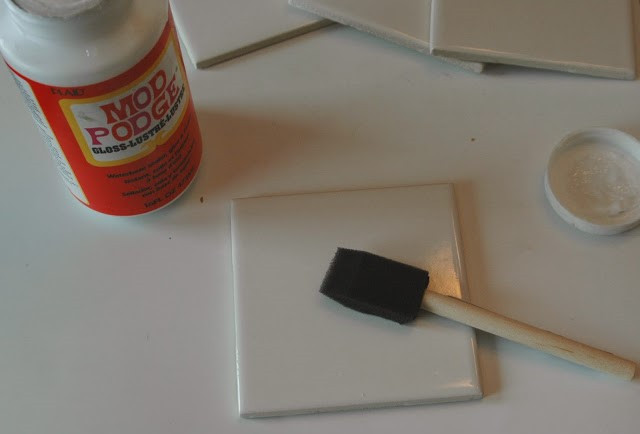
Step 2.
Apply a thin layer of Mod Podge to the top of each ceramic tile. Gently place a picture on top of the wet Mod Podge, making sure to smooth out any air bubbles. Once the Mod Podge is dry, apply a thin layer of Mod Podge to the top of the picture. Don't worry, Mod Podge dries clear.
Step 3.
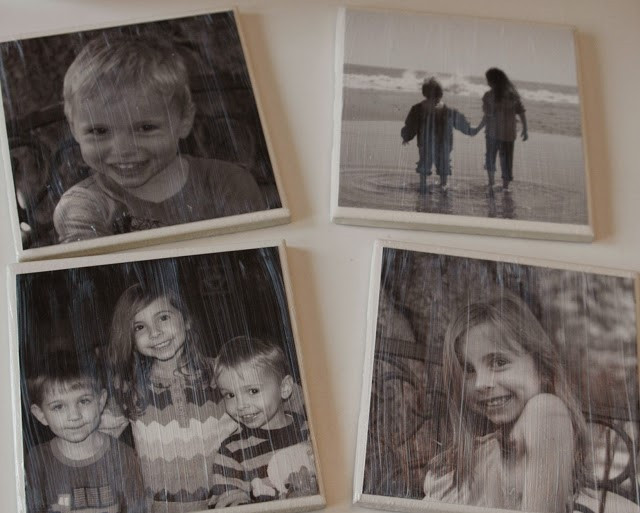
When the Mod Podge is dry, apply 2 coats of poly to seal the picture. Mod Podge is not waterproof, so you need to use poly in order to keep water and other liquids from damaging the pictures.
Step 4.
Sand the edges of the tiles to smooth out any rough spots.
Step 5.
Trace the tiles onto the cork sheets then cut out the cork. Mine worked well, but I also glued the edges to make sure the cork stayed put.