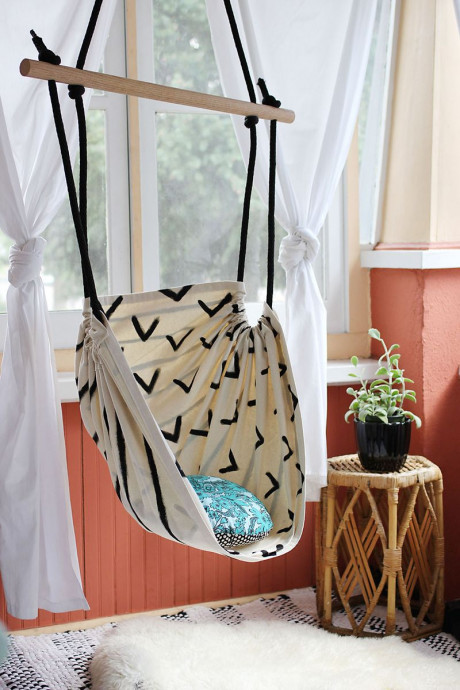
DIY Hammock Chair
A DIY hanging chair can add a lot of personality to a space for much less than it would cost to buy a similar chair from the store. However, there are a few key factors to consider. For starters, some chairs will take a long time to make and you want to make sure your project turns out to be a comfy and stylish addition. This tutorials will teach you how to make a hanging chair with as little fuss as possible. Many of them will also show you how to properly secure the chair so that you know it's safe. Take your time to read through all the instructions and proceed with some level of caution.
This hammock chair DIY was born out of a need to facilitate some kind of activity that will either teach them independence or nurture their creativity. While this hammock chair is aimed to me made for kids, it could be used by adults as well. I used supplies strong enough to hold up to 200 lbs. so that it might withstand a sturdy plop from either of the older kids, but supplies are available at most hardware stores that will ensure this hammock chair tutorial can hold even more weight.
Supplies:
- 1 1/4″ x 3′ oak dowel (oak is a hard wood and considered safer than poplar for supporting weight. Also, I had mine cut to 3′)
- 3/8″ x 16′ braided polypropylene (get this by the foot)
- 2 yards of plain canvas
- 80mm stainless steel spring snap link (holds up to 220 lbs)
- 3/16″ stainless steel quick link (holds up to 660 lbs)
- black fabric paint (my acrylic paint is fabric friendly)
- paint brush
- drill and 3/8″ drill bit
- sewing machine
- iron and ironing board
- shears
- ruler
- lighter
